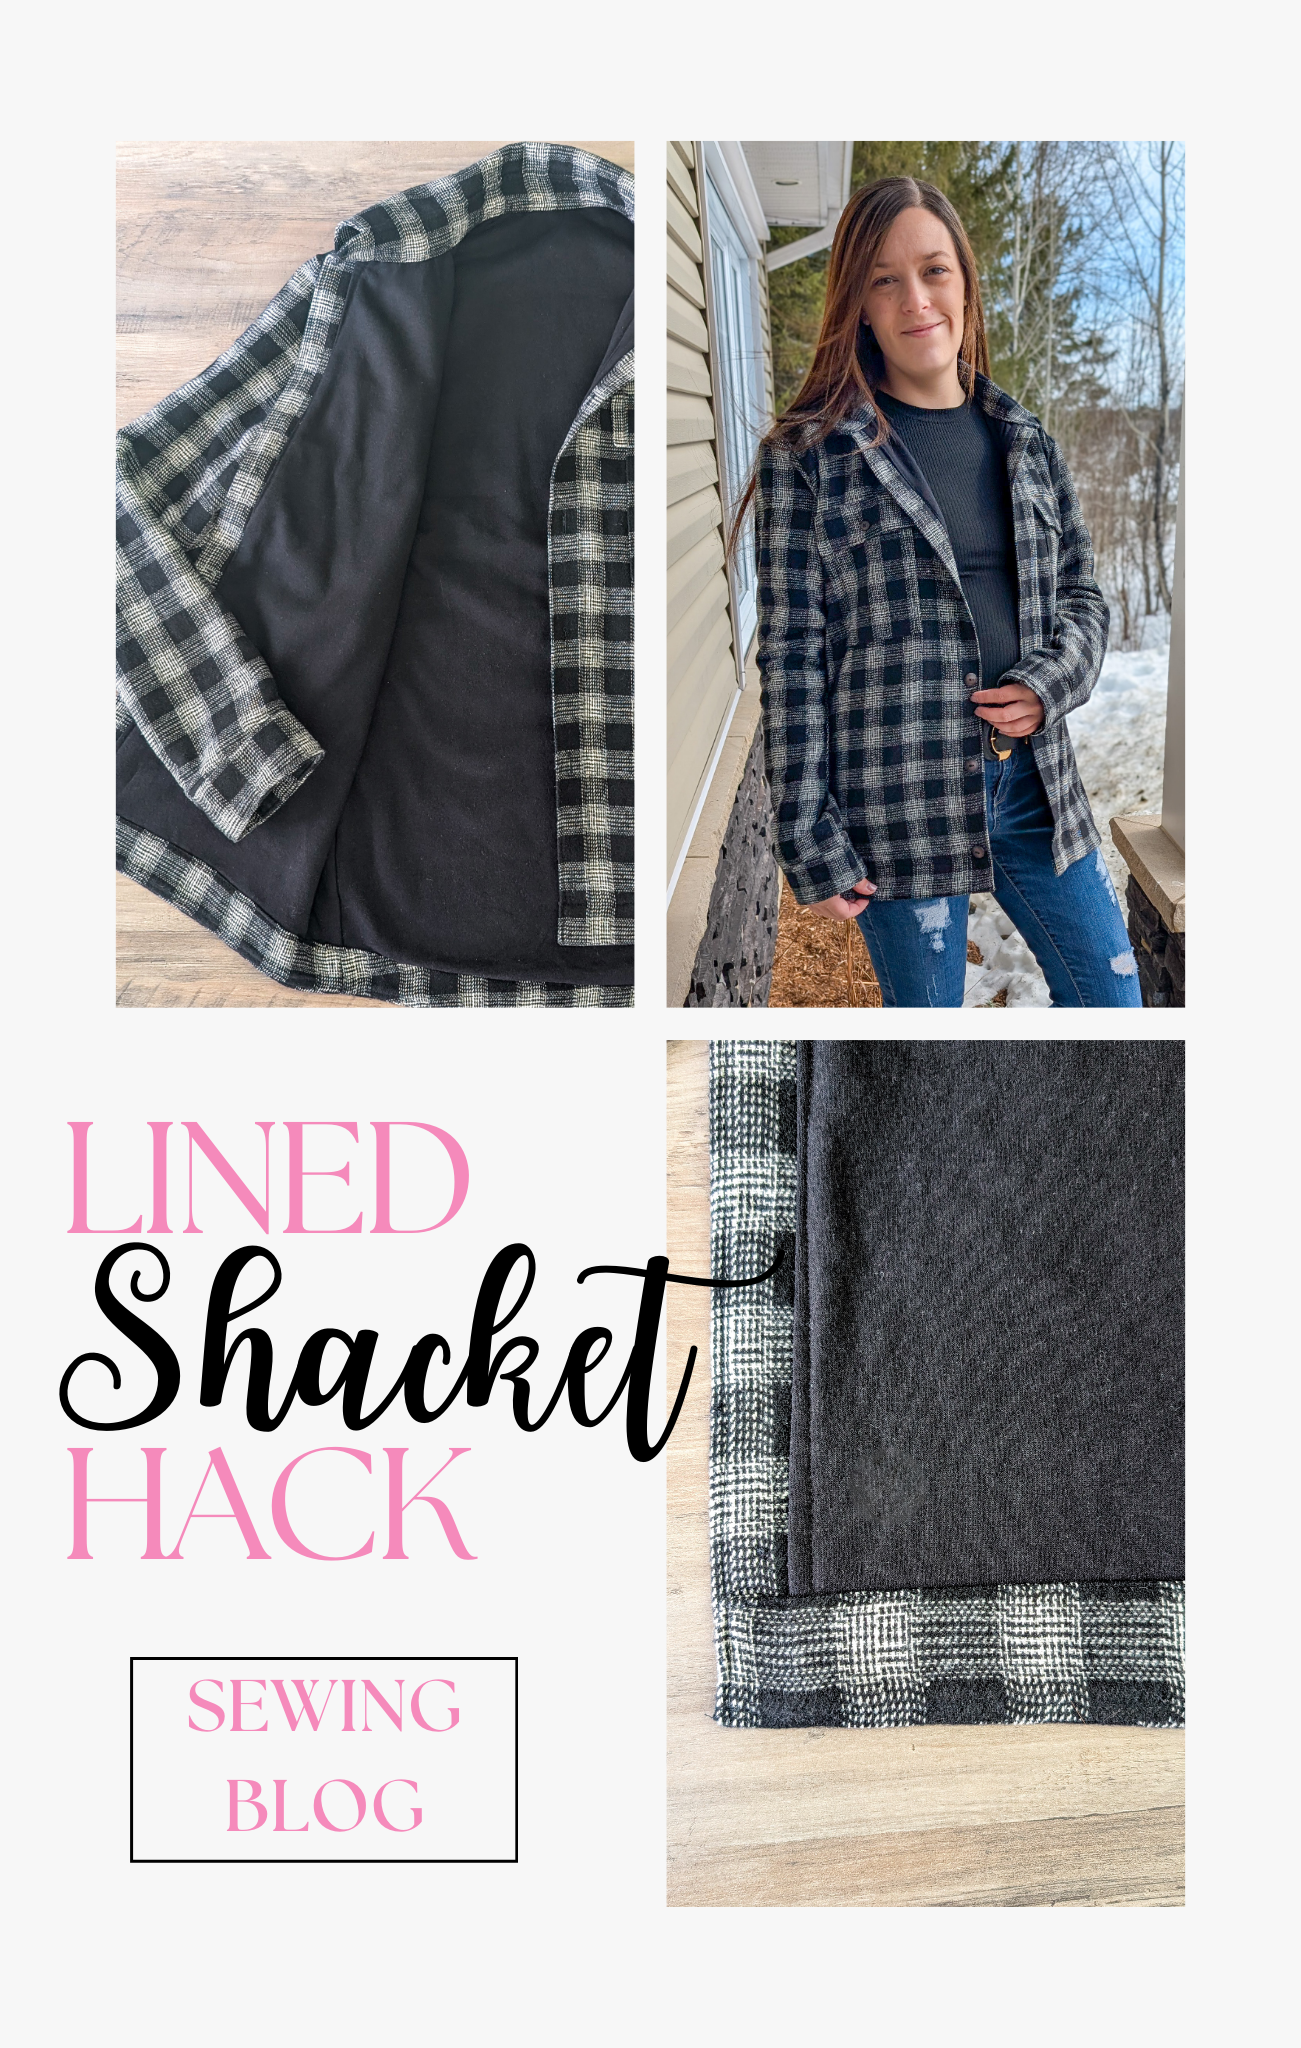
Ruffle Puff Sleeve Hack
One of my favorite (and one of the easiest) ways to change up a top or dress is by modifying the sleeves. I do it pretty often on tried and trues, new patterns, you name it. This was no different for the Diana Top* I made recently for date night. The pattern comes with some cute sleeve options, but I wanted a short sleeve with a little more puff and a ruffle. This was easy enough to quickly hack, and I’ll show you how!
To start with, trace sleeve onto paper. From the shoulder notch to hem, make a dashed line (so you don’t cut it) and then measure in 1″ increments over from each side of this line, drawing in new vertical lines. Stop before the front and back notches. Number or letter each section , then cut the pieces apart. On fresh paper, tape the pieces back in place, equally spacing them apart. I chose 1/2″ spacing and got a nice amount of fullness. Spread for less fullness, spread more for more. Before cutting the pattern piece out, you’ll need to decide on how much length to add, or if you even want to add any at all. I added 1.5″ so that I could have a 3/4″ ruffle and a little more than 1/2″ casing to use with 1/2″ elastic. I then squared up the corners for a neat fold, then cut my pattern piece out (and two sleeves from said piece).


To prepare the sleeves, fold the hem up however much you added (again mine was 1.5″) and press to create a memory crease. Open the crease so you don’t sew it closed, then sew the seam of each sleeve with right sides together. Now, fold back along the memory crease and use plenty of pins to hold this in place, especially if you are using a really stretchy fabric. I promise this will come in handy when stitching.


Next, measure up from the folded hem your desired ruffle width (3/4″ here) and sew around your entire sleeve at that measurement. It’s really helpful to use washi tape, painter’s tape, or a magnetic seam guide to help you stitch correctly (as well as all those pins to help keep everything in place). Sew slowly, adjusting as needed. I always use a triple stretch stitch for casings like this because I prefer the look of it it over a zigzag stitch, but a long straight stitch could work, as long as you don’t have to stretch the sleeve a lot over your bicep. Now, edgestitch the raw edge of the sleeve, leaving a 1-2″ opening in the back for inserting elastic into the casing.


Cut a piece of elastic for your casing that’s 2″ less than your bicep measurement. My elastic is 1/2″ wide and 10.5″ long. Thread a bodkin, safety pin, or other tool with elastic and insert elastic into the opening, around casing, out the other end. Confirm you haven’t twisted the elastic at all, then overlap the ends and sew with a zigzag stitch to create a loop. Stretch elastic to pull into the casing, then sew the opening closed. Repeat the same steps on the other sleeve.


At this point in the process I got distracted and did other things before coming back to finish the shirt and forgot that I was taking pics for this tutorial….so hopefully you understand enough about sewing to set in a sleeve (or just check the Diana tutorial, which I wrote by the way 😉). The only difference from the tutorial is that because we spread our sleeves, we have tons more gathers than the original sleeve. I just sewed my gathering stitches from front to back notch, drew the bobbin threads up to gather tightly, matched the shoulder and underarm, then released the gathers to fit into the armscye, keeping them concentrated toward the shoulder. That’s it!


Do you love this hack? Will you try it out?
Blog written by Lakeisha Webb - https://sincerelyshantelle.com/