*This is a guest blog, written by Sarah Callahan*
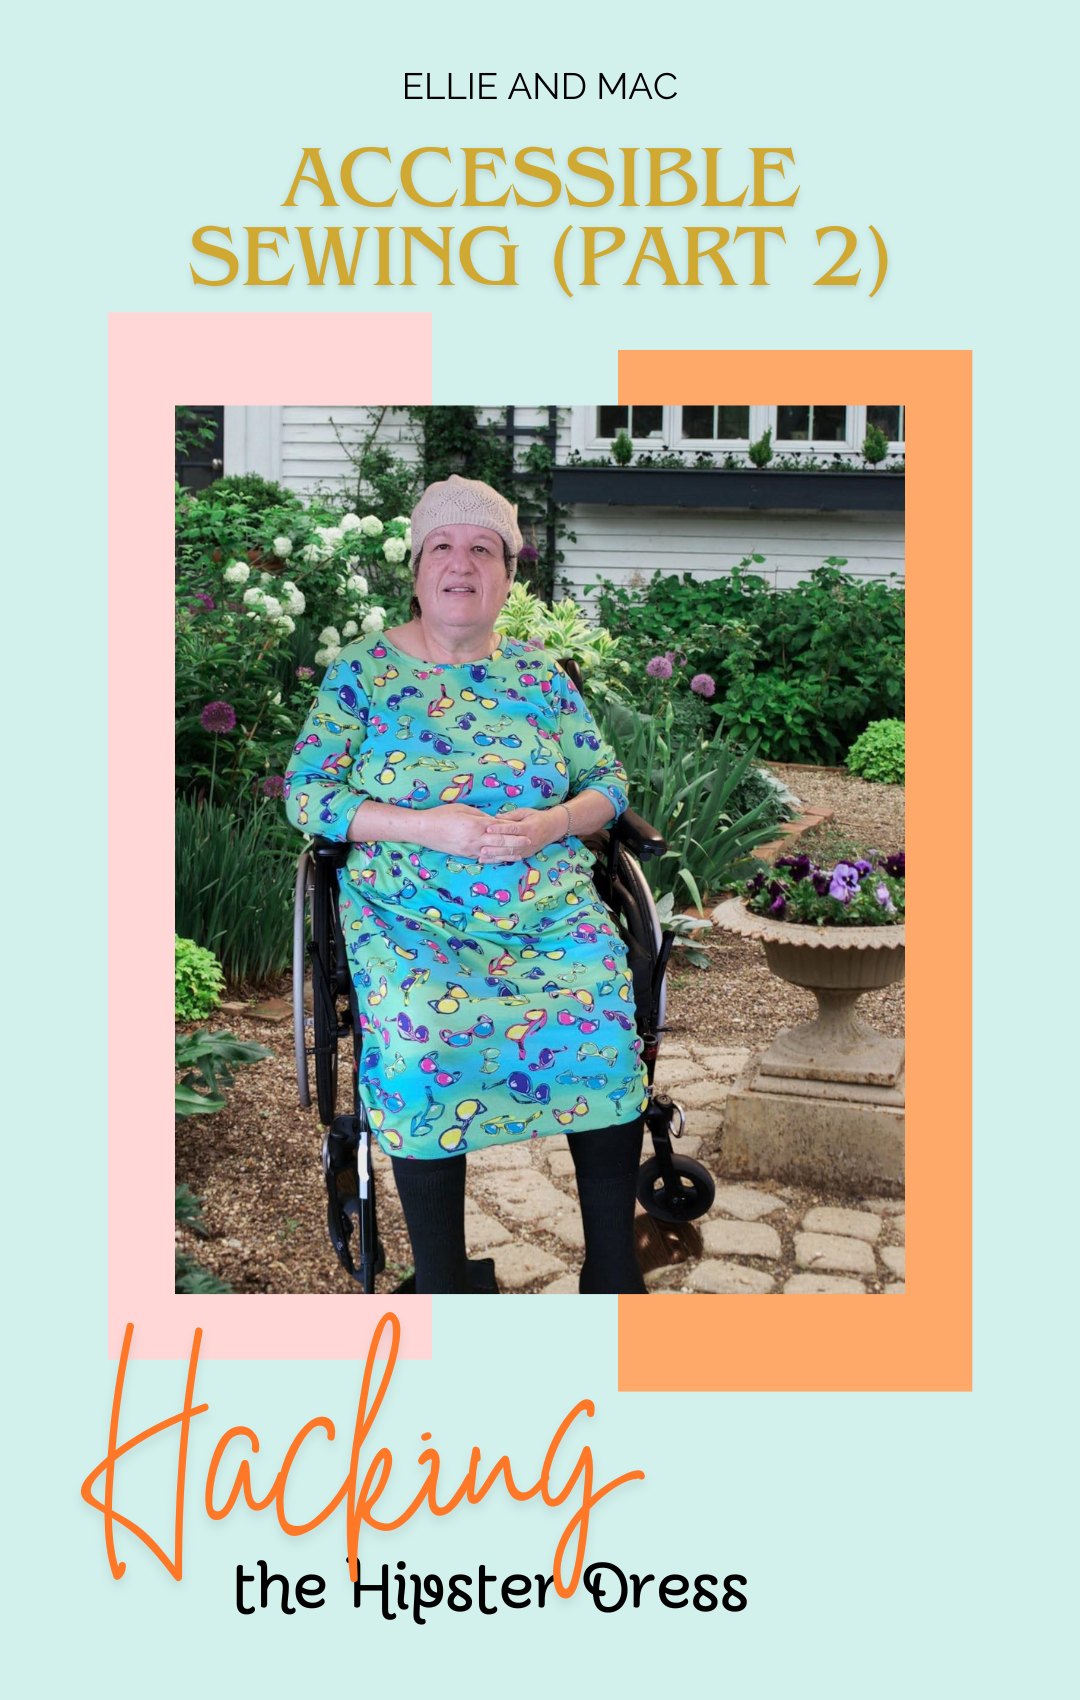
Hi Sewing Friends! In my first Ellie and Mac Blog Post I introduced you to adaptive considerations in accessible sewing. Although I do not have any mobility challenges myself, I regularly modify Ellie and Mac patterns to create functional and fashionable pieces for my mother. Her clothing is uniquely tailored to her individual needs and stylistic preferences. I hope that my efforts will inspire others to create adaptive clothing.  What you will learn:
In this tutorial I will show you how to modify a Hipster Dress by:
- Adding a kangaroo pocket
- Customizing sleeve length
- Adding a button and loop to assist with toileting concerns
- BONUS: A quick look at how you can make anti-slip socks
Note: As an Ellie and Mac and Amazon Affiliate I may earn a small amount from qualifying purchases.
What you need:
In order to follow along in this tutorial, you will need:
- Hipster Dress Pattern
- Sew It Forward Socks (FREE)
- Fashion fabric
- Pins or clips
- An iron
- Tape measure (120” / 3 m)
- French Curve Ruler
- Regular Ruler
- Erasable Marking Tool (Crayola markers or tailor’s chalk will work)
- Wonder Washaway Tape (or the off brand equivalent)
- Scissors or Rotary Blade
- Sewing Machine or Serger
- Matching Thread
- A loop turner or a safety pin
- Buttons
- Inkscape, Affinity Designer or Adobe Illustrator (optional)
Directions:
Step 1: Adding a Kangaroo Pocket
The kangaroo pocket is a design feature that I include to address limited hand dexterity and compromised range of motion. Its unique shape and central placement on the body allows both hands to comfortably slide inside the pocket. It's dual functionality as a hand warmer and storage space is convenient.
The Hipster Dress does not include a kangaroo pocket. We will need to “pattern mash”. Pattern mashing is when elements are borrowed from one design and applied to another. In this case, we would need to choose a kangaroo pocket from another Ellie and Mac Pattern. The Adult Oversized Tee, Tuesday Hoodie or Lindsay Hoodie are excellent choices.

Once I copied my new pattern piece I had to make sure that it would fit my front bodice piece. Using inkscape (a free vector based design software), I placed the kangaroo pocket at the natural waist. It's roughly where you would place the inseam pockets (as indicated by the diagonal lines). I then stretched the pocket to match my side seams.

Next, I used a marking tool to transfer the lines to my fabric. They were later used as a guide for top stitching the kangaroo pocket onto the front bodice.

After cutting the pocket, the curved section of the pocket opening was pressed at half an inch and topstitched.
The top and bottom edges of the pocket were also pressed by half an inch. At this point I recommend applying washaway tape or glue to your folded fabric. If you haven’t used washaway or “wonder tape” before I highly recommend it! I buy it in bulk on Amazon. It's one of my favourite notions.

Once the adhesive was on, I gently peeled back the tape and adhered it to the front bodice piece at the pre-marked lines. I secured the pocket with pins to prevent shifting while sewing.

Finally, I topstitched the pocket using a matching light green thread.

The front and back bodice are now ready to be sewn at the shoulders as per the pattern instructions.
Step 2: Customizing Sleeve Length
Wheelchair users may prefer their sleeves to be slimmer. This is because there is a risk of longer, flowy sleeves catching in the wheels. The Hipster Dress has the desired width, but needs to be shortened based on preference.
Preferred length can be found using a standard measuring tape. Starting at the top of the shoulder lay the tape against your model’s bent arm and note the measurement. Draw a new line on the sleeve pattern piece, adding an inch in seam allowance.
The original hem line remains on my pattern piece in the event a long sleeved garment would be requested for the colder, winter months.

The sleeve pattern pieces should be cut with a one inch memory fold. A memory fold is when you take your iron and press the seam. The fabric now has a crease that can be referred to when hemming. Although you may be tempted to skip this step it is quite helpful.


Sew the sleeves and side seams according to the pattern instructions. Then finish the sleeves by sewing the hem.
Step 3: Adding a Button and Loop
In order to facilitate semi-independent toileting something was needed to hold the skirt up and out of the way. This would allow the Personal Support Worker (PSW) to be in the next room until needed.
A few ideas were tossed around such as velcro, magnetic snaps and plastic snaps. Ultimately we decided to try out a loop and button. It's brilliant in its simplicity and functionality.
To make the loop cut a 2 inch strip of fabric and sew it right sides together along the cut edges.

Using your preferred method, turn the loops right side out. I have this clever tube and stick that I use. If you don't have a special tool you can use a safety pin to pull the fabric through.
Insert the fabric over the tube. Then, as the fabric covers the top of the tube, insert the wooden stick and press the fabric down and through.


Fold the loop as pictured and put aside for a moment.

Now it's time to choose a button! I have a significant amount of buttons that I have collected. They are mostly organized in three tool trays that I found in the dollar store. I was particularly interested in finding a green button to match the dress.

I narrowed it down to the three. Which one would you use? I went with the big sparkly button.

The loop is positioned within the 1 inch hem allowance at the centre back of the garment. The loop ends should be neatly tucked into the hem by at least half an inch. Before you sew it is important to verify that the loop is the correct size for your chosen button!


Baste the loop in place before hemming the skirt.

In terms of button placement, I chose a spot that would be comfortable for my mother. I didn't want it to press against her skin or feel uncomfortable in any way. The button is high enough to hold the skirt, yet in a location that is not easily visible while seated in her wheelchair. The button can be stitched by machine or by hand.


Finally, the neckband is attached and top stitched.
We are done! I love how easy it is to modify Ellie and Mac Patterns.

Step 5: Making Anti-Slip Socks
Preventing slips and falls is important across all demographics. lt is even more of a concern in individuals who already have mobility difficulties. Making Socks with grips at the soles may be a helpful solution.
Sew up your socks as per the directions and apply sock stop or puff paint at the soles. You can also purchase material that already has silicone grips for an even easier make (e.g., Dritz Anti Skid Gripper Fabric).
Socks are great scrap busters too!

(Written by: Sarah Callahan)


