*This is a guest blog, written by Em Stevens*
Hi all, you may have seen me around on the E&M Facebook group showing off my makes. I'm Em and I sew mostly children's clothes for my business and son. I also sew my hubby and I a few bits and bobs.
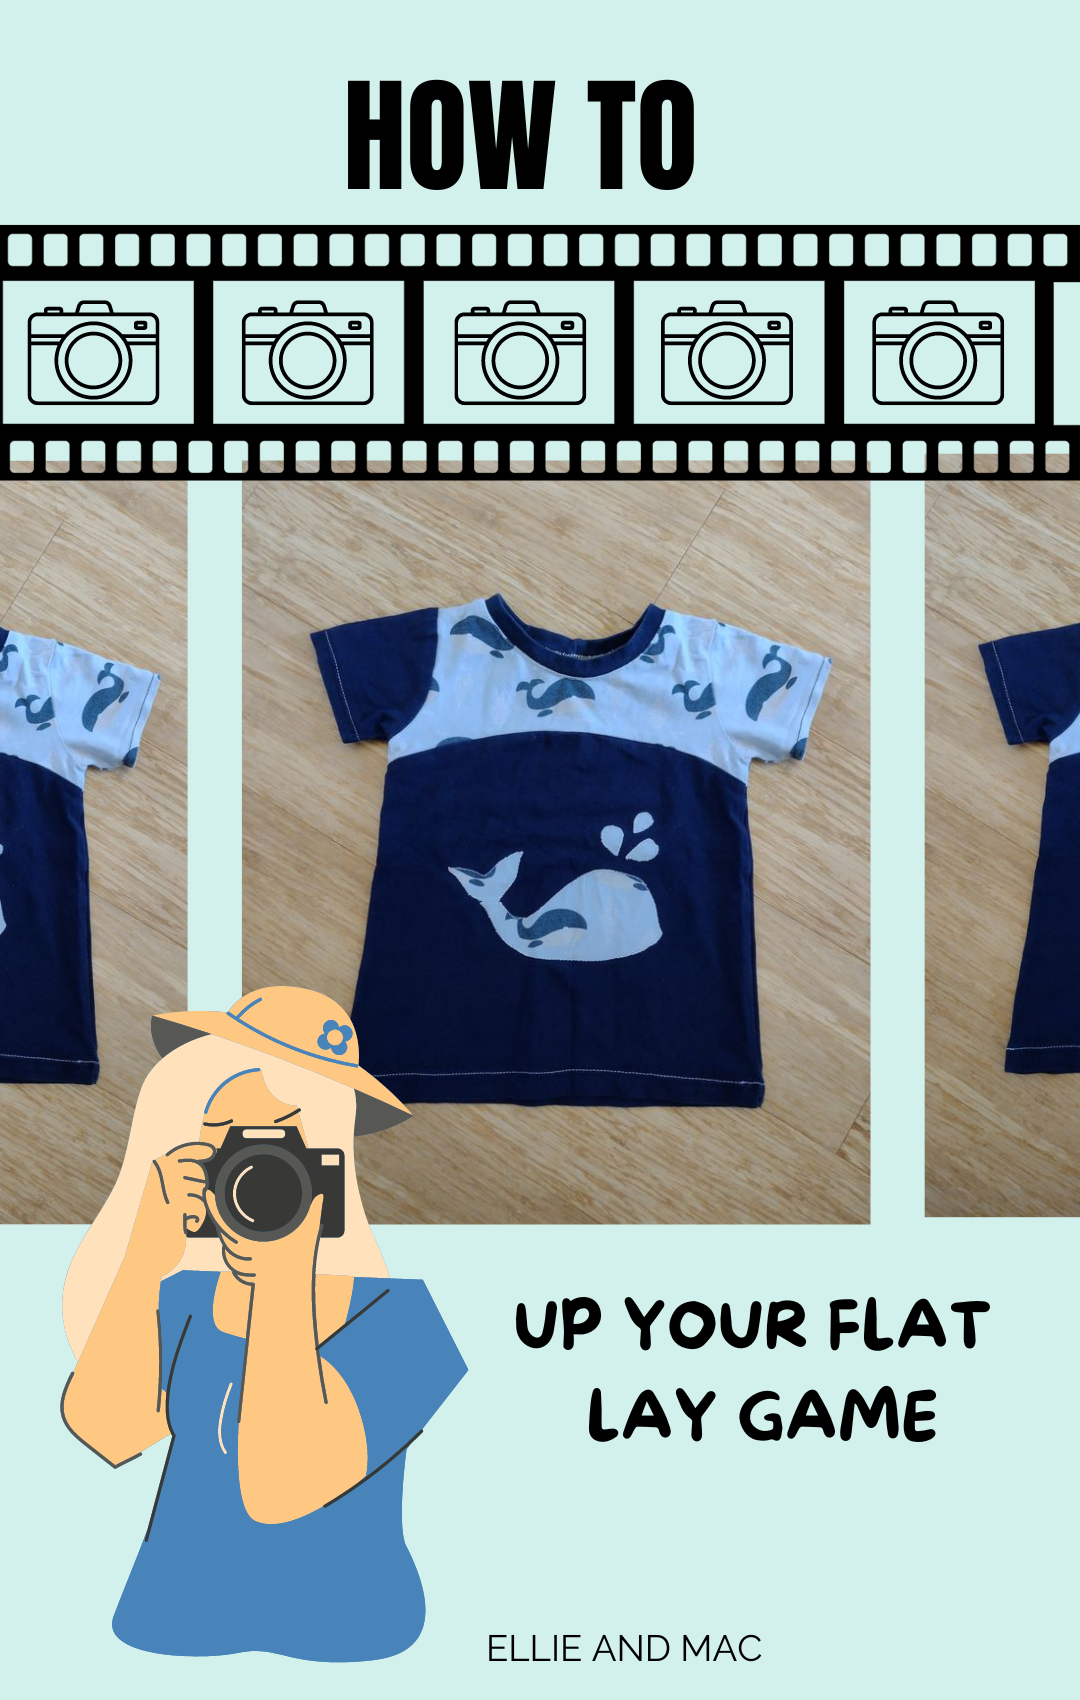
Today I'm going to give you some tips on how to up your flat-lay game. If, like me, you sew a lot for other people, or you just don't like putting your models on social media, this is the guide for you.
First off, here are some general tips for flat lays:
-
Always iron your makes before photographing them
-
Position your makes so there are no creases, lose threads, or funny-laying hems etc.
-
Find somewhere with good lighting. That can be outside (out of direct sunlight), inside by a window with just natural light, or inside with a mixture of natural and artificial light (LED lighting is best but try a combination with the lights and lamps you have available to see what works best for you).
-
Choose a backdrop which complements or contrasts with your make.
-
Think about whether any props will elevate your makes. This isn't always the case, so try it out. You'll soon get a feel for what works and what doesn't.
So, let's try it out.
This first picture shows my discoverer tee lit just by artificial light, before I ironed it.

Then let's move to some natural light inside, without any lights on. I've laid this onto a blanket to give some backdrop, and taken it from high up.

Now let's crop this and see what it looks like.

It's quite a cloudy dull day today, so natural light alone isn't quite enough to make this pop. Let's turn on some lights and change up the backdrop a bit. This is the best artificial light combination I can get combined with natural light during the day in my house. I've used some wallpaper I got at a hardware store for my backdrop here.

I've added a blanket for a bit of interest and cropped the photo.

Better, but let's see if we can make it even better. Let's go give the tee an iron, and head outside. Now it's a damp day underfoot today, so I've had to use a waterproof backdrop here. This is a waterproof bag I have. Normally I'd try and do photos on a dry day, but it's not always possible so I have to make the best of what I've got. I've used a wooden blue rainbow as a flat-lay prop.

Let's crop this and see what it looks like.

Much better.
Some final tips from me. If you can't get outside (like me half the year), find that optimal lighting for inside. If you're really struggling use an app like Photoroom to tweak your photos after you've taken them. This is that inside picture without any lights on, edited using Photoroom. It definitely looks much better than the original and it can save you on those dreary days.

I hope these tips have helped you. Give them a go and see what works best for you.
(Written by: Em Stevens)


