Hey again, Suzanne here with a fun and simple way to “jazz-up” your garments using fabric appliqués’.
If this is your first time considering an applique’ you are in luck; I am going to be demonstrating a super simple shape that anyone can do – a star. I chose this since it only has straight lines and sharp corners to pivot around for the first one. In a future blog, I will bring in different shapes and techniques.
Let’s jump right in!
Supply list:
- Any Ellie and Mac pattern
- Heat n Bond Lite (or Wonder-Under)
- Some sort of water-soluble film. I used Pellon 551. This helps the stitches to sit nicely and not sink down into the fabric. Helpful, but not essential.
- Fabric for the applique’
- Thread. I like a thicker weight quilting thread; a 12 Wt. would be pretty. I used a high shine 100% poly.
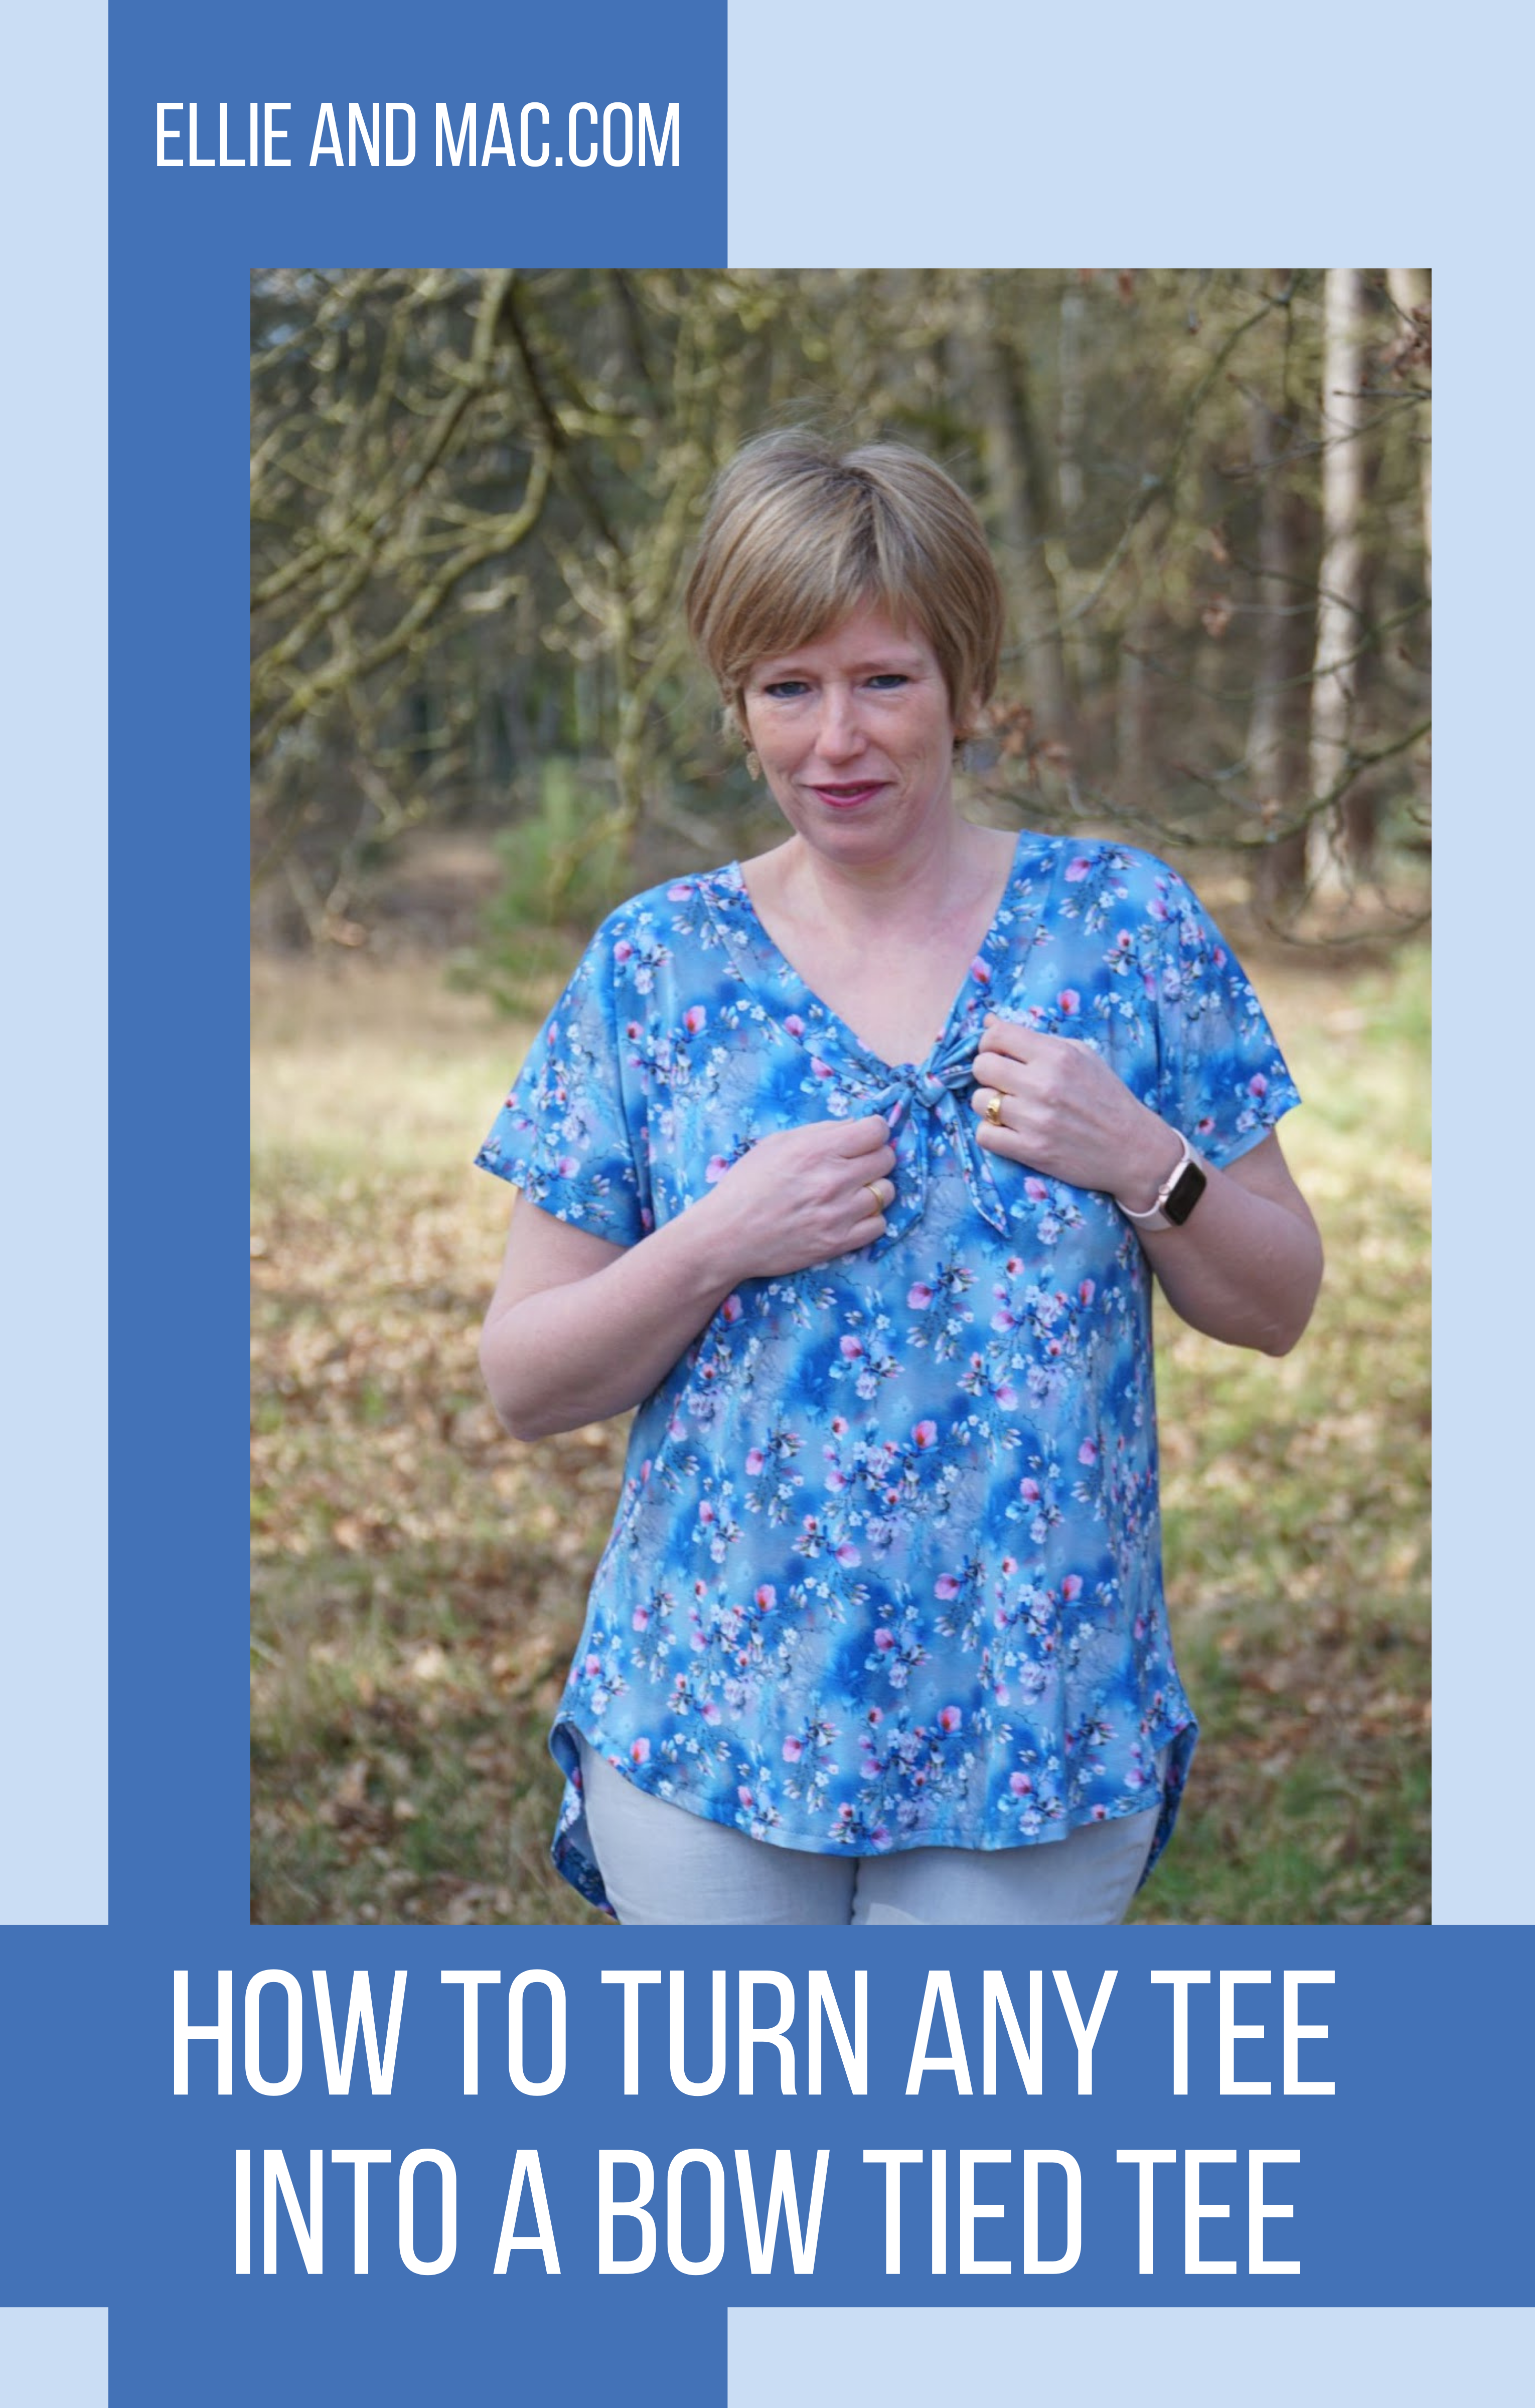
I used the Ellie and Mac Slow Sunday pattern for my top, but you can use any other one of your choosing.
To obtain the star template, I simply Googled Star Template and so many different ones appeared.
Download or screen shot the one you prefer and print on regular paper.

Choose your applique’ fabric. I used a stretch velvet glitter for extra emphasis. You could use a cotton, as well, just be sure to wash it first and know that the edges will fray giving a different look. Technically, I am demonstrating raw edge applique’. In other words, I am not encasing the edges in a satin stitch.
Attach the Heat n Bond to the back of you applique’ fabric and cut the star (applique’) out. Be precise! Every bit of this will be showing. The Heat n Bond paper backing will really help you when cutting this out.


Draw a line down the center of your garment to aid in positioning (assuming you are putting in the center).

Lay your applique’ out and preview the position.
Peel the paper backing and iron the appliqué’ down.
Place a piece of the water-soluble film over it, pin it tightly and begin stitching the applique’ down with your preferred thread and stitch.


After auditioning a straight stitch, zig zag, and blanket stitch, I decided upon a triple stitch for a little thicker look. This could have also been accomplished by using heavier thread. Aurafil quilting threads for example, come in many weights. The 12 wt. is especially nice! I ended up using a High Shine 100% Poly thread for extra emphasis.
Once completed, cut away excess water-soluble film gently being sure not to cut your stitches. Any excess can simply be rinsed, and it will melt away like magic. This film is not essential. I find it helps the stitches to sit on the fabric nicely and not sink down. BTW. This same film is amazing to use when stitching a rolled hem on the serger. It makes the hem so pretty!
That’s it for the applique’. Finish sewing your garment and wear it with a big smile!
The possibilities are endless now that you know the basic technique, have fun with it and be sure to share on the Ellie and Mac Facebook page. We love seeing all the creativity in this group!

Until next time!
Happy sewing!


