Pinspiration, ever heard of? Pinterest, so many ideas, and so little time …
These days I keep quite a few screenshots of items of clothing that I like. I keep them as inspiration. I recently took these screenshots:
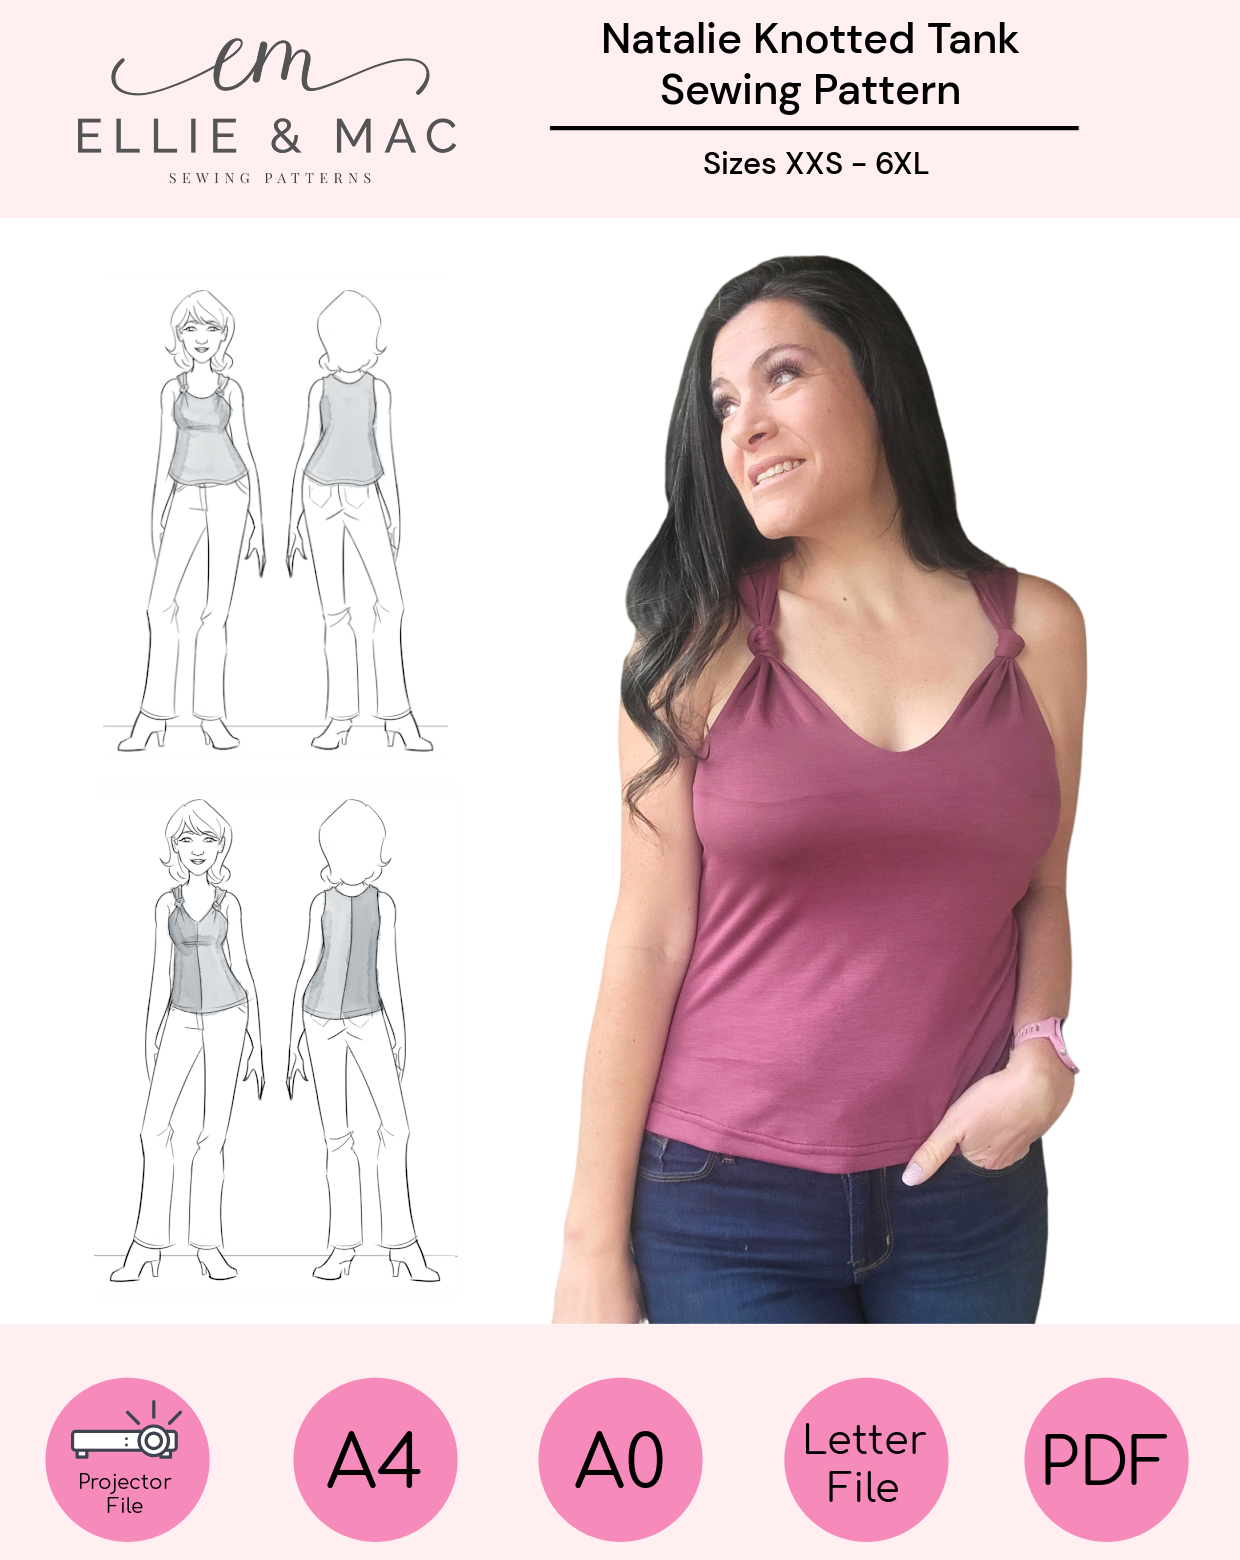
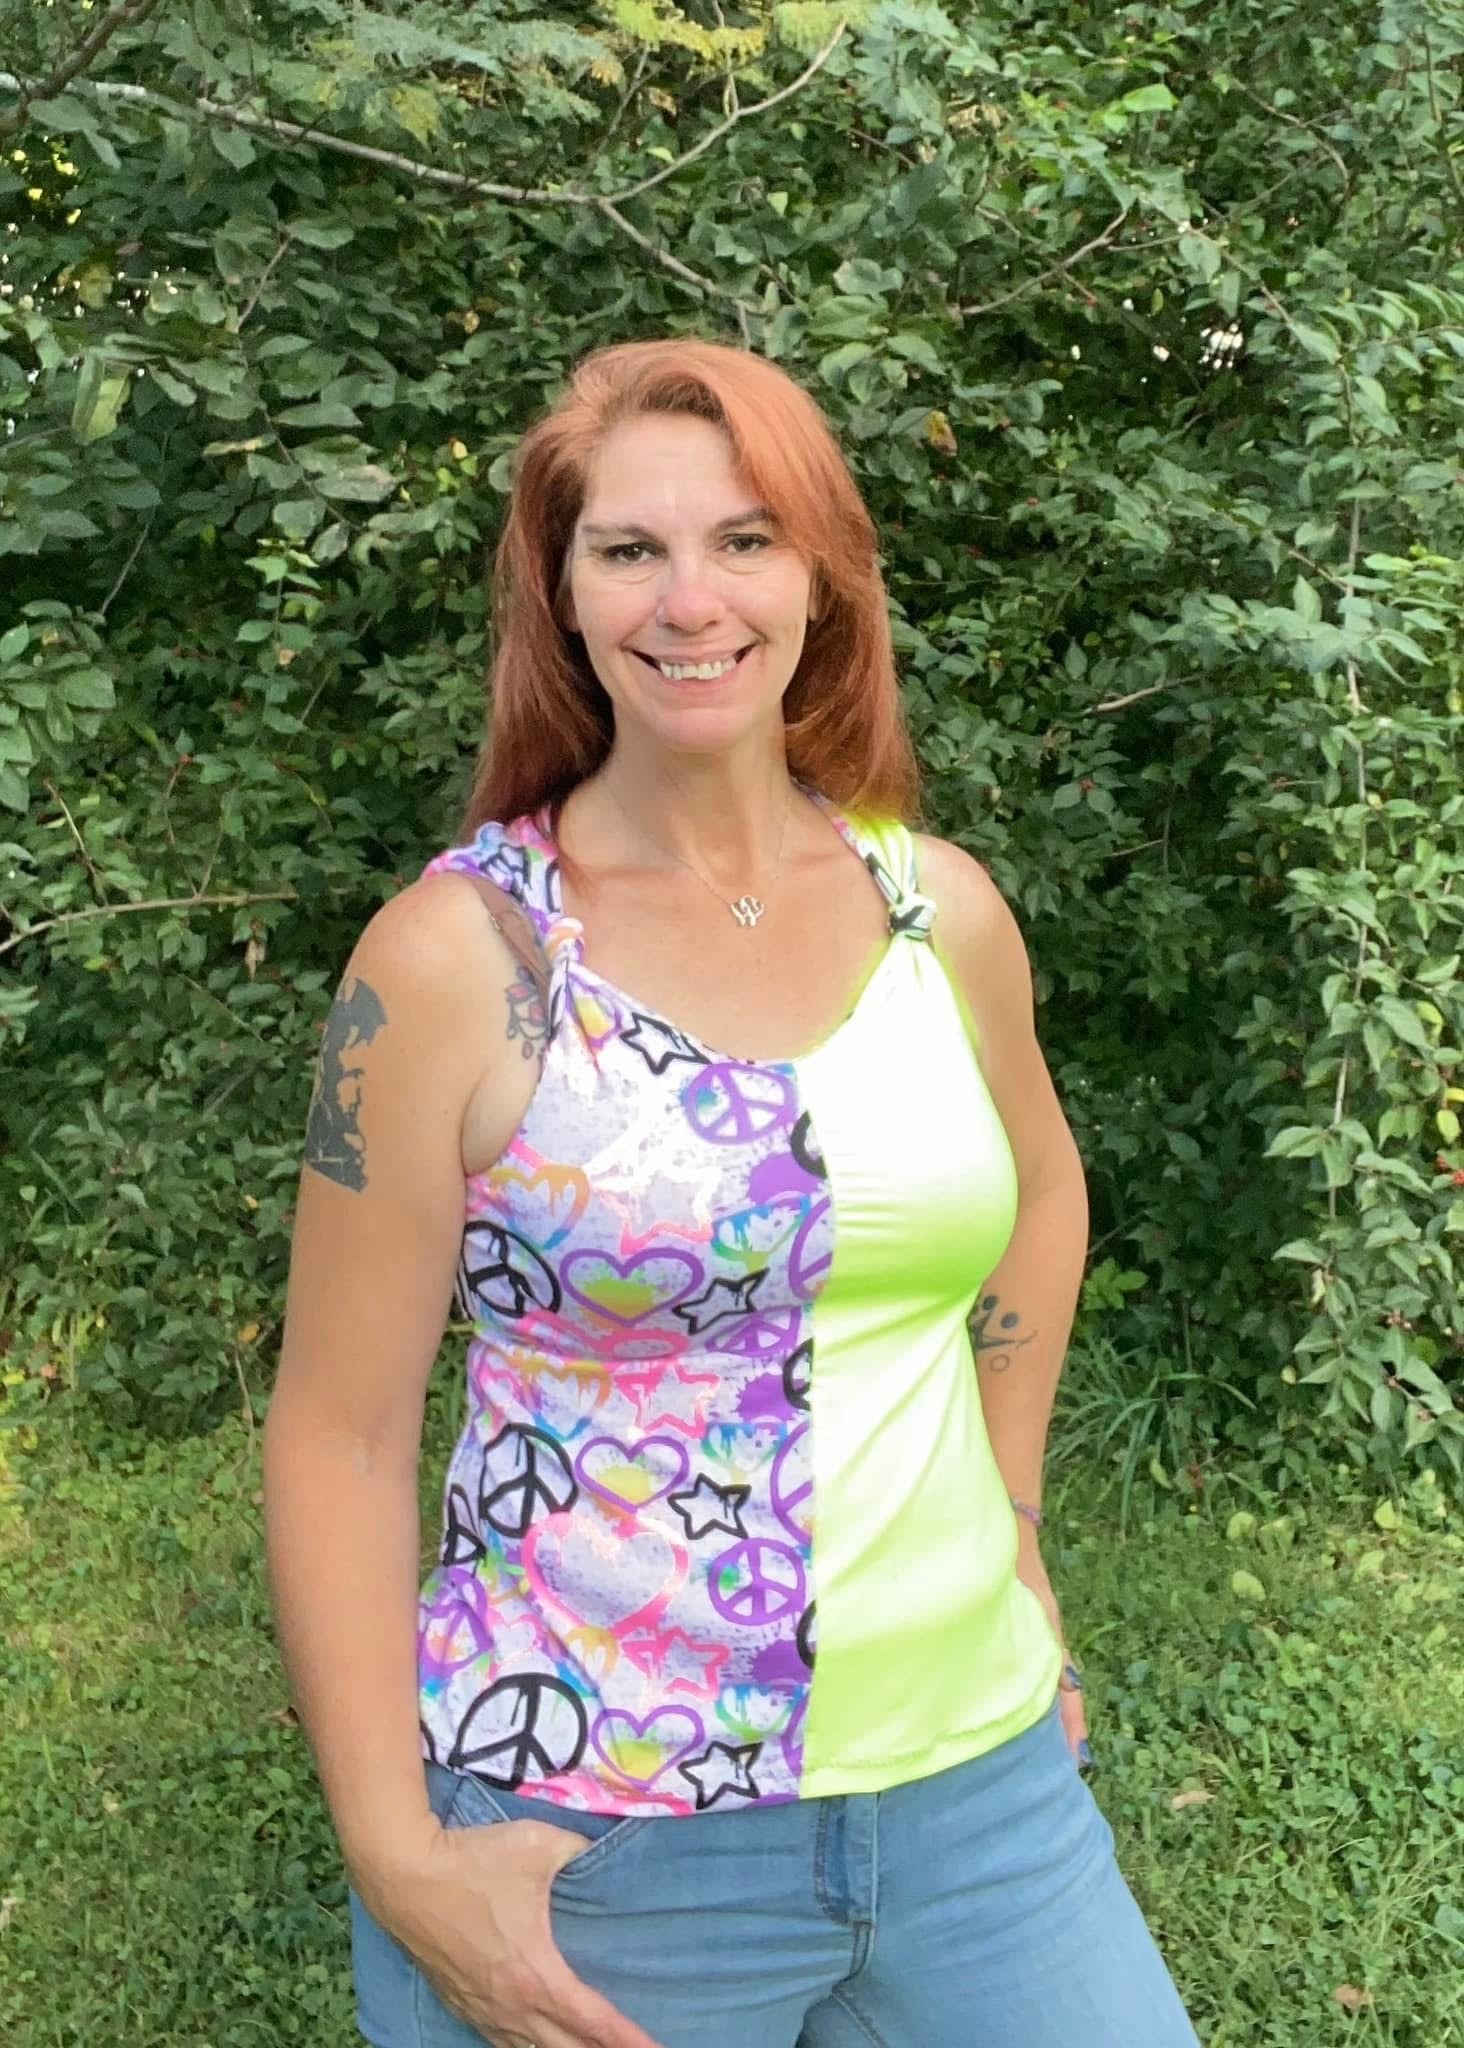
I came across these while testing for the High Hopes Dolman Top by Ellie & Mac.
Immediately I was reminded of one of the previous tests I participated in, that of the Lucky Girl Top by Ellie & Mac.
I was thinking the combination of the dolman with the technique on the sleeves of the Lucky Girl would be perfect to achieve this pinspiration-look …
I just had to try…
Tutorial
I cut the pattern pieces out of my fabric, a brown jersey. For this I used the pattern parts for front and back (Dolman, so including sleeves!), the waistband and the neckband. I drew the cuffs myself. I took a width of 1 1/2 inch and 85% of the length of the sleeve opening.
To close the shoulder seams, I used the Lucky Girl technique. I measured 3 inches from the neckline down the shoulderseam and pinned it. At the end of the sleeve I measured about 1 inch and pinned this.
I stitched these pieces together with the sewing machine (not the overlock!)
Afterwards I folded in the seam value of the shoulder seam, and stitched it, starting from the shoulder of the frontpanel, all the way to the sleeve end, and from there all the way back up to the shoulder for the seam value of the shoulder seam at the back. So you actually stitch around the opening.

To make sure that the sleeve stays around my arm, I sewed the front and back pieces together by hand halfway through the opening of the shoulder seam. That way visually you actually get two slits.

Then put on the cuffs, neckband and waistband, and you’re done!

I found the result successful! Provided a simple hack (which mainly consists of using a technique from a different pattern), I was able to realize my pinspiration!
Could I inspire you? Feel free to use my affiliate link to purchase one or both patterns. Currently there is a Buy One, Get One on all patterns (excl Wacky Wednesday)! http://ellieandmac.com?aff=464


