Hello everyone!
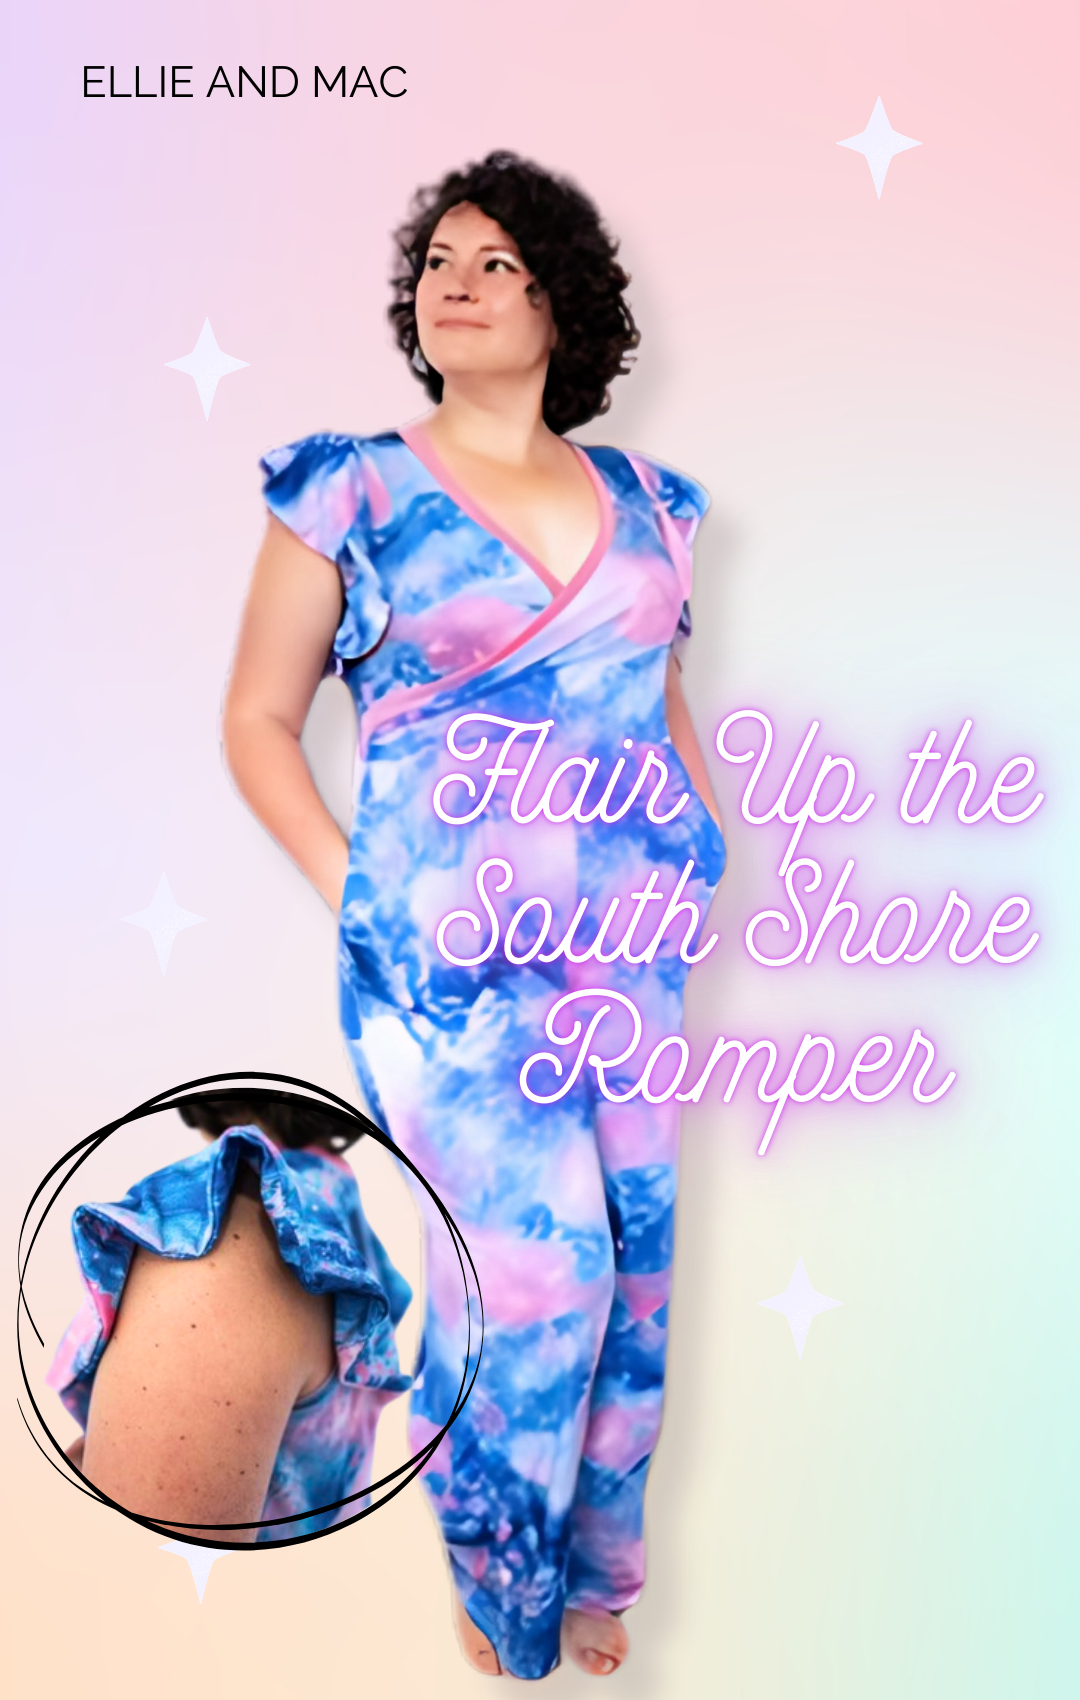
Today I want to share a quick and easy way to add some flair to one of my favorite patterns: the Ellie & Mac - South Shore Romper! This was the design that first caught my eye from Ellie & Mac and it was the very first garment I ever made. Since then I have made six different variations for myself. I even had two of my girlfriends love it so much that they asked for matching rompers on our Croatia trip! It's such a cute and comfortable pattern that is perfect for dressing up or down making it the ideal travel outfit. I love this pattern because it's incredibly versatile and you can achieve looks ranging from casual to classy with a simple fabric choice.
Integrating aspects of different patterns is a fantastic way to create new and unique versions of an outfit while also making the most out of your purchased patterns. I have incorporated a ruffle onto the shorts version for a cute and casual look added flutter sleeves for a fun and playful romper created a split hem on the long pant legs for a chic formal look and of course the classic sleeveless shorts romper. Ellie & Mac patterns have the perfect designs to explore your own creative style!

In this tutorial you will learn how simple it really is to swap the sleeves from the Miami Wrap Top to get cute flowy sleeves on the classic South Shore Romper.
Instructions
1. To achieve this look you will need to have the South Shore Romper and the Miami Wrap Top downloadable PDF patterns either printed or on your projector. You do not need to print the full patterns if you print your pieces. See below for what you will need to be prepared. If you are using a projector you will need to cut:
- South Shore Romper pattern pieces
- Bodice (front and back)
- Neckband
- Pants (cut to your preferred length)
- Miami Wrap Top pattern pieces.
- Flounce sleeves (short or long to your preferred length)
Note! Make sure to check the measurements of the Miami Wrap Top pattern for fabric requirements needed for the sleeves. Use the size chart and consider it when purchasing your fabric. For reference I sewed the XXL size and used 3 meters of fabric for the romper and lined sleeves.
2. Cut four sleeves two for each arm using the Miami Wrap Top pattern. Depending on the look you are going for you can use short or long flutter sleeves. I have chosen to use short flutter sleeves for mine.

3. Cut out the pattern pieces listed in Step 1 using the South Shore Romper pattern. When cutting the bodice pieces for the romper ensure you cut on the dashed line indicating sleeves.

4. Once all the pieces have been meticulously cut out you can proceed with assembling the romper. Follow the detailed instructions provided by Ellie & Mac for the South Shore Romper on how to properly connect the bodice neck band and bottoms together.
5. For the sleeves you will attach two of the main and liner (right sides together) and stitch completely around the outside edge. Repeat for the remaining pieces.

6. After you have stitched the main and liner together for both sleeves turn them right side out so that the wrong sides are now inside and Press.
7. The inner sleeve raw edge is now ready to attach to the bodice. While keeping the main and liner fabric even, attach to the bodice.
8. Press the seams toward the bodice and repeat for the other side.
9. Now you’re ready to enjoy your new outfit!
I hope you found this blog entry helpful and you feel inspired to explore the world of pattern hacking and mashing!


(Written by: Sara Sinclair)


