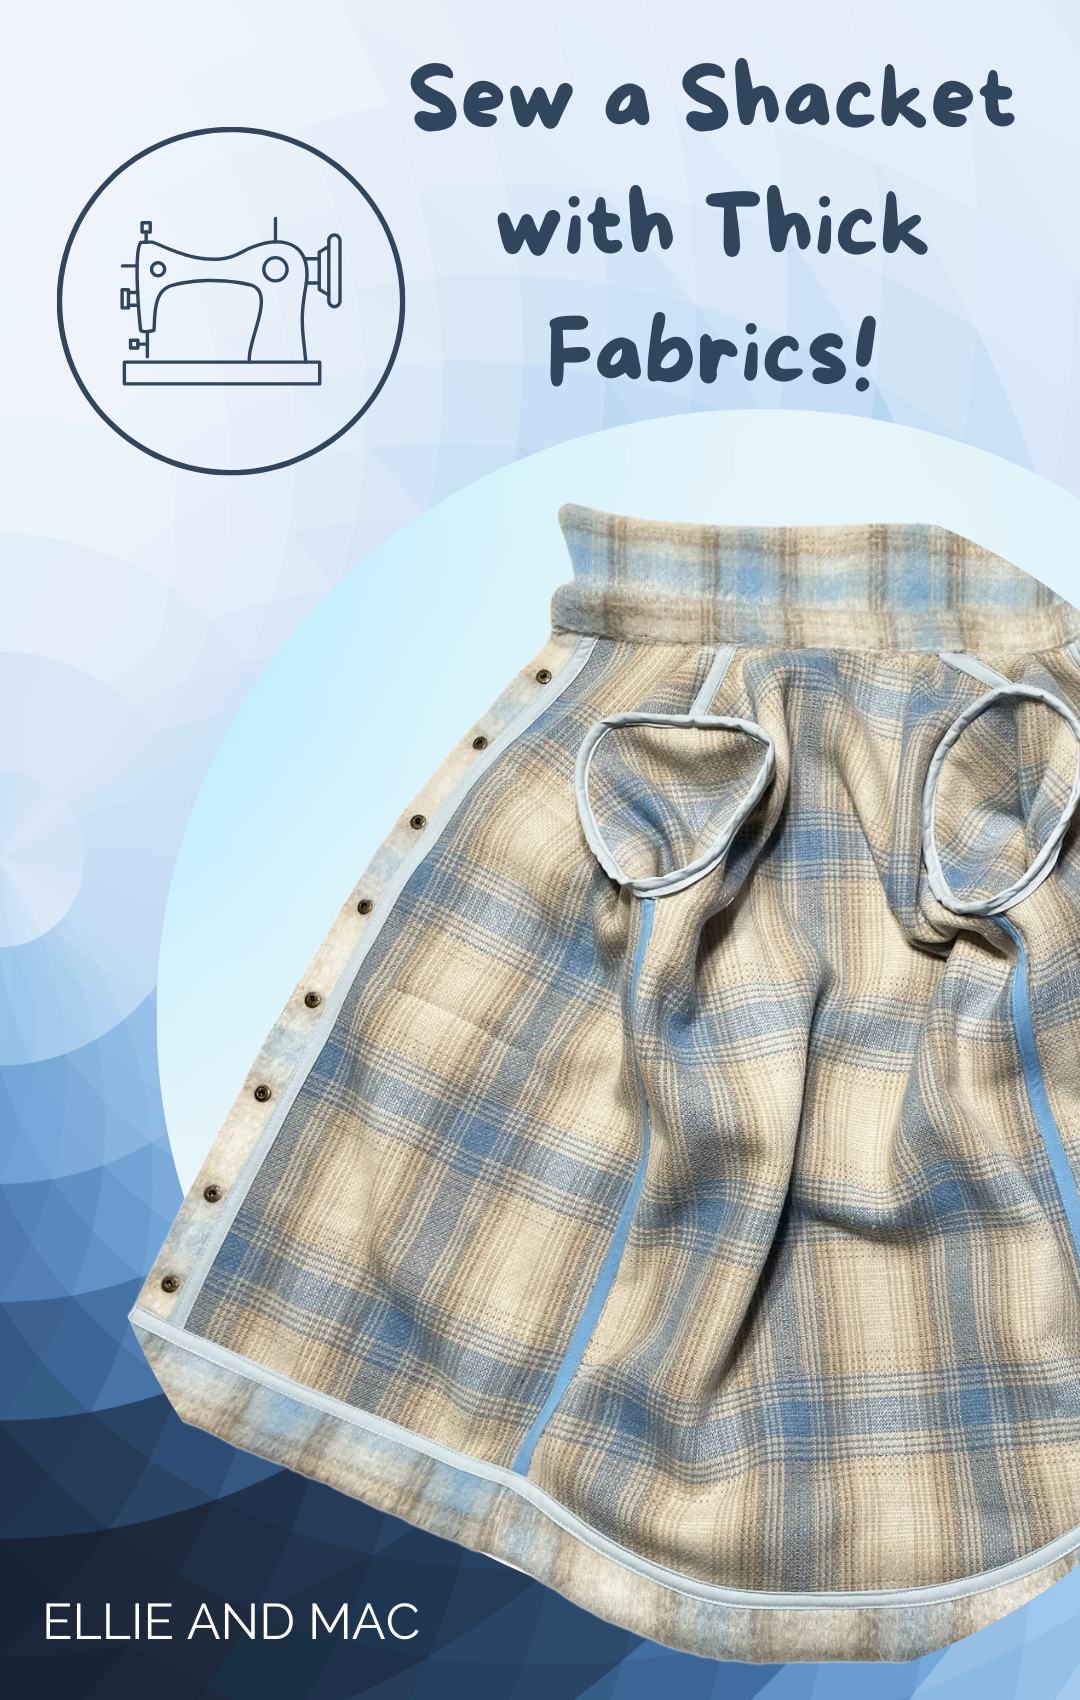
You may have read in my last blog that I’m from The Netherlands, so I am and speak Dutch. Obviously, I had to have the Dutchie Jacket! I love how you can combine a woven with a knit in this pattern. But I did want to try to make it look more like a jeans jacket. I tried to hack it and loved it right away. So much, that I would love to share how you can achieve this look too! If you have any questions feel free to find me on Facebook and send a PM. I would say this hack is for very adventurous beginners, intermediate and advanced sewists.
Needed:
-
Your copy of the Dutchie Jacket pattern. If you don’t have it yet you can find it HERE.
-
A few pieces of paper and tape
-
A ruler and pen(cil)
-
Iron or small press
-
Chalk or something else to make markings on your fabric
-
Fabric. I recommend woven for both the outer and pockets. It doesn’t have to be the same fabric. I used a lightweight denim for outer and white cotton for the pockets.
Part 1 – Drawing the new pattern pieces
Here we go! The first steps are to guide you through drawing your own patten pieces. Even if you have never done this before, just follow the steps below and you can do it!
-
Take your bottom front pattern piece. Mark a point at the top. I marked it at 1/3 of the pocket flap indication from the right. Also make a marking on the bottom on the left side. I did it directly below the left side of the pocket flap. Note: don’t put this marking further to the left, if you do you will need to install your buttons/snaps/zipper through 4 layers of fabric.

-
Draw a line from the marking on the top to the one on the bottom left side. Also draw a line from the marking at the top and go through the right corner of the pocket marking.
-
Mark where you want your pocket openings to be on the right line. Make sure the pocket opening is big enough for the child’s hands to fit.

-
Cut the line on the right side, it’s the one where you put the markings for the opening.

-
Put a piece of paper under both sides of your front pattern pieces. Draw 3/8” or 1cm seam allowance and cut.


-
Draw a horizontal line from the upper pocket opening marking until you hit the other diagonal line. Now we make another line around it, this will be your seam allowance. Draw another line 3/8” or 1cm above that and also on the left of the diagonal line.

-
Trace these lines on a separate piece of (wax)paper and cut out. Mark the pocket openings too. This is your pocket pattern piece.

 Tip: if you can’t really trace well because you can’t see through the paper try putting a light under it. A light box, or even just holding it up against a window during the day can do the trick!
 -
Cut out the front pattern pieces mirrored in your main fabric, so you have 2 total. Cut out 4 pocket pattern pieces, 2 mirrored, from your lining. Transfer all pocket markings and lines on your fabric.

Part 2 - Sewing (the fun part!)
You did it! You just drew your own pattern pieces and cut them out! Did you think you could do it? Now onto the fun part – sewing it together. I will be writing it for one side, once you finished all the steps do the same for the other side.
Finish the edges of your pocket pieces if your fabrics frays a lot. This can be done with a serger or a zigzag on your sewing machine.- Take both main front pieces with the right side up and place the pocket pieces on it. Make sure the right sides are together and the pockets markings match up. Clip or pin and sew with a 3/8” or 1cm seam allowance.

- Press the seam allowance towards the pocket pieces. Place the two pieces on top of each other with the right sides together. The pockets and the edge of the main pieces should line up. Pin. Mark your pocket openings clearly. Now sew below and above the pocket opening at 3/8” or 1cm seam allowance. On the bottom you will go exactly over the stitches you made when attaching the pocket.

- Fold it open, lay it wrong side up and press the seam allowance to the outside and both pocket pieces toward the right.

- Lay your piece right side up and make sure the pockets are still in the correct place. Topstitch 1/8” to the right of the seam.

- Place everything wrong side up again and press both pocket pieces to the outside.

- Turn it right side up and topstitch 1/8” to the left of the seam. Then fold both pocket pieces under the main fabric and line up.

- Pin your pocket pieces to your main fabric. Topstitch 1/8” to the left and to the right of the diagonal line and through the pocket pieces

- Topstitch 1/8” above and below the horizontal line, also through the pocket pieces.

- Optional: hand stitch between the 2 topstitch lines at the bottom of the pocket opening a couple of times to make it extra strong. If you want you can baste the bottom of the pocket, which is now still open, together. This makes it easier to attach the bottom band later on.
- Put the chest pocket piece on like in the original instructions. You have now finished 1 side. Go through the same steps for the other side. The hack is now complete, and you can put the jacket together the way the instructions show.

I hope you enjoy the outcome of this hack! Feel free to share your creation in the Ellie & Mac Facebook group too, I would love to see your version of this hack.

Lots of love and creativity,
Iris Hoogendoorn
Living with my boyfriend, our 2 boys and a cat. Love listening to audiobooks while sewing. Also, don’t be like me and try to feel if your iron is still on by touching it.
(Written by: Iris Hoogendoorn)