*This is a guest blog, written by Sarah Saunders*
Hey sewing friends, it’s Sarah with a new blog to show you how to add a mock neck/turtle neck to any scoop, crew or v neck bodice. With these simple steps you can switch up your favourite patterns. Get creative, and have fun!
Today I’m using the sweetie pie pattern, you can find it on the Ellie and Mac website or click this link https://www.ellieandmac.com/products/adults-sweetie-pie-tunic-dress-pattern . It’s one of my most used patterns, I love the swing and shape of the dress. Adding a mock neck is great for those colder days and adds a fun twist to the sweetie pie. Let’s get started!

Step 1:
To add your mock/turtle neck you will need, the fabric for your project, your Ellie and mac pattern of choice, matching thread, some tracing paper, a pen/pencil, a ruler, a tape measure, scissors or rotary cutter, clear elastic (optional) and sewing machine/serger/overlocker.
Step 2:
Have feel along your shoulder line to find the spot where your shoulder line starts to curve up towards your neck. It can be useful to look in the mirror so you can see where the side of your neck starts. Take your tape measure and measure from where your sleeve head seam sits on your shoulder to the point where your shoulder line starts to curve upwards towards your neck. For me that measurement is 5 inches. Take a note of the measurement.

Step 3
Take your pattern piece for the back bodice and lay it down. Grab your tracing paper, ruler and a pen. Pop your tracing paper over the pattern piece so you can see the shoulder through the paper. Draw a line the length of your measurement, from the edge of shoulder, following the shoulder line of the pattern piece. It will be longer than the shoulder on the pattern piece. Mark the “fold line” on your tracing paper
 .
.
Step 4
The centre part of the back neck needs to be 3/4 inch lower than the shoulder line (neck end) you have drawn. From the neck end of the shoulder line measure down 3/4 inch and mark it on your tracing paper. Now draw a line from that mark to the “fold line”. You need to draw a curve from the end of the shoulder line (neck end), to the neck line you have drawn. You have your back neckline!

Step 5
Now to finish off the pattern piece. From the middle of the neck, draw a line about 2.5 inches down. From the end of the shoulder draw a line 2.5 inches down, inverting the line slightly so you see the armscye of the pattern piece underneath clearly. Draw a line from the bottom of the fold line to the bottom of the line under the shoulder. You have drawn a neckline piece that looks a little like a facing. You can use this new piece to lay over the top of your pattern piece. Cut out your new back neckline piece.

Step 6
Let's do the front neckline. Get your front bodice pattern piece and your tracing paper and repeat step 3. The middle of your front neck needs to be 3 inches lower than the shoulder line ( neck end). Mark this point. Draw a line from your marker point to the “on fold” line. You don’t want your neck to be square, so you will need to draw a soft curve from the shoulder line to the middle of neckline. A top tip is to draw a series of little dashes with your ruler from the middle of the neck to the shoulder. You can then join these lines together to give a gentle curve (see picture). Repeat step 5. You have your front bodice piece ready to overlay!


Step 7
Arrange your fabric so you are ready to cut out. Place your Ellie and Mac front bodice pattern piece down, and lay your neckline piece over the top, matching the sleeve end of the shoulder and the “on fold” line. Secure with pattern weights/tape. It will look like photo 7. Cut out your front bodice. Now repeat with the back bodice using your back neck piece to overlay.

Step 8
Your back bodice will look like this.


Step 9
Your front bodice will look like this. Front and back bodices will look like the pictures shown.

Step 10
With your tape measure, measure the length of the front neck making sure you move the tape measure to match the curves.

Step 12
Measure the length of the back neck, matching the curve. Double both measurements as your fabric is folded. Take 10% off the measurement. This measurement will be the length of your neck band. For me this is 18 inches.

Step 13
Measure the length measurement on your fabric (18 inches for me). For the height of your neck band, this is up to you! Remember you will be folding the neck band in half so make sure you double what your desired finished height will be. For a mock neck/turtle neck a good finished height is 2 inches. If you wanted a big funnel neck you can draw it taller. For my mock neck I have drawn it 4 inches tall. Cut out a rectangle shape using your length measurement and your height measurement. This will be your neck band.

Step 14
Let's start to sew! Join your front and back bodices together at the shoulders. As you are going to be pulling it on and off your head ,and have a smaller neck than a regular scoop or crew neck, I like to stabilise the shoulders with clear elastic. This supports the fabric and keeps the shape of the shoulder. Its optional. I lay it over the back bodice and attach whilst serging.
Step 15
As you have your shoulders joined it’s a good time to pop it over your head and check the neckline is sitting comfortably for you. If you need to make any slight adjustments you can. My top tip, if you are trimming any fabric away, keep these bits. You can put these bits on the pattern pieces you made so you can adjust your pattern with your tweaks.

Step 16
Take your neck band rectangle and fold it so the short sides match each other and sew.

Step 17
Fold your neck band in half at the short side. if you have a directional print make sure you know what will be your right side. I find it useful to clip the neck band at the quarter points. This lets you know where the quarter points are on the neckband and also stops it slipping when you clip it in. Mark the quarter points on your neck of your dress/top round the neck and insert your neck band right sides together. You can sew the rest of your dress/top as per the instructions.
You have your finished dress/top!

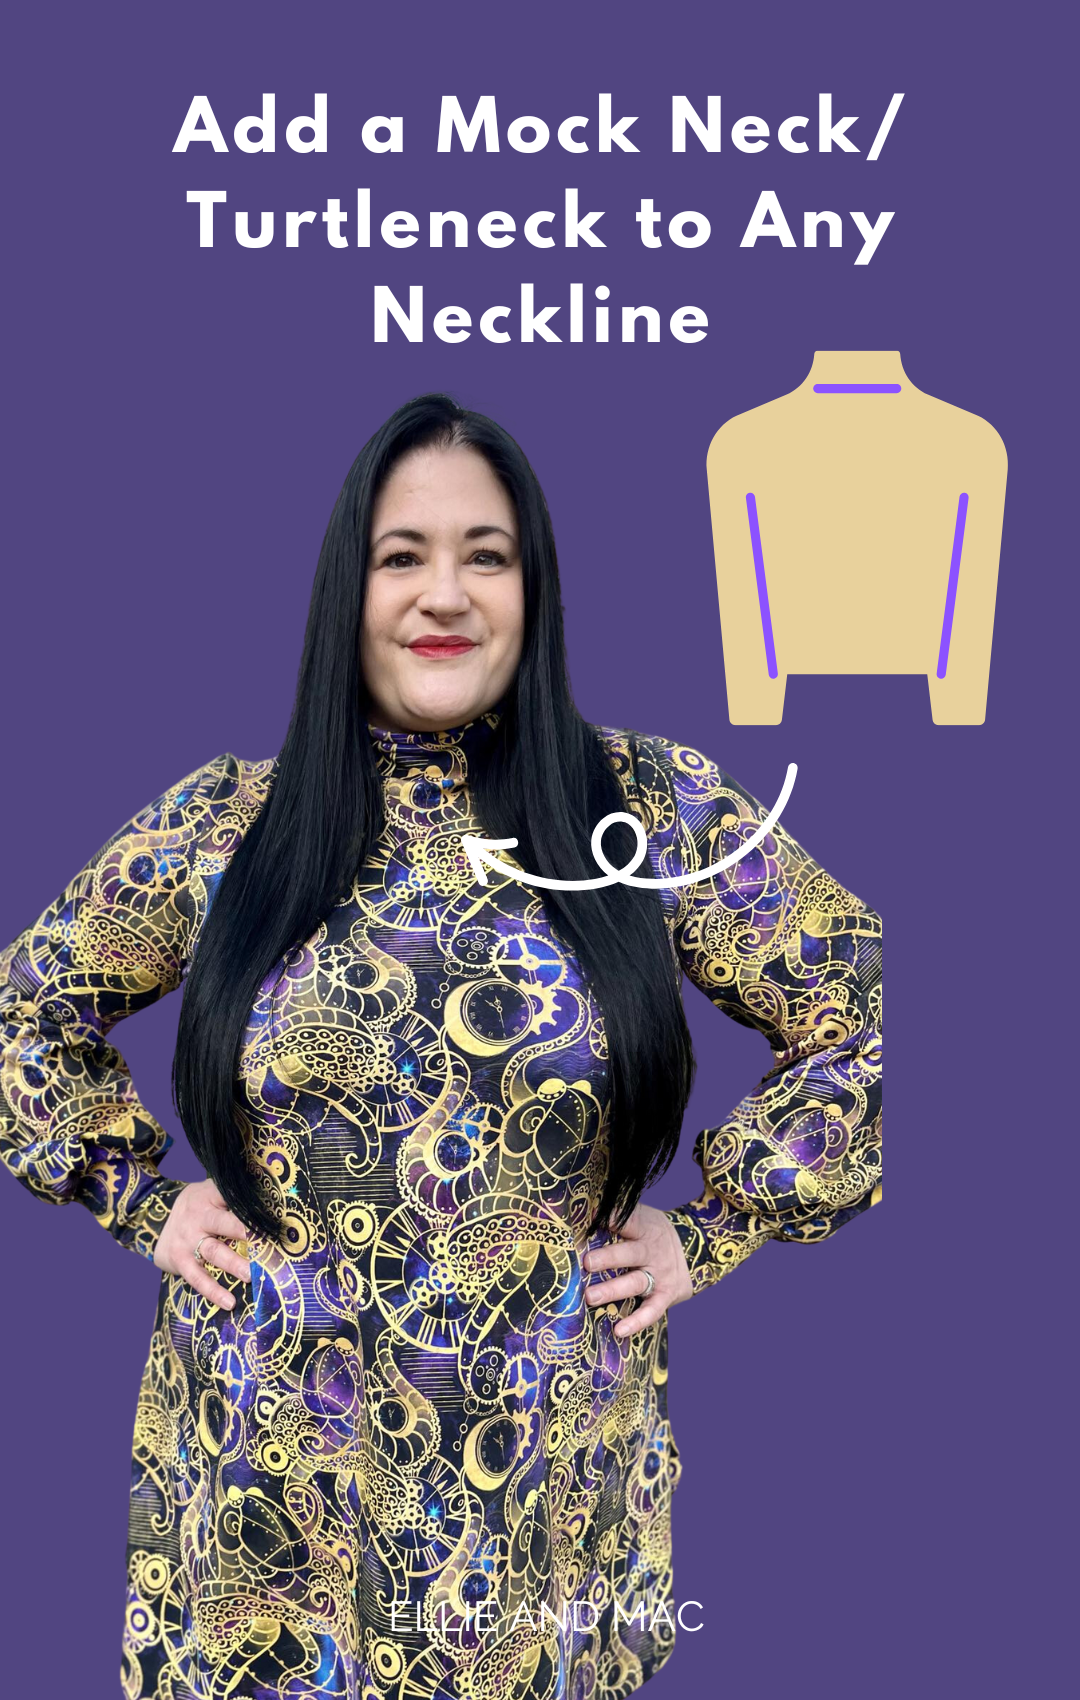
Here is my finished sweetie pie with my mock neck and Ive added the sleeves from the Effortless hourglass dress https://www.ellieandmac.com/products/effortless-hourglass-swing-dress-pattern?_pos=1&_psq=hourglass&_ss=e&_v=1.0
(Written by: Sarah Saunders)


