Ellie and Mac Tatum Modifications
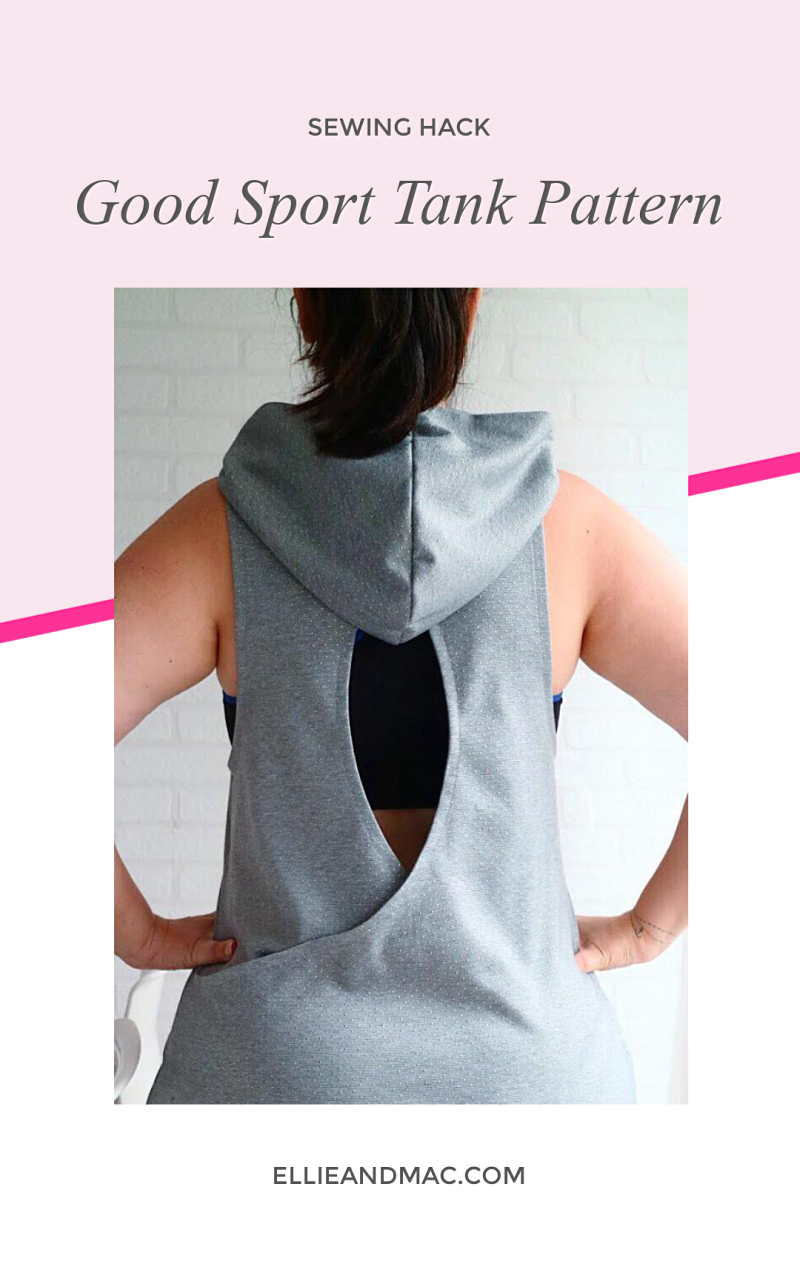
Hey there, it’s Melissa again and this time I want to talk about the modifications I’ve recently made to the Tatum Tank (affiliate link). I absolutely love this pattern, as does my little guy, but sometimes I like playing around with a pattern just to see how it could be a bit different. I have made the following adjustments to the pattern: using a neckband instead of the hood, lengthening the top instead of using the band at the bottom, and adding and accent to the opening of the hood.
Using a neckband instead of a hood
I love the hood option and my son loves playing with his hood, but sometimes I would rather not have a hood. This could be from a variety of reasons such as not enough fabric, or the fact that I live in southern Arizona and it’s blistering hot during the summer; and by summer I mean from April through October.
I cut the pieces according to the pattern directions, except for the hood. I omit cutting these pieces as we aren’t going to use the hood. I sew the pattern according to the directions and then measure the neck opening.
After I measured the opening of the neck, I then multiplied this number by 80% or 0.8 to find the length I needed to cut. Then, I add seam allowance of ¼”, but you can use whatever seam allowance you would like; this is the final length of the neckband. I cut the neckband 1.5”-2” by the final length of the piece. You want to make sure you’re cutting the neckband out of a fabric that has great recovery, especially if you have a munchkin with a noggin the size of my boy’s.
After sewing the shorter ends together, I quarter both the neck opening and the neckband so it will be evenly stretched as I sew. You can see the finished pieces below.

Lengthening the Top by omitting the band
In this case, I omitted the band because I wanted to include the full length of a panel. The panel is a big kid size so I knew I would need to cut some of it off, but I wanted to keep all of the text.

In order to do lengthen the top pieces I laid out the top pieces on the fabric and added the waistband piece below that. I added an additional 1/2 – 1” length to account for the hemming process. Now, you’ll notice that the waistband piece does not reach the edge of the top pieces for both the front and the back. All I did was continue the cut by using a quilting ruler or by moving the top piece down or the waistband piece over. Either way works well. Don’t forget to make sure you follow these steps for both the front and the back of the top. I managed to forget to do that and ended up making a second shirt.
Sew the pattern according to the directions, eliminating the steps for connecting the waistband and instead hem the top using the hem allowance you added in earlier.
Here are two examples of the lengthened top.

Adding a hood accent
I really like additional accents to clothes. I feel they can really add to the item if done well. I also like the look I have seen before with hoods having an accent piece that frames the face. This made me want to try it out on the Tatum Tank. In the examples pictured below, I was trying to use every part I could of a big kid panel. I didn’t want to waste any of the fabric. I was always raised with the “waste not, want not” mentality. That’s definitely carried through to adulthood.

I measured the opening of the hood, the part that frames the face, and used that as the basis for the length of the accent band. I like the look of the 1.5” accent band so that means I need to cut the band at 2” if I use a ¼” seam allowance. Now, just like there are two sides to the hood, there also need to be two sides to the accent band. So I cut two pieces that were 2” by the length of the hood opening. I sewed the two tops (shortest sides) together, folded it in half, wrong sides together and sandwiched it between the two layers of the hood that had already been sewn according to the pattern directions. Make sure all raw edges are together; otherwise it won’t have the desired result.
After sewing the accent band in, you will need to turn the hood right side out and attach to the neck according to the pattern directions.
Below you can see two examples of the hood accent I have made.

I hope you have enjoyed these creations. If you’re interested in any of the fabric I used for these tops, feel free to check out Sweet N Charmed (affiliate link). Happy sewing!


