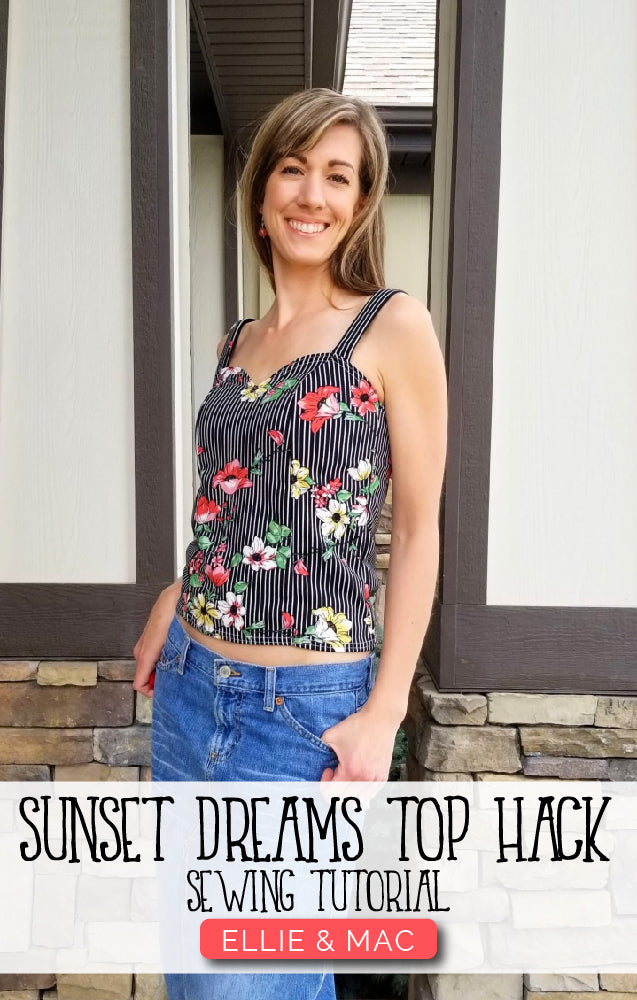
Hello friends! Sonia here from Mama's Craft Room and today I'm showing you how I created this T-back dress using the floral dreams tank top.
I saw this gorgeous dress from Lulus, and had to find a way to recreate it. I believe the one on their website was modal, but I had this gorgeous Salsa Bamboo Lycra Jersey on hand (from The Fabric Fairy) and I LOVE the feel and drape of this fabric, so I knew it would be perfect. So, let's dive in!

First, take front piece and lengthen to dress length. You can do this using a dress pattern you have as a gague, or measuring the distance from your shoulder to where you want the dress to stop, and add hem allowance.


Repeat with back piece, making sure hems are equal length. 
Scoop out back piece, creating a U from the side seam to the center back where the straps will attach. Remember the straight edge is your fold, so that is the center back.

Next, we will line up the dress front and the dress back, in order to “true” the curve from the front to back, so we don’t have any jagged seams. Trim your pattern pieces to create a smooth transition.

With your new pattern pieces, cut fabric out (1 dress front, one dress back). Sew side seams together.
Next, we will add binding around the sides, from the front point where the strap attaches, under the arm, around to the back. I didn’t include photos of this process as I have a more detailed video on our youtube channel, so you can watch that here. (I’m using the raw edge binding shown in the video at 7:43.)
Measure from front point where strap will attach, around under arm, to back point. Multiply by .9, this is the length for your binding. Quick description: starting at the front point, serge the binding right sides together with the dress, stretching the binding slightly as you go. Turn the binding up and wrap it around the raw edges, and topstitch. Trim excess binding, and repeat for other side.
Next, we will use the same idea for the front of the dress. To measure the binding: measure front neckline, and then I added 7” on each side to wrap around the neck (this will depend on size being made; if in doubt, make it extra long and trim later!)
Again with binding right sides and open (FLAT), but this time centered with the center front of the dress, serge or stitch on, stretching slightly. I started in the middle and worked outwards then back to the middle and did the other side. Do not sew past the edges of the dress front. Do not topstitch at this time.
Next (pictured below), fold the loose ends of binding (the portion outside of the dress front) right sides together, and serge (to create a strap). 
Serge as close as possible to the point, and use a sewing machine to get to the edge of the point if necessary. Then, turn strap right side out using a tube turner or safety pin. If you didn’t get close enough to the edge of the dress front, turn inside out again and use a sewing machine to get closer.

After perfecting, turn right side out again (if it isn’t already).
Now we will topstitch the unsecured binding across the dress front. To finish, I hand stitched a few stitches at this point to make sure it all stays in place.

At this point, try it on, and adjust the strap around neck length. Clip or pin at your desired length, and then use a sewing machine to baste two edges together. Trim excess.
Create final strap that we will attach at back point, and loop around neck. I made an 18” strap and trimmed it down, but again, this depends on the size you are making. Sew or serge right sides together, and turn strap. Iron.

Pin this strap to the back point, right sides together. Stitch well when attaching strap (go slowly as you have a few layers here).

Turn up and press.
Next, try the dress on, wrap the loos strap around your neck strap, and clip at your desired length. Don’t pull strap too tight, the point is shaped to have a looser/drapey fit.
Topstitch at the loop to secure, and trim extra.
Lastly, I recommend hand stitching inside the loop to tack it in place over the seam, so it doesn’t slide away from covering the seam. We want that seam hidden!

And that’s it! You have a gorgeous, loose and flow summer dress hacked from the Floral Dreams tank top. Congratulations on your beautiful new piece, and thank you for sewing along with me!
Until next time, friends!
(Written by: Sonia Jessop)