
Hello Sewing Friends!
When I was a child I was obsessed with a game called Tetris. The concept was that there were falling blocks of varying shapes that needed to be compressed into a small space. As you can imagine, all those hours of game playing formed the foundation to my ability to strategically place pattern pieces on a small amount of fabric.
There are many instances where “Pattern Tetris” is essential. For instance, you may have an oddly shaped fabric remnant, or a limited amount of a custom print. Perhaps you are conscious of fabric consumption and want to minimize consumer waste. Whatever the reason, becoming familiar with the concept of squeezing in pattern pieces like a puzzle is a useful skill.
If you’ve used paper patterns you will already have some familiarity with arranging the pieces on your fabric. Often the pattern instructions will come with a layout guide. If that works for you - go ahead and follow it. However, if you are sewing for a smaller size, using the same fabric for multiple patterns/sizes, or pattern mashing, you will need to create a customized layout.
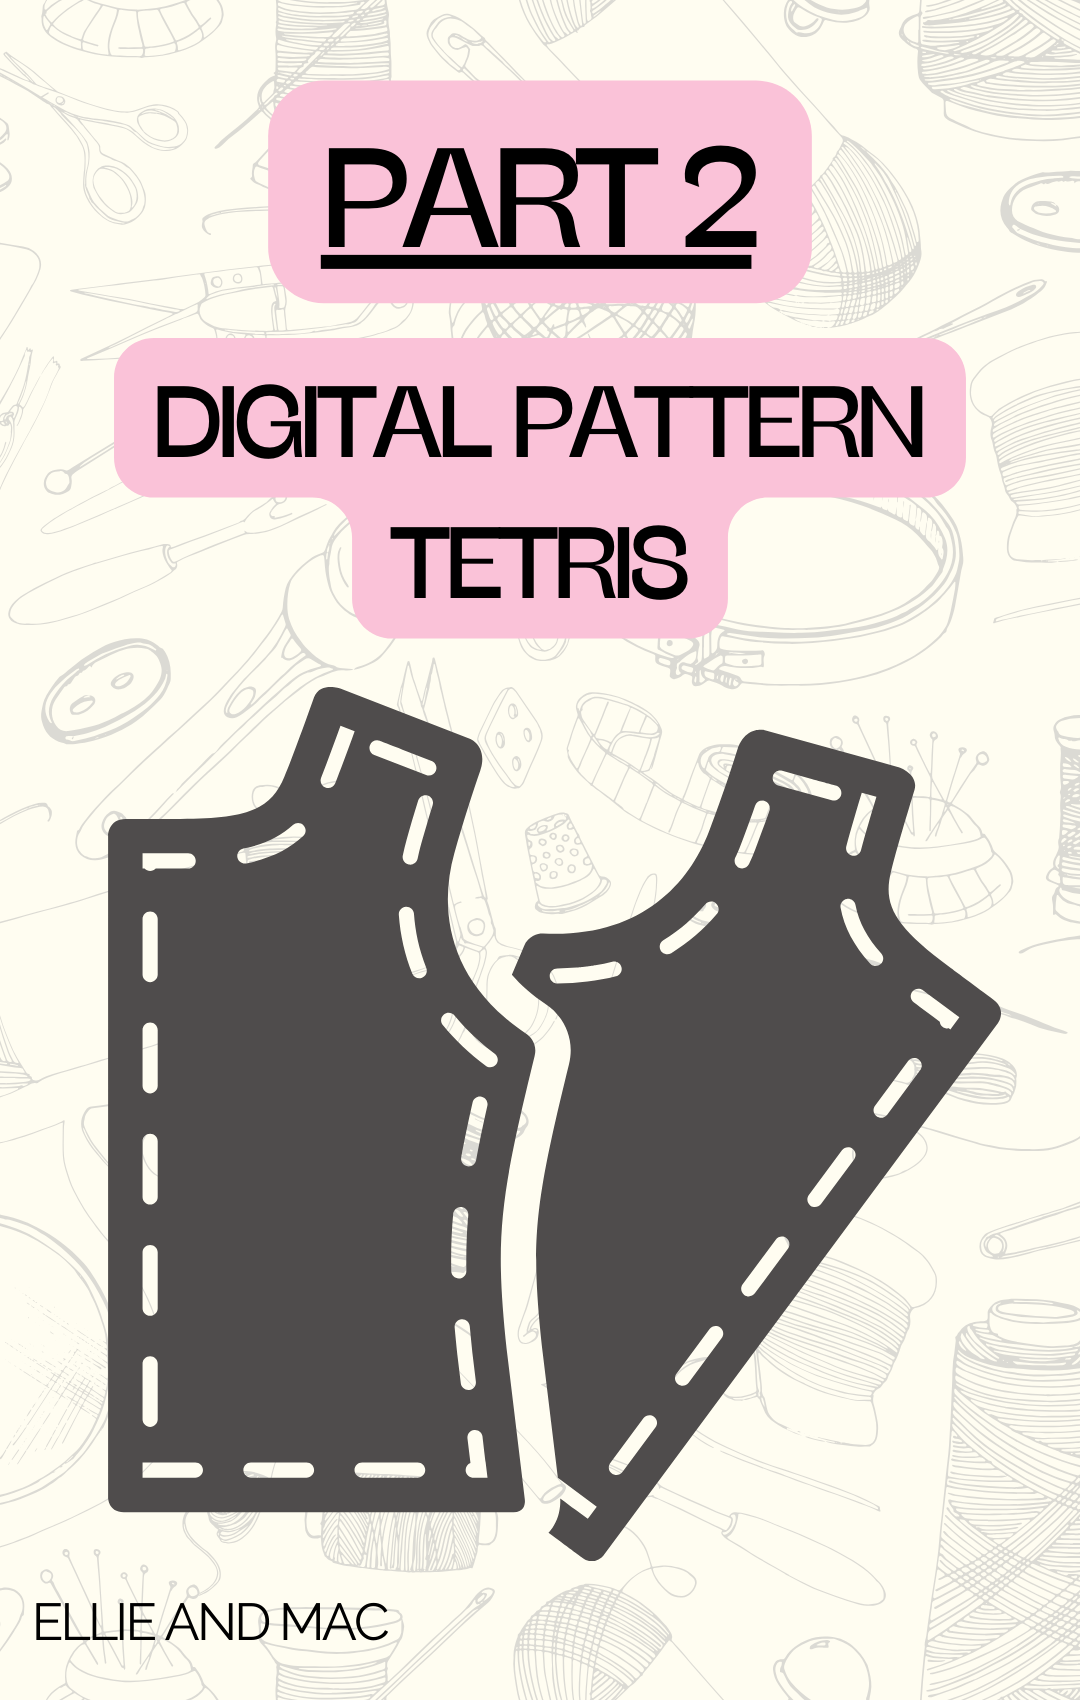
In my last blog, I discussed how to digitally modify your Ellie and Mac pattern to be projector ready. The pattern must be unfolded, on grain, and include all pieces. Additionally, any personal adjustments for height, bust, shoulders, and so on, must be done at this point. This time we will be using our pattern pieces to play the sewist’s version of digital tetris.
What you will need:
- Affinity Designer
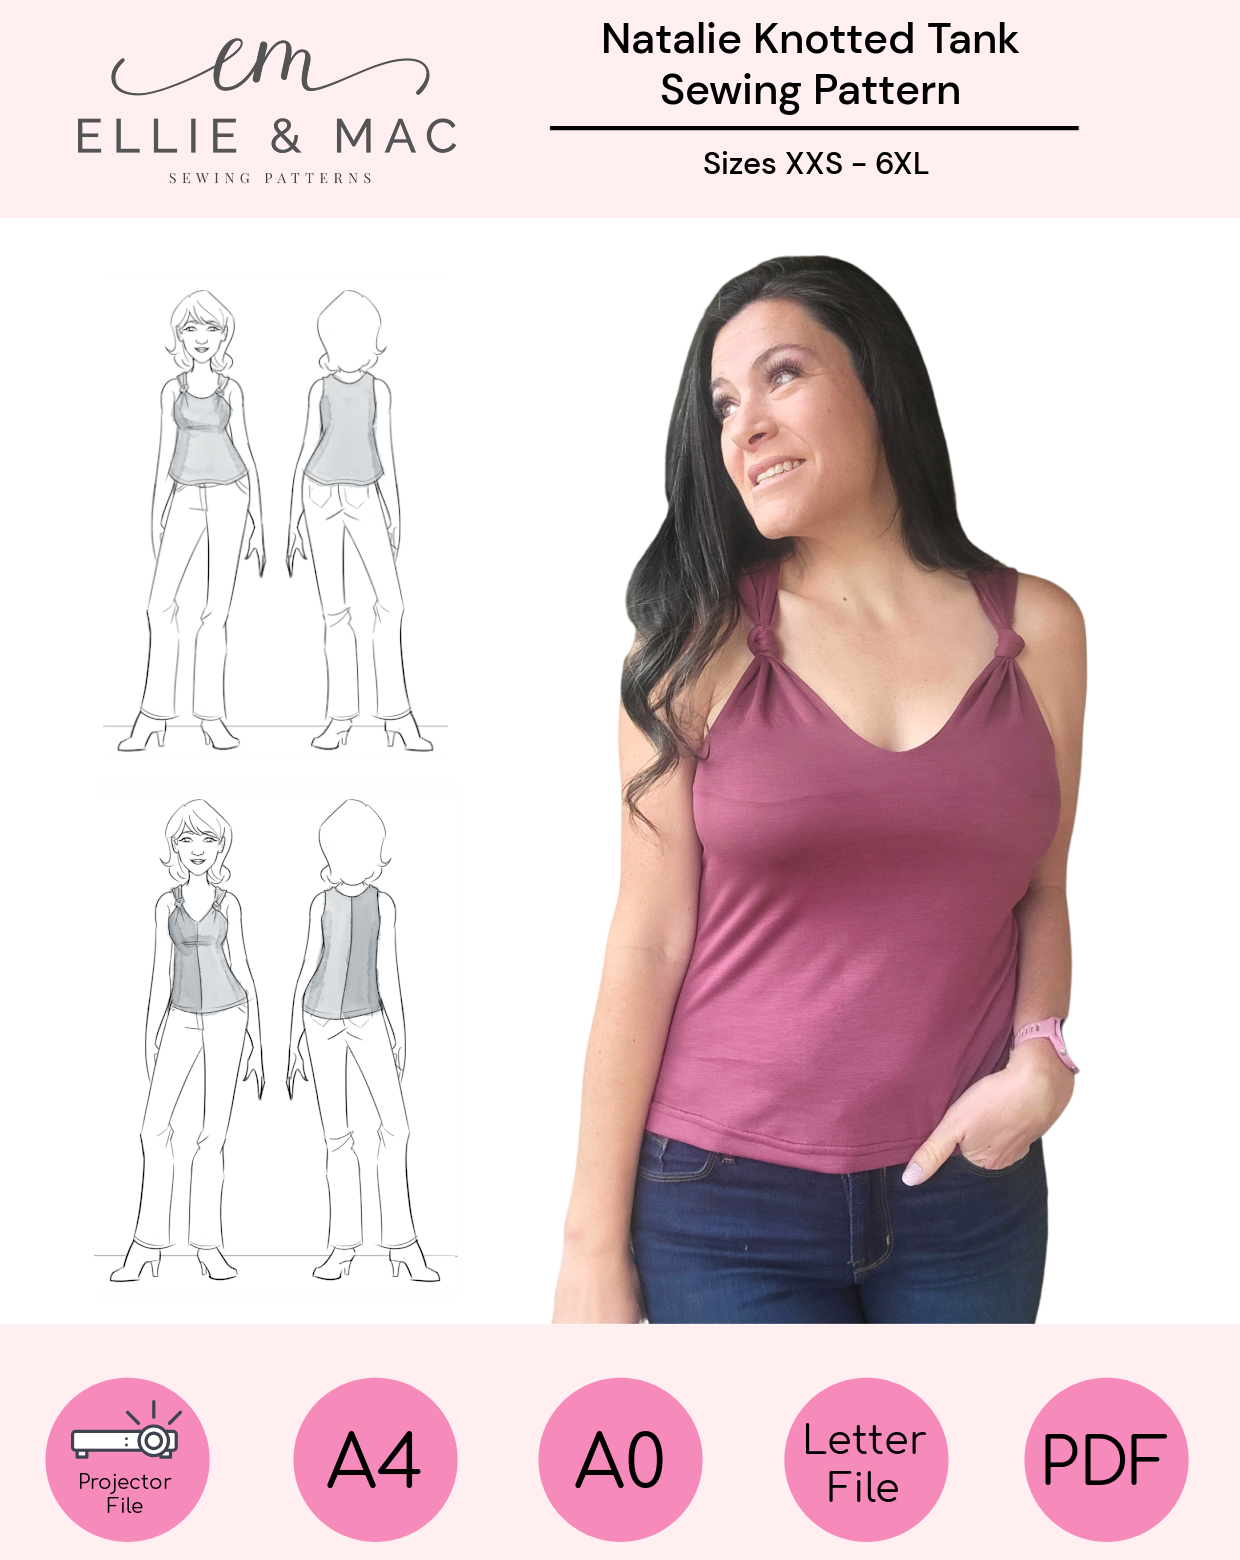
- Ellie and Mac Pattern (I’ll be using the Kids Breezy Dress and Adult Breezy Dress)
- Fashion Fabric
- Projector
Step 1: Measure your Fabric
I have a large scrap of tie-dye fabric. I first used it to make a Hipster Dress with a Kangaroo Pocket. I blogged about it here, though using a different fabric.
Find a large, clean area to lay out your fabric. Use a tape measure to find the length and width of your piece.

Step 2 - Create a canvas the shape of your fabric
My fabric is roughly two rectangles measuring 52.5” x 32.5” and 31.5” x 44”. I will use those dimensions to create a custom shape in Affinity Designer.
If you are working with a new cut, you only need to create a single rectangle.


For my first shape I used the Rectangle tool [M]. The initial size doesn’t matter as it can be adjusted. With your rectangle selected, go to the transform box on the lower right of your screen and enter in the width (W) and height (H) of your fabric. I will repeat this process with the second rectangle to create an approximation of my oddly shaped piece. The pieces should be grouped together and treated as a single piece. You may need to drag your group to the bottom of the layers so that the pattern pieces can be seen on top of it.

If your fabric is colour blocked or has a lining and/or interfacing you have a few options:
Create a box that corresponds to your fabric colour. In this situation, perhaps I am making an Around the Block Top in blue, green and pink. I would place all blue pieces in the blue box, green pieces in the green box and pink pieces in the pink box.
Along with different coloured boxes, you can also add text. So if your boxes are for a Main, Lining and Interfacing, you would label them as such. I prefer this option because I may not always be able to clearly see the colour on my projected image.

Step 3 - Tetris Time!
The pattern pieces will now be arranged on my new canvas. It’s best to begin with the larger pieces and then fit in the smaller ones. If you make a mistake, undo (CTRL-Z) the action and try again.
As you attempt to fit everything in, don’t forget that in my last blog I’ve demonstrated how images can be flipped and rotated.
With non-directional fabric you can have pattern pieces flipped to fit in better. You would not be able to do this with directional print.

It looks like I will be able to use my smaller piece of fabric for this project. The skirt does flare a bit outside the boundaries, so I will slim it a touch. I would not attempt this for a form fitting piece.
I’m happy with how everything looks, but I’d like to see how I can arrange it using the bigger piece.

This is how it might look if I were to use directional fabric.

I was asked to make a few “ribbons” to coordinate with the dress. Since I have yet to cut my fabric, I quickly slip those pieces into empty space. They fit really well between the skirt and the selvedge. This is a great example of how small scraps can be used to make accessories. With the additional scraps I can make more bows, or perhaps socks? I like to compliment kid sized dress with the Be Posh Bow Headband.

Let’s try the free Sew it Forward Sock in size 13-1. I don’t actually know the child’s foot size. I just want to see if I can squeeze it in. I was able to get one sock! I did put one piece slightly off-grain.

Although I had absolutely no plans to make myself anything out of this fabric, I impulsively decided I was going to make the Adult Breezy, peplum style and a large bow. It required some more rearranging, but I managed to fit everything! Since I was using two sizes I made sure to clearly label my pieces.
Prep work required for the adult size included unfolding the pieces, separating the front and back bodice, duplicating pieces and mirroring the sleeves. I also shortened the bodice and sleeves, blended sizes and isolated the peplum length.

Step 4 - Save as PDF
Unless projecting directly from Affinity Designer, the file will need to be saved as a PDF.
Choose FILE → EXPORT or use the shortcut CTRL+ALT+SHIFT+S and choose “PDF” from the first drop-down box.
Click Export on the bottom of the page. It will then prompt you to create a file name.

Step 5 - Project and Cut!
Congratulations! You are ready to project and cut your Ellie and Mac Pattern. For a quick, simple and free calibration tool, I recommend using Pattern Projector. I can’t wait to see what you make!
Happy sewing.


(Written by: Sarah Callahan)