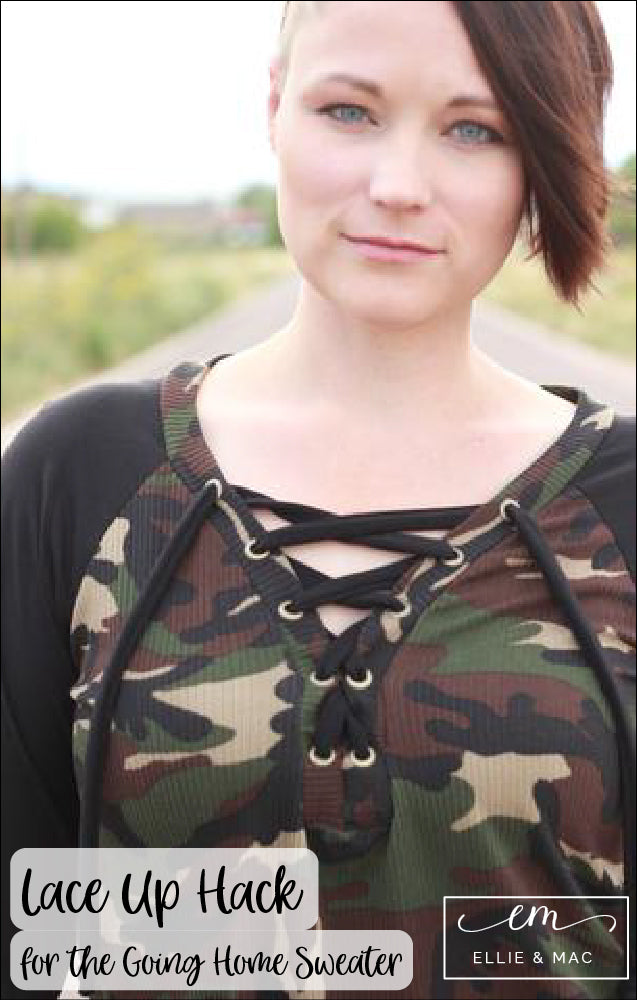
Have you ever seen a shirt online..or out in the wild for that matter...and it just spoke to you. You thought “I have to recreate that”. One that you just can’t get out of your mind. Well that’s what this was for me. I saw a shirt that had a little swing at the hip and this lace up front and just fell in love.
Well no pattern like it excited (to my knowledge) ...soooooo...a hacking we shall go!
I’ll be showing you how to take the Going Home Sweater little swing at the hips and a super cool lace up front. This will be a 2 part blog post so let’s get started.

I’ll also mention right here that I use Medical Table paper for all my patterns. I typically print several sizes for myself and my girls and then use the Medical Table paper to trace what I need.


First, you’ll take the front of your bodice and find where you want the swing to start. For me, I held it up to my body and marked just below my bust. I wanted the bust to still have the same fit as the original pattern. You can also start up higher if you’ll like the bust to be looser than the original fit.
Now you’ll decide how much extra width at the bottom you want. I chose 2”. The more you add...the more it’ll swing out.
(Note: there will be a limit as to how much you can add...at some point the side seam won’t lay right and you’ll need to adjust in different ways. I imagine you could go up to 3 or 4” but remember that is times 4 since right now you are only working with ¼” of the bodice).
Cut 2 lines starting from the hem up to the line you marked. For mine, as mentioned earlier, it’s just under where my bust is.


Now tape your pattern piece to another sheet so you can spread it out from these lines, as shown in the pictures above. I also place pattern weights around the neckline of the pattern to keep it from moving as I spread the bottom part. I tape down the center fold side and then mark 1” over from the first cut line. Spread the center piece over to match up with that mark and tape it down. Repeat with the second cut line, marking 1” over from the center piece and spreading the last piece out over to meet it.
At this point you’ll notice that from the line you cut from to the hem isn’t laying nice and flat. By spreading the bottom out you’ve altered the distance. All I do here is fold down the extra and tape it (as shown in the above left pic). To keep the hem from being too short we will now add that to the bottom of the pattern piece.
My fold measured about ½” total, so I added this to the side seam. Thinking I'd want my new swing shirt to have a little curve, I added the same amount to the center fold line. Then I just drew a nice gentle curve to have the 2 points meet.
All that’s left to make your new Going Home with swing, is to repeat all this to the back bodice piece.
You will follow the pattern as normal, but won’t add a band of course. You’ll just hem at the end and be done!
If all you wanted was to add a little swing to your Going Home then this is all you need. If you want to learn how to add the lace up front then watch for my next blog post coming soon.

Happy sewing!!!!
-Sam


