Hey friends! It’s Nellie from sewmessy.blogspot.com. It’s January! And were I live, it’s cold. Like really really cold. And I’ve seen a lot of requests on how to put sleeves on both the Adult's and the Kids’s Be Confident Tunic and I really can’t blame you! They just aren’t the same with shirts underneath and sleeves can’t be that hard to add, right?
You would be correct!!
But, I am going to show you more than just how to add sleeves to a tank top/sleeveless pattern, I am going to show you how to use any sleeve you want on any pattern you want! BOOM!
Okay, so this is kind of Pinspiration blog as well, kind of mixing it all in as one this time around. I have fallen in love with this sweater!

It’s not my picture, I found it on Pinterest. It’s so pretty! And it has the perfect amount of floral for me, which means there is just a little, a very little. And, I have the perfect fabric!
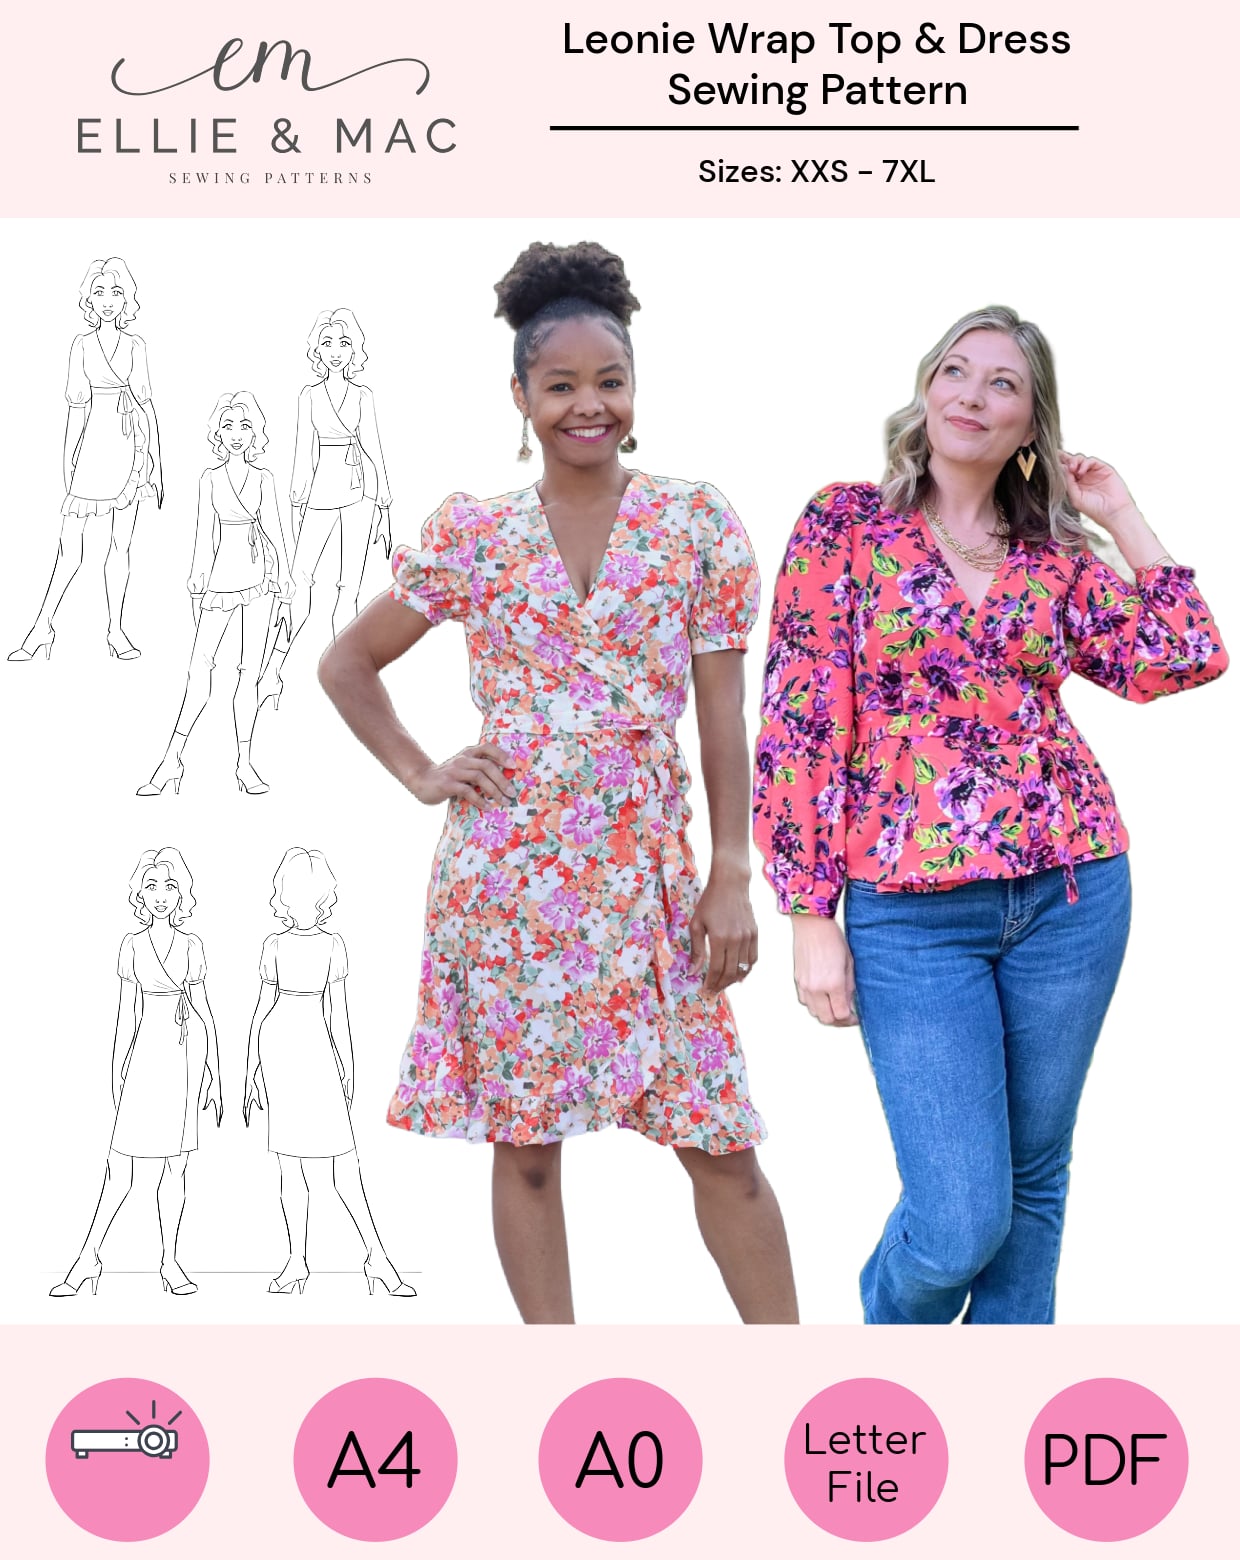
So, I’m thinking if I take the Fall In Love…

And give it the sleeves of the Bell Sleeve Dress modified a little to make them bishop instead of bell and use the V-neck… I think I’ll have it right on the nose!

You’ll have to forgive me, the Bell Sleeve Dress was one of the very first Ellie and Mac Patterns I ever purchased and I only made one out of this hideous bubble gum pink cotton french terry and only ever wore it once. I LOVE the style but hated the color and fabric so badly that it found its way into the second hand bin very quickly and I have no pictures to prove ever I made it and I haven’t had the time to make another one, so you’ll just have to take my word on it when I say that I do love this dress and it is totally worth it!
Anyway, back to the sleeve swap.
First thing you are going to want to do is print out or trace your patterns. I traced out the Fall In Love, minus the sleeve, neckband and cuff. Then I used the layer feature and printed the same size for the Bell Sleeve Dress, but I only printed the sleeve, neckline and armscyth of both front and back of the dress, but not the rest of the dress. It was only like 10 pages. BONUS!
I’m short. So are my arms, go figure, so I shortened the sleeves at the lengthen/shorten line by 1 ½ inches. Usually I shorten most sleeves by 2, but I want these to have plenty of “poof” over the cuff. (I totally could have removed more because the sleeves just about drown me, but honestly, I love how poofy they turned out to be!) Then I removed the hem allowance because I wont be hemming these sleeves thanks to the cuff! To achieve the shape of the bishop I decided I wanted to widen the sleeve a little.

To get the cuff dimensions I measured my wrist.

The cuff is supposed to be fitted, but not super tight, so I used 7 ½ as my measurement and then added ¼ seam allowance to both sides and came up with 8 inches. I wanted my cuff to be about 3 ½ inches tall, so I doubled the measurement and added seam allowance and got 7 ½ inches.

Now for the good stuff! How to make the Bell Sleeve Dress sleeves attach to the Fall In Love armscyths. We need to make the Fall In Love armscyths the same as the Bell Sleeve Dress, so the sleeves will attach correctly. Lay the Fall In Love pattern over the Bell Sleeve.

Line up the outer shoulder corner of the armscyth and the bottom of the armscyth. Everything in between is what needs to be adjusted. Basically you need to make both bodices have the same armscyth.

Let me give you a more extreme example that is a lot easier to see. Putting the Girl’s Be Greater sleeves onto the Girl’s Be Confident.

Put the two patterns together, the Be Confident is on top. Line the two up at the top corner of the armscyth and the bottom of the armscyth up to the edge of the lower pattern.

You can more clearly see what needs to be added to the Be Confident to make the armscyths the same so that the sleeves of the Be Greater can be used easily on the bodice of the Be Confident.
This is the same thing we are doing with the Fall In Love and Bell Sleeve Dress, making the two armscyths the same. There isn’t as much variation here, so I hope the idea is still clear. I will simply tape the two patterns together on the back piece and slightly trim the front to match.
Now I am going to cut out my fabric. Cut the Fall In Love bodice front and back with the new armscyths. Cut the Fall In Love waistband, which I shortened by about an inch while I was sewing it by taking a bit larger seam allowance. Cut the Bell Sleeve Dress modified sleeves and cuffs. Those sleeves, oh my, those sleeves! They required a long basting stitch to be run around the perimeter of wrist and gathered to about half their original size so the cuffs could be attached. And one more thing, about half way through this project I decided that I didn’t want to do a V-neck, so I kept the Fall In Love neckline and cut the Fall In Love neckband. I’ll have to show you how to change necklines another time, just know that the process is pretty much identical to swapping the sleeves.

Well, what do you think? The new sleeves totally change the shirt! But in a good way!

I think it turned out pretty good, especially when I put my own little spin onto it.
Thank goodness for Ellie and Mac and all the fantastic patterns we have right at our fingertips where with just a little bit of work we can literally have any style we could ever want.

Oh, I can’t wait to see all the sleeve switch-a-roos you come up with! Please join me over on the Ellie and Mac Facebook page and show off your great makes!!
All links in this blog are attached to my affiliate link! Using my links to make a purchase will help me keep buying fabric to bring you more fun blog posts at no extra cost to yourself! Thank you for sure!
If you're a beginner, check out our free sewing patterns here.
See our video tutorials for beginners here.


