
Hi Sewing Friends!
In this tutorial I will be showing you how easy it is to draft and sew a custom-fit beret to compliment your beautiful Ellie and Mac clothing.
This project is ideal for those days when you are short on time but really want to sew. It took me less than 20 minutes to project, cut and sew my unlined beret. The actual sewing was under 10 minutes.
I tested this beret using double brushed poly, french terry (2-way stretch), cotton-lycra and fleece. The weight and drape of the fabric will affect the final look. If you are using a thinner material and wish to have a more structured beret I would recommend adding interfacing and a lining. Interfacing is not necessary on a thicker fabric such as fleece. In fact, fleece is an ideal fabric to work with and wear, especially in the colder months.
What you Need:
-
Scraps of knit fabric from your project (25-50% stretch).
-
Knit interfacing (optional)
-
Tape measure
-
Affinity Designer (or a pencil, ruler and compass)
Step 1 - Measure your Head
The first thing you will want to do is take a flexible tape measure and wrap it around your head. It should be placed in the location that you will be wearing your hat. Take that number and multiply it by 0.90. You can round up to the nearest whole number.
Your head size will determine the band measurement.
|
Head Size |
Band Measurement |
|
21” |
19” x 3.5” |
|
22” |
20” x 3.5” |
|
23” |
21” x 3.5” |
|
24” |
22” x 3.5” |
My head size is 21” so I will be making my band piece 19” x 3.5”. You can alter the width to your preference. (In one of my samples I tried 4”, but it was a bit too wide for my liking.) Keep in mind that it will be folded in half and attached in the same manner as a neckband or sleeve cuff.

Step 2 - Draft the Crown
The upper portion of your hat is essentially a big circle with a diameter of 10-12 inches. I prefer a nice big beret, so I’ll make my pattern piece 11.5”.
If you are using Affinity Designer, simply make the circle to the exact measurement you desire.

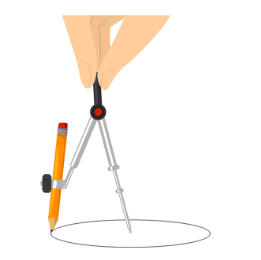
If you are drafting by hand, make a dot and use your compass and pencil to draw a circle with a radius of 6”. You can find a compass in a standard geometry set.
Step 3 - Draft the Brim
To create the lower pattern piece, take the circle from the previous step and draw an inner circle that measures the diameter of your head. I used an online circle calculator to help me figure out that measurement.
If you’d like to do the math on your own, take your head circumference and divide it by pi (π = 3.14159) . That will give you the value of the diameter.
|
Head Size |
Diameter |
|
21” |
6.85” |
|
22” |
7.00” |
|
23” |
7.32” |
|
24” |
7.64” |
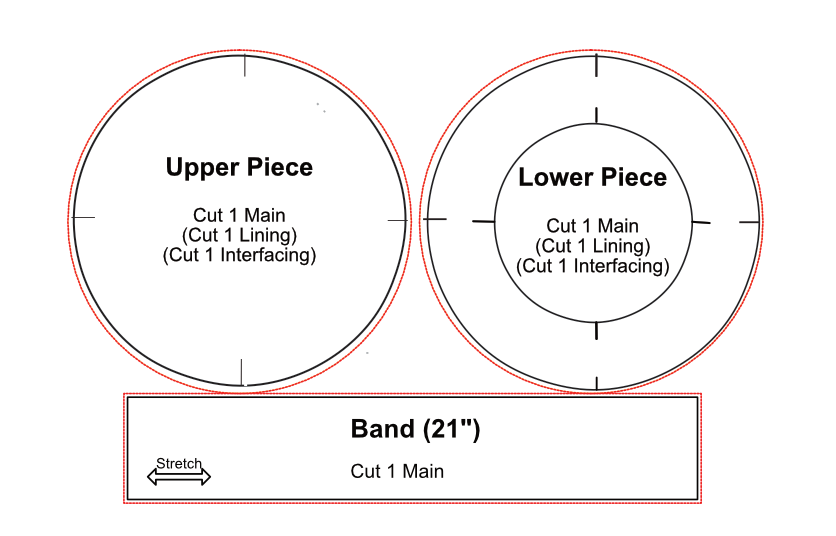
In Affinity Designer you will copy the original circle. Then draw a second circle and use the Transform function to indicate the height and width of your circle. In my case I will input a value of 6.85”. I’ve also added my quartered notches. On my final pattern I added the notches to the inner circle as well.

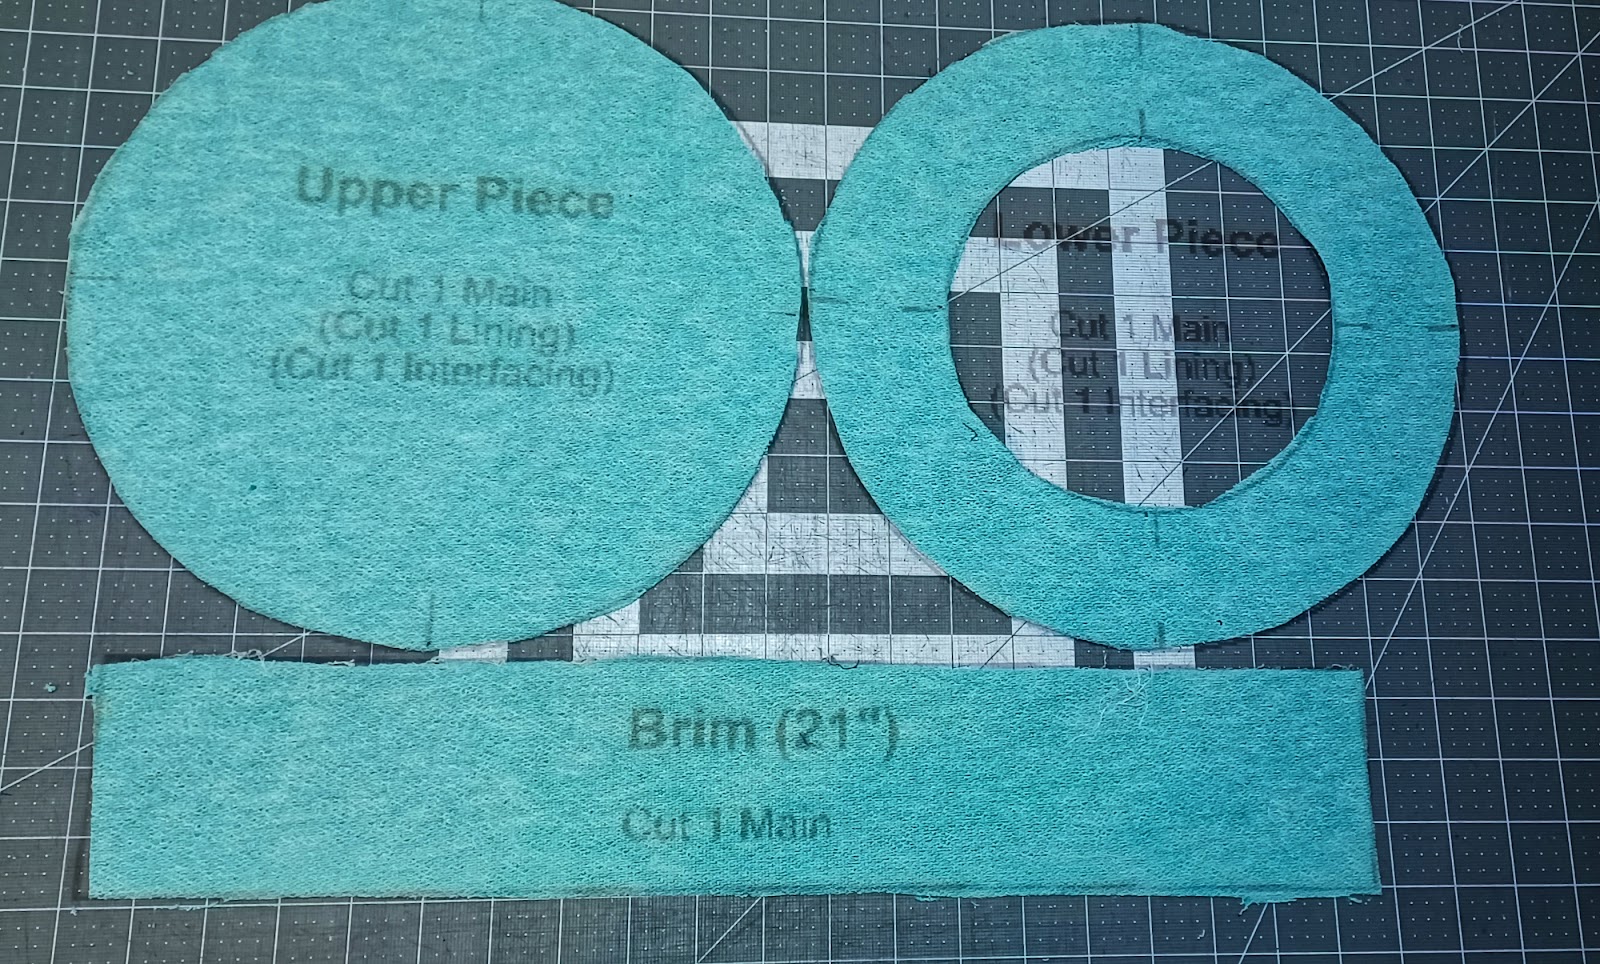
Step 4 - Cut Your Fabric
Once the pattern pieces have been drafted, you can finally cut into your fashion fabric. The band will be cut with the greatest stretch going horizontally.
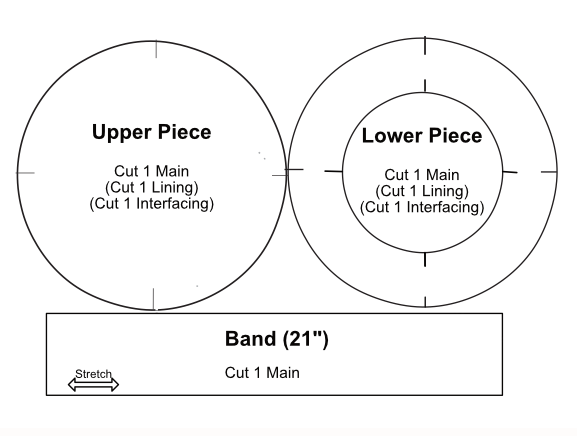
You will need:
-
UPPER PIECE (CIRCLE)
-
LOWER PIECE (DOUGHNUT)
-
BAND
For a lined beret cut the upper and lower pieces in duplicate. Cut 1 brim.
If your fabric is thin you may add knit interfacing to your main pieces for added stability.
If you use a smaller sized circle you may be able to use a fat quarter (18” x 22”). The pattern I’ve made measures 15.5” x 24”.
This is how my pattern looked before I realized that I forgot to add seam allowance.
And here is how it looked after I sewed three sample hats and then went back and added ¼” seam allowance. Oops. Luckily it turned out ok! Please take this opportunity to learn from my mistake and always add seam allowance when drafting a pattern.
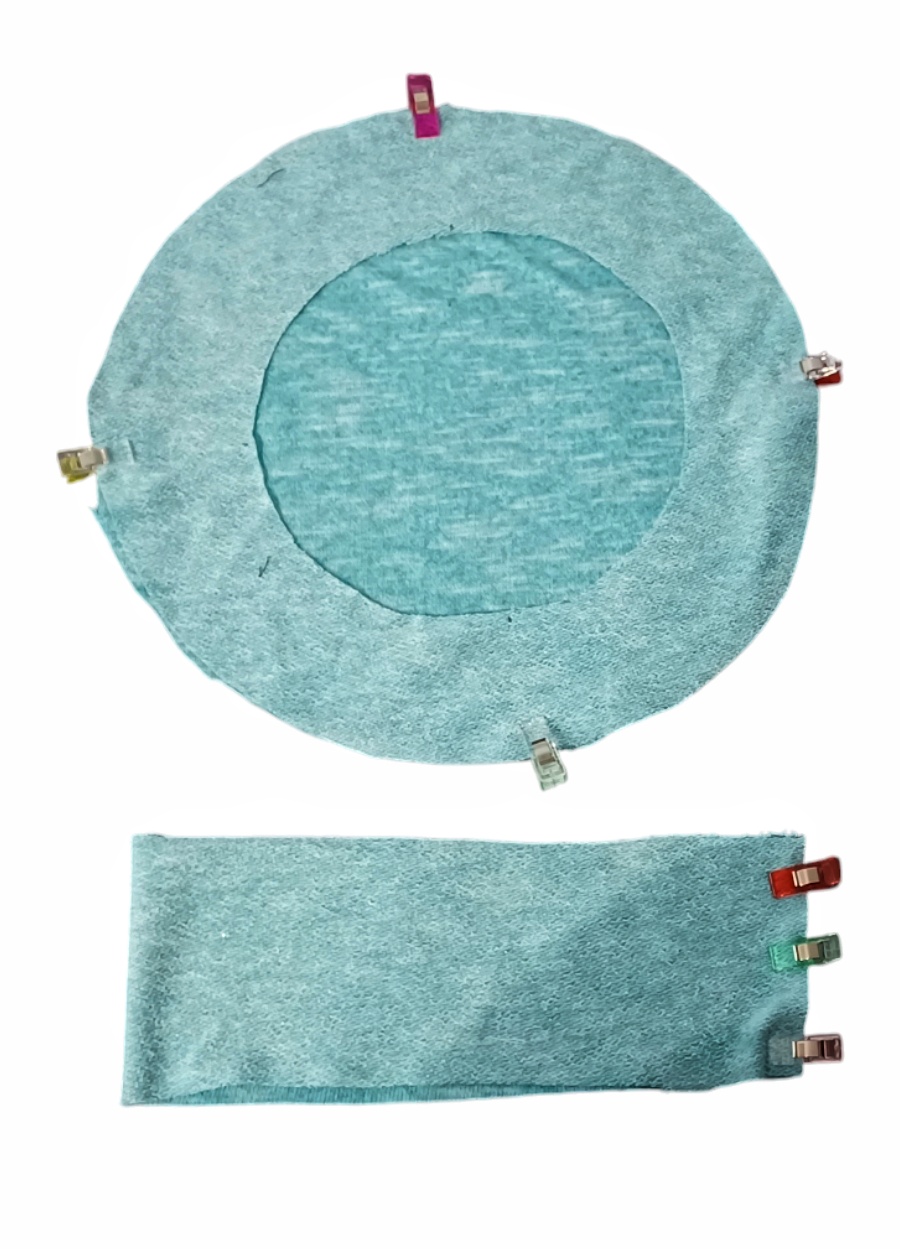
Place the lower piece on top of the upper piece, right sides together and with the quartered notches matching. Clip or pin. Sew the outer edge.
If you are lining your beret, repeat this step with the lining fabric.
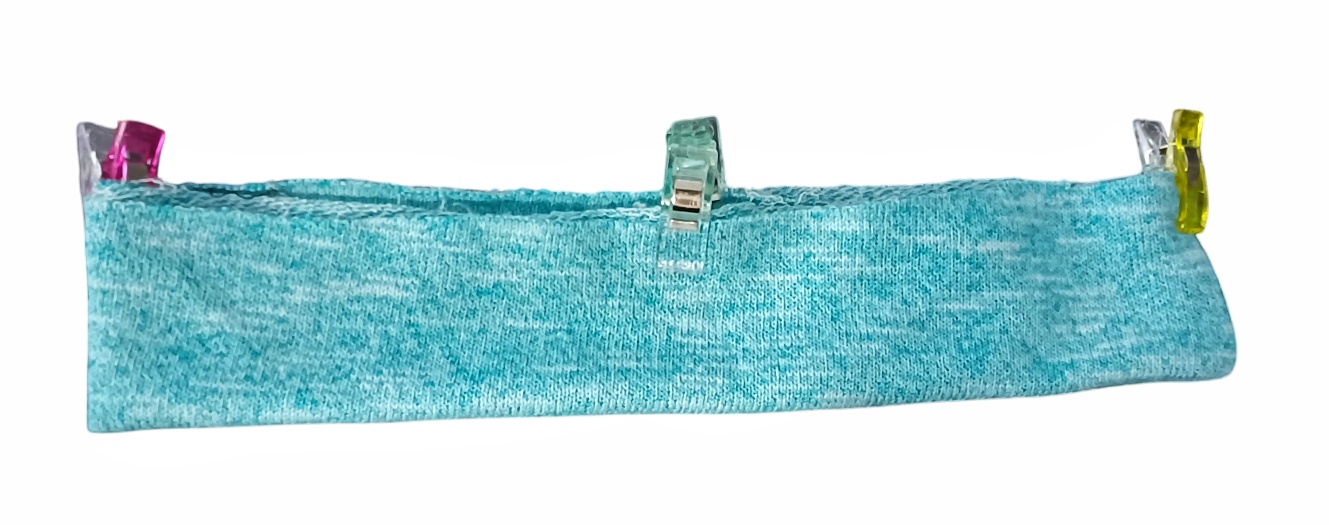
Fold the band in half and clip or pin the short edges. Sew. At this point you may want to try on the band to make sure that it fits comfortably around your head.
Fold the band wrong sides together and mark the quarter points.
If you are lining your beret, place the lining inside of the main fabric, wrong sides together. Baste the raw edge.
Attach the band to the inner part of the hat, right sides together with the main fabric, and sew. You will be gently stretching the fabric between the notches. Be sure to catch all layers.
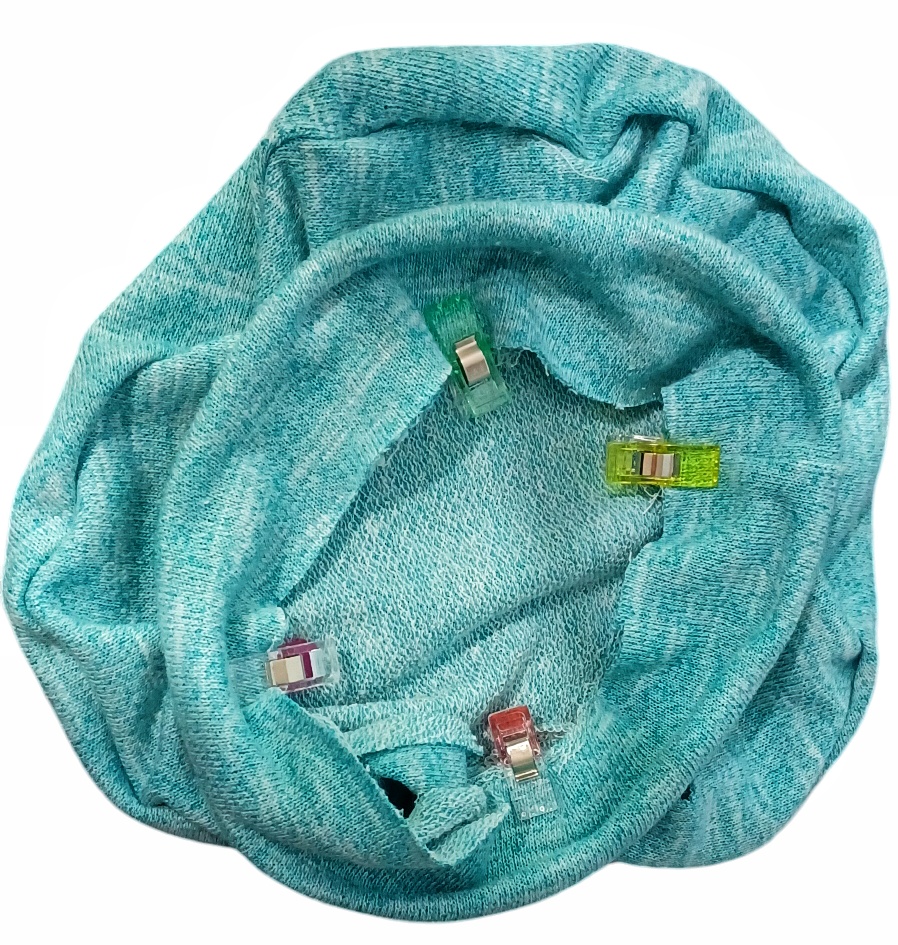
Remove basting stitches, if necessary.
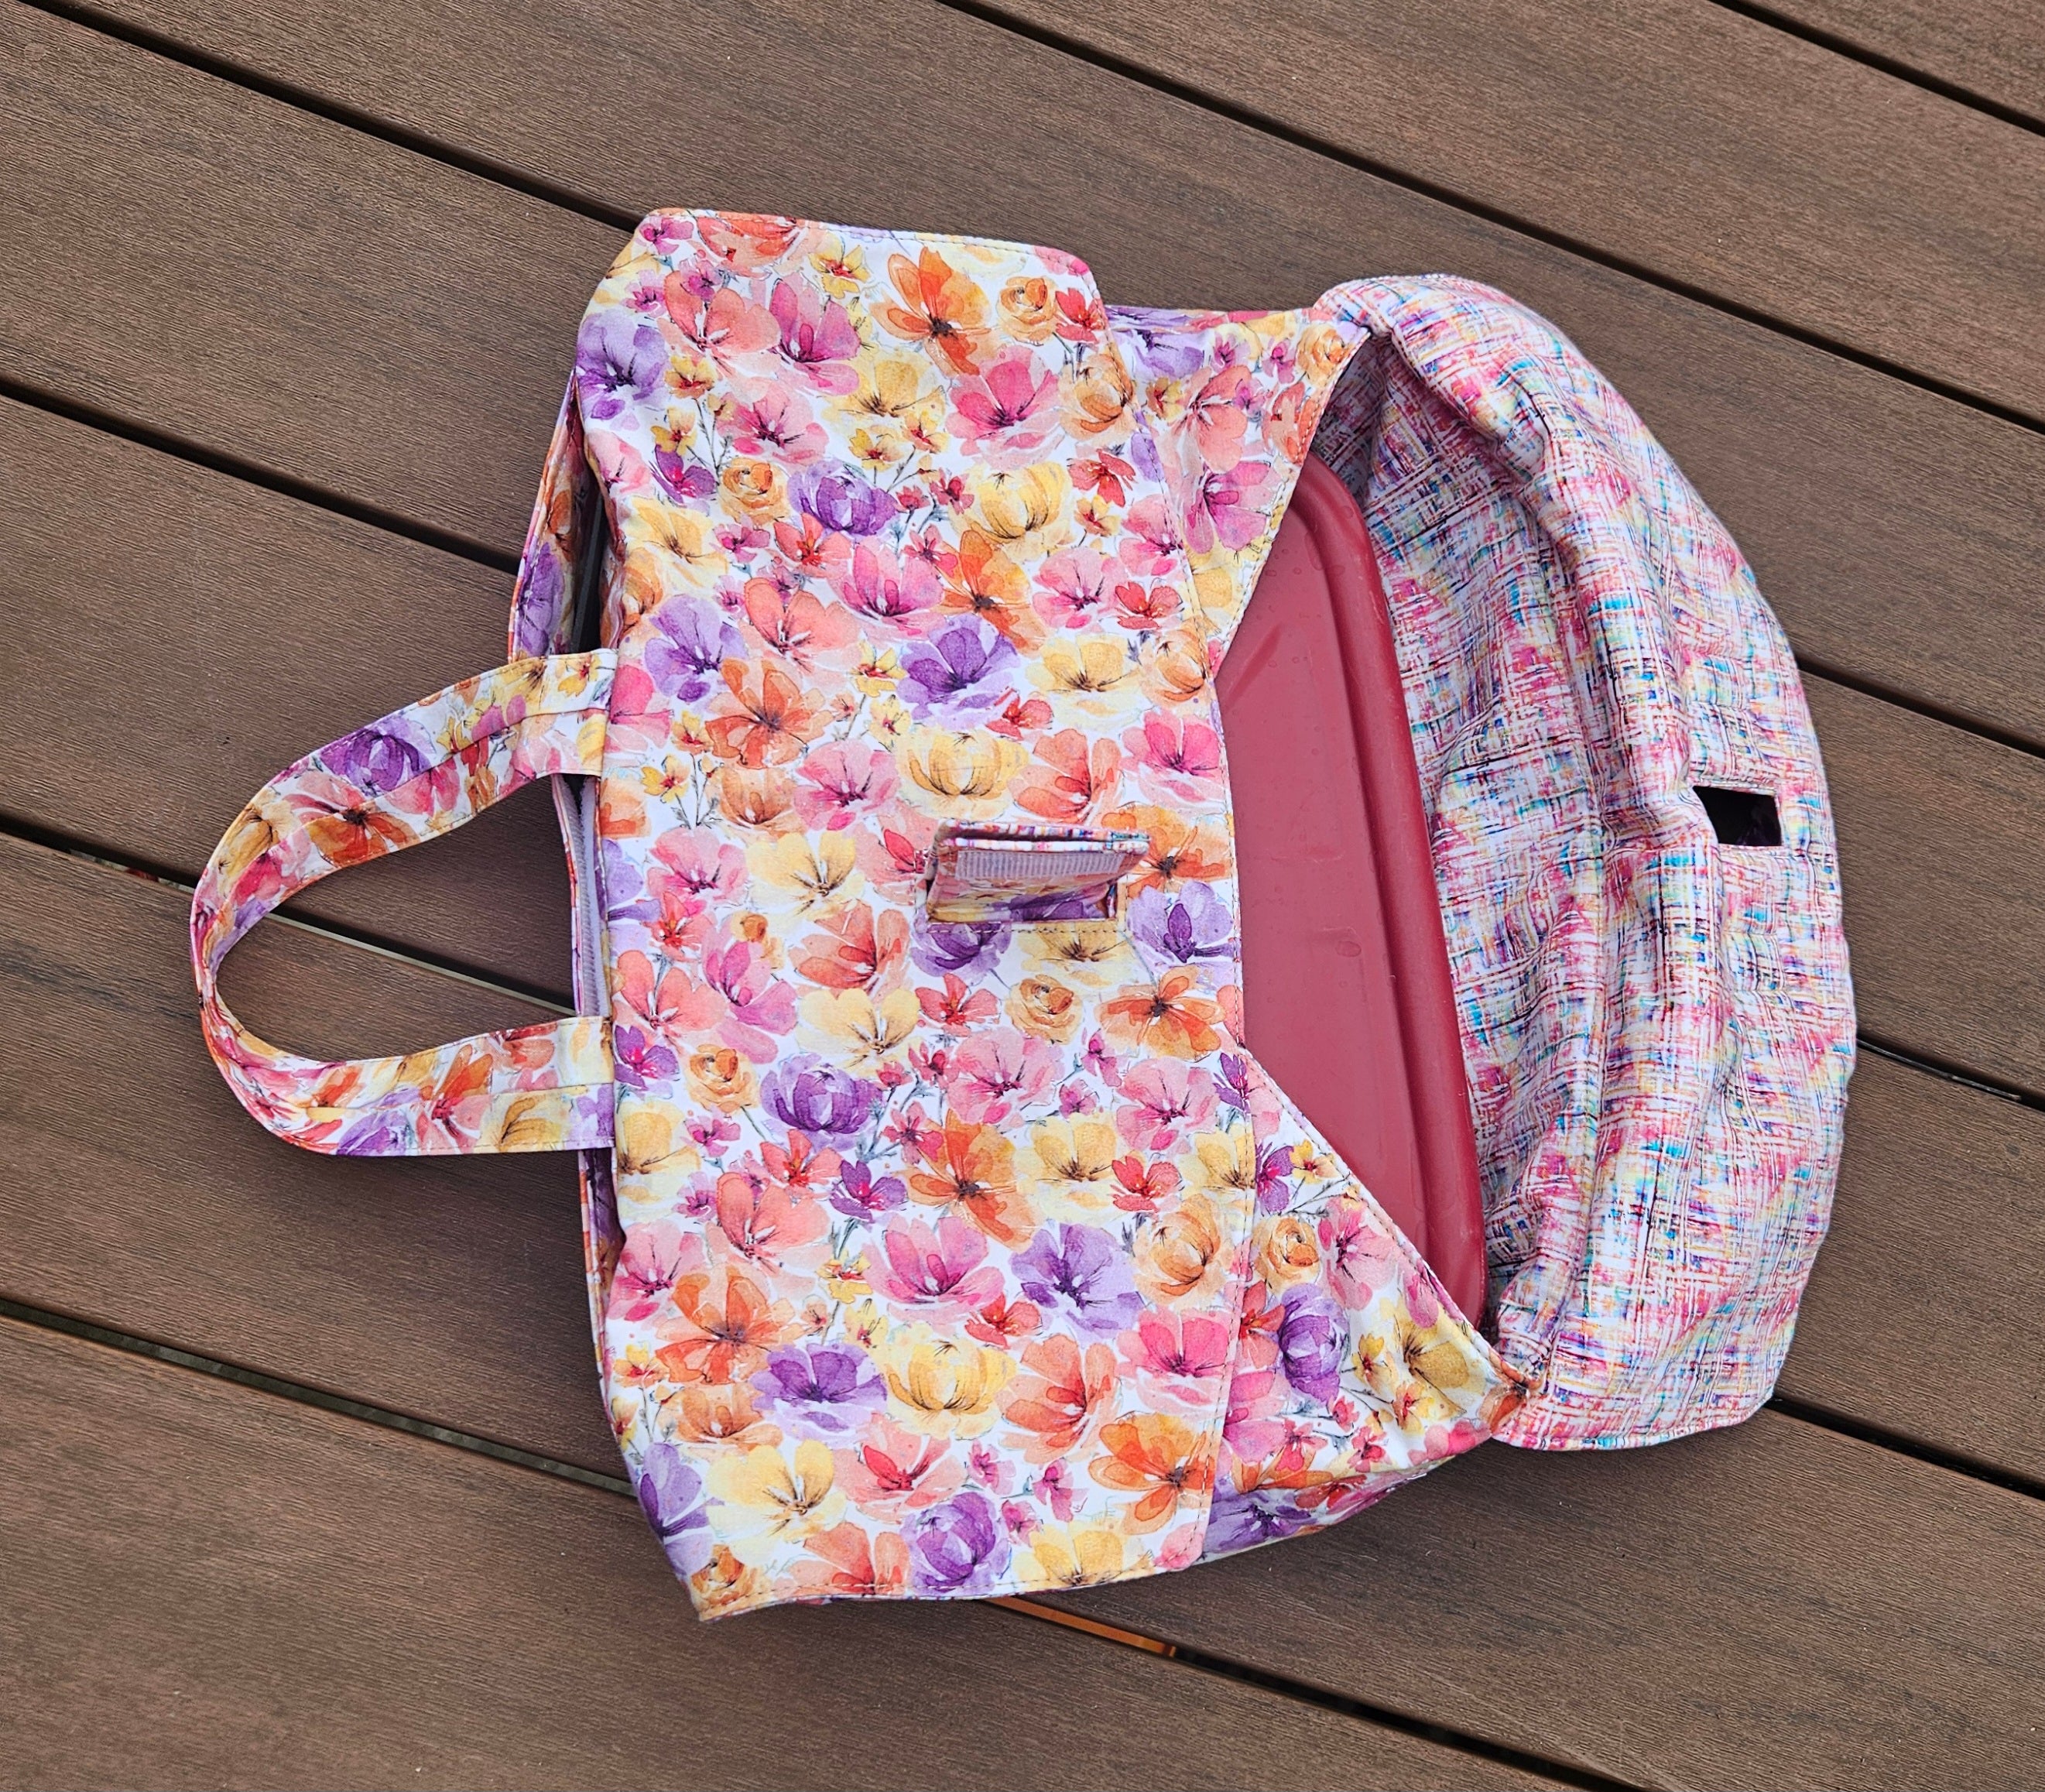
Admire your beret. You are done!
Step 6 - Embellish your Beret
If you want to be extra, you can add an embellishment to your beret. For a French look add a fabric covered button to the top centre. For a more dramatic look, add a pompom!
A large bow would add a statement to an otherwise plain hat. Multiple small bows are delicate and sophisticated. You can use the Be Posh Bow Headband pattern as a starting point.
For a botanically inspired hat, fabric flowers would be lovely.
Your creativity is only limited by your imagination.
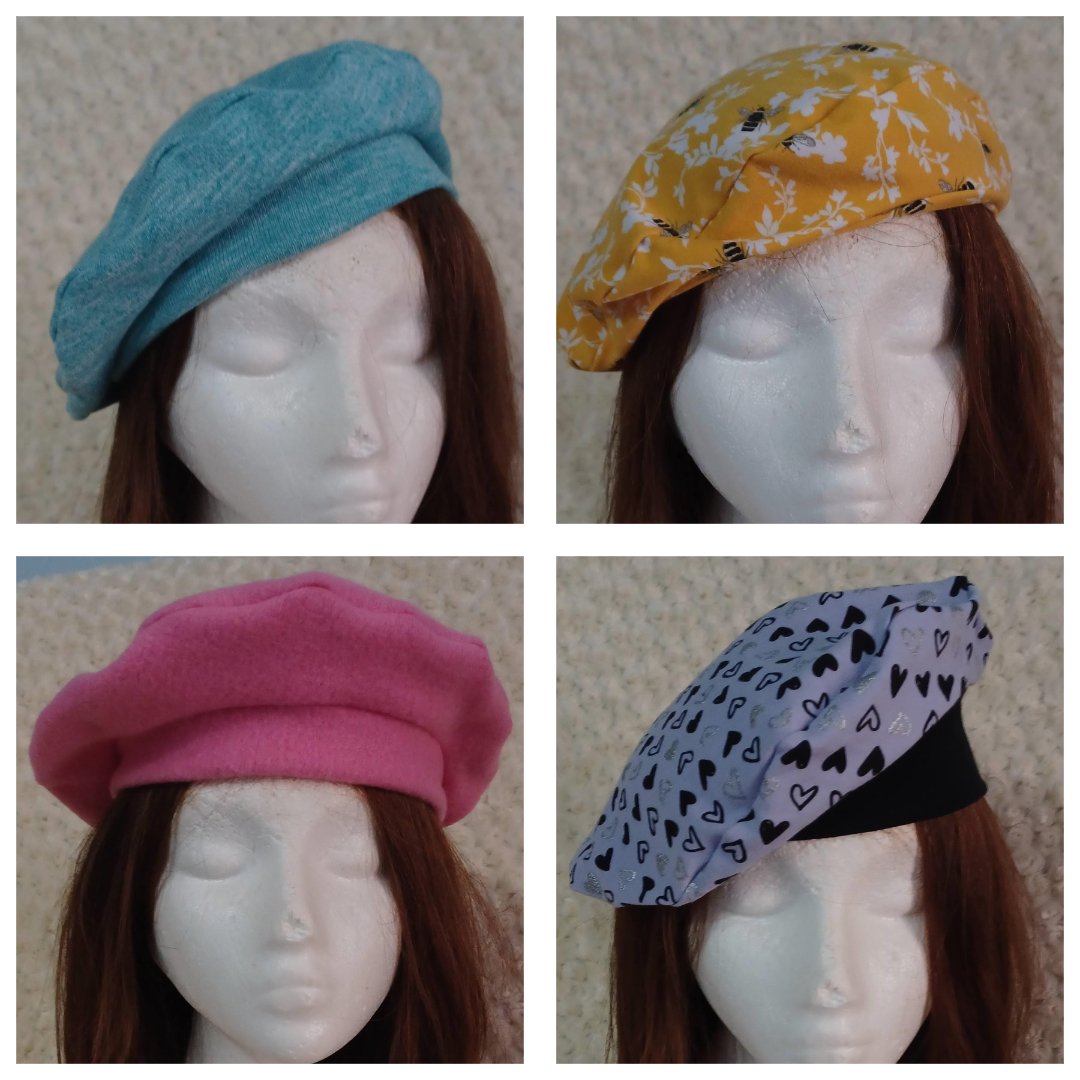
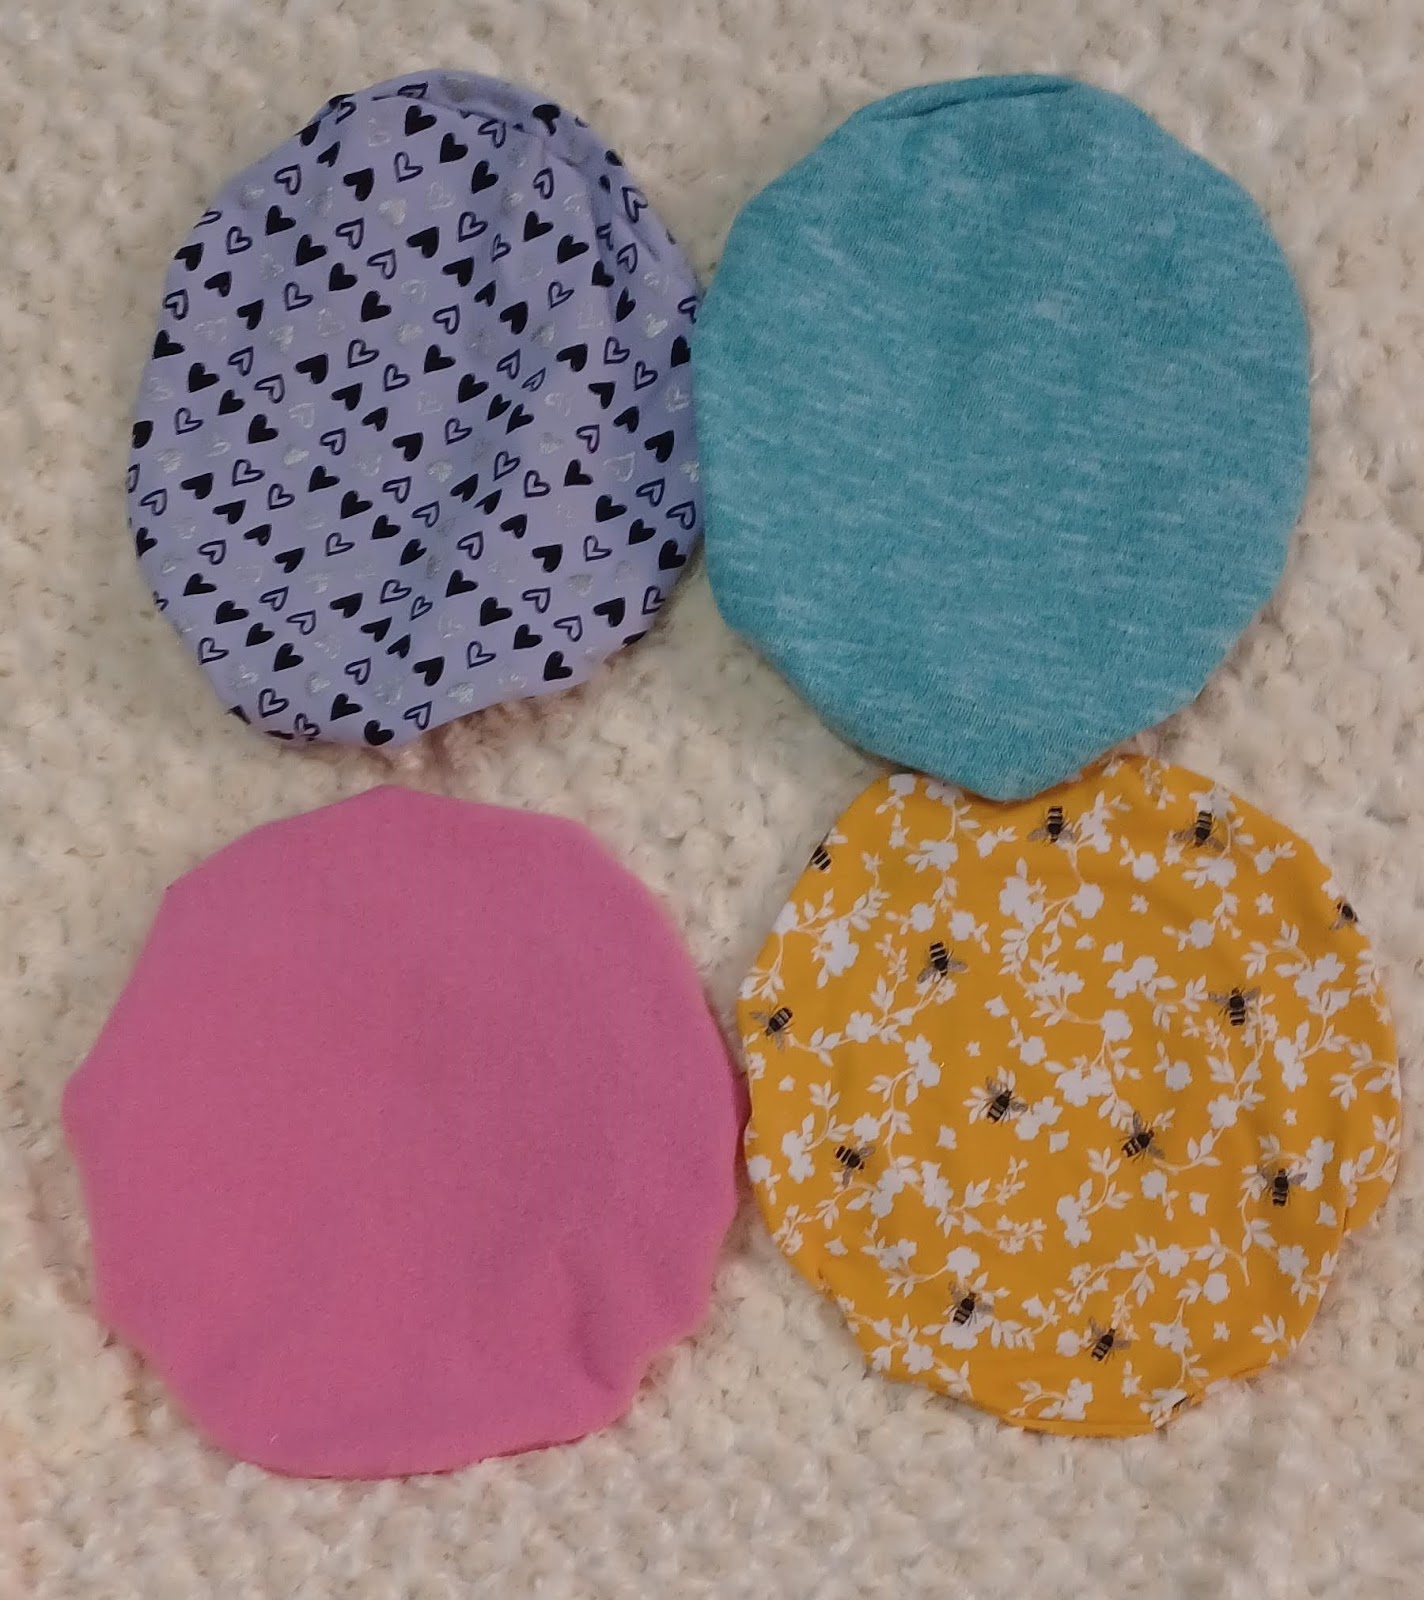
Purple hearts (CL), Blue (FT), Pink (Fleece), Yellow bees (DBP)
(Written by: Sarah Callahan)