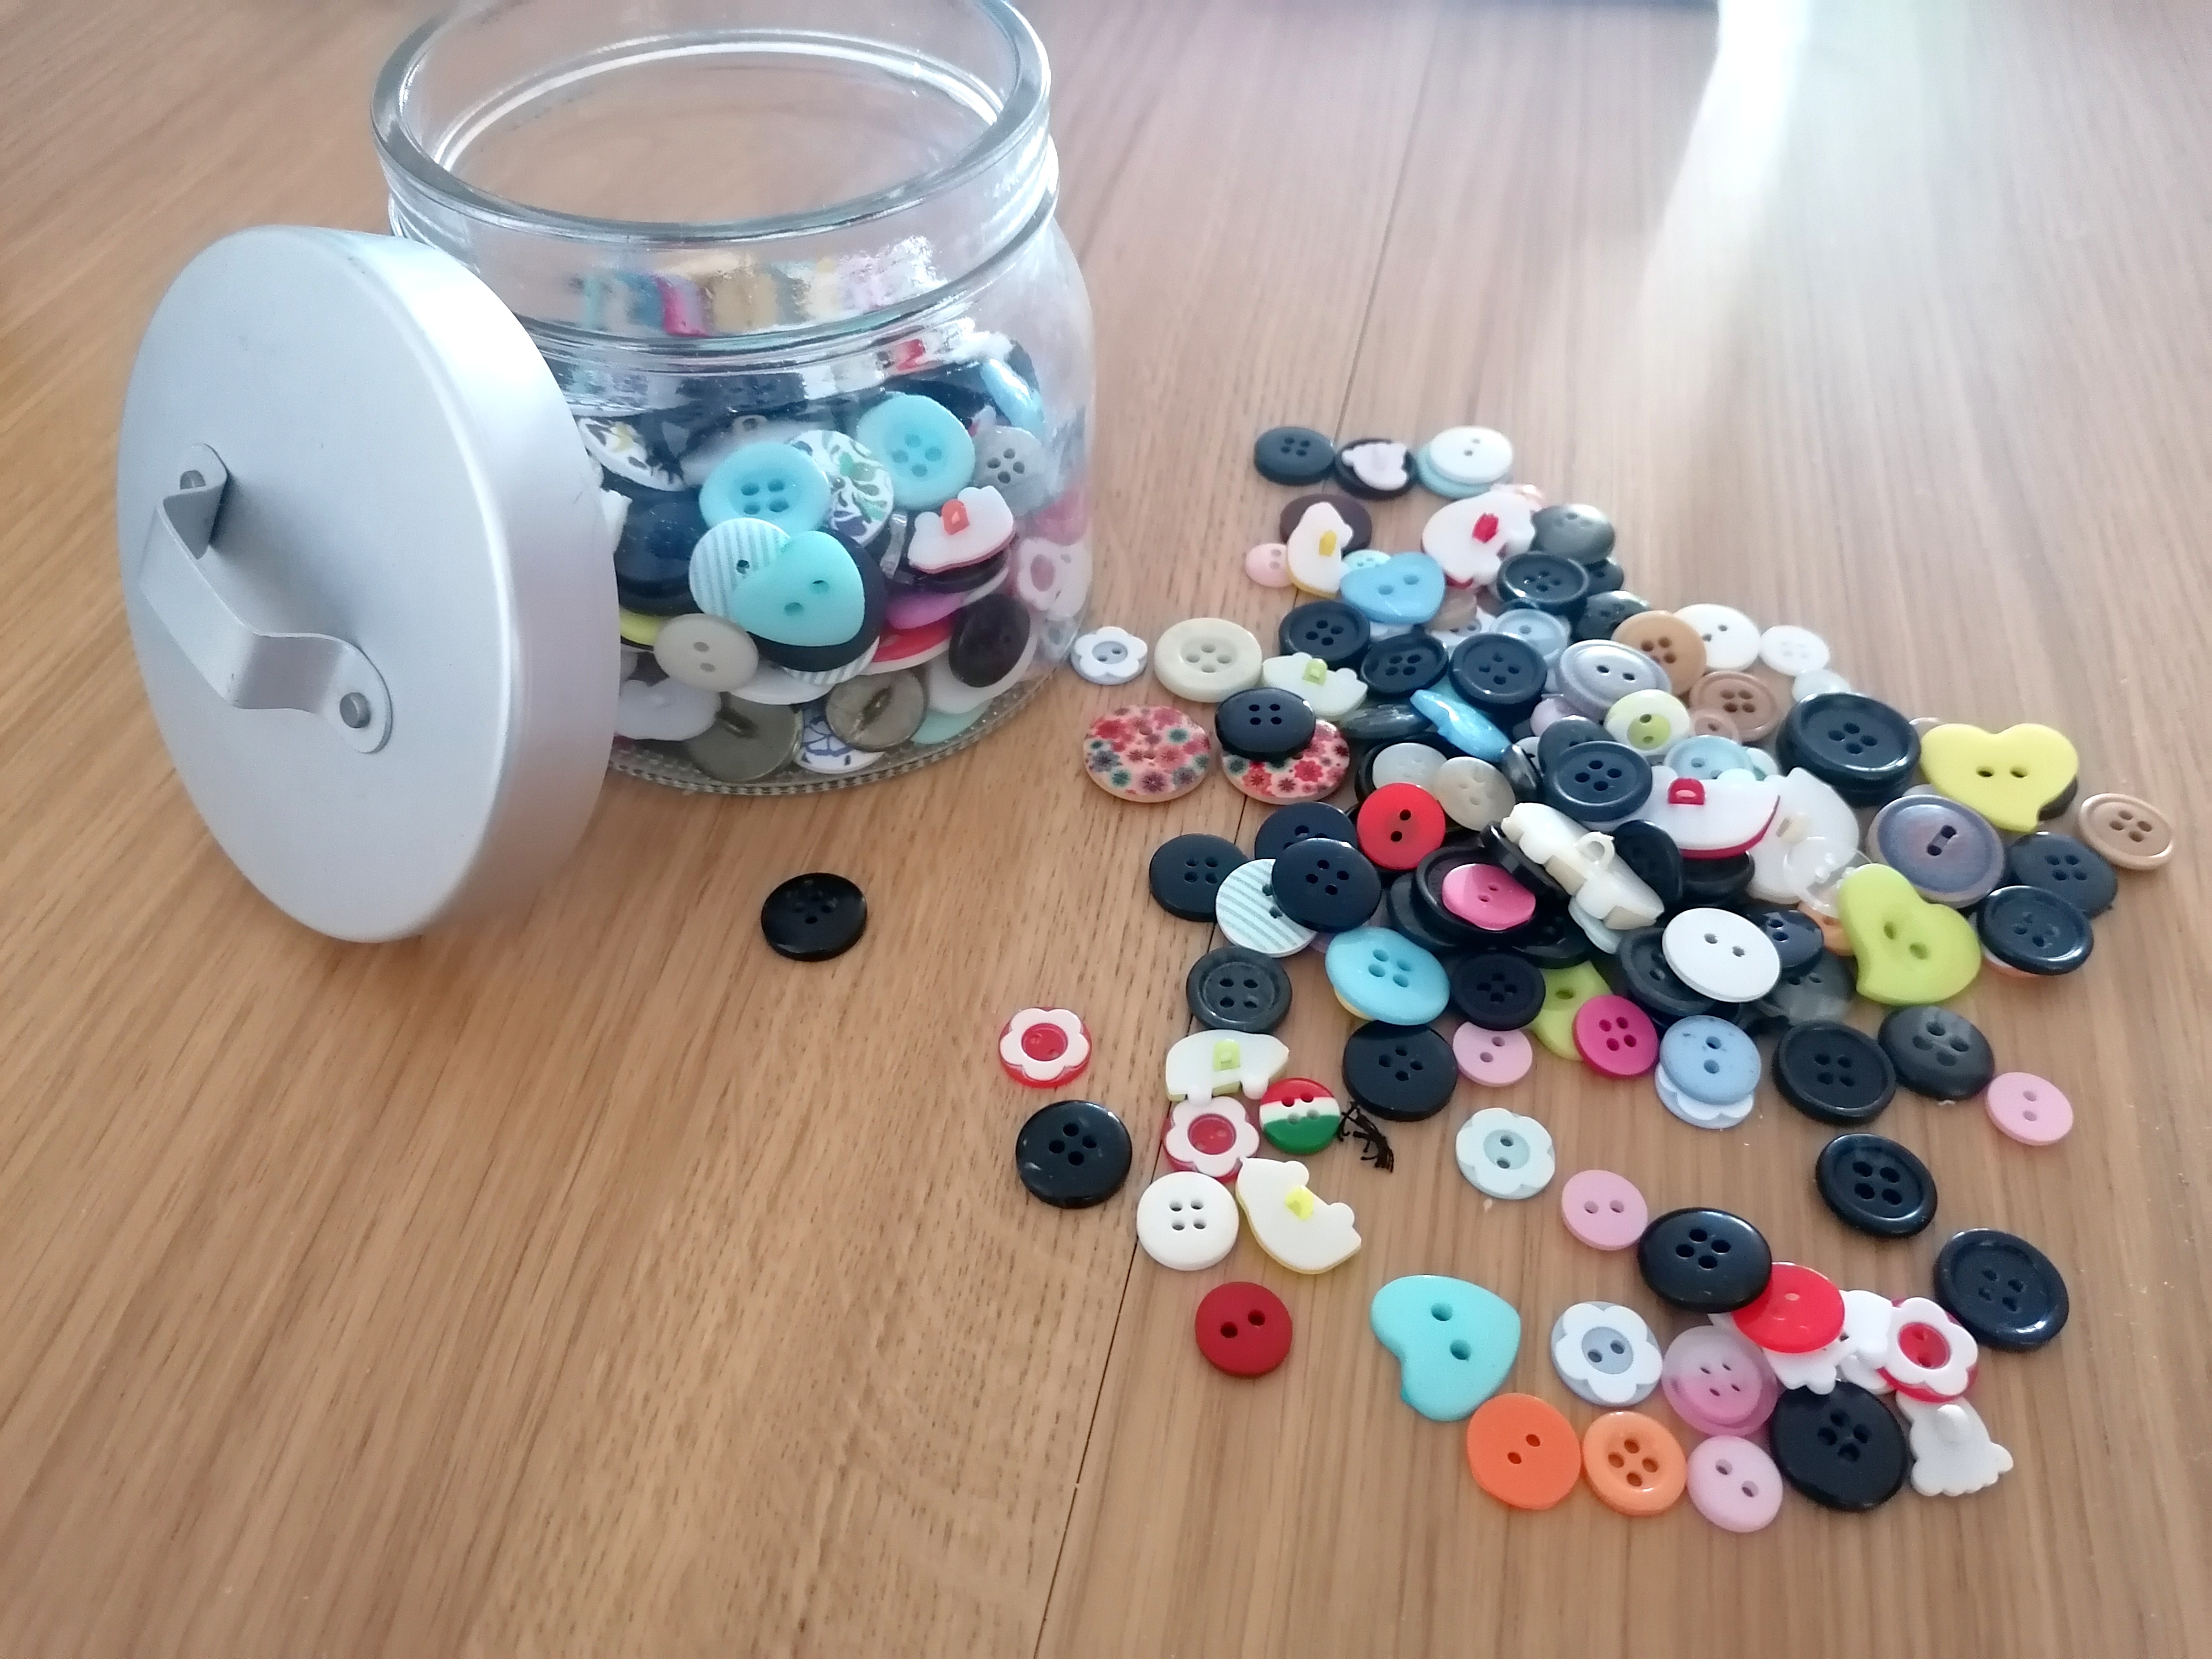
I love buttons! I have two jars with all kinds of buttons and they’re the supply I can never get enough of. I don’t even mind sewing buttonholes. I think they give that special touch to any piece.
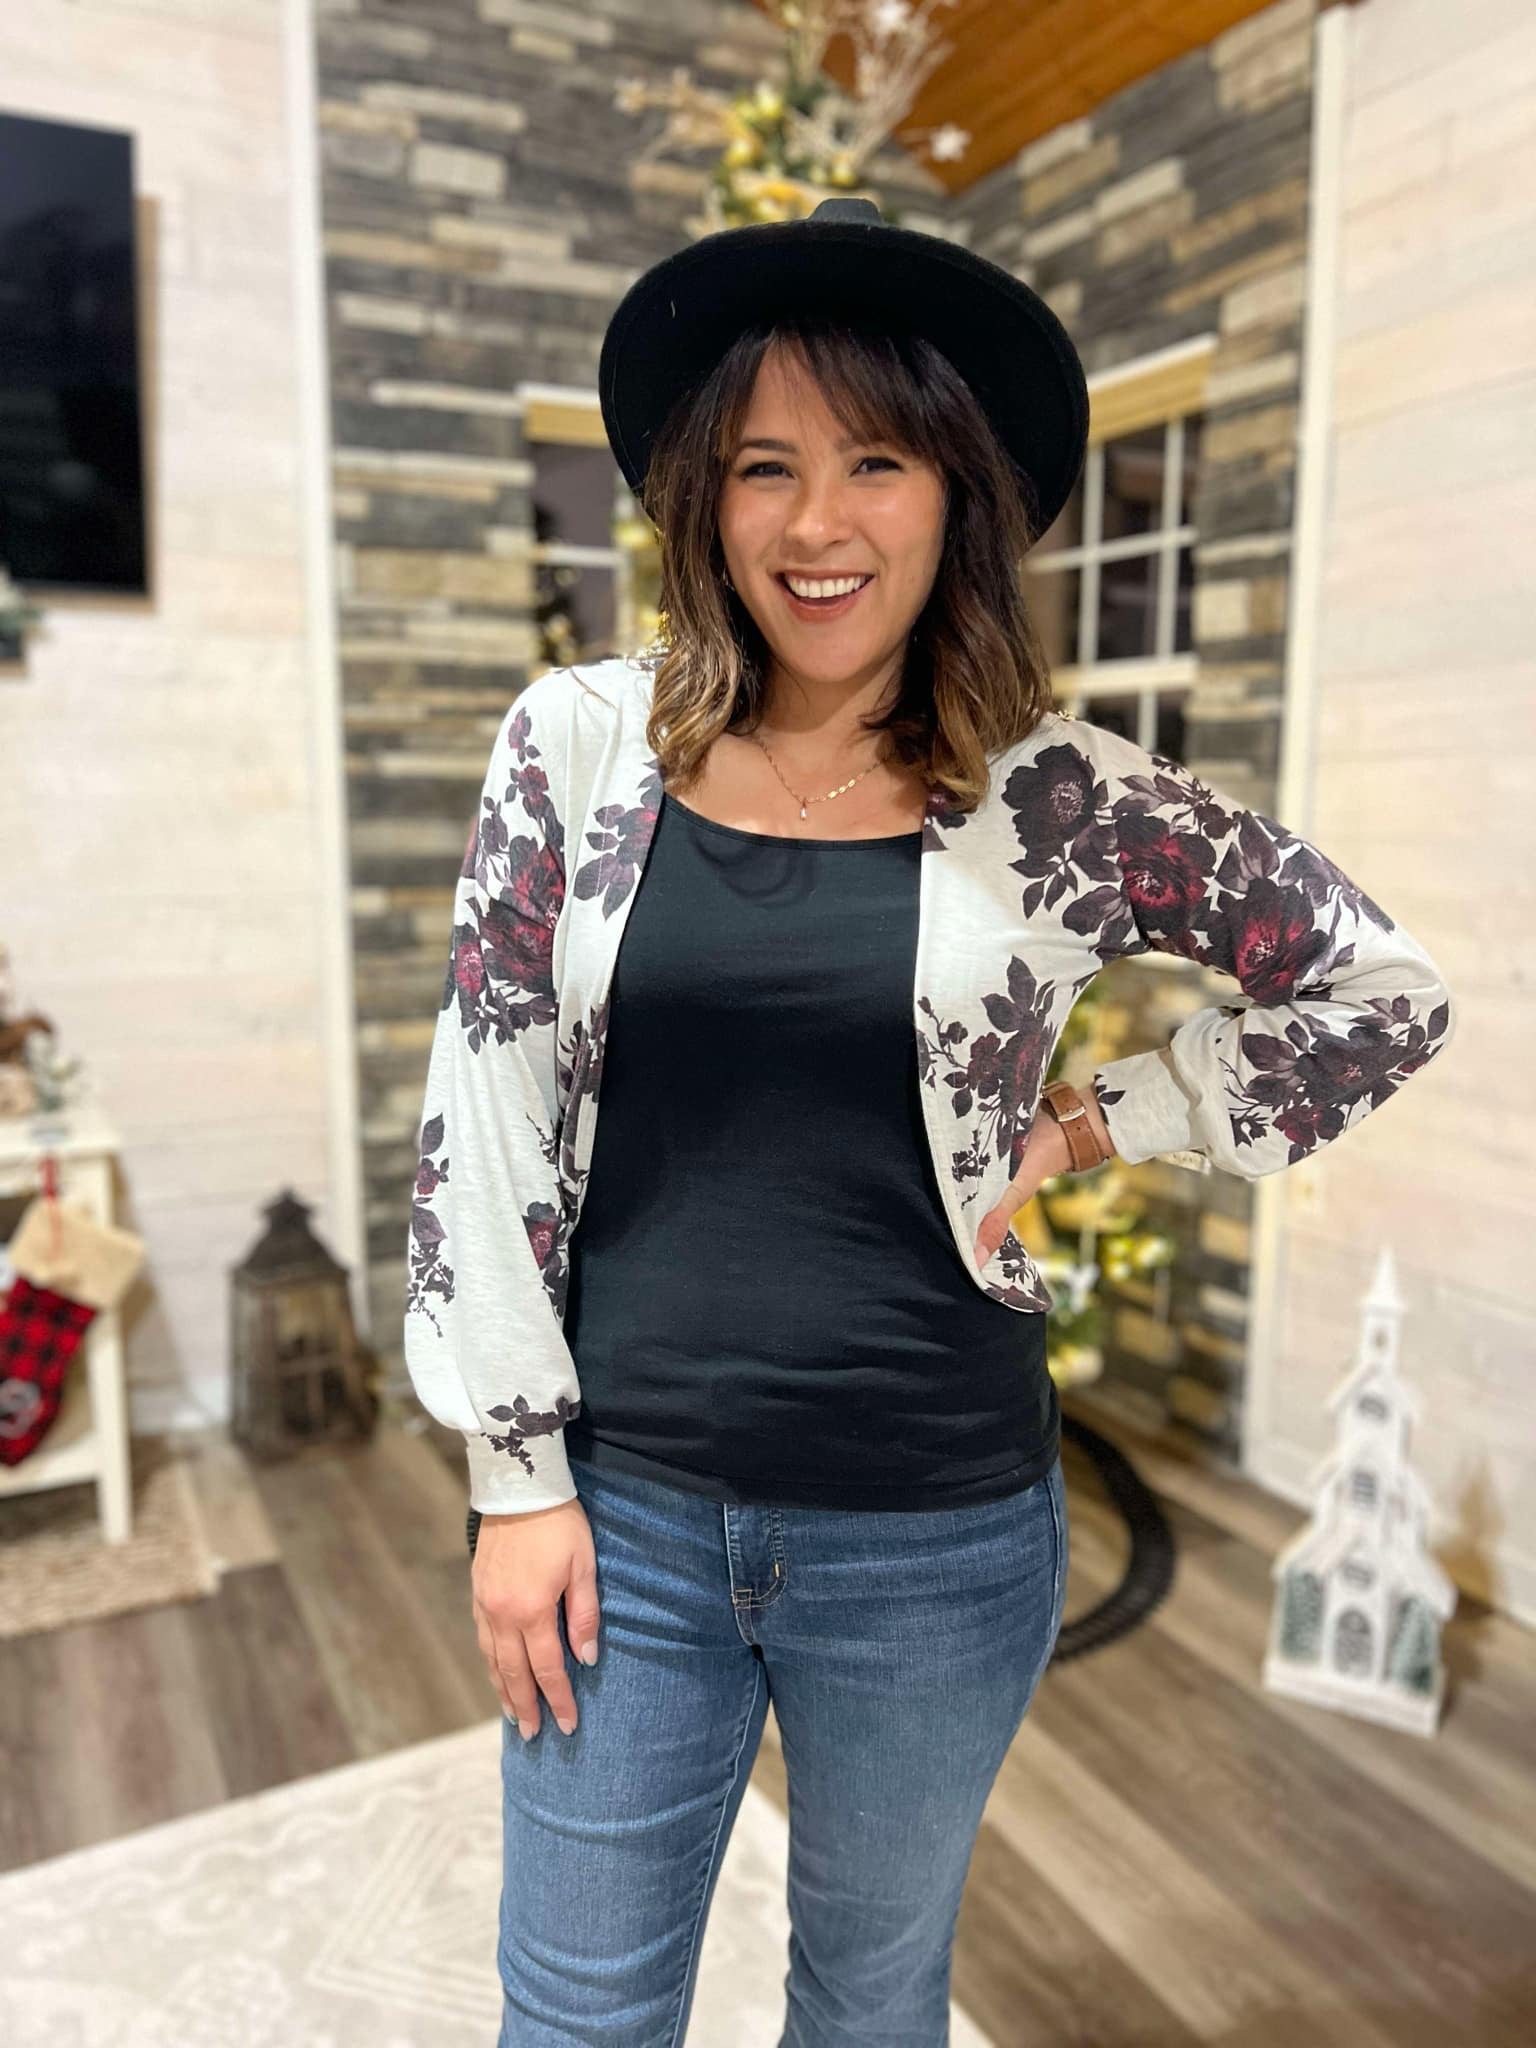
Having said, sometimes it bugs me when a button accidentally pops open when I move around. I also get it that not everyone enjoys sewing buttonholes, but they do like the look they bring to a shirt or a skirt, a dress… So, why not have the best of both worlds? Let me help you to make a faux button placket! I used the Poppy top because I absolutely love the design. It looks so flattering even with my lactosis/stress belly… Well, enough chit chat!... Let’s start!

SUPPLIES
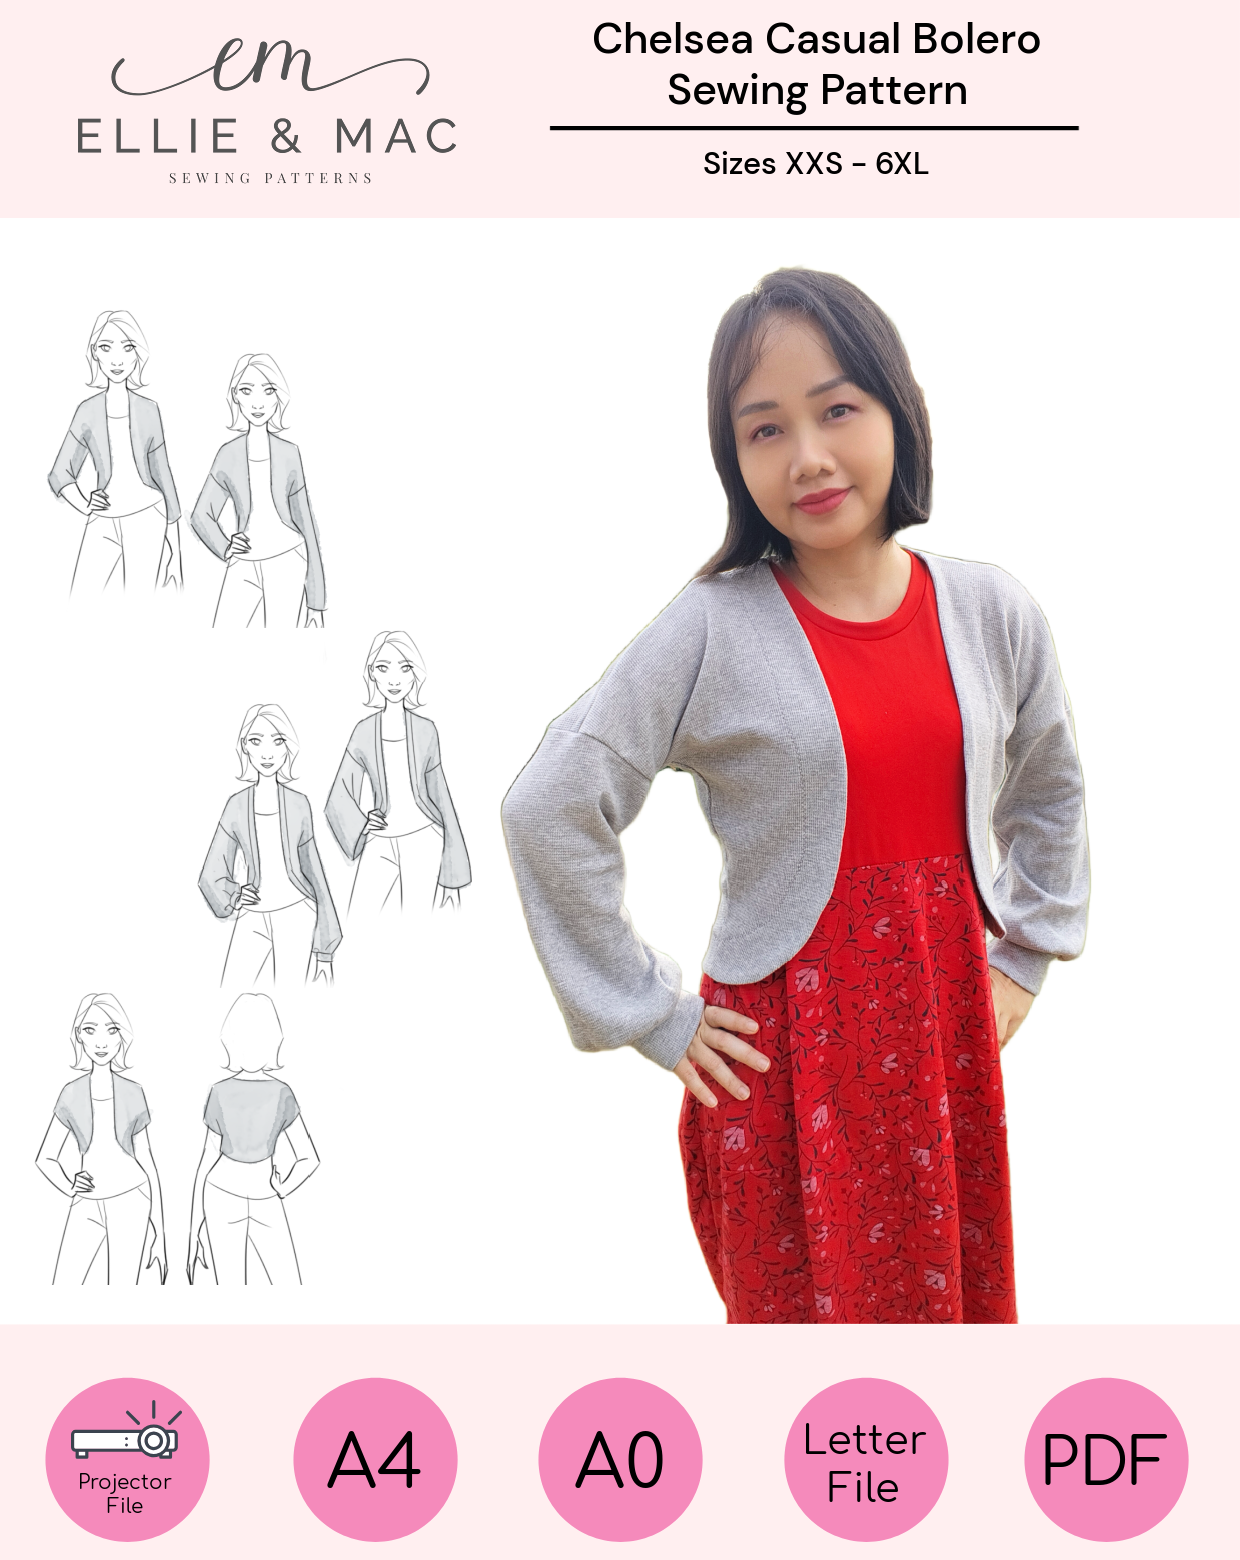
• Pattern Poppy Top by Ellie and Mac;
• Notions required in the pattern (fabric, 4 ways stretch knit; 5 buttons; the pattern calls for knit interfacing, but since that’s to get the placket more stable and sew the buttonholes, I didn’t use it);
• Sewing machine and serger (very useful but not absolutely necessary. If you have one, great; if you don’t, no problem);
• Scissors, pins, matching thread, ballpoint needle… and the usual sewing stuff we always need.
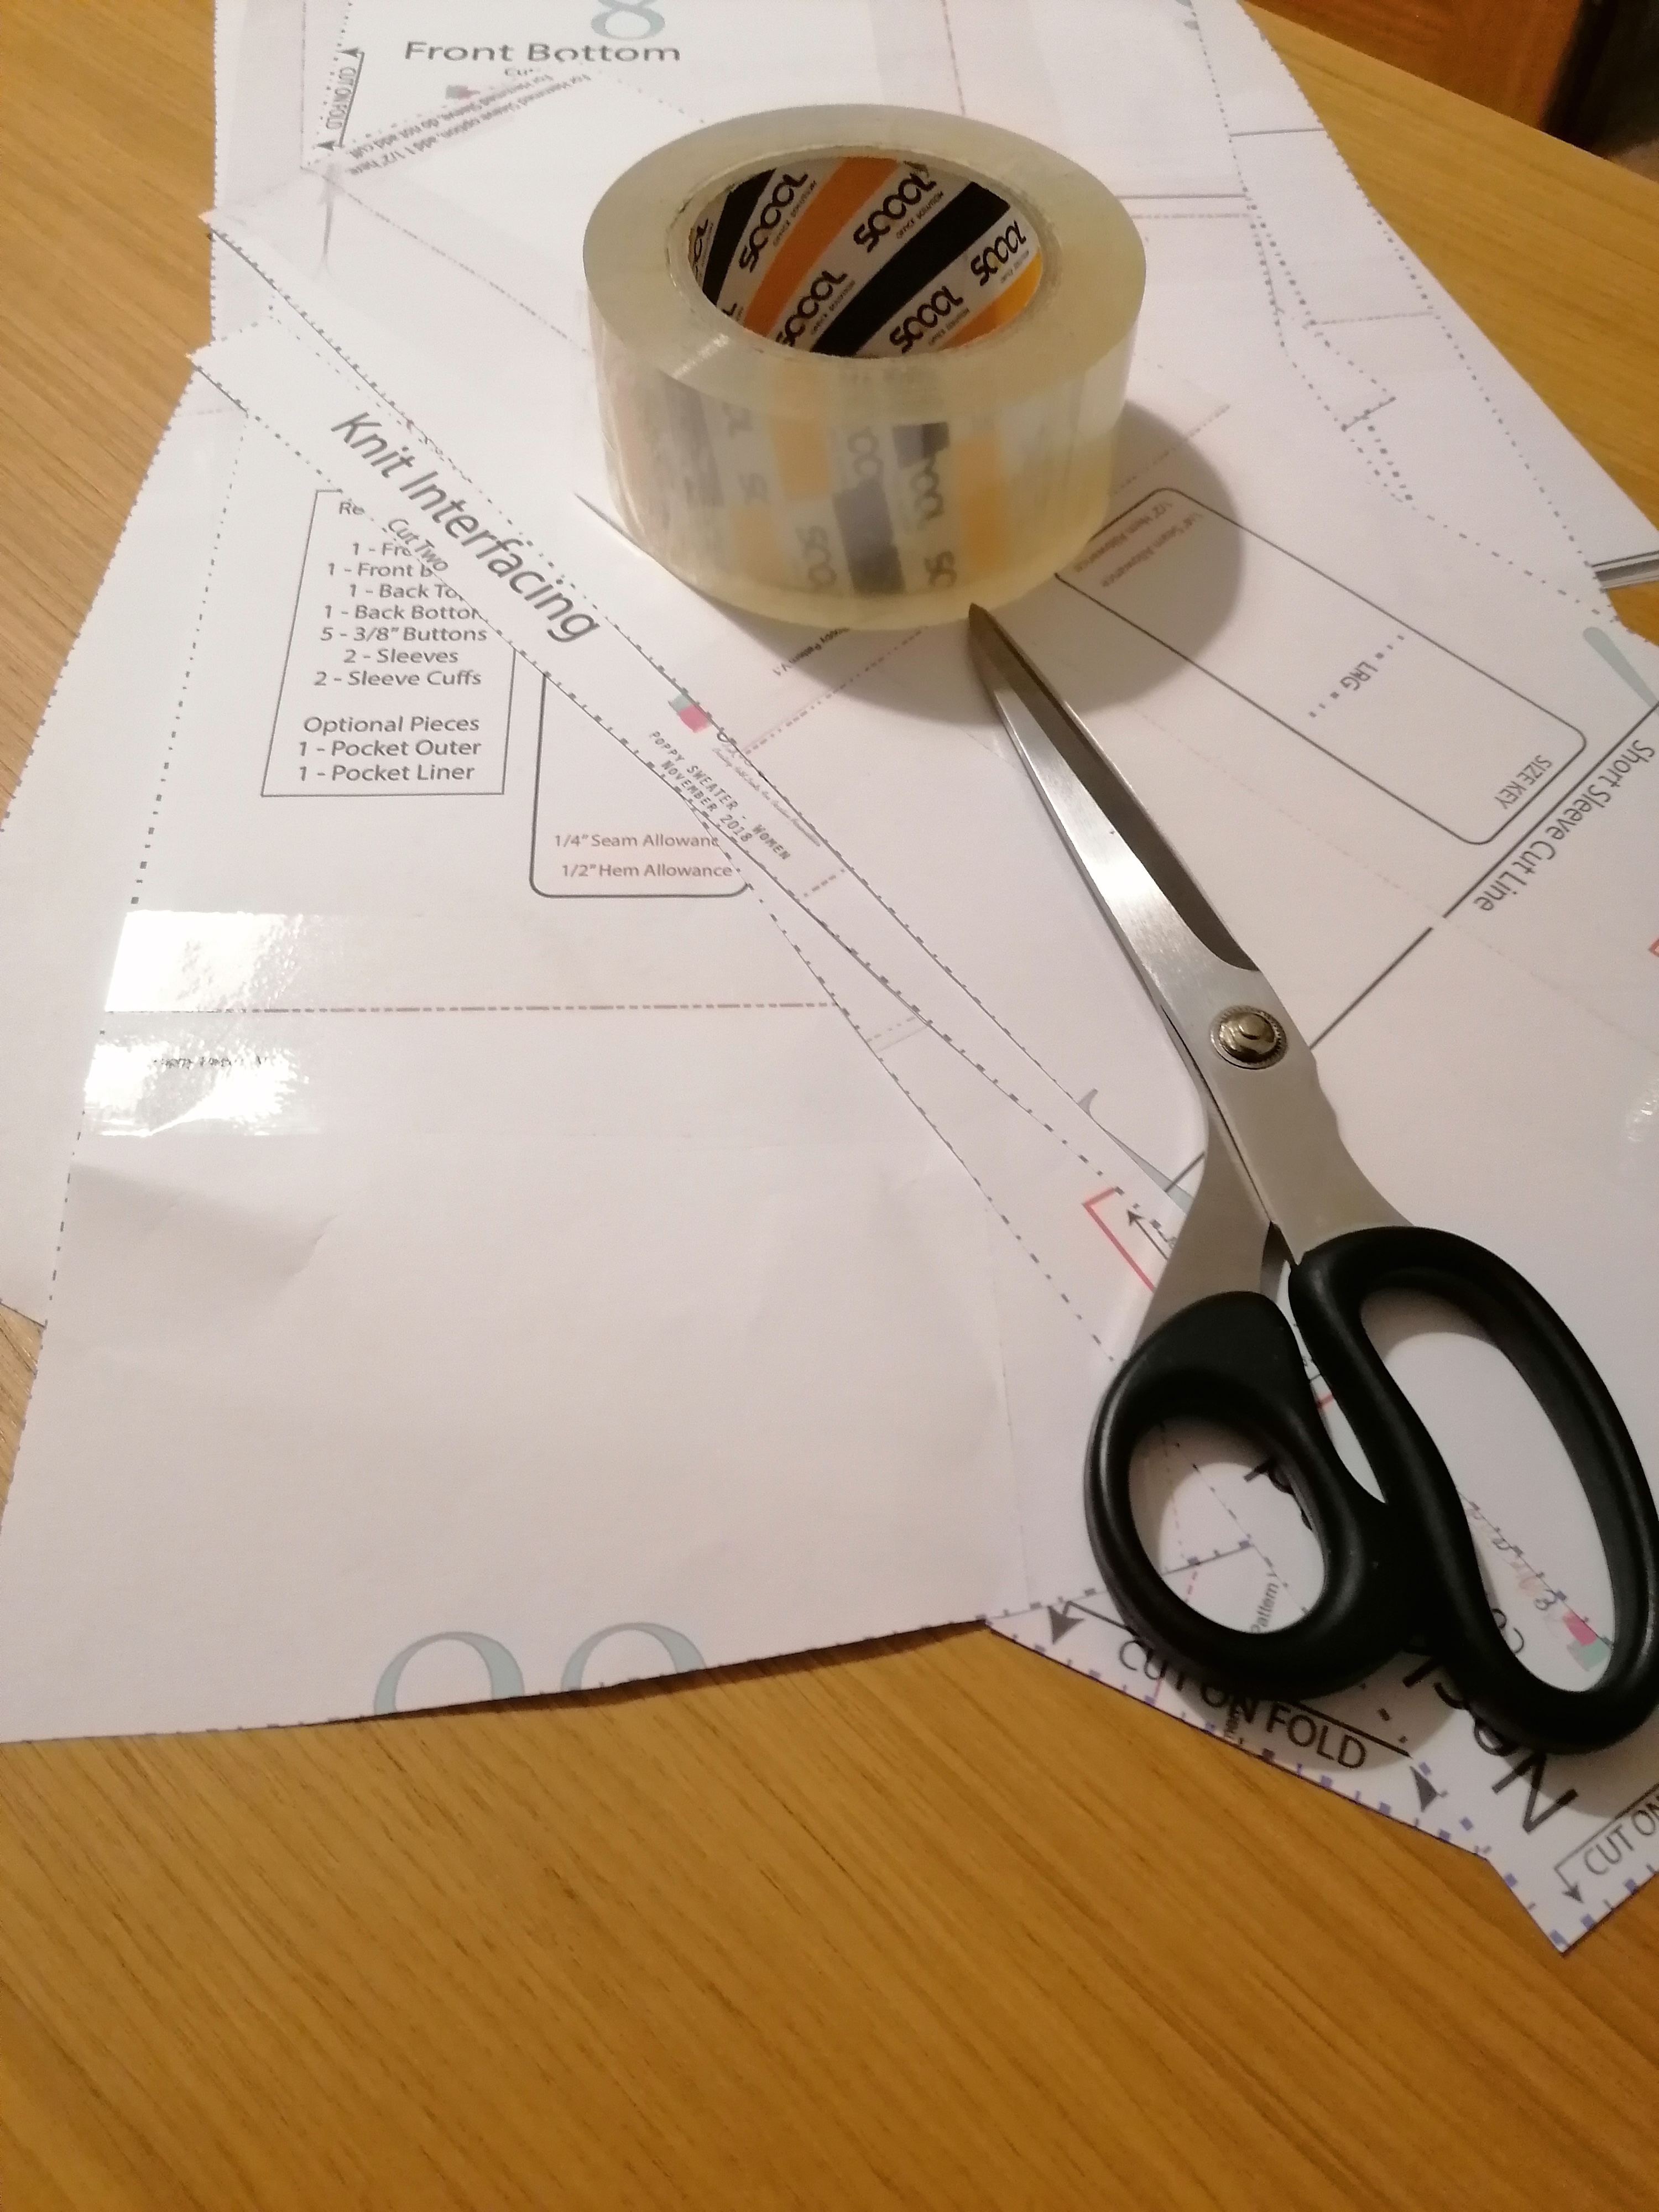
After printing and taping the pattern, I followed the pattern instructions to select my fabric and chose two pieces of knit that I loved, but didn’t have enough to make a whole sweater. Poppy top is amazing to make the most out of your fabric! So much love for this pattern! Then I did everything according to the pattern instructions for the front of the top… although I didn’t add the pocket… it’s optional and you too, can choose if you want it or not. I might give it a go on my next Poppy.
I started hacking the back: I sewed it by the middle seam with a regular seam allowance of ½” and then placed the pattern on top of it to check where the placket sewing line should be. Marked and sewed that second line, ironed and flatten it really nice.

I sewed it again making sure I was going through all layers. That gave me my faux placket. After that, I went back to the pattern instructions and follow them till the end. Buttons were sewn through all layers.
The final result…


(Written by: Dora Serrano)Follow me: www.instagram.com/colourbymim or www.sew4five.wordpress.com This post contains affiliate links which means the price of the patterns and/or fabric stays the same for you, but I’ll get a small percentage if you buy through my links.