Hello Everyone! I hope you are having wonderful day! Katie here, back with another blog. Today I want to talk about how I address sewing for my growing little girl.

She is 8 years old and she is quickly outgrowing many kids patterns. I am not ready for her to be too grown up and love seeing her in the clothes I make her using Ellie & Mac patterns.
I do have a secret for you…. if you didn’t realize it yet, Ellie & Mac is extending their kids sizes!!! Go check out the size range in the Kid’s High Hopes Dolman top that just released!
I am so excited for this! But it will take a little bit before extended sizes get to all the patterns, until then, I will continue grading the patterns that make sense. If you haven’t heard that term before, grading means joining the lines between your different measurement points to make a custom fitted pattern. Most people fall into multiple size areas.
This approach will work best if most of her measurements fall within the drafted pattern. With kids especially, it is important to make sure that you measure them right before cutting and sewing. In just a few weeks, my daughter’s measurements can change drastically.
This sew has two modifications, I extended the waist to fit her, and I shortened the skirt to a tunic so I could maximize one yard of fabric for the skirt. For now, we will focus on extending her waist size by grading beyond drafted lines on the waist. Today we are using the Kid’s Breezy Dress Pattern. This Kid’s Breezy Dress has been a favorite in our house because of how fast of a sew it is and for the wonderful fit.
To start this project, I used the following items:
-
Flexible sewing tape measure to take current measurements
-
Kids grow so fast; it is best to always measure frequently when sewing for them. I have seen my daughter jump whole sizes in height in less than two weeks time before.
-
-
Your Pattern!
-
Printed or Projected both will work, I projected my pattern for this project.
-
-
See through sewing rulers (not required but they make life much easier with grading)
-
I have a collection of clear acrylic sewing rulers and the ones I use the most for sewing clothes are linked below:
-
Rectangular quilters rulers, These come in so many combinations of sizes and I use my 2.5 x 18 frequently. (Used for this project).
-
Dressmakers style and design ruler, commonly used when grading hips, arms, skirt curves. This blog discusses a straight grading but depending where you grade, you may need one like this.
-
-
-
Muslin (cheaper fabric with required stretch) to test fit, before you cut into your good fabric.
Step 1.
When I got ready to make this sew, my daughter measured off the pattern’s size chart for waist (she wears 14/16 in ready to wear clothes), but within the pattern for chest and height. This can make sewing a challenge at times. Right now, her waist is really where my issue is, I need to grade past where the pattern is drafted to. The Breezy dress goes up to size kids 14. And a size 14 is perfect in the shoulders, we just need a larger waist for her right now. Based on the size chart, she needed a size 16 waist when I made this item.

At the time of making this, she measured a 31 inch waist. Based on the size chart, I decided to grade out one more size. To do this, I needed to determine the difference between the next two closest sizes. Looking at sizes 12 to 14, the waist increased 2 inches on the size chart. If we take the same width adjustment past the size 14 cut line, this should put me where I need to be for her measurements.
Note: Based on the measurements and the size chart, determine how many sizes you need and adjust appropriately. If I needed to go up two sizes, I would adjust twice as much.
Step 2.
I need to show both size 12 and size 14 on the pattern. The bodice is shown here. I measured the difference between the sizes at both the top and the bottom of the bodice sides. Some patterns may have a difference in measurements between top and bottom. This allowed me to determine that she needed 0.3125 inches past the size 14 cut line. The waist of this top and the waist of the skirt need to have the same adjustments to fit together properly.

Step 3.
Line up the pattern adjustments prior to cutting your fabric.
I did not move the bottom of the arm hole since I am already cutting the appropriate chest size. This will give me gradual grading out from the correct chest size to the correct waist size.
To ensure my fabric is lined up properly, I used my clear sewing ruler lined up at the point of the arm hole. I then moved to bottom of the ruler out 0.3125 inches from the edge at the bottom of the bodice piece, pushing my side seams out the appropriate amount.
For my skirt, I moved the fold to be 0.3125 inches from the “cut on fold line” of the pattern. This kept a consistent 0.3125 inches added across the whole fold.
Note: If I needed to do more complicated grading, I would either print my pattern so I could draw new cut lines or use software to add new graded cut lines that could be projected.

Step 4. Finish cutting all pieces and sew per the pattern instructions.
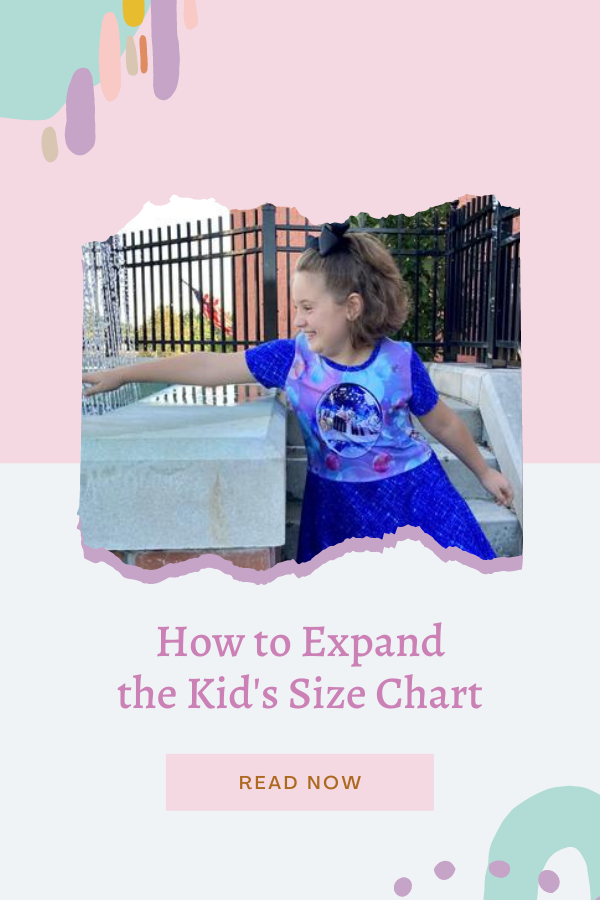
Her smile says it all! Custom fit and she loves her adorable tunic made from the Kid’s Breezy Dress.


(Written By: Katie Pangrazio)


