Are you like me and have several fabric panels just lying around, waiting for the perfect project? I am going to assume I am not alone. I use a similar technique when I add vinyl to my projects, such as this Sweetie Tunic I made for Baby Girl here. The hardest part is choosing the right sewing pattern for the perfect custom fabric panel. Choosing a fabric or custom fabric panel, sometimes may take the longest in my sewing process. I have been known to change my mind at the very last minute.

First, I grab some thin white sketch paper, you may find the same one here. Then. I place the sketch paper over the pattern piece I would like to use with the fabric panel. I keep the paper held down with patterns weights or, in my case, random things nearby.

Next, I steal, I mean borrow, one of my kids washable markers and trace around the outside edge of the sewing pattern. This technique works great when working with multiple size patterns or if you are adjusting any patterns.

You will now end up with an outline of the sewing pattern on the sketch paper.

Then, grab your NON fabric scissors. Remember, to never use your fabric scissors on paper, it will ruin your blades. Cut along the green (or whichever color you chose) line to have a new pattern piece. Since the sketch paper is thin, you will be able to line up your fabric panel more effectively.

Next, take a hold of your fabric panel and lay it flat on your cutting mat. I use this oversized cutting mat here and it has been a life changer. Everyone needs one! The gorgeous "Find the Beauty in Everything" fabric panel is from Aurora Designs, you may find it here. I use a long quilting ruler, here, and these amazing erasable ink FriXion pens, here, to mark the center of the design. Measuring from the farthest edge of each side will give the best centered look, most of the time. 
Fold the fabric panel in half at the marked line and iron the edge flat. Do not worry if the line disappears while ironing. This will give a center crease to line up your pattern piece.

Place the newly ironed fabric panel on the cutting mat and line up the crease with the lines on the cutting mat. This will help ensure the fold line is straight.

Slide the sketch paper pattern piece on top of you folded fabric panel and line up the edges. Some patterns and fabric panels will allow for more adjustments of where to place the fabric panel designs. However, on this particular fabric, I just had enough room to start from the very top. If yours has more room, feel free to adjust the pattern piece up or down for your desired look. Remember to account for seam allowances. Then take you pick up your rotary cutter, like this one here, and cut out your fabric panel piece.


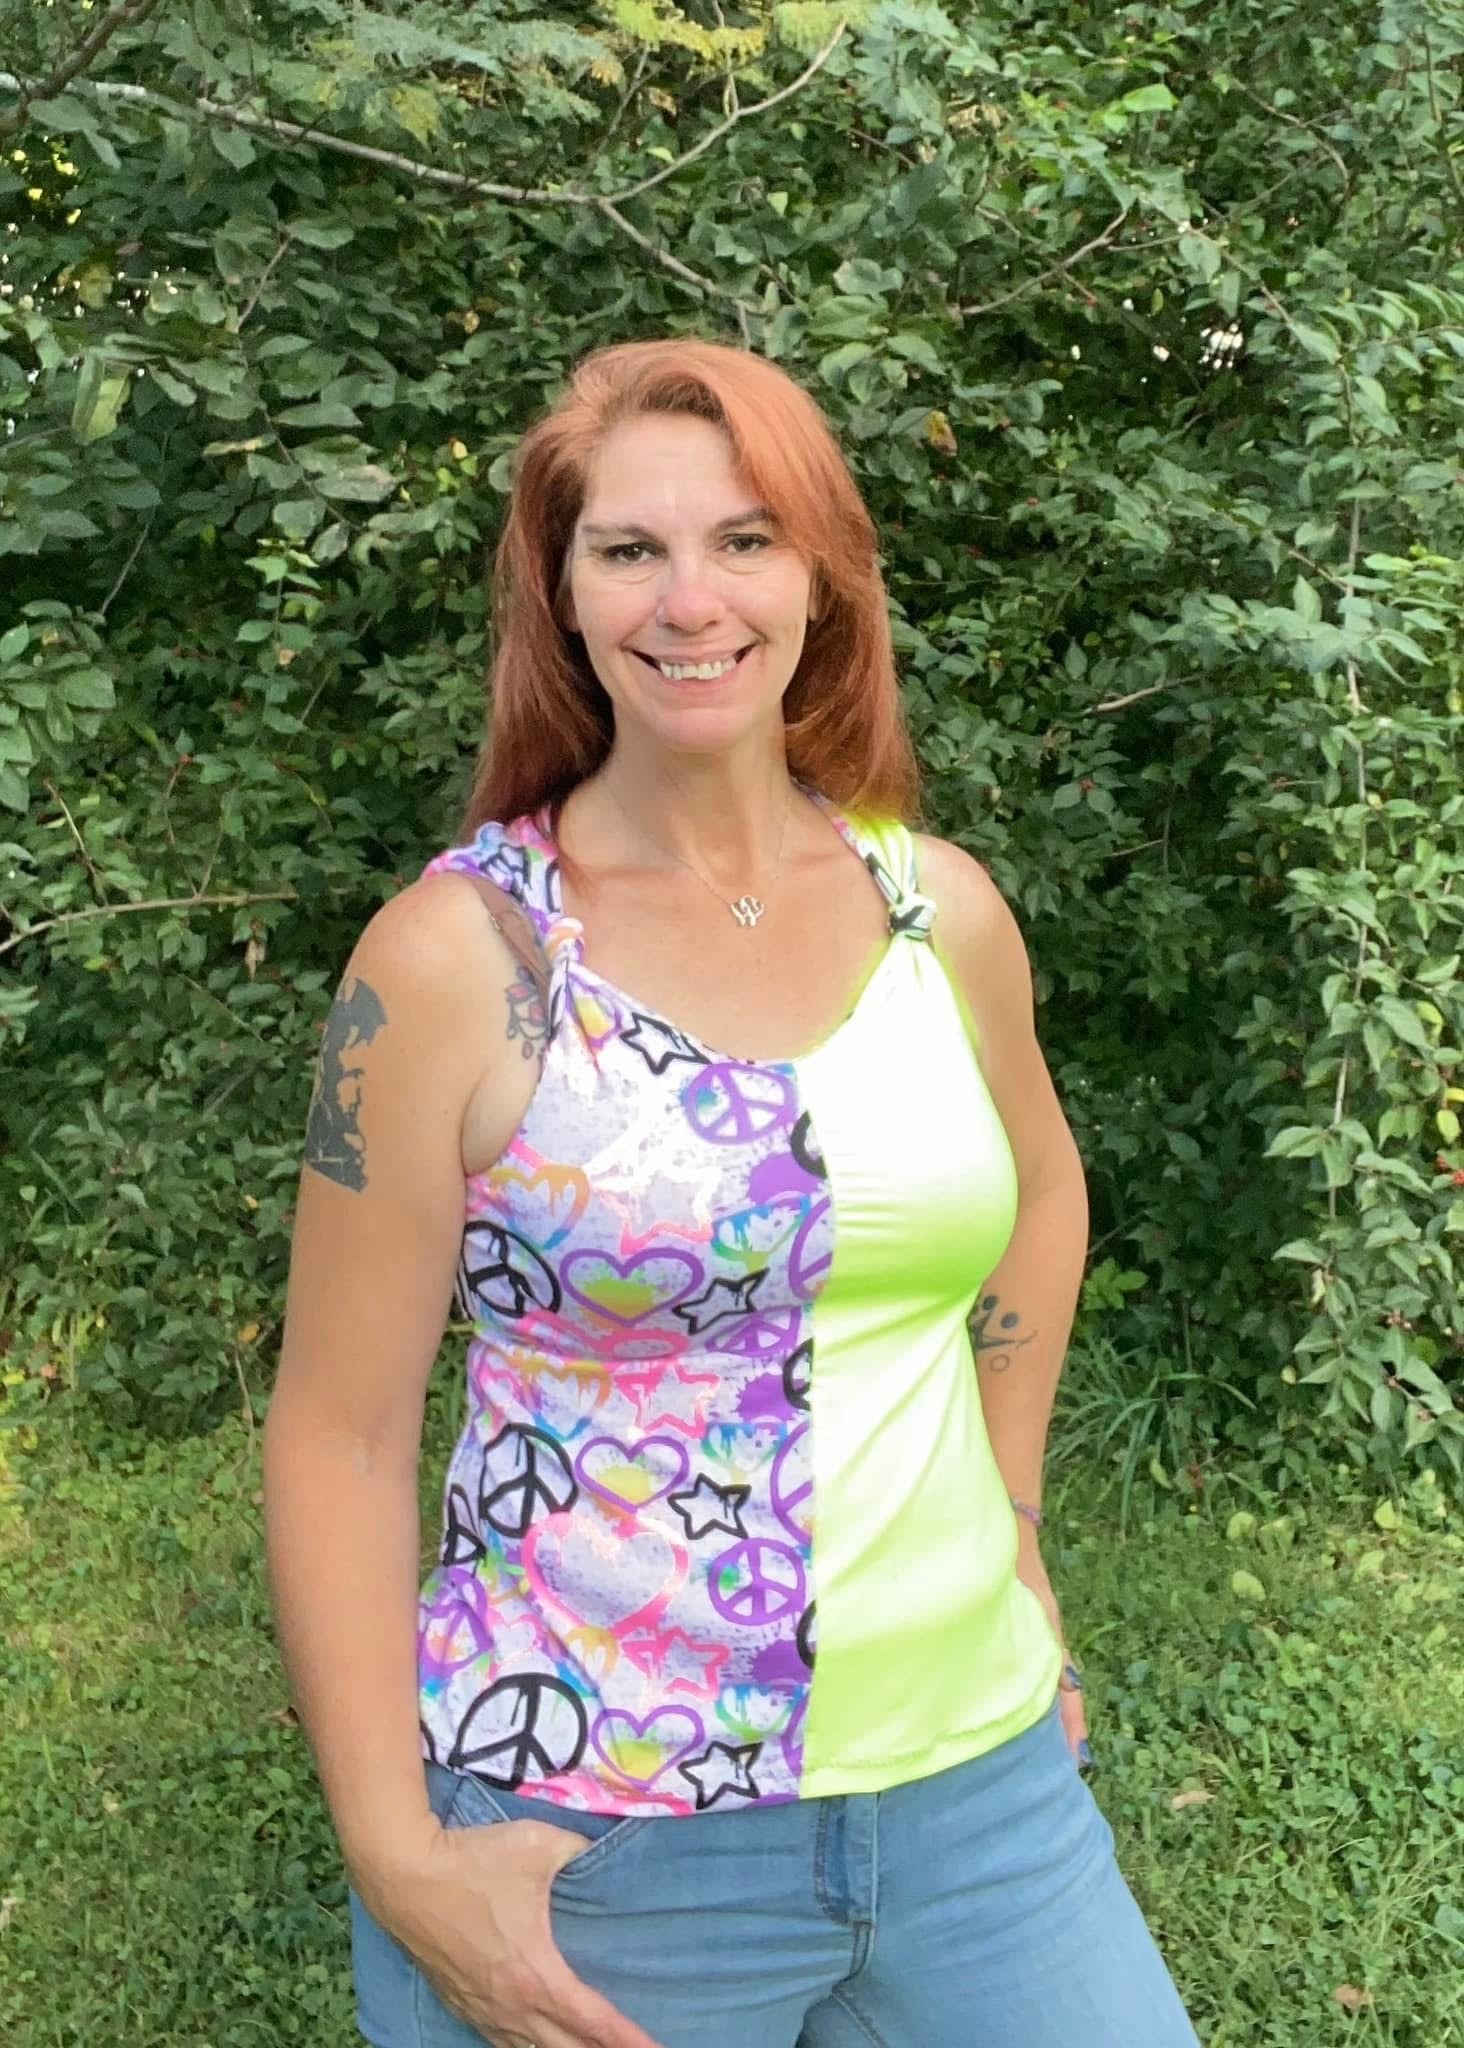
Voila! You have a perfectly centered fabric panel! I used the Good Sport Tank sewing pattern for this tutorial. You should grab it here, as it is amazing!! Use code: CA151 and you will save an additional $1.51 off any item through July 3rd.
About the the author: Lo creates fun and unique fashion for her family over on the Seams Sew Lo Blog. She also hosts a Sewing Deals Calendar to find all of your favorite Sewing Deals. Follow Seams Sew Lo on Facebook, Instagram, Pinterest and Twitter. Have you downloaded the new Seams Sew Lo Sewing App yet??? It is available on Apple and Android! Find and Rate all of your favorite indie sewing pattern designers and fabric companies. Plus, find all of their latest sewing deals! Download the App NOW:


