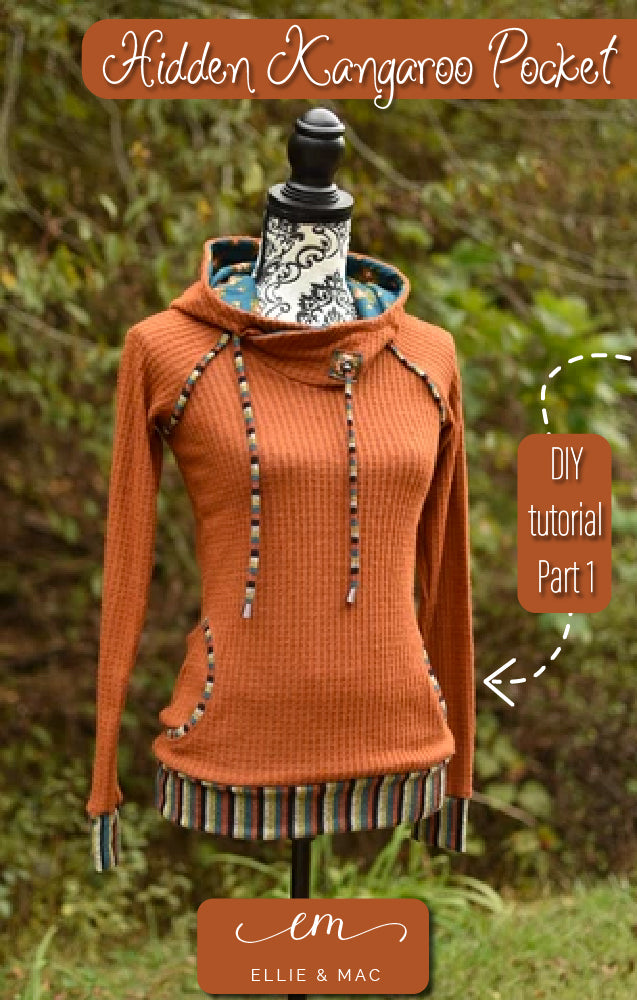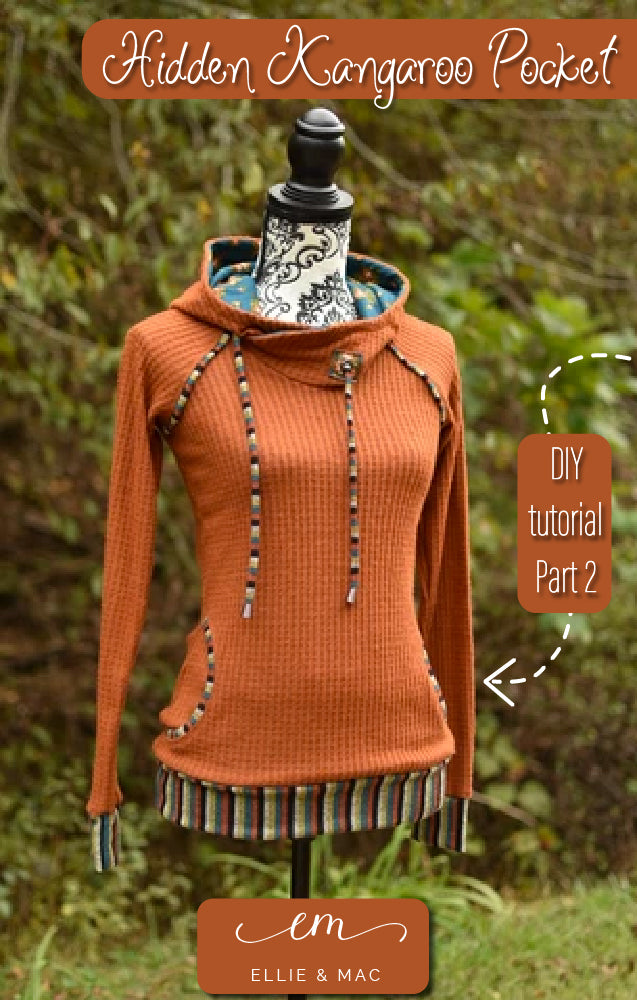
Howdy! Alisha here. I’m excited to bring you another fun pocket hack! I had so much fun coming up with a new, fun, and exciting hack that you can use on any Ellie & Mac top or hoodie pattern that you like! I will also include how I added the piping to the sleeves of the Going Home Raglan that a few of y'all asked for as an added goodie!

Hacking and mashing is one of my favorite things about sewing, and I get so giddy when I see my finished project! It allows you to add a piece of you into each pattern! Exciting, right? If you’ve been hesitant to try hacking your own pattern because you think you might need special tools, I’m here to tell you that you DON’T!! Heck, I’m holding a bowl in my hand for crying out loud..lol, you’ll see why in just a bit! Below you will find a list of things you will need to complete this hack!
- 2-4 sheets of blank paper
- bowl with a 4.5”-5” in diameter (or anything round with 4.5”-5” diameter) its very helpful, I promise lol.
- your choice of pattern
- Permanent No Sew double sided fusible tape (optional)
- matching thread for top stitching
- straight ruler
- pencil or other marking tools
Now, I know y’all are eager to get to the hacking, so, lets get down to the nitty gritty shall we!
Step 1: Lay your front bodice paper pattern piece out in front of you. Measure up from the bottom hem 1 3/4” and mark. Place the bottom of your bowl, or other round object on the mark that you just made. Now you’ll only want half a circle here, so make sure your only half your bowl is on the pattern piece. Once you get your bowl positioned how you like, trace around the bowl on your pattern piece. Do not cut the pocket on your pattern piece yet. We’ll get to that in just a bit

Step 2: Take a blank sheet of paper and place it under your front bodice piece, lining up the bottom hem and the side that is marked FOLD on your front bodice and blan sheet of paper. Trace along the side seam that is marked in red. Mark where the top of your pocket is on the blank paper that you just traced on.
Step 3: Remove your top bodice piece from the paper you just traced on. Now, measure up from the mark you just made to mark the top of the pocket 3/4”, mark this.
Step 4: Using a straight ruler, making sure your nice and squared, draw a straight line from the mark you just made all the way over to where it will be cut on the fold.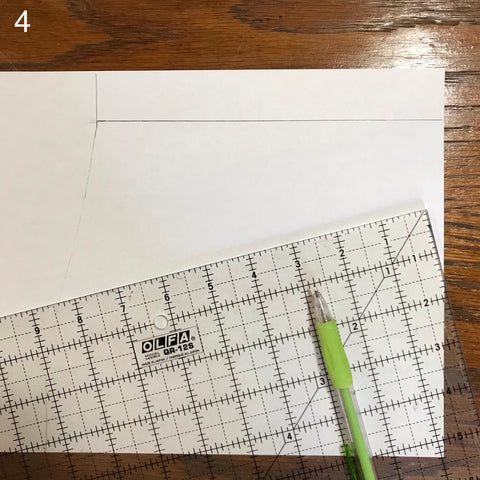
Step 5: Now we can cut out our pocket on our front bodice. (if you would like to keep this little piece, I suggest taping it to the front bodice piece so it dosen’t get lost)
Step 6: Once the pocket is cut out, take another blank sheet of paper and place it under the front bodice, making sure to line up the bottom hem and the side of the bodice that will be cut on the fold. Trace along the side seam and pocket along the red lines.
Step 7: On the paper that you traced on, measure up from the top of the pocket 3/4” and place a mark.
Step 8: With a straight ruler, making sure its nice and straight, draw a line from the mark you just made all the way over to where it will be cut on the fold.
Step 9: Now we have our pieces needed to create our hidden kangaroo pocket! These pieces will be cut on the fold, so please be sure to label them as such. I also like to put the names of each piece onto the pattern pieces. From here on out, the pocket piece with the pocket opening will be referred to as the front pocket piece* and the pocket piece that is solid will be referred to as the back pocket piece.
Step 10: To get our pocket bands, measure your pocket opening. Take the number you just got and times that by 87%. The total will be the length you will cut your bands and the width is 1.5”. Cut 2 pocket bands.

