Hello sewing friends!
Have you ever been plagued by indecision? You’ve finally figured out what pattern you want to use but now you must choose your fabrics. You may have shortlisted it to a pile of potentials, but perhaps you simply can’t visualize how everything will go together. What are you to do?
What if I told you that you can make a mockup of your project using a FREE app on your phone? There’s a few out there, but I use ibisPaint X. It’s compatible with iPhone/iPad/iPod touch and Android phones/tablets. The first thing you will need to do is download it onto your device using the App Store/Play Store.
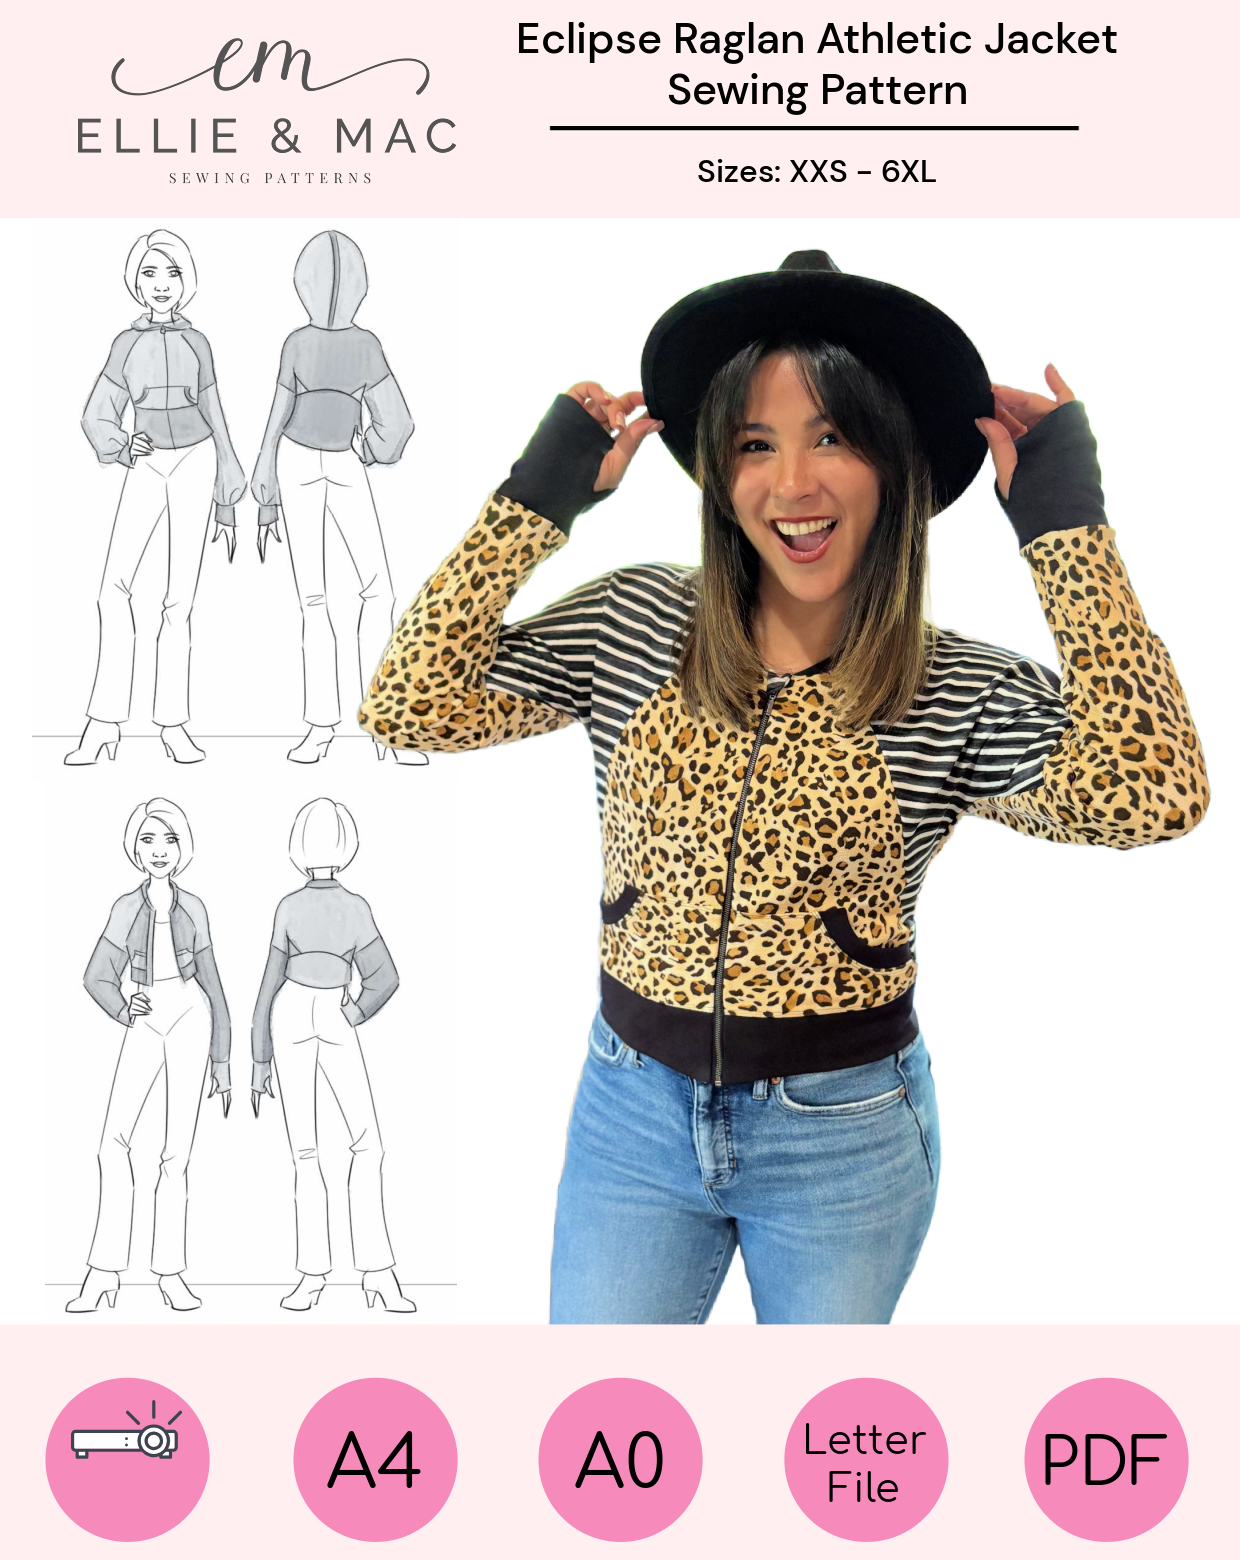
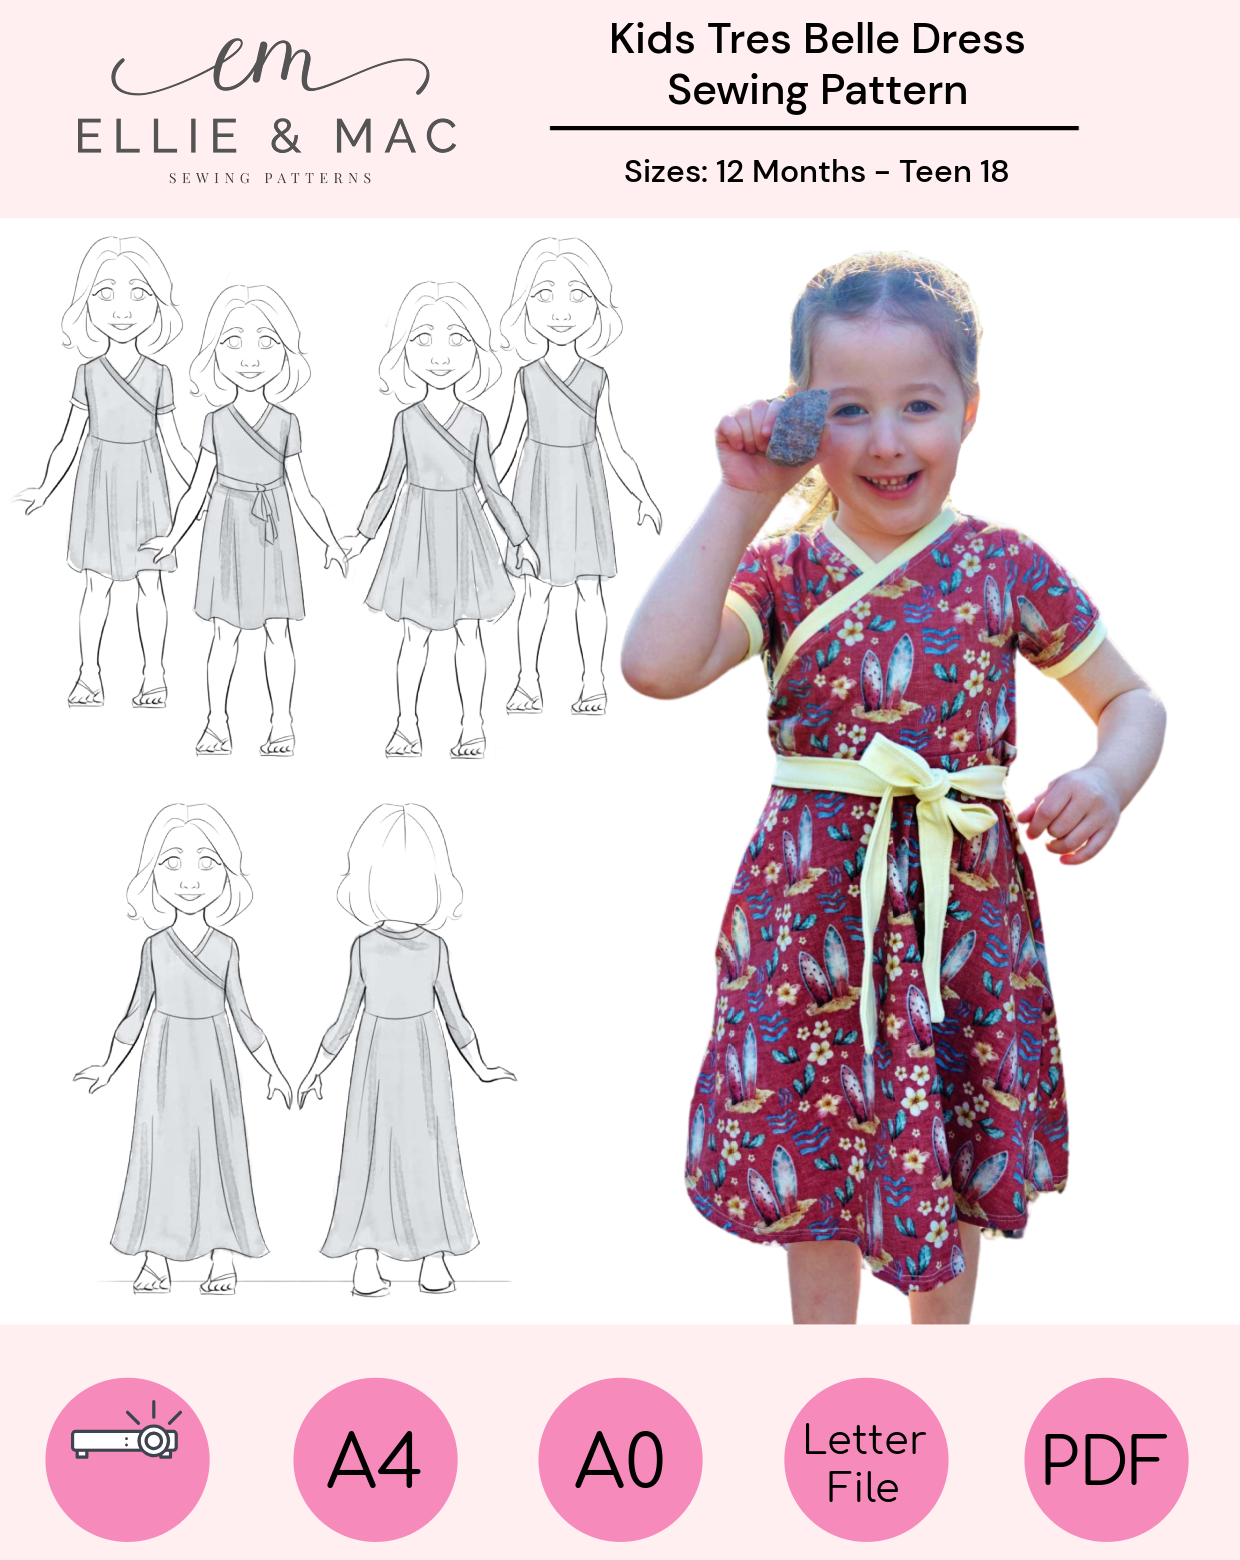
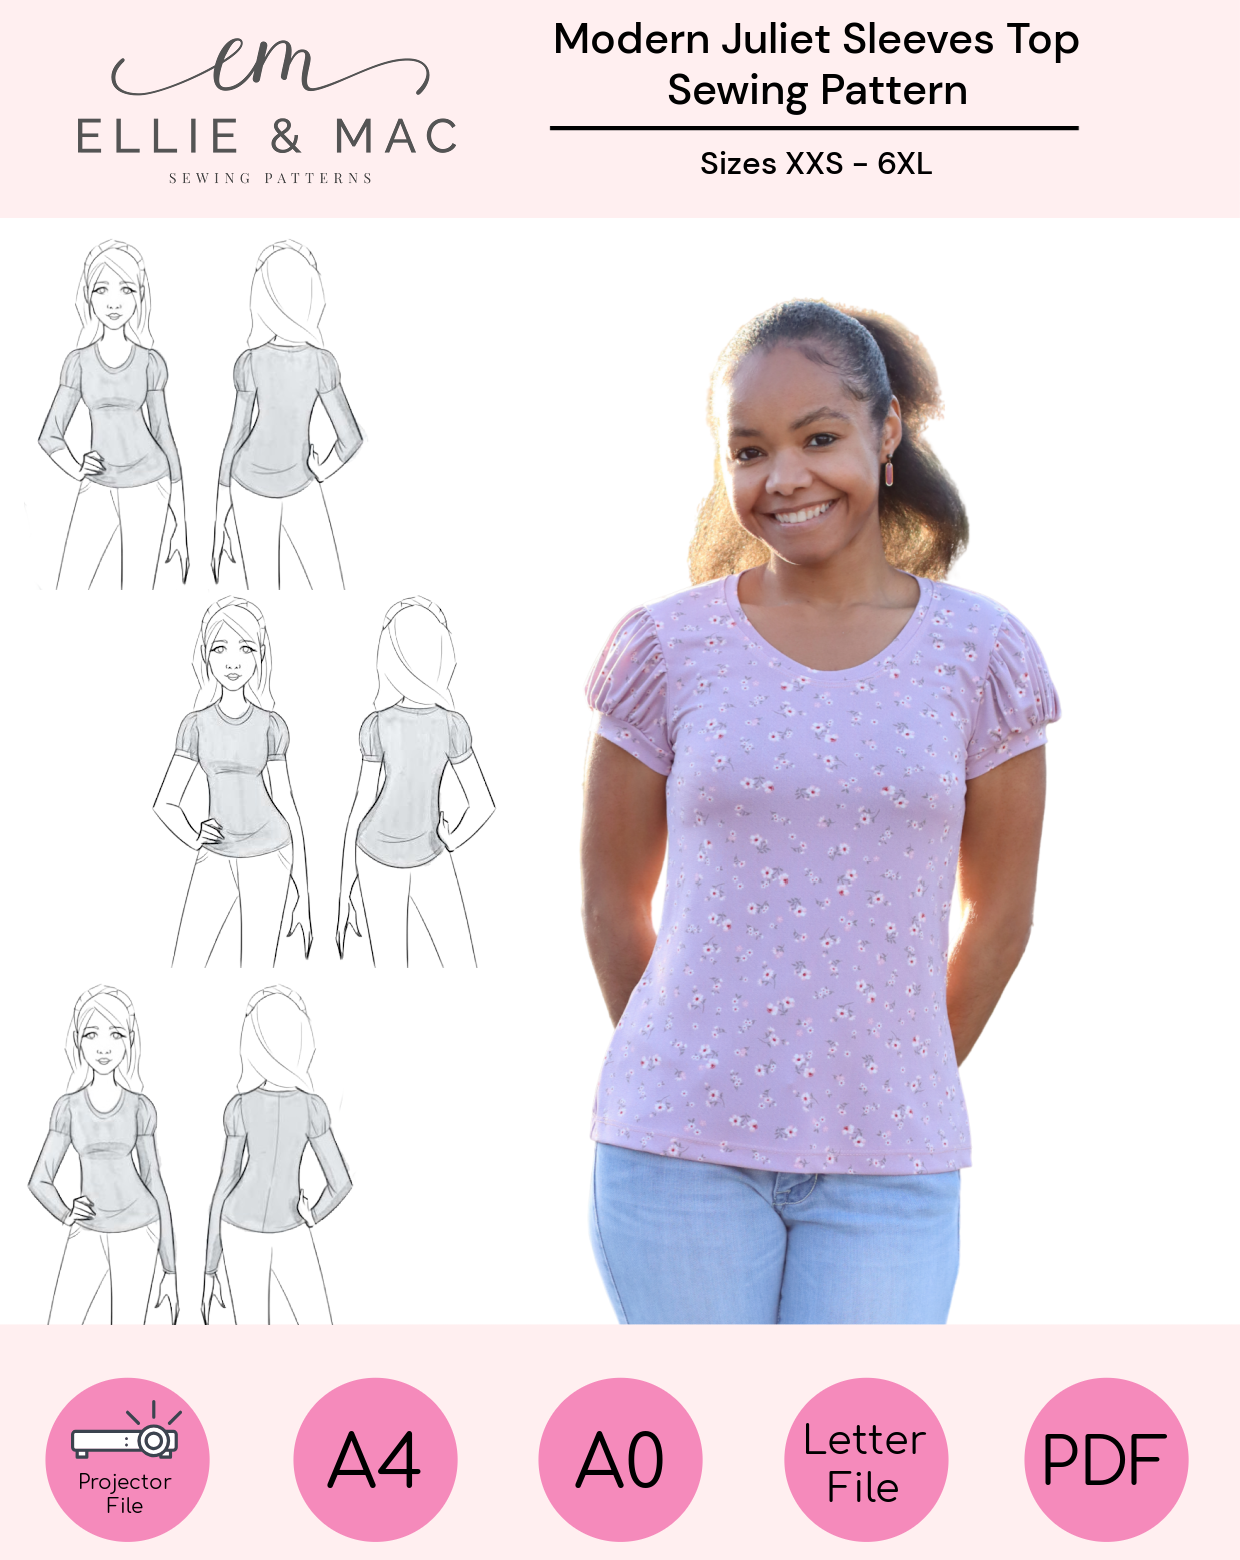
In order to create a mockup you will need a line drawing of your pattern. Ellie and Mac Patterns line drawings can be found on the product page or in the pattern instructions. They are a great way of visualizing the pattern and the various options.
Choosing the Pattern
I look into my wardrobe and, as is typically the case, I have nothing to wear to the pool. I need a new swimsuit and fast. It’s summer and I don’t want to miss a moment of fun in the sun! Given my pale skin and propensity to burn, I need a swimsuit with full coverage.
For this project I will combine the skirt from the Candi Square Neck Swim Dress with the bodice and sleeves from the Wave Rider Rash Guard Set & Swimsuit.
Candi Swim Dress: Line Drawing

Wave Rider Rash Guard & Swimsuit: Coloured Line Drawing

To make a successful mockup we will require an image similar to a colouring page. It should have bold, closed lines with white space. Do not be alarmed if your line drawing isn’t quite “mockup ready”.
Preparing the Line Drawing
The first step is to open the Ibis Paint X app on your phone or tablet and select “My Gallery”.
Ibis Paint X app start screen

In the gallery click on the + at the bottom left of the screen. This will toggle options for creating a new canvas. You will select “Import Picture”. When you see a dialogue box about extracting line drawings select “cancel”.

If the line drawing you are using is a clear, black and white image with bold, closed lines you can skip straight to the next section. If not, continue with this portion of the tutorial.
Open the layers function by clicking on the “1” at the bottom right.
Opening Layers [1]

Add a layer by selecting the + key at the left side of your screen. This is important as you do not want to modify the original image.
Adding Layers [+]

Use the brush tool to trace the pattern. Modify the brush size at the bottom of your screen by either clicking on the -/+ keys or by manually adjusting the slider. The top line is for brush size; the bottom one is for opacity. In my example the brush size was set to 12.2 (too large!) and the opacity at 100.
If at any point you make a mistake, use the undo function at the top left of the screen (it looks like an arrow pointing to the left).
You can zoom in and out of your screen using two fingers. I would highly recommend using a stylus but 99% of the time I use my fingers. It is important to note that the lines must be closed for this to work.
Choosing the Brush Tool

Modifying Brush Size

I want to make some stylistic changes such as lengthening the skirt and adding the Wave Rider bodice. It is easier for me to draw it on top of the Candi than to merge the two photos together.
Creating a useable drawing with closed lines

Now that my line drawing has been completed, I double check that all lines are closed.
The image is almost ready! But first the original line drawing must be hidden. Once again, open up layers. Notice that next to each layer there is an eye. A dark eye indicates that the layer is visible. If you click on the eye it will turn white and the layer will disappear from view. Likewise, if you click on it once again the layer will reappear.
Take a few moments to test the various features in this app so that you will become more comfortable with it. Remember, if you do make a mistake and don’t know how to fix it there is always the undo key.
Hiding the original line drawing from view

The completed line drawing

Digital Mockup
The fun part has just begun. You can now use photos or screenshots of your fashion fabrics to make a digital mockup.
I’ll be using two swim fabrics - one in solid pink and the other a print.


The “magic wand” is used to select an area. When an area is selected you will see a fuzzy line around that area. From that point on, you will only be able to make changes within those borders.
I will use the magic wand to select the skirts. Then I open the layers button and select the “camera” image. It’s located in the black box on the left hand side of the screen. I’ll start off with the solid pink.
The Magic Wand

Choosing Fabric via Camera Button

The “fabric” will now cover the screen. Because this is a solid there is very little that needs to be done other than hit enter. The colour will only appear within the lines.
However, if my fabric had a design I would want to transform the image to fit within the fuzzy lines, in proportion to how it would appear in real life.
If you used the magic wand to select an area that was unintended, or if you wish to clear the selection, the fuzzy areas can be toggled on and off with “gap recognition”. You will see this box at the bottom right of your screen when the magic wand is selected. Simply click the square with the diagonal through it to clear the selected areas.
Adding Fabric to the Selected Areas

Toggling the magic wand on/off

You will now be going through the circular process of selecting areas and adding fabric. Each time you add fabric to your image a new layer will be created. You will need to make use of the eye button to temporarily keep certain layers out of view and/or to make them reappear.

Here are some design options I came up with. Which combinations do you like?


I got bored of looking at a white screen and used the paint bucket tool to make a light coloured background. I also made the original line drawing appear so that my mockup could have a face and legs.


The Waverider-Candi Swimdress
After all that hard work, it was a breeze sewing up the Waverider/Candi Swimdress! I have received so many compliments on my lovely creation. I just love saying, “Thanks, I made it!”

I hope that this tutorial gave you the confidence to start making digital mockups of your favourite Ellie and Mac Patterns.
(Written by Sarah Callahan)


