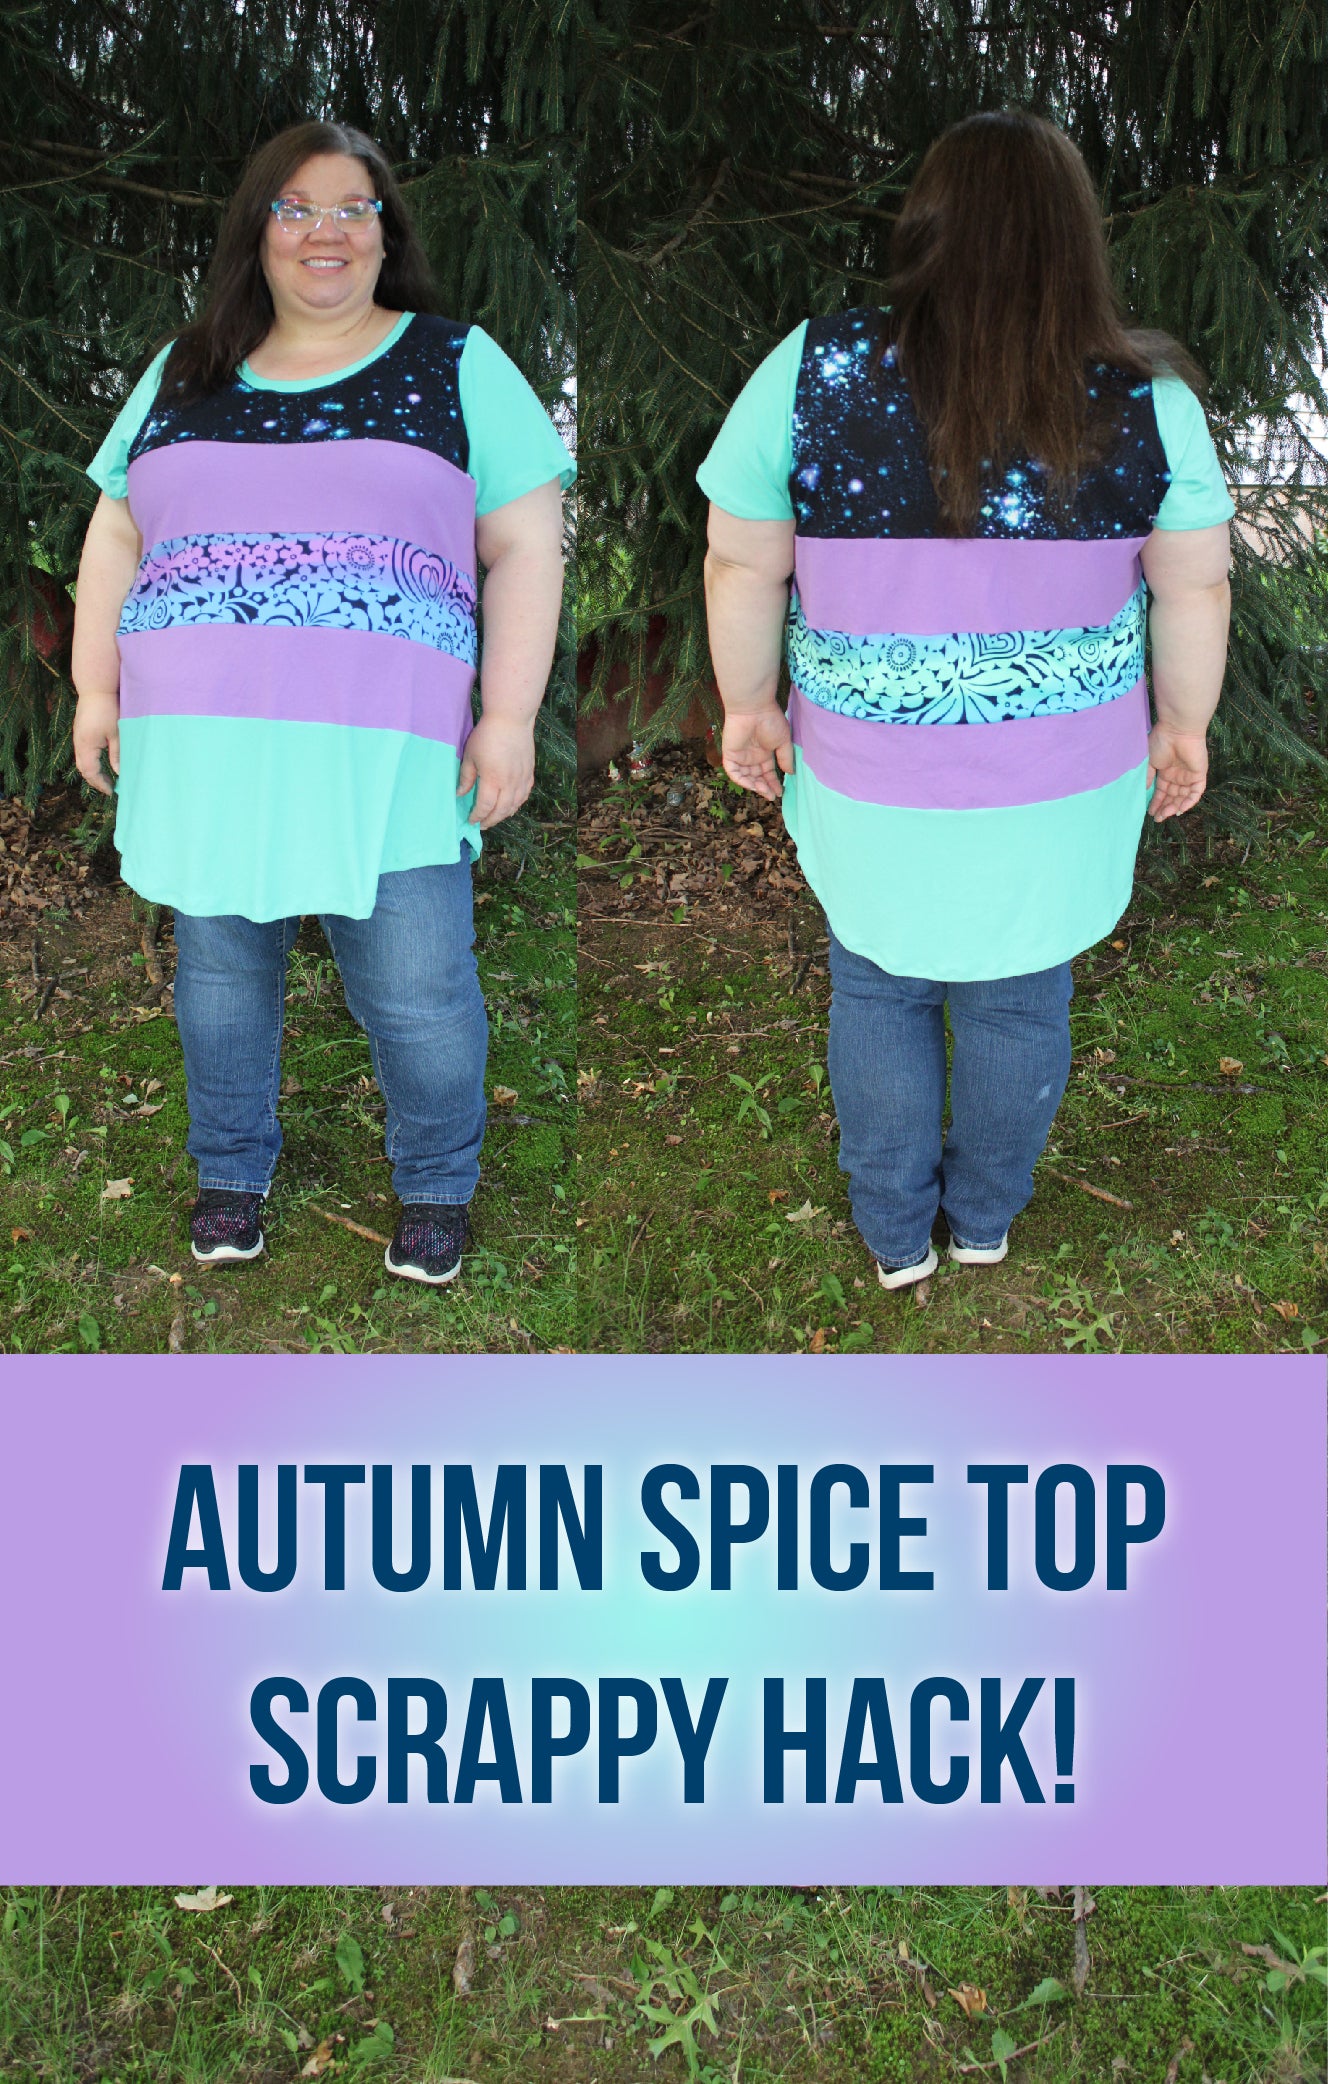
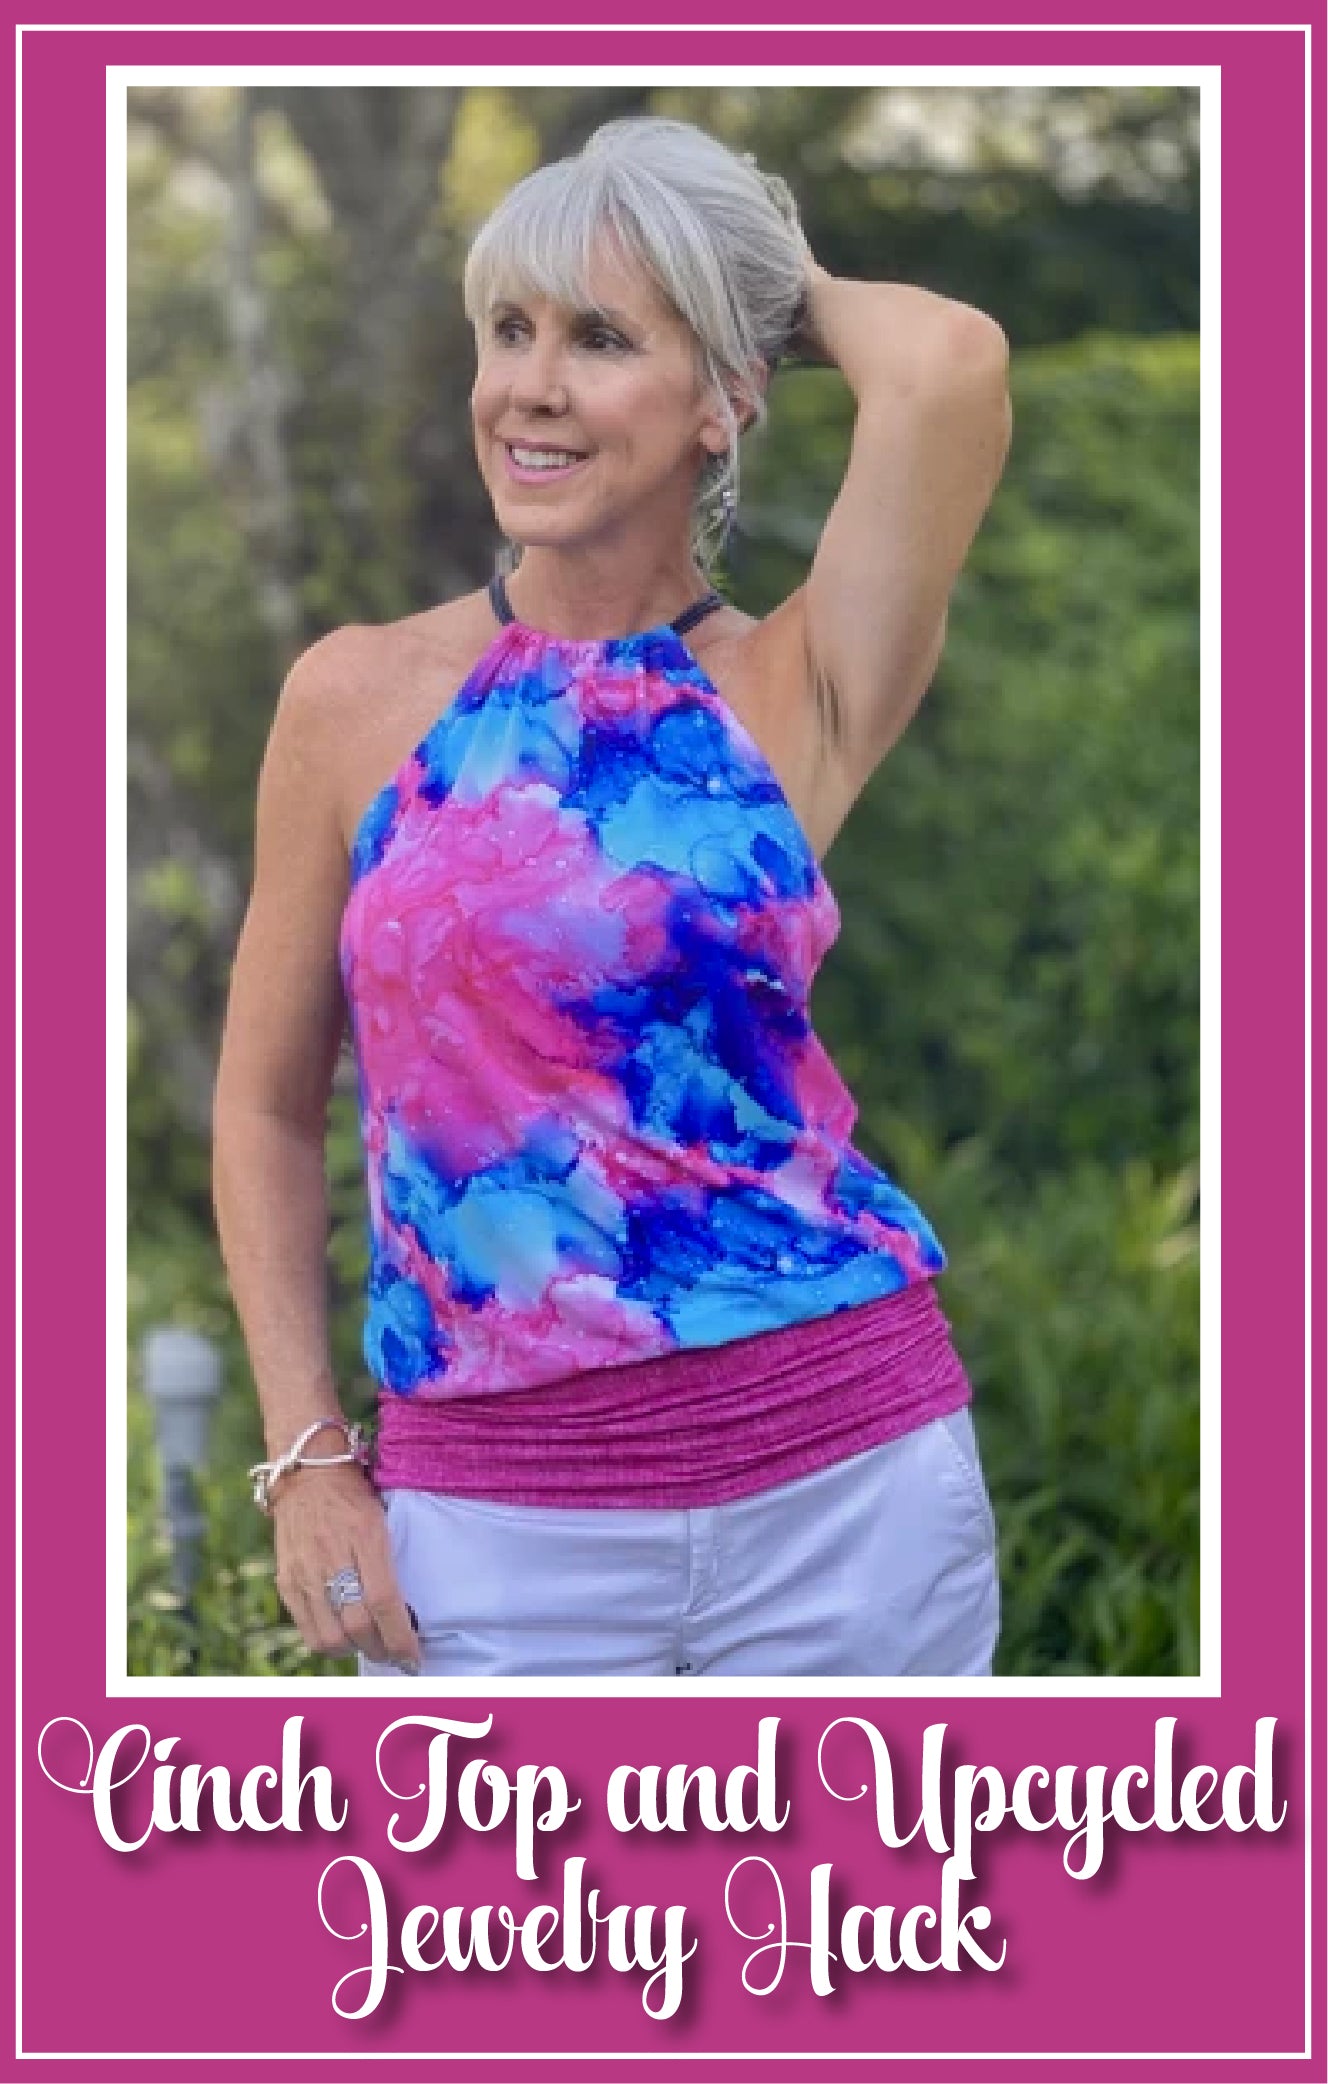
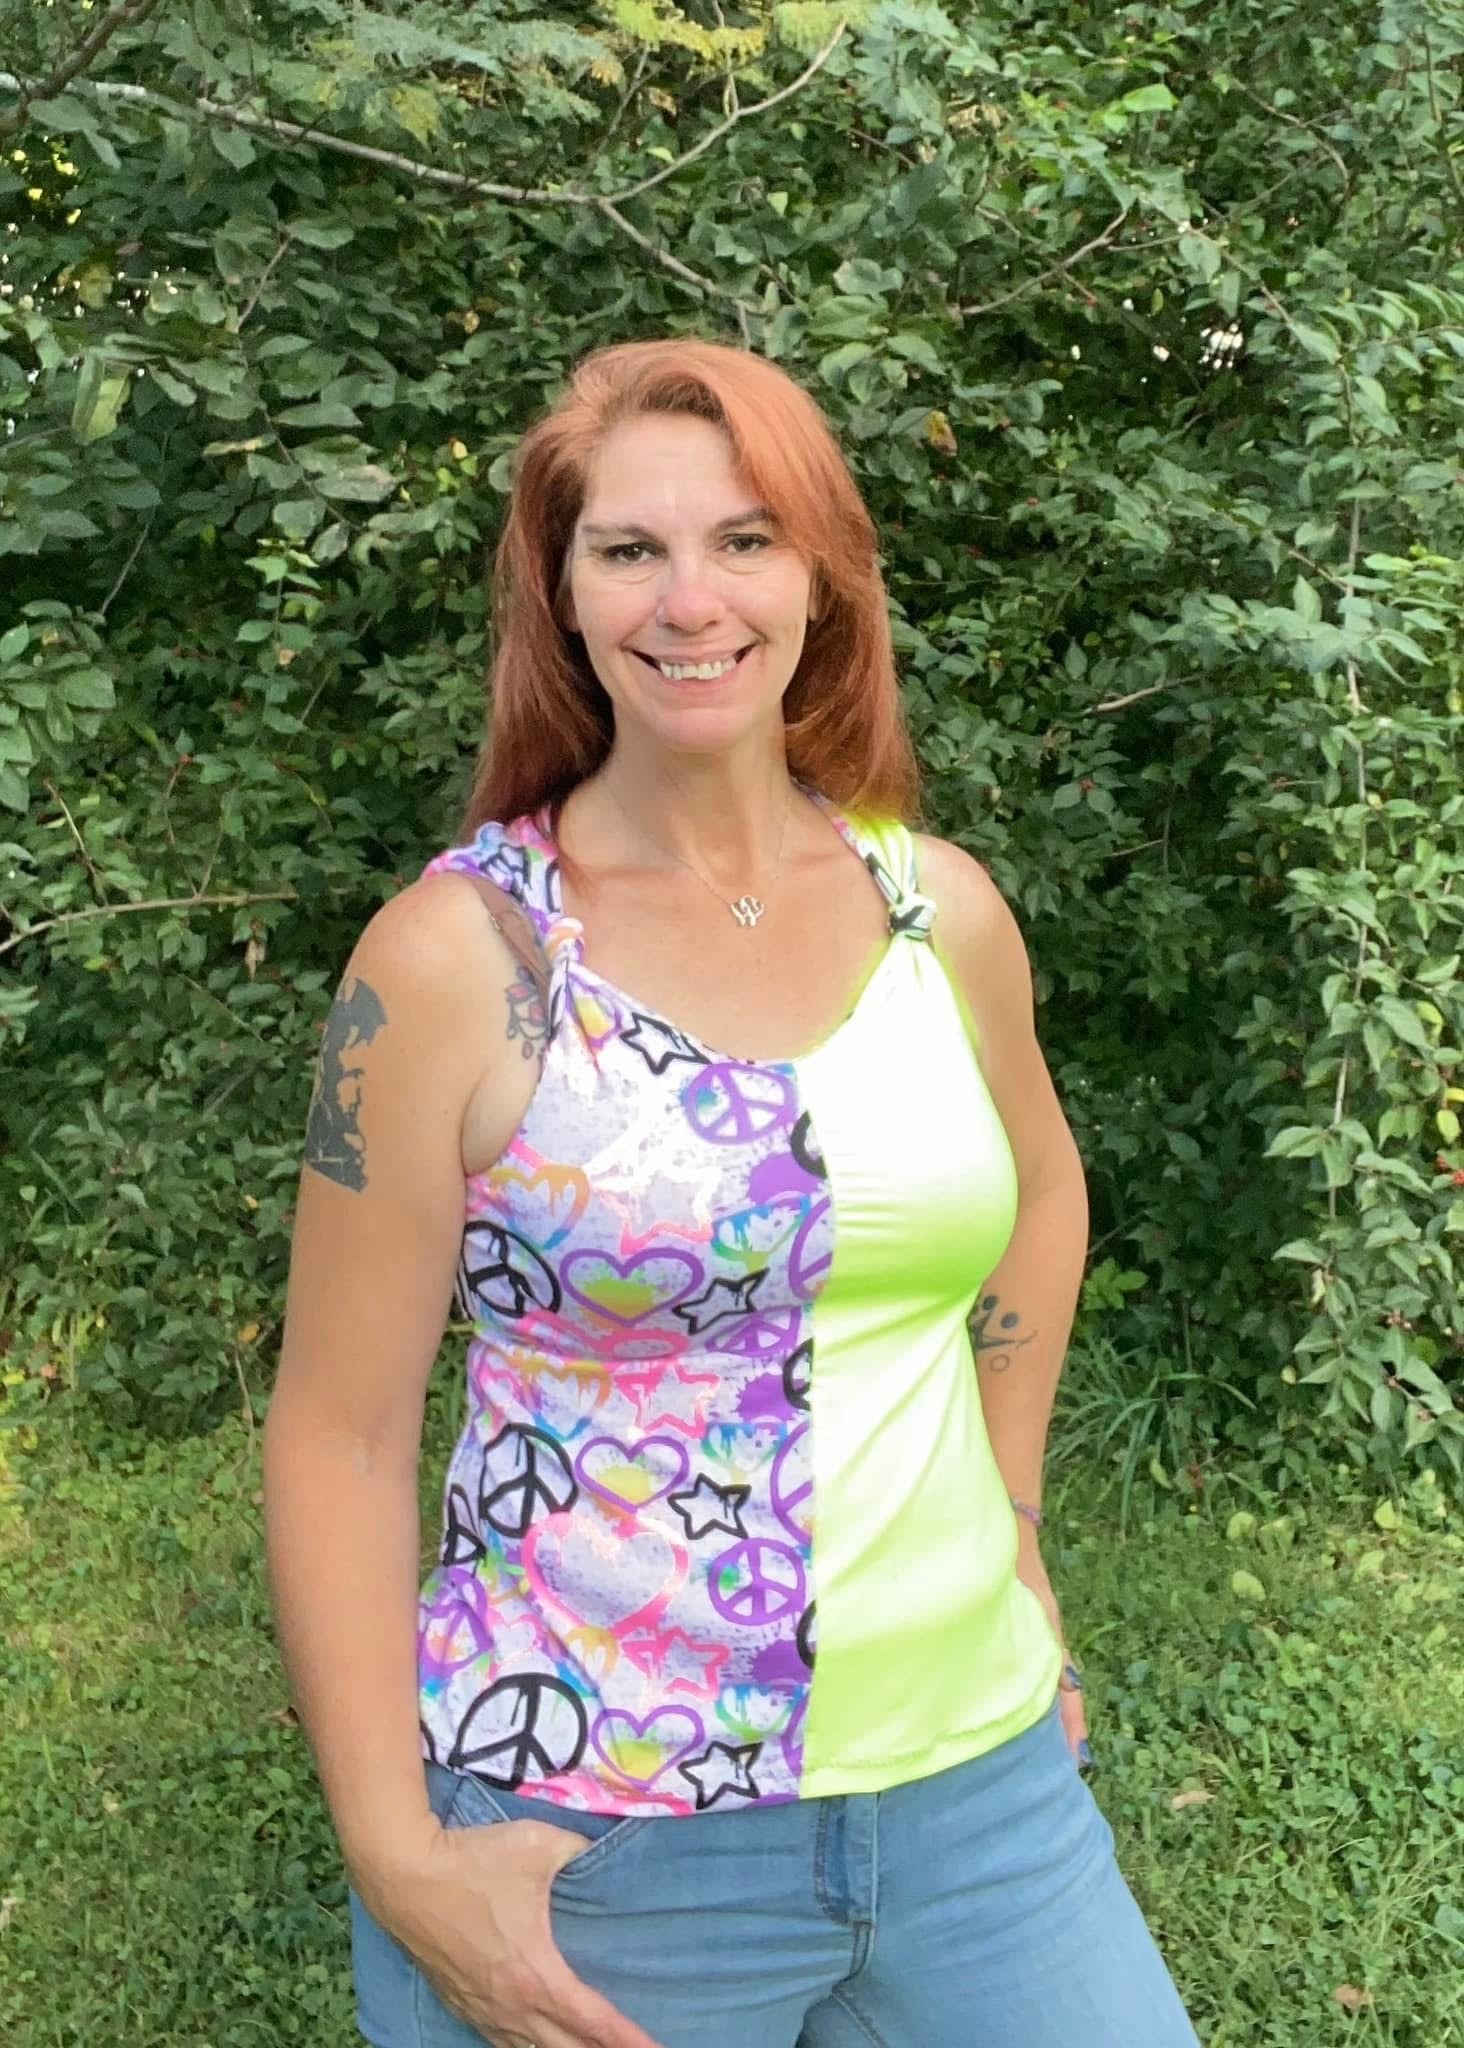
Hi everyone! It’s Lakeisha again from Sincerely, Shantelle and today I’m here to share a couple things with ya! The Lucy Swing Top recently came out of retirement and if you’ve made it yet (or even in the past) you know that both the armscye and neckline are hemmed. While this makes for a super quick sew, I’m always craving different looks for patterns that I enjoy. For this blog, I experimented with binding and bands, and I’m here to share the process with you all! I will preface this by saying that my methods and measurements are merely a starting point. You may find different measurements work better for your body, fabric, personal preferences, etc. You may also find that you prefer the armscye tighter/looser, or even for the neckline to be lowered. Feel free to deviate as you see fit. Now, let’s get to it….
*Pattern Preparations*
For starters, you’ll need the pattern printed, graded to size/height, and cut out. Before modifying anything, go ahead and trace the neckline and armscye of the bodice and label it so you know it’s the “original.” I just taped paper right above the adjustment line for this and am calling it the “hemmed neckline & armscye.” The first one I’m showing you how to create is the binding version. To do so, I simply folded my “hemmed” bodice piece down and did all of this work on the printed pattern. Since the hemmed version is hemmed 1/2” and binding folds right over the raw edge, I wanted to remove the hem allowance. Starting 1/2” from the neckline, I made marks all the way along the curve of the back bodice neckline, then traced it into a smooth curve. I repeated the same process for the front neckline and the armscye (shown in pink). Afterward I trimmed away the newly created neckline and armscye. When this is the bodice I want to use, I can just fold the other out of the way and cut this neckline. Easy peasy.

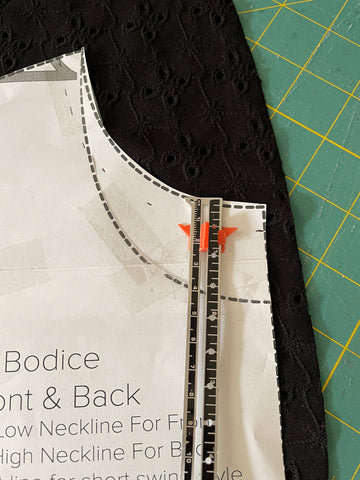


For the bands pattern piece, I taped a new piece of paper above the adjustment line and traced my original “hemmed neckline” again. I then performed the same steps, but used 3/4” from the edge instead. I chose 3/4” because I wanted to make sure to remove the hem allowance and also a little more because my finished bands would end up a little more than 1/2” in finished height ager attaching. The strap will look very narrow at this step, but remember we are adding bands so that will add plenty more width again, so don’t be nervous.


*Sewing*
To construct Lucy, I followed the same steps as the tutorial included with the pattern up until the hem portions. Shoulders and side seams were sewn right sides together. Afterwards, for both the bands and binding method, I had to measure the neckline and the armscye before continuing so I could know how long to cut my binding or band. For the neckline, I matched the shoulder seams and measured from the center front to back. For the armscye, I just aligned the front and back.


My formulas were as follows:
Binding: armscye x .80 AND neckline x .80
Example: 8.5 x .80 = 6.8 AND 13 x .80 = 10.4 (both cut at 1.5” tall)
Bands: armscye x.85 AND neckline x .85
Example: 9 x .85 = 7.65 AND 13 x .85 = 11.05 (both cut at 1.75” tall)
Since I cut the binding and bands on the fold, I did not double the number, but if you are cutting in a single strip, make sure to double it!
Also of importance to note is that my percentages may differ than yours. For the binding top, I used bamboo lycra, which was incredibly stretchy, so as a result, it needed to be cut at a smaller size. For the bands I used a knit eyelet which had less stretch and needed to be slightly longer. I recommend starting at 80% for the binding and 87% for the bands and if you find when pinning or clipping it in that it doesn’t need to be stretched to fit, reduce slightly by 1/4” increments until it fits. On the contrary, if you find that you are having a hard time stretching it enough to fit, you will need to add length. Measuring your armscye and neckline and cutting bands/binding usually results in a great fit, but if you find a little struggle, these are some troubleshooting tips you can use to add or reduce the length.

For both neckline options, you will need to divide your neckline and armscye in four equal parts.

Now I will focus on binding for the moment. The method I am doing to use does not require memory presses. I prefer this and find that I get neat bindings just fine this way (though I always press afterward). After cutting your binding strips according to the formula above, sew them with right sides together into a loop. Divide the binding pieces into four equal parts also. If you are a sewing a directional print, mark along the bottom, so that they when you sew the binding, it’ll be right side up.


Turn your bodice inside out. Insert the binding into the bodice so that they are right sides together. Match your four pins and clips together, aligning the raw edges. Here is where you would decide if the binding is too long. If you didn’t need to stretch the binding at all to fit, it needs to be shortened a touch, then try these steps again. Repeat the same steps with the arsmcyes. Sew them using a stretch stitch.


With the bodice still inside out, fold the seam up toward the binding raw edge. Next, fold the binding raw edge toward the edge of the seam. Keeping that folded, fold the edge completely over the seam. Pin or clip in place. Continue this process around the entire neckline and both armscyes.


Once you have it all pinned or clipped, sew close to the seam edge with a stretch stitch to secure the binding. Press each binding with steam for a professional finish and to help the fabric rebound from the stretching that usually occurs while binding. Just hem your top and you’re all done!

Now I will focus on the bands. This method is pretty standard and how neck and armbands are sewn in most Ellie and Mac patterns. If you’re familiar with that, you don’t even have to read through this. If you aren’t, keep going! After cutting your bands according to the formula above, sew them with right sides together into a loop. Fold them wrong sides together to conceal the side seam on the inside, then divide the bands into four equal parts, like you did the neckline and armscyes before. With the top turned inside out, insert the bands into the bodice, matching your pins or clips and making sure all the raw edges meet up. If you need to troubleshoot because the bands aren’t fitting well, go back and fix that. If everything fits well, go ahead and sew them in with a stretch stitch. Hem and topstitch the band seams down, if you’d like. You’re all done!


I hope you enjoyed this blog and are happy to now have two more ways to finish your Lucy! The pattern is such a summer staple, I’m so excited to continue to find ways to make the next one even more different. If you use this blog, I’d love for you to tag me in the group and let me know how it turned out. Until next time, friends!!
(Written By: Lakeisha Webb)


