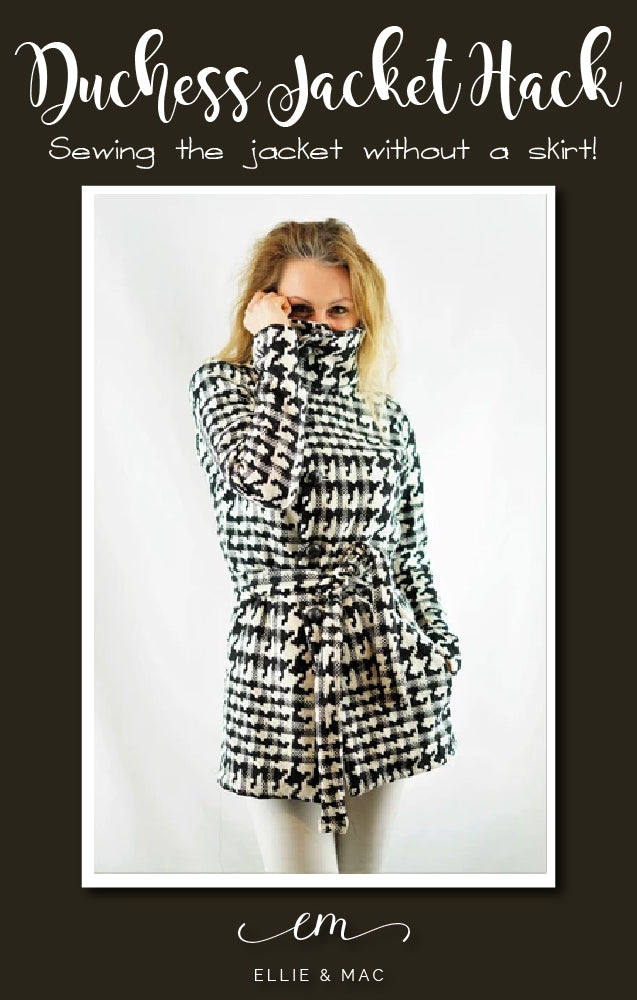
Hi again, today I am back with part 2 of Duchess Hack Blog and I will show you how to add a hood to the Duchess Jacket.
When adding a hood, you’ll need:
- A pattern piece from a hood, like the one from the “Zip it” or another o draw it yourself.
- Snaps (a zipper or buttons are possible too)
We will pick up where we left in part 1:
Step 10 Well, you’ll have to measure! You’ll measure the short front bodice top to the shoulder seam. 
Step 11 Now, at the long, wrap over front bodice piece, from the other shoulderseam you’ll use that measurement and mark it with a pin. To be clear: it is a wrap over bodice, but you don’t want to end up with a hood in your mouth. We just measured to even the front bodices.

Step 12 Measure the whole neckline to the pin you just placed.

Step 13 Take off 2‘‘ from the number you just measured. Let’s say the neckline to the mark was 23“. Then you do 23“- 2“= 21“ Cut out a rectangle by using that calculated number, in this case 21“and the width is 2.5“ (The 2,5”width you can use for all sizes)
Step 14 Sew your collar as in the instructions from the Duchess. Take your new rectangle pattern piece and fold it in half, right to right side. Close the short ends, turn it and press.
Step 15 Well, now your collar is done and your rectangle pattern piece.
Step 16 Lay your rectangle pattern piece 1“from the short front bodice and lay the collar on top. Step 16 is just for checking that your sewing the pieces to the right side of the collar. When you did it like step 16, baste stitch the rectangle piece to the collar.
Step 17 Check again. It should be laying 1“from the pin at the wrap front bodice and 1“ from the short front bodice.
Step 18 Pin and clip the collar to the main jacket and yes, your lining too. It’s now like this: main, rectangle piece, collar, liner. That are a lot of layers! Sew slowly and carefully to go through all the layers!
Step 19 Well, look! This is a view from the outside of your short front bodice.
Step 20 The outside at the wrap over front should look like this.
Step 21 Cut out your hood and hood liner pieces. (See: ‘what do I need’)
But do you remember the measurement where you had to pin it in step 10? It was 23” what I measured myself. So, when cutting out a hood pattern you like, make sure the neckline is measuring the same as the number you measured yourself. In my case 23”.

Step 23 Add snaps to the hood and the rectangle piece. So you can decide to wear your Duchess with or without a hood! It’s also possible to add buttons and buttonholes to the hood and the rectangle piece or a zipper.


Step 24 There isn’t a step 24! It’s done! Yeeha! For further questions you can always ask for help by commenting my tutorial or tag me in the Ellie & Mac Facebook Group.

(written by Marieke de Jonge)


