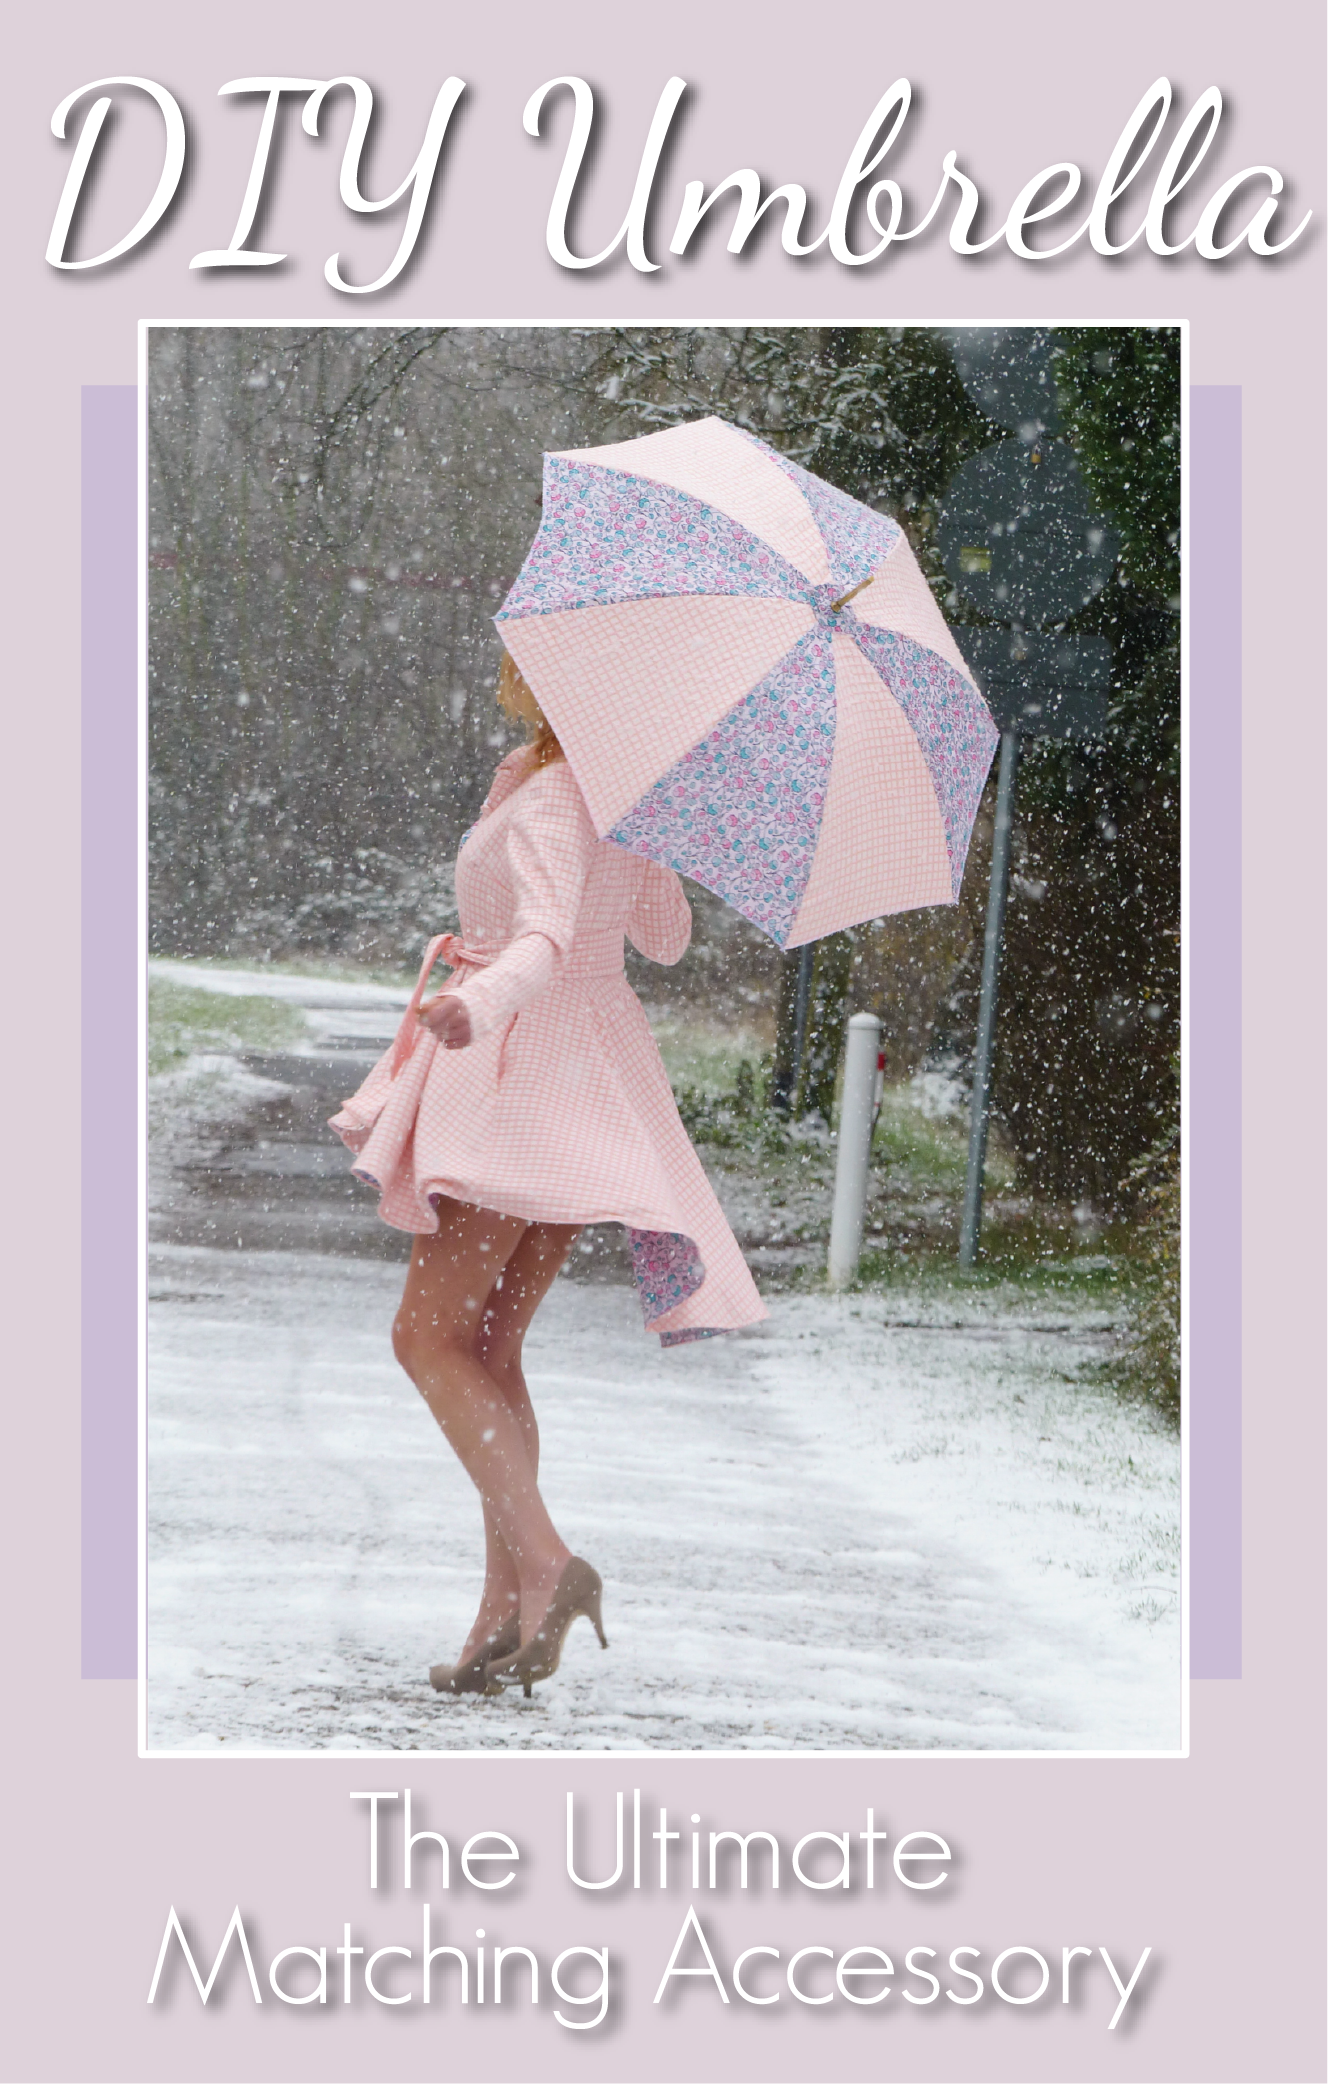
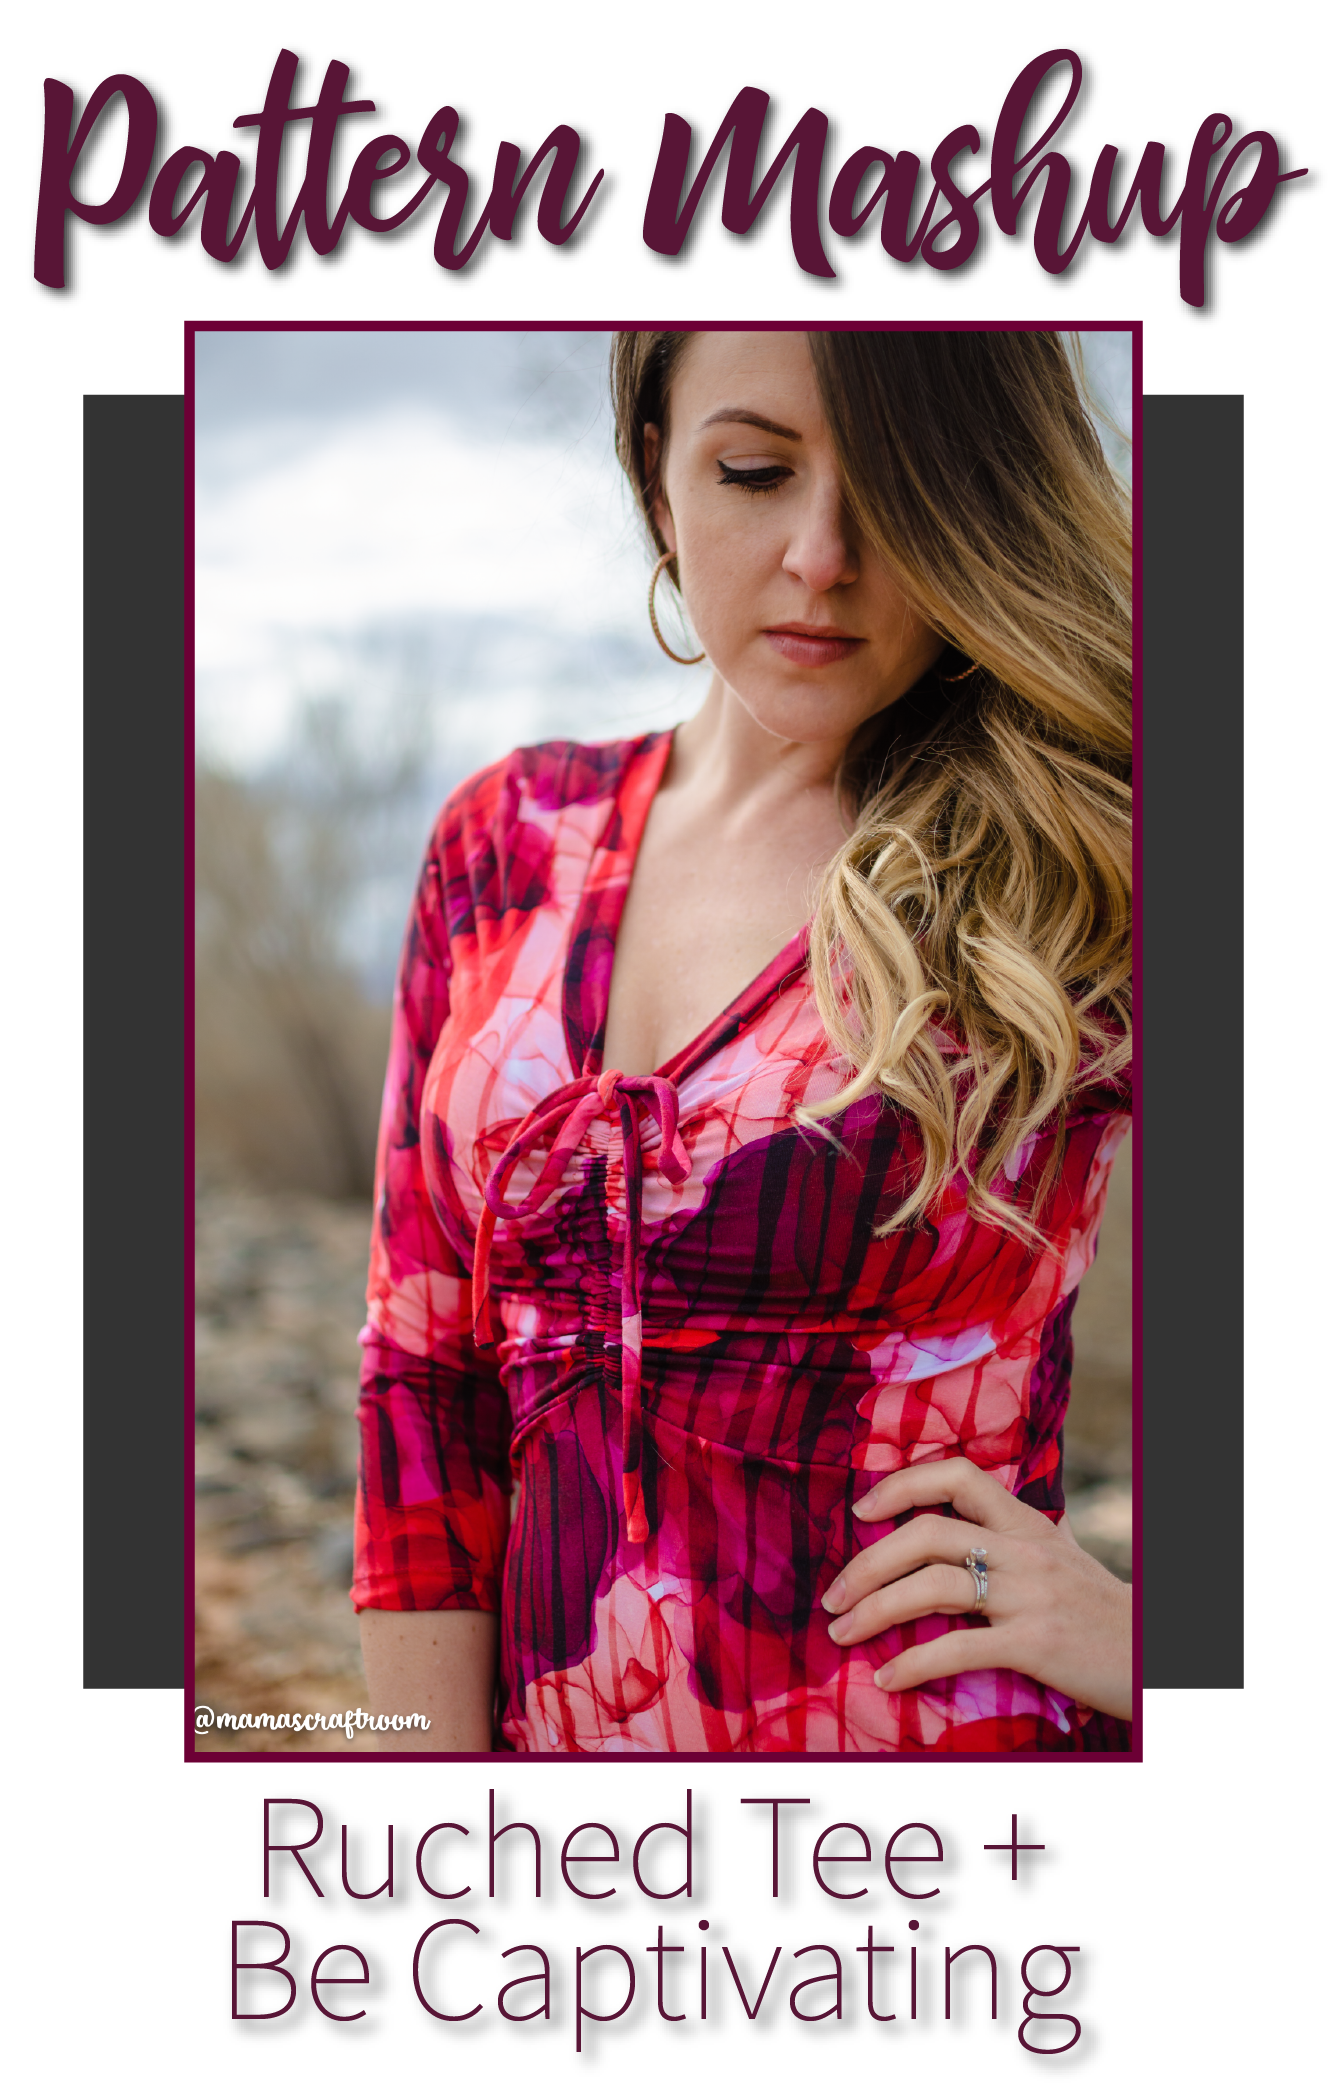
I liked the Duchess Jacket for Girls already, but I fell in love with the Women's Duchess Jacket.
Moreover, it became even better than I was hoping. We, women are different and beautiful, but when we put on our jacket? Something magical happened and we all became the best version of ourselves. I hope you will take some time for yourself and create your own magical moment.
I already ordered some fabric before I knew about any size chart…Ahem…And I ordered a little more than I needed. I sewed a matching ‘Feel Pretty Short’ and I liked that a lot, but I had the feeling something was missing.
To be honest, I was probably lying in bed already when I thought of the idea of an umbrella and I remember the face from my husband when he saw me the next morning… I still do not know why I thought of an umbrella, it probably has to do with my children and dog who wants to go outside, not matter the weather (and I have to go with them…) But from now on, I can go outside in style!
And of course, you have to sew one yourself too! That is why I made a tutorial for you and I just want to tell you: Give it a go!

Tutorial: "How to make your own Umbrella"
1. Take an Umbrella you do not like, but is still functional.2. Turn of the top from your Umbrella. When you took an Umbrella that is bonded with glue on top, I would advise you to take another one.

3. Take your seam ripper and carefully undo the fabric from the top. When your fabric is holding together by a grommet, carefully open the grommet and save it for later.
4. You also loosen the fabric on the ends by cutting the threads from the bottom points.

5. Make sure you save all the parts you just took off. You will need them at the end again.
6. Cut the threads off in the inside of your Umbrella.

7. Now you have the fabric and the Umbrella Frame separated from each other. When there is a part for closing the Umbrella, seam rip this off as well and save it.

8. As you can see, the fabric are eight equal pieces, sewed together. Seam rip carefully one part off. You only need that one part from now on. Have a look at the seam allowance and measure to be sure.

9. Iron it and if you like you can make your own pattern piece out of carbon paper or use is directly on the fabric to cut out. You have to cut out eight parts, NOT MIRRORED. They have to be all the same. I would advise you to take a thin woven fabric. I used a Jacquard lining fabric. The thicker your fabric, the harder it will be to place it back on your Umbrella Frame.

10. As you can see on this picture, the sides are not equal, one side is straight and the other side has a small rounding in it.

11. You are going to sew them all together, by sewing one rounded side to a straight side and so on. It is possible to sew them with a serger, just notice, it is going to be more bulky on top and it is harder to get it nicely on your Umbrella Frame again.
12. Sew it together by pressing the seam allowance from one side to the wrong side of your fabric and pressing one side of the seam allowance to the right side of your fabric. Fold the seam allowances into each other and make sure the seam allowance is now on the wrong side of your fabric.

13. Start sewing on top. Sew with a normal stitch as close as you can, on the wrong side, next to the fold line.

14. You sewed all the parts together and it should look like this.

15. Finish the edges, but not on top. You can do it by folding the fabric two times minimum and stitch it, but with a serger is possible as well, or by using bias tape.
16. When you could not have wait to try it on your Umbrella Frame, you already noticed that your hole is too big. You are now sewing a gather stitch around at about 3/8 from the edge. Make sure you will let your threads long and do not stitch backwards.

17. Gently gather it until it fits on top, turn the thread a couple of times around and tie it on the end. When you had to save a grommet, fold your fabric in it and close the grommet.

18. Place the old part, that little hood, you saved over the top again (or sew a new one) and turn your top back in place.
19. Now you goings to sew on the bottom points again. I like to take a little bit thicker thread, a cotton one. Put your bottom points back in place, and hand sew with a couple of stitches through the seam allowance of the backside from your fabric and the little hole in the bottom point. Knot it.

20. Open your Umbrella. Yeeha! Almost done!

21. I do not know the name of this part, but you can see on the picture where you have to sew a couple of stitches as well. Again, by hand and make sure you only stitch through the seam allowances.
22. Turn your Umbrella and you are unbelievably happy, or you look at it and are thinking: sh*t, it is bubbling and not nice at all! Do not worry, turn of the top again, take a needle with thread and start stitching on 3/8’’ all the way around and lift your fabric up, until the fabric is laying nice and flat. Tie it, and turn on the Top again.

23. When you want, you can sew on that little strap for closing the Umbrella or sew a new one. Just measure the old part, do not forget to calculate the seam allowance, close it on one short and the long side, turn it around and topstitch it. Take some Velcro Tape, and sew one part on the left side and the other part on the other side, opposite from the other part. Sew it on by hand, or at step 17 on one piece with your machine.

23. You can spray the seams with Impregnation Spray, so you won't get wet :)

You did it!!!!!!!! Last Tip: it also works with the plastic ones, also those for children, as long the Top and the bottom pieces are not glued to the Umbrella Frame.
I hope you enjoyed and started planning to make a matching one for your daughter as well, as a gift or just for yourself to match with your second Duchess, or third…. :-)
The Duchess Jacket for Women pattern is available HERE.
The Duchess Jacket Bundle (girl's & women) is available HERE.
(this post contains affiliate links)


