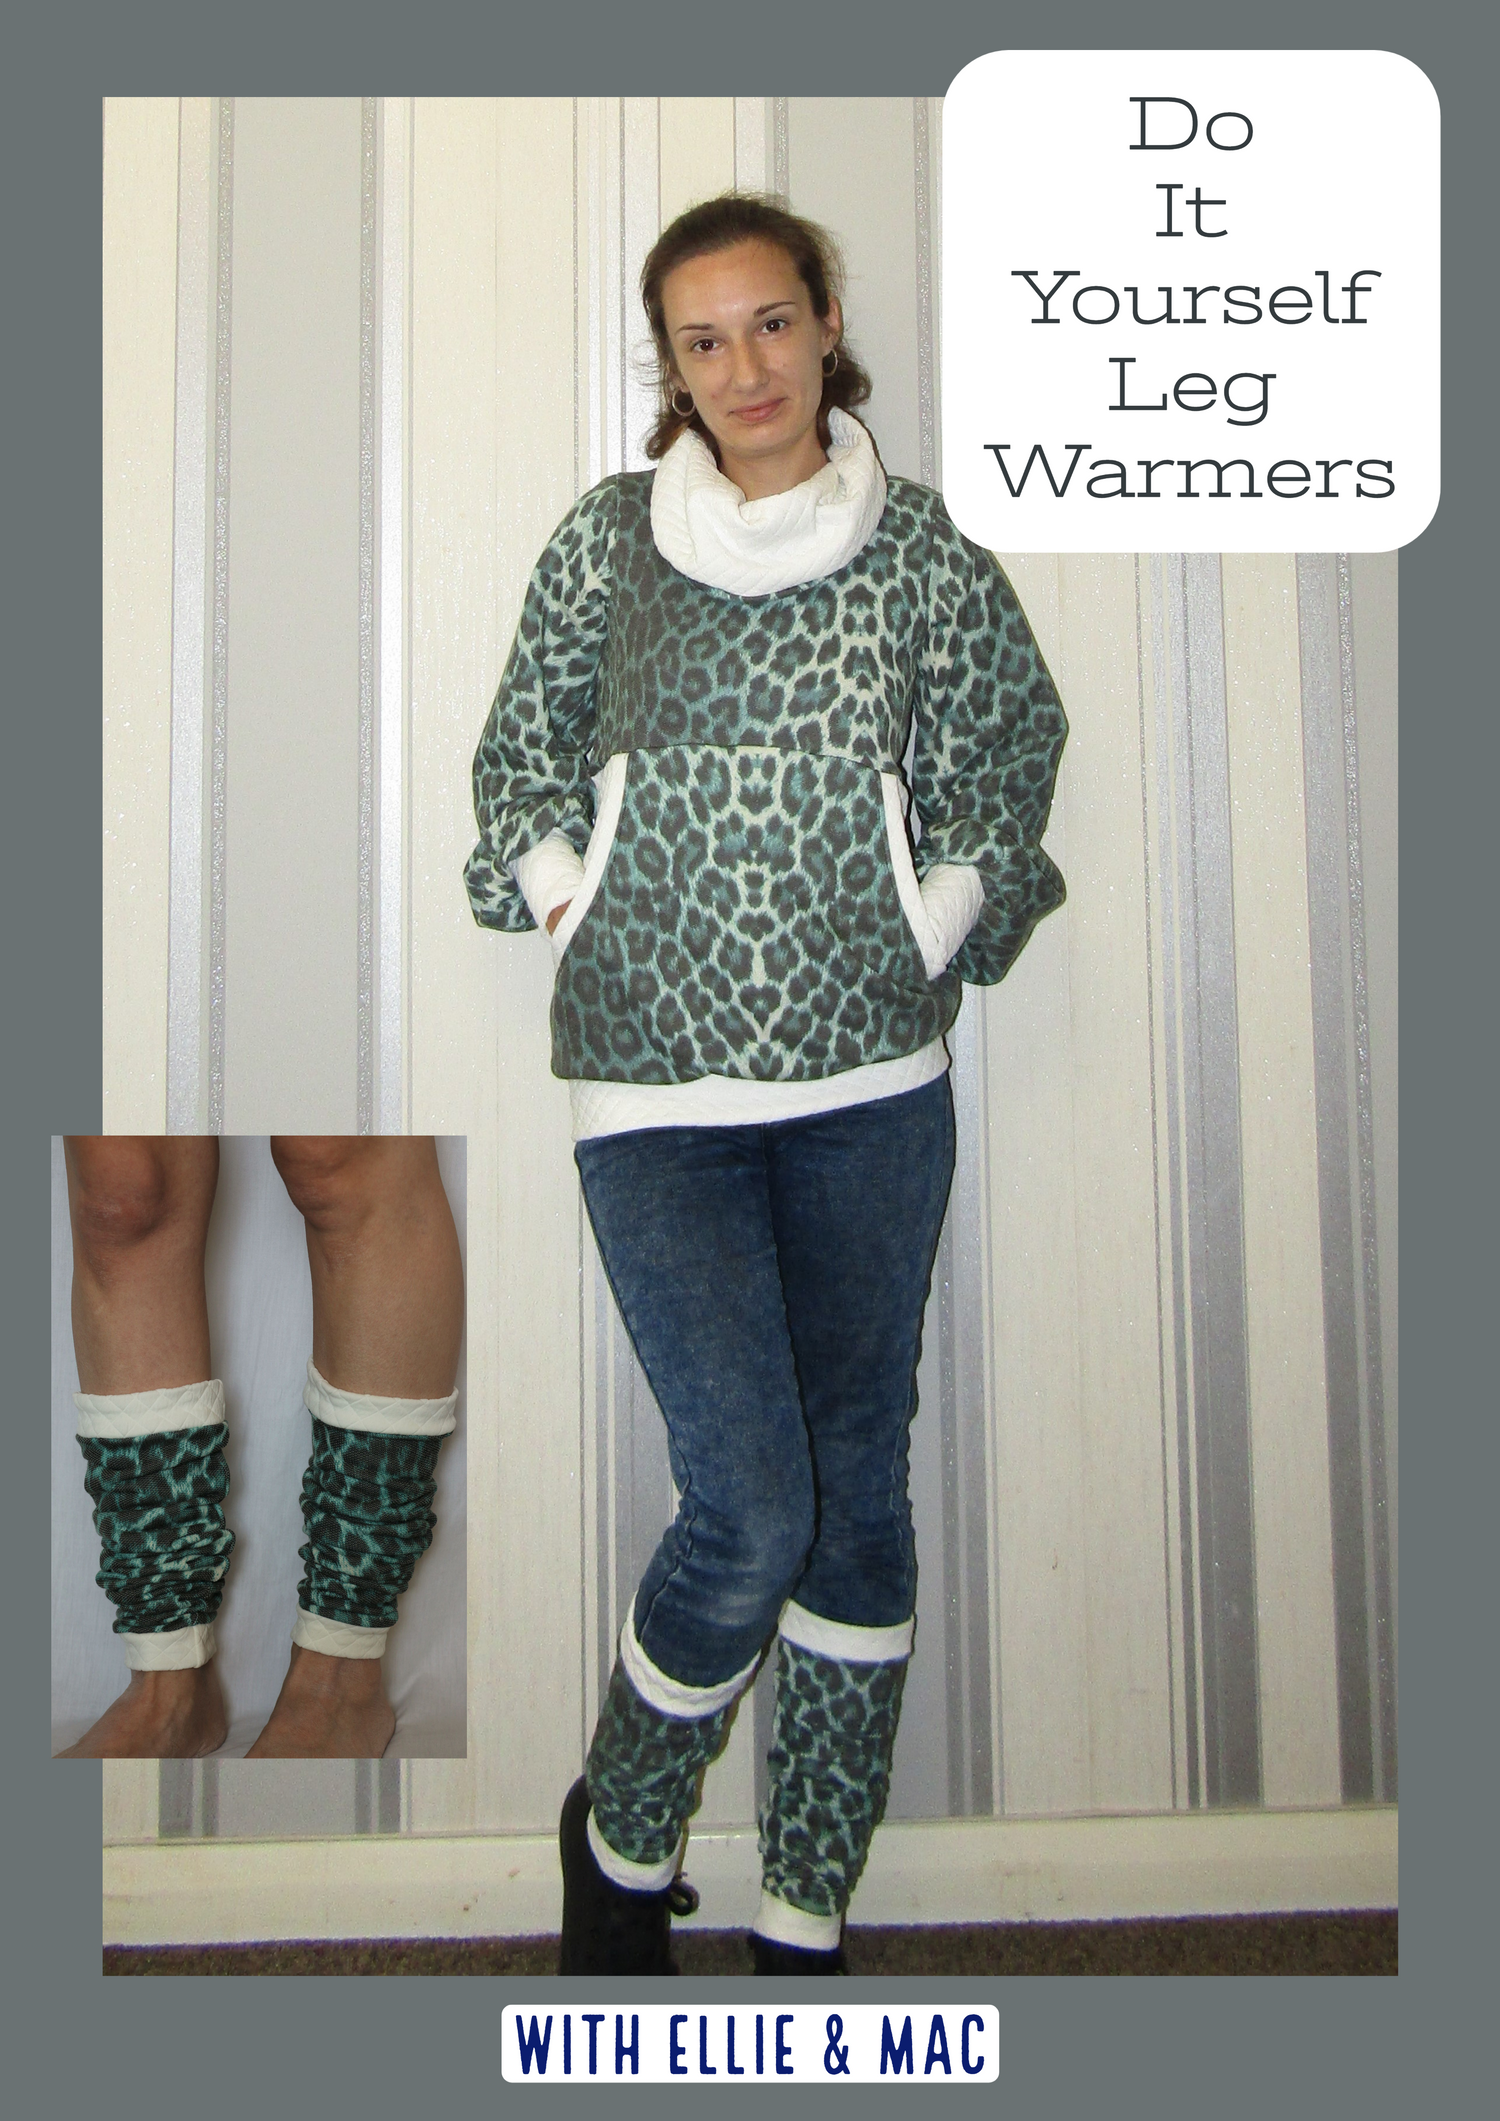
Hi everyone, Ashley here, bringing you my first ever blog for Ellie & Mac. Im so excited to share with you how I created my own leg warmers using my scrap fabric. We all know winter is coming and I love to keep warm. It was easy and fun so I thought I'd share my process with you all.
You can use the leg warmers to match your own Cuddle Tunic or Dress!
To start this pattern off we will make 3 pattern pieces, calf band, ankle band and the leg warmer which will all be cut on the fold.


STEP 1:
Starting with the calf band, I measured around the top of my calf and halved the width so I could cut the band on the fold. The length I decided to make 2.5", note the measurements on paper and cut it out for the 1st piece of the pattern.

STEP 2:
Repeat the process for the width of the ankle band, measuring around your ankle and halving the width to cut on the fold, the length I also made 2.5", note the measurements on paper and cut it out for the 2nd piece of the pattern.

STEP 3:
For the main leg warmer piece, I measured the length from the top of the knee to the bottom of the ankle, but you can choose how long you want yours. Adding the calf band measurement to the top and ankle band measurement to the bottom. Note your measurement onto paper to cut on the fold to complete the 3rd and final piece of the pattern. Your pattern should look like this:

Find your favorite fabric, I recommend 50% stretch fabric.
STEP 4:
Fold your fabric in half, place your pattern pieces on and cut 2 of each pattern.


STEP 5:
Fold your pattern pieces right sides together and sew your 1/4" seams using a stretch stitch or overlocker.

STEP 6:
With your bands then fold them wrong sides together to create your band.


STEP 7:
Then attach the calf and ancle bands to your leg warmer pattern. Sew them together using a stretch stitch or overlocker. There you have it! Your own leg warmers that you can make to match all your creations!!


(Written by: Ashley Riley)


