Hi Friends! Long time, no blog.
If you are new around here, I am Sequoia and you can usually find me at my blog, SequoiaLynnSews.wordpress.com. This is my first EAM blog of the new year and as you can tell, I am super pumped!!
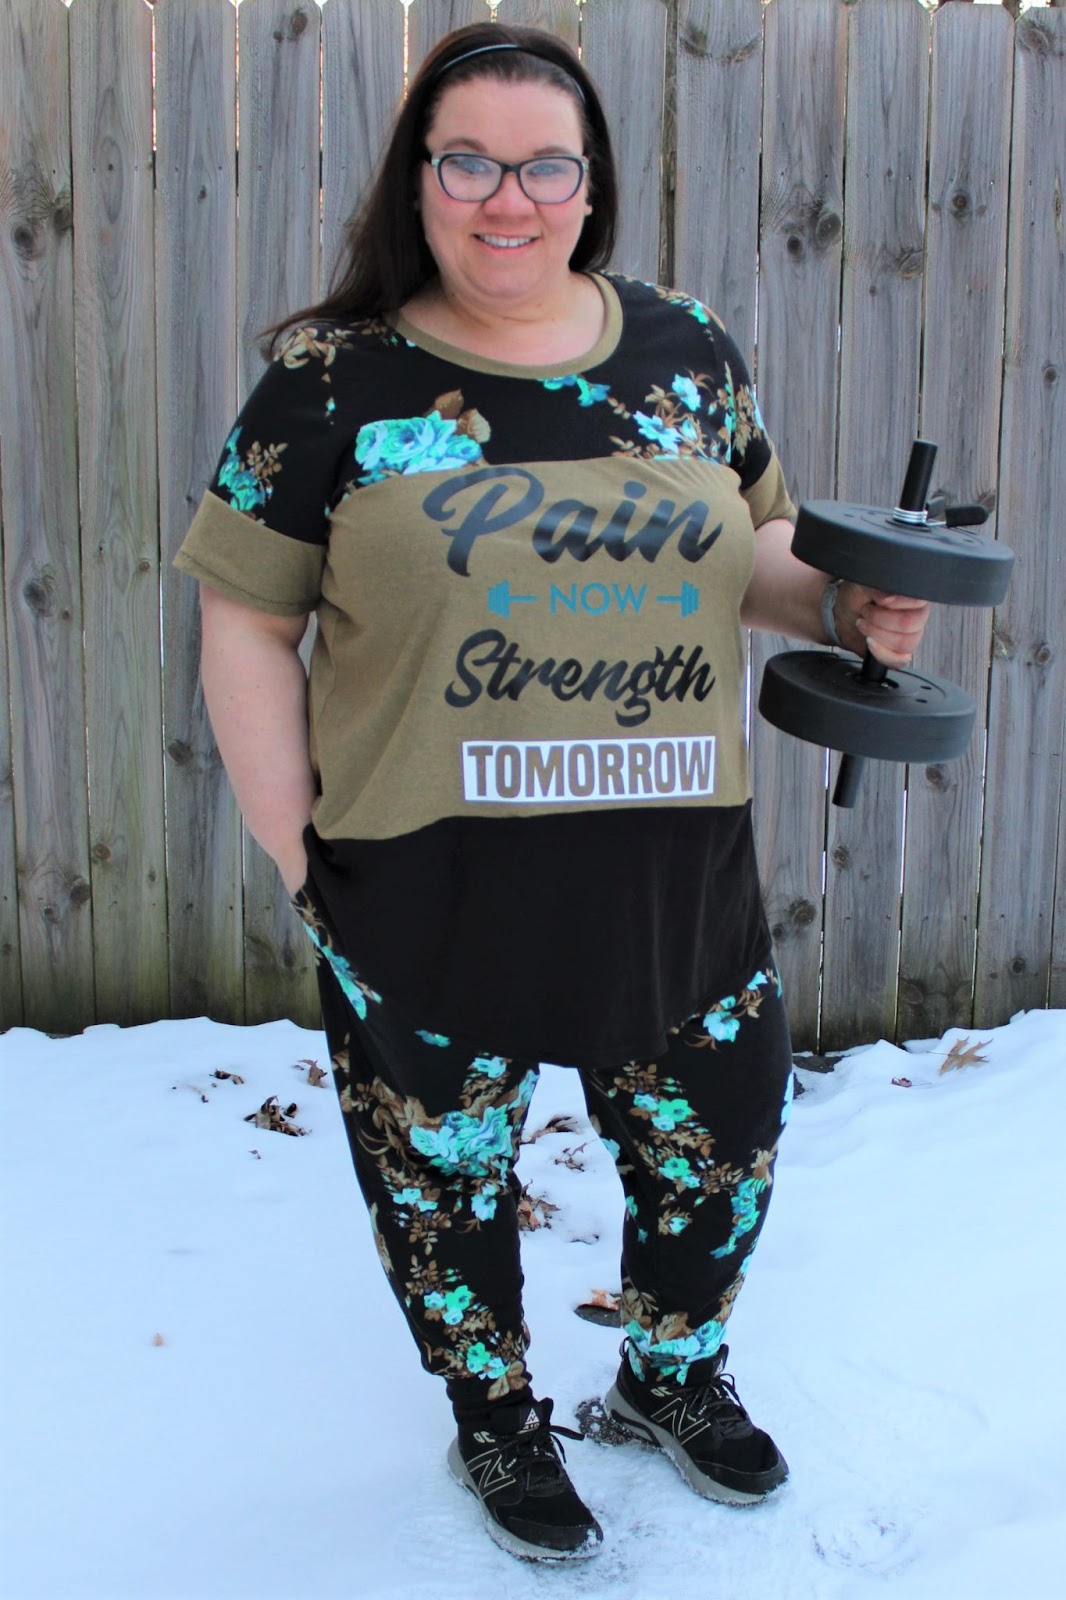
Today, I am showing you my latest workout outfit which I have made with Ellie and Mac patterns. I know EAM has several patterns designed for athletic clothing, but sometimes I want to switch things up. I personally have several issues with ready to wear “Gym Clothes”. Everything is super skin tight, they usually forget the bottom half of the shirt, rarely do I see floral prints, and the pants are way too long on me. I can buy the pants labeled ⅞ length, which should be ankle length, and still fold them up one inch and have saggy knees. This is just another reason why I love making my own clothing. Not only is today’s blog post focused on work out wear, but I am taking on the challenge of not using a traditional exercise clothing patterns for my look. Are you ready?? Here we go!
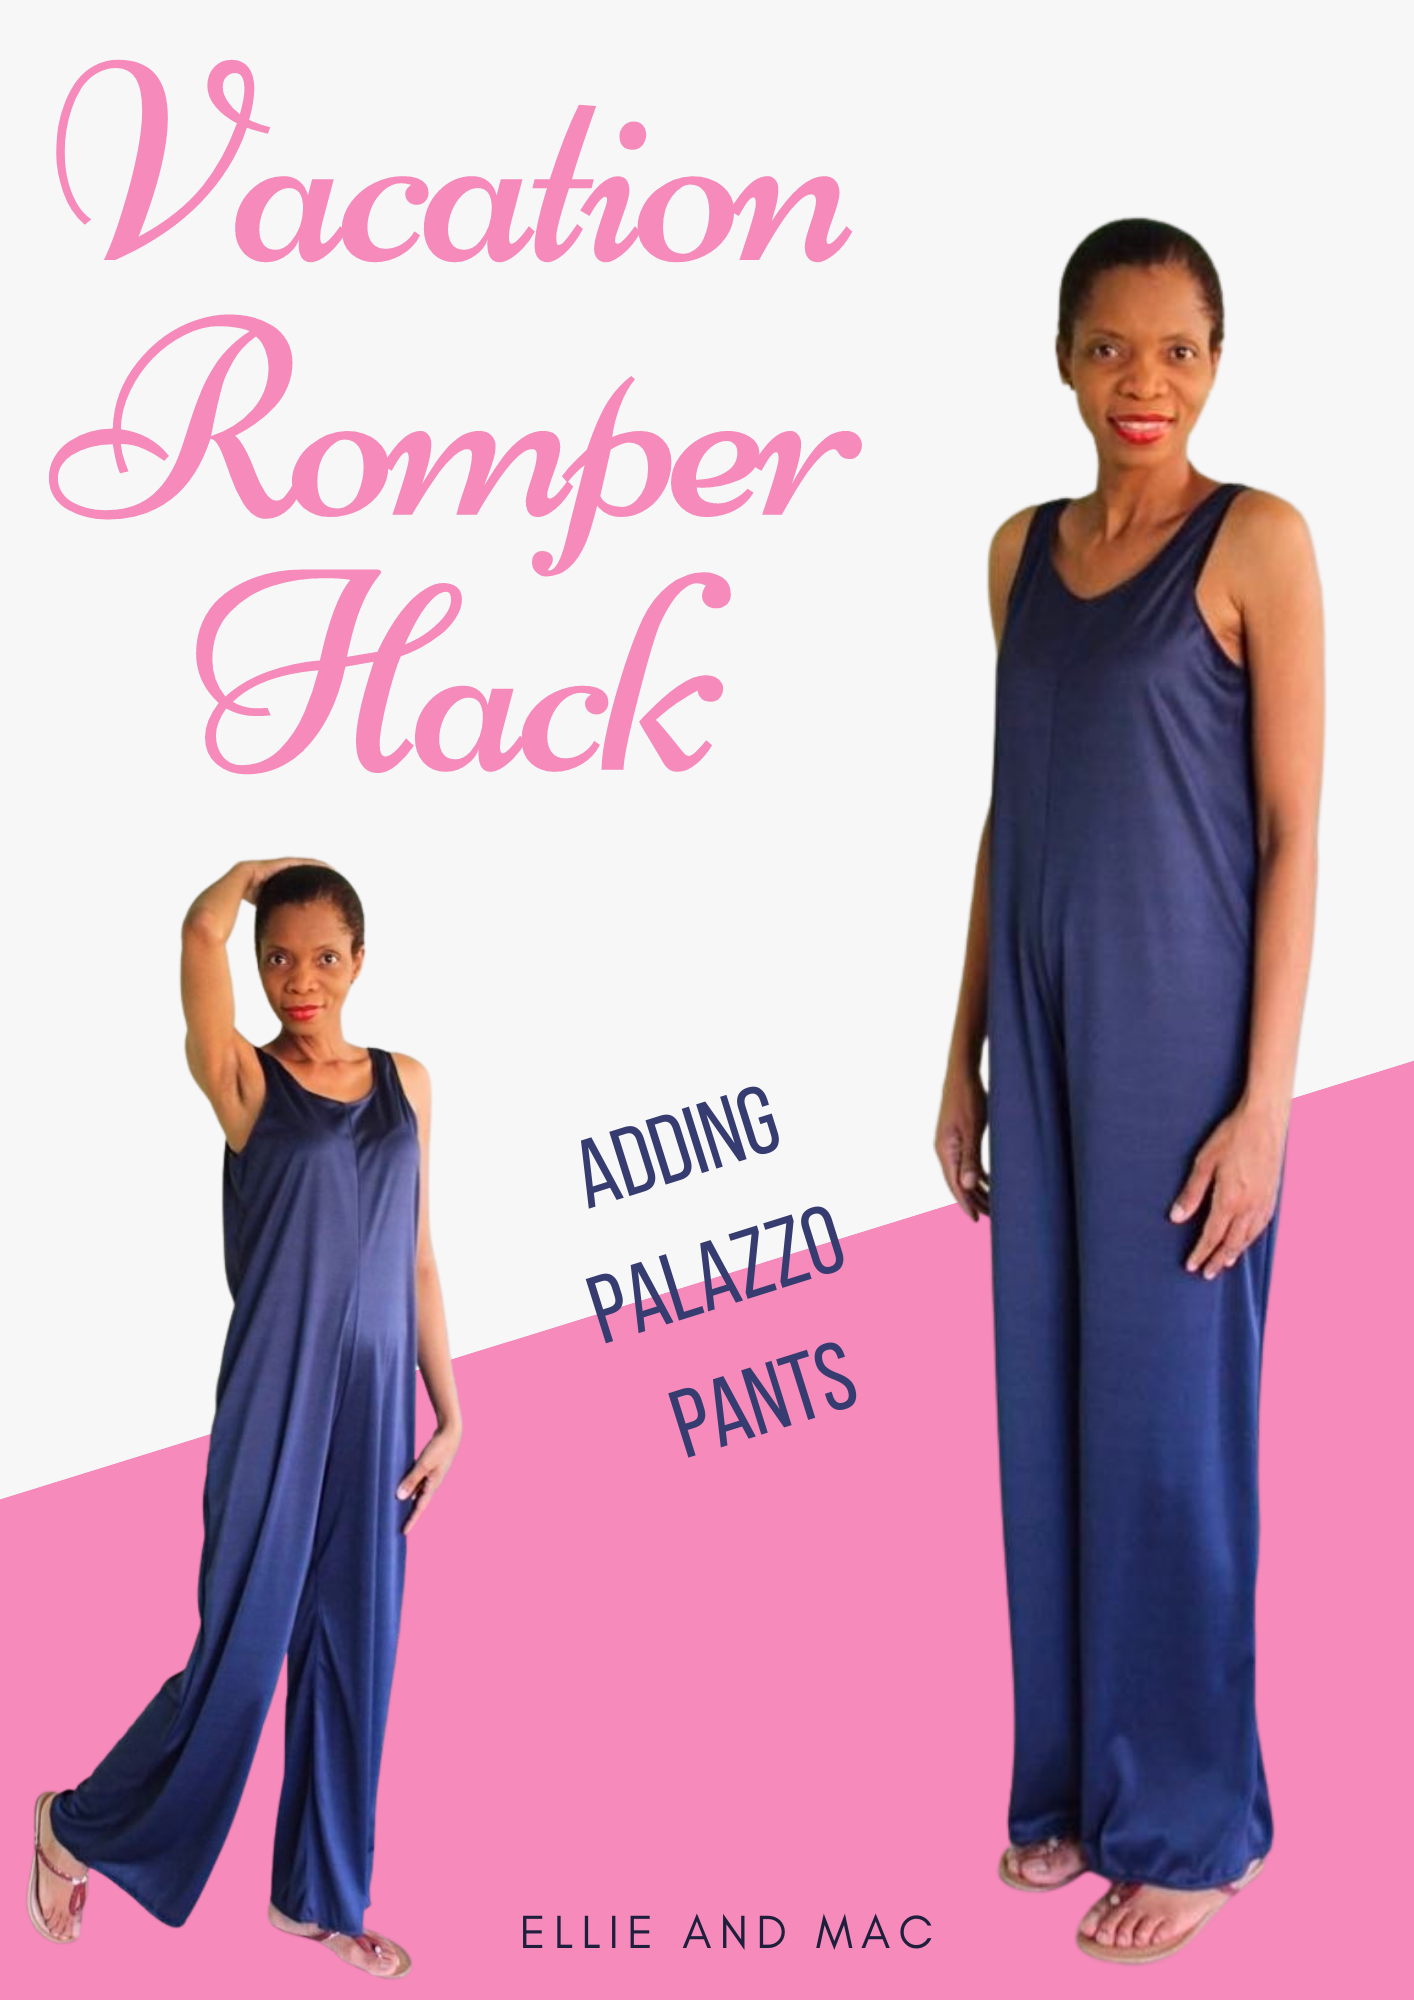
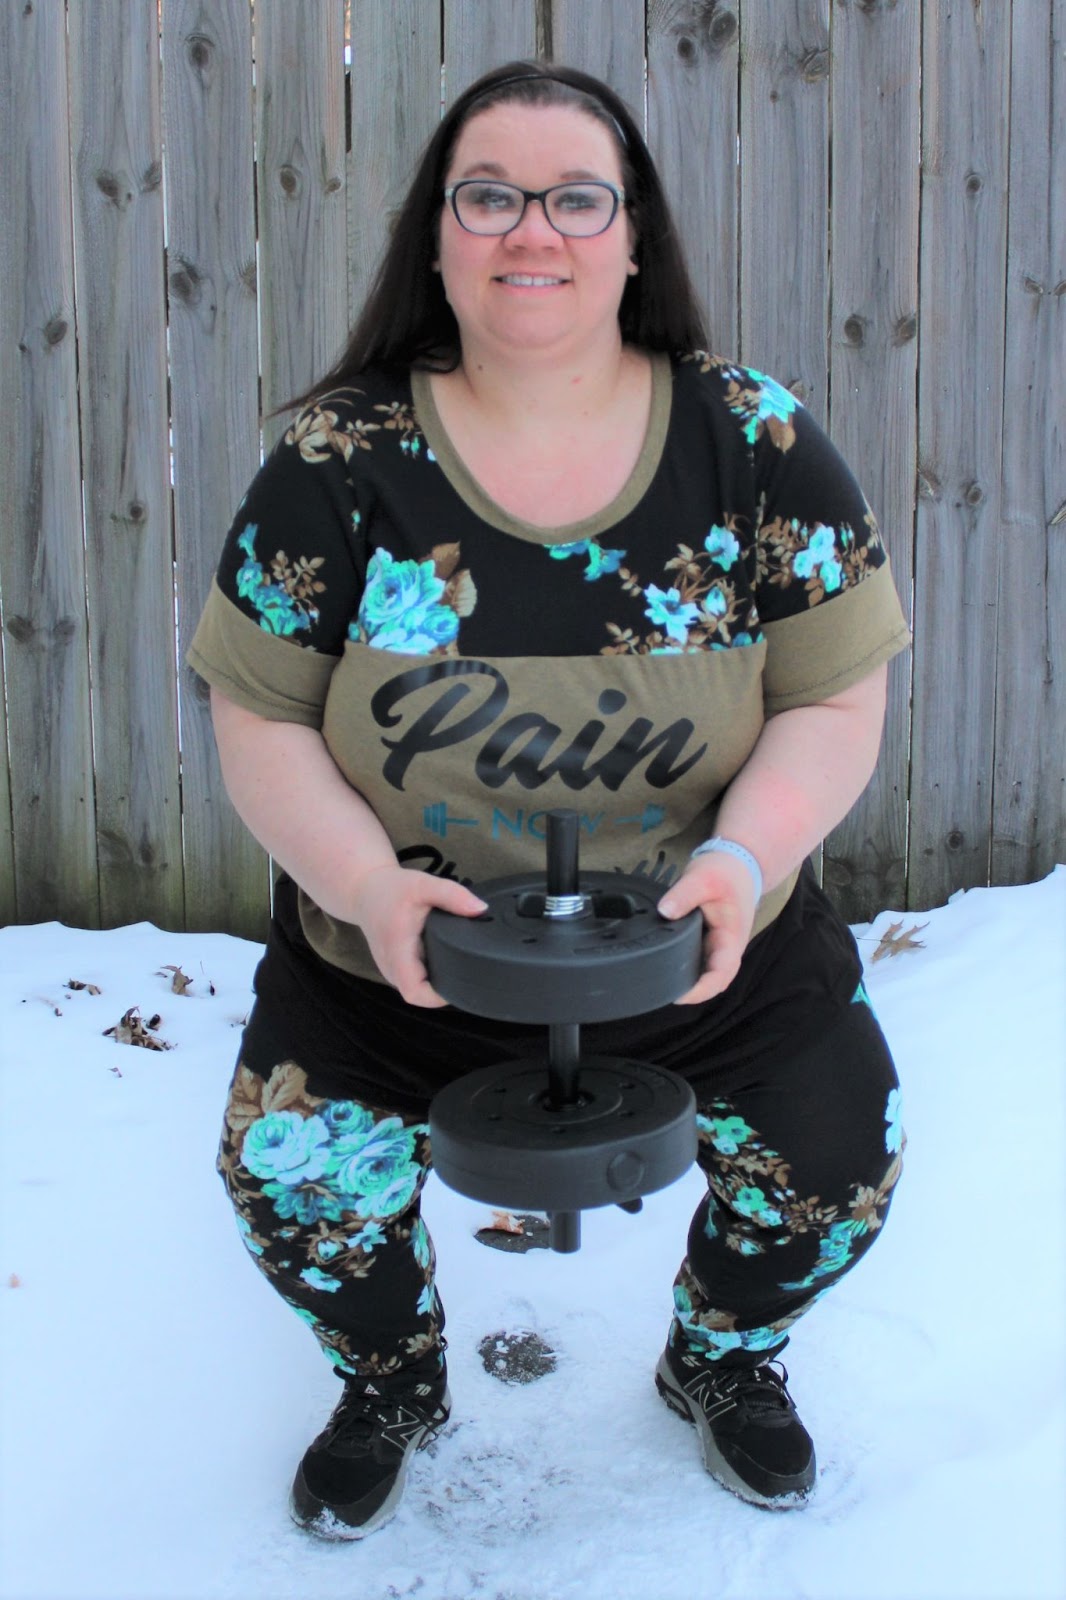
First off, I need a top and a bottom pattern. I could have easily picked one of the leggings or joggers patterns, but I loved the giant pockets of the Off The Shoulder Romper. I picked this pattern up on a Weekly Sale even though I don’t wear rompers. :) You just never know when they will come in handy so I was glad to have this one. I also needed my pants to have pockets because I need somewhere to keep my phone and chapstick while at the gym. The romper has the perfect pants for me, except that they are designed to connect to the bodice which isn’t going to work for the gym. No worries. This is how I made it work.
Print the pants pattern pieces for the romper and assemble the pattern in your usual method. Don’t forget those pocket pieces! Do any adjusting you need for your pants now. I removed 1.5 inches above the knee and 2.5 inches above the pants cut line. I will also suggest removing 1-2 inches from the height of the waist. I didn’t do this and they are just a tad too high which is saying something because I like my pants pulled high. If you adjust the rise of the pants, you will also need to adjust the height of your pockets. I think the pockets will still fit in the pants just fine, but they will hang down to your knee. Trust me, these pockets are plenty roomy and won’t miss the extra length. Assemble your pants and make sure you like the fit. We don’t have time for seam ripping, so take 2 minutes and try them on. I ended up slimming mine a bit at the hip.
Now we need to address how we plan to keep our pants up on our booty. You have two options here. 1. You can borrow a waistband from another pair of pants. 2. You can make your own. I totally made my own. It was super simple and I didn’t have to waste time printing. All you need to do is measure your waist and subtract 1.5 inches. Since we are using knit, your fabric will stretch to fit your body and your pants will stay up! For my band, I cut it 5 inches tall by the length I needed. The elastic I planned to use was 2 inches tall. Make your band work with whatever elastic height you have. Just double the height and add enough extra to cover seam allowances. Attach your waistband to your pants using quarter points. Yeah! We now have pants. Let’s figure out the shirt.
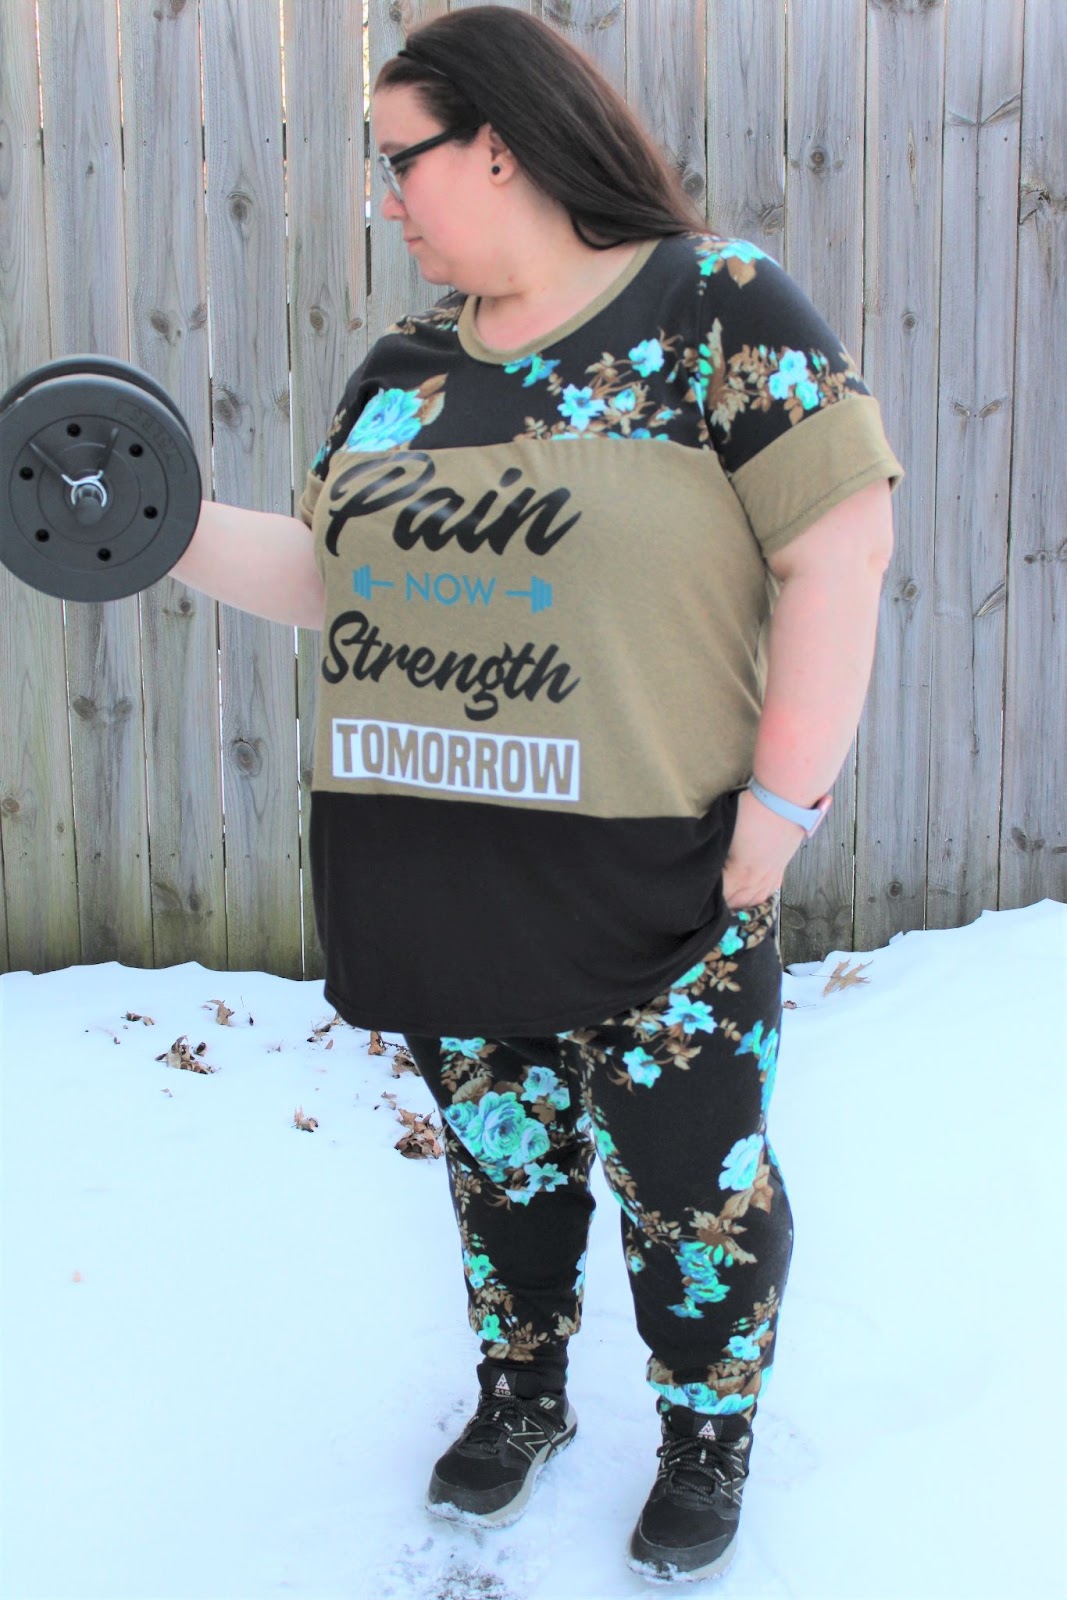
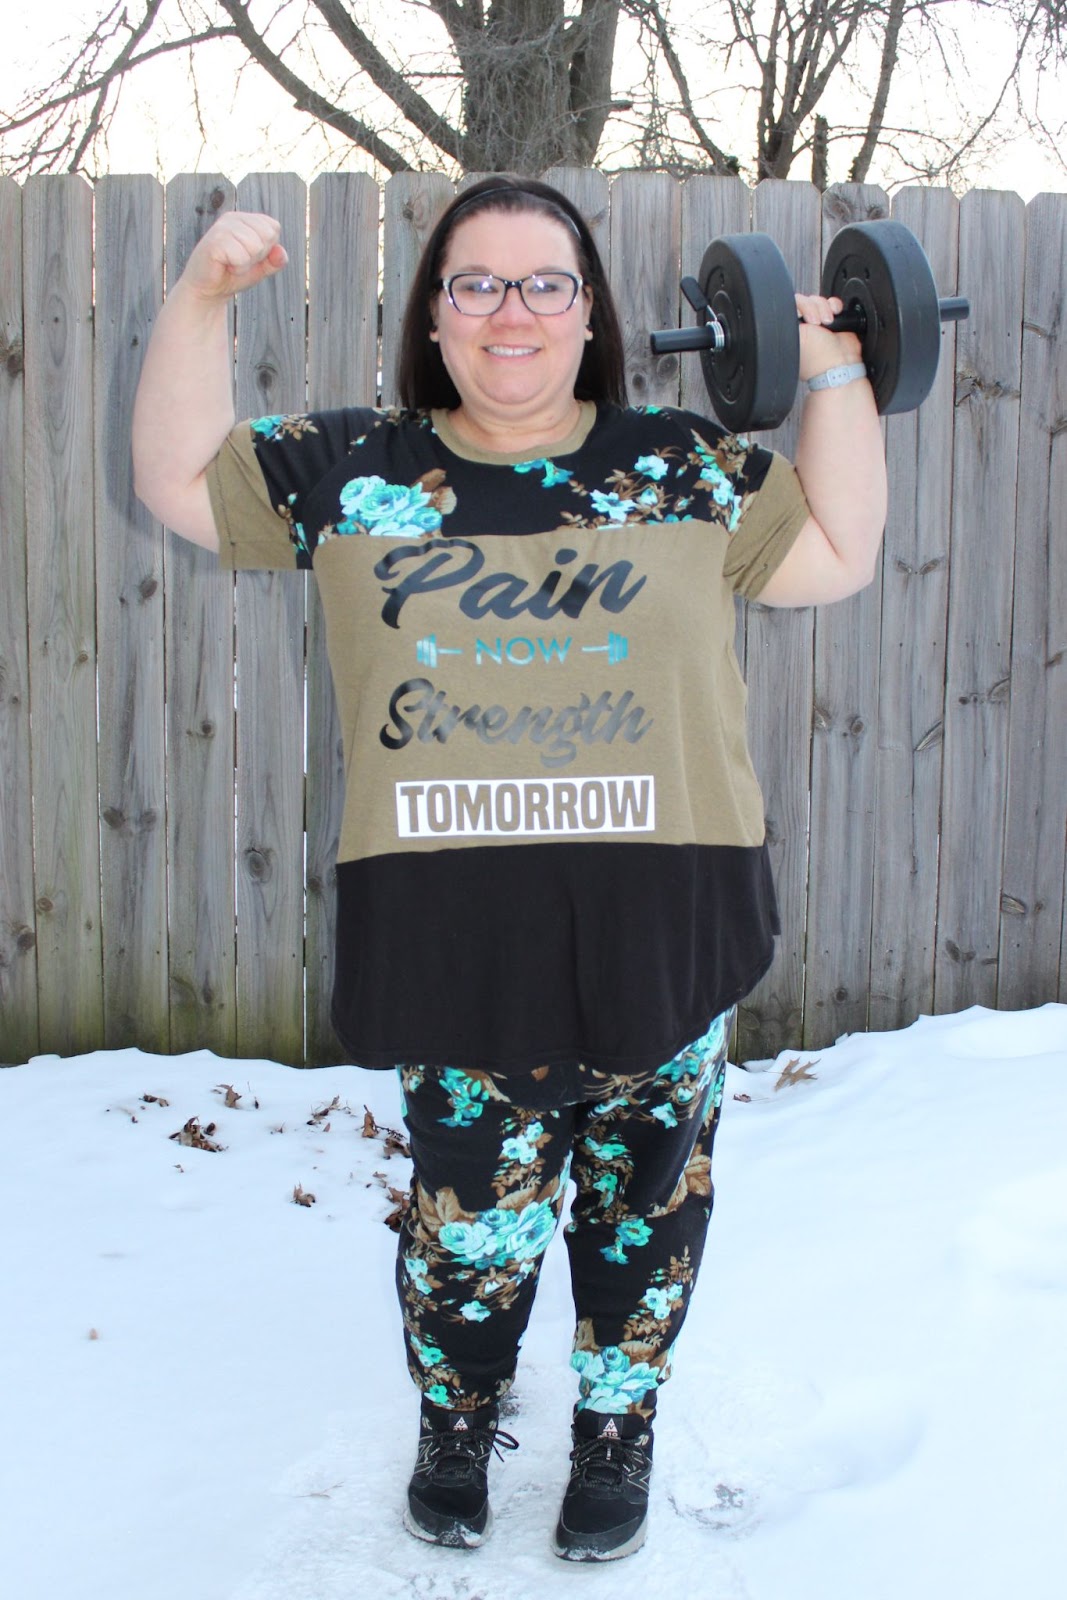
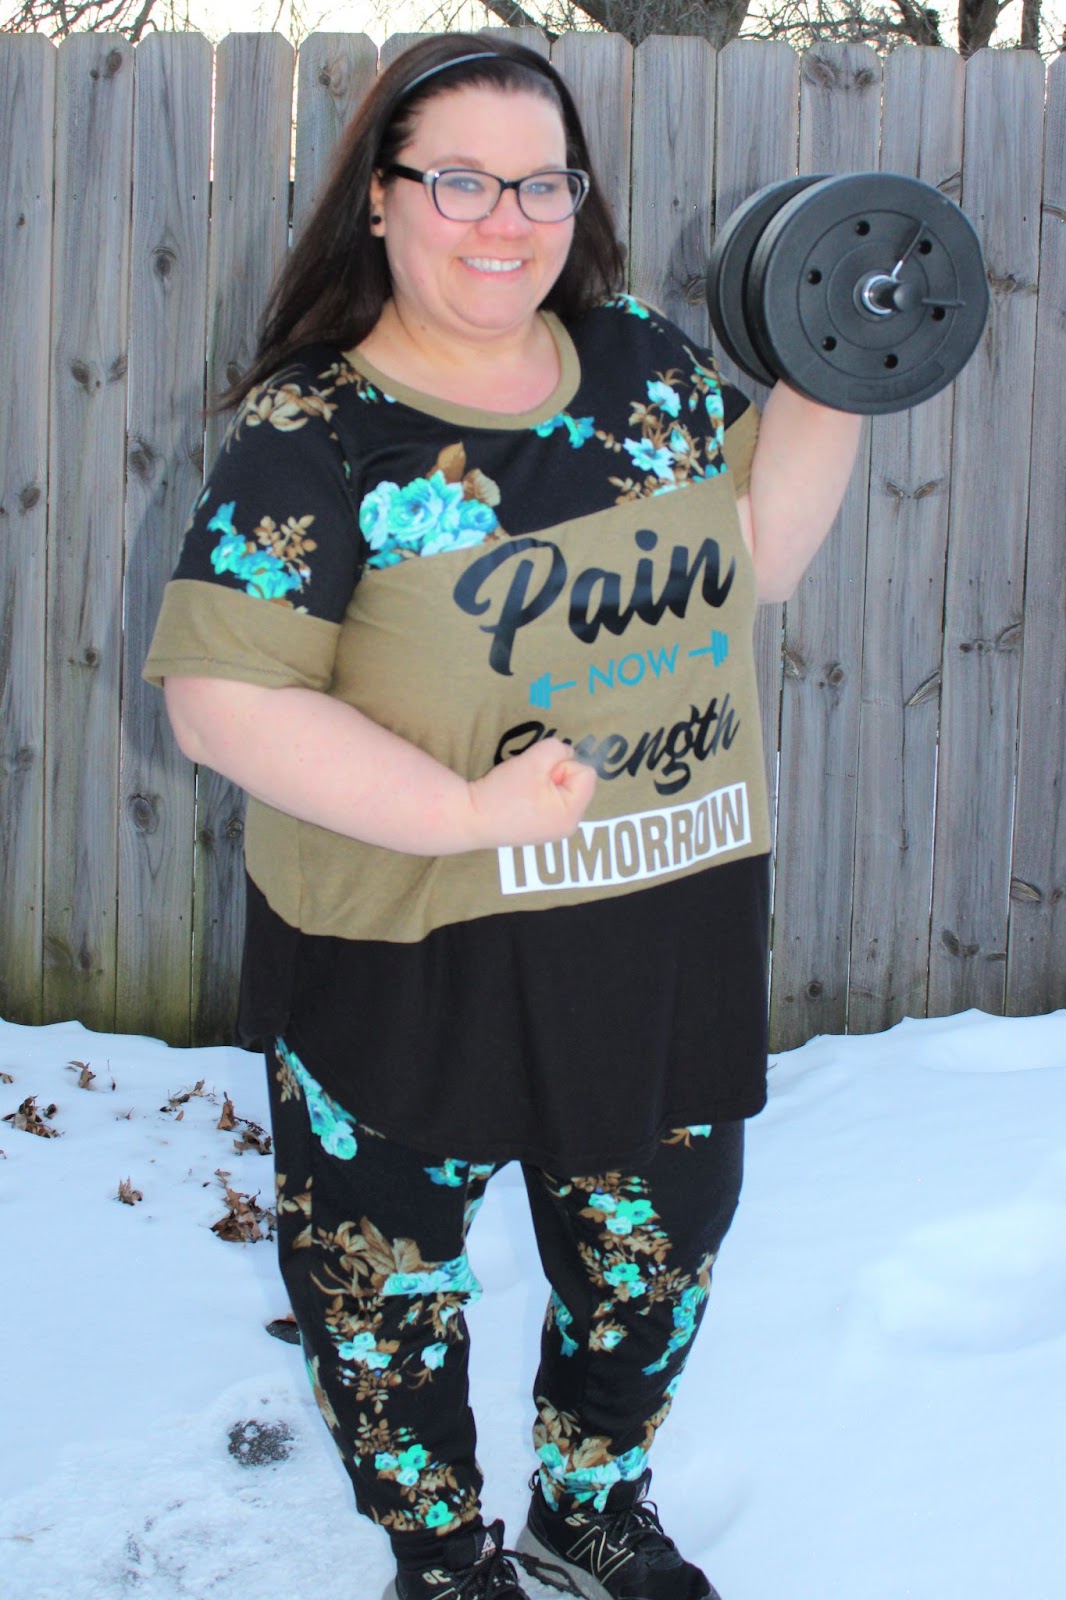
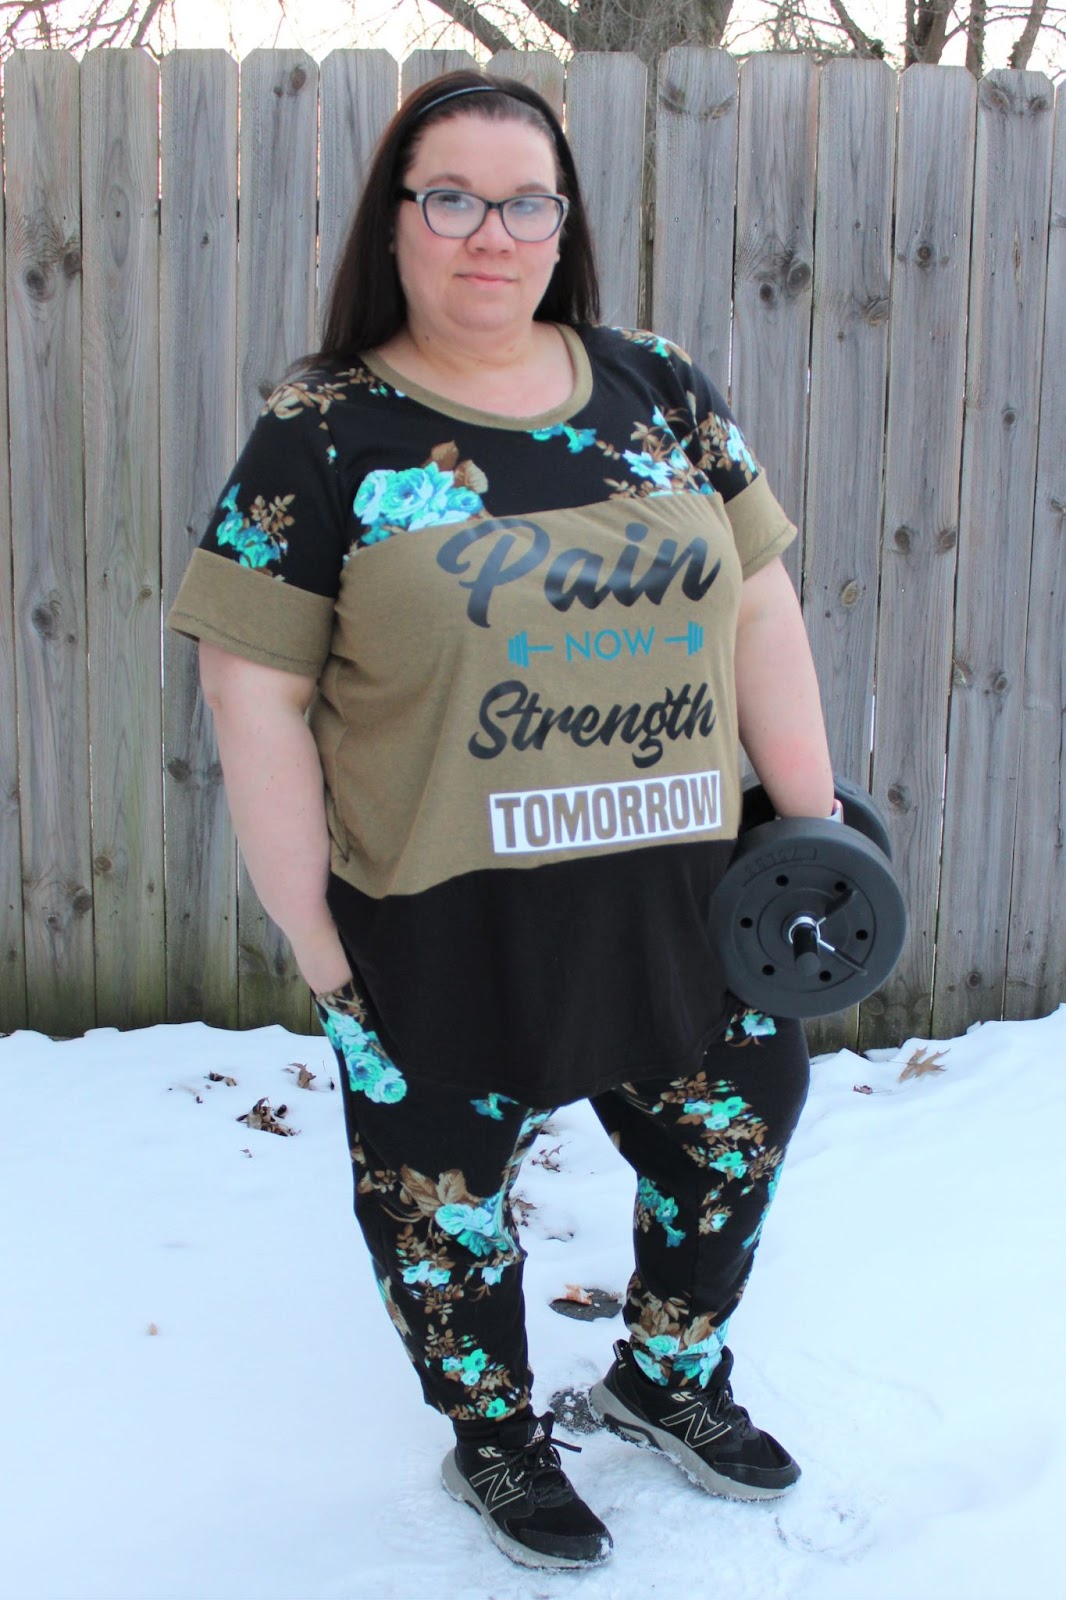
This is a pretty easy one. I wanted to use a shirt that would be long enough to cover my belly when I raise my arms. I also wanted to use an EAM cut file. There are loads of them to choose from, but I went with a gym themed one this time! I have a secret to share with all of you readers. I hate wearing solid colored shirts. In my mind, solids are so boring and I love fun prints and designs. I opted to go with the Autumn Spice Top because it is one of my favorites and I knew I was going to be using some scraps. After making the pants, I didn’t have enough yardage to make a full shirt. I was able to use my pants scraps plus the two solid colors which were left from other projects. I call that a win! Plus when I used the Autumn Spice pattern I selected the ‘above the bust’ option to give me a larger area for my cut file. Assemble your shirt pattern as usual and then add a cut file if you desire. I used this one Pain Today, Strength Tomorrow and cut it at about 12 inches tall. We were even able to use scrap pieces of vinyl. I love text things so this was perfect for my shirt. I love this shirt because it is such a great scrap buster and comes together pretty quickly! The only adjustment I made was doing a full bicep adjustment and adding 1 inch to the length of the short sleeve.
I am really happy with my new outfit! I love the fun floral print and the cut file on my shirt! I hope you have enjoyed taking a new look at some older EAM patterns and you are inspired to give this look a try! If you do, I would love for you to show me.
You can pick up these patterns and cut files plus so many others at my afflink for EAM. Thanks and be sure to *Get Pumped* about sewing!
(Written by: Sequoia Bond)