Hey Ya’ll! I’m back with another fun pattern hack and this one is super special!!
Have you seen the new Assymetrical Cinch Top? If not, here is the link to the Cinch Top #affiliate. It is such a cool new look!
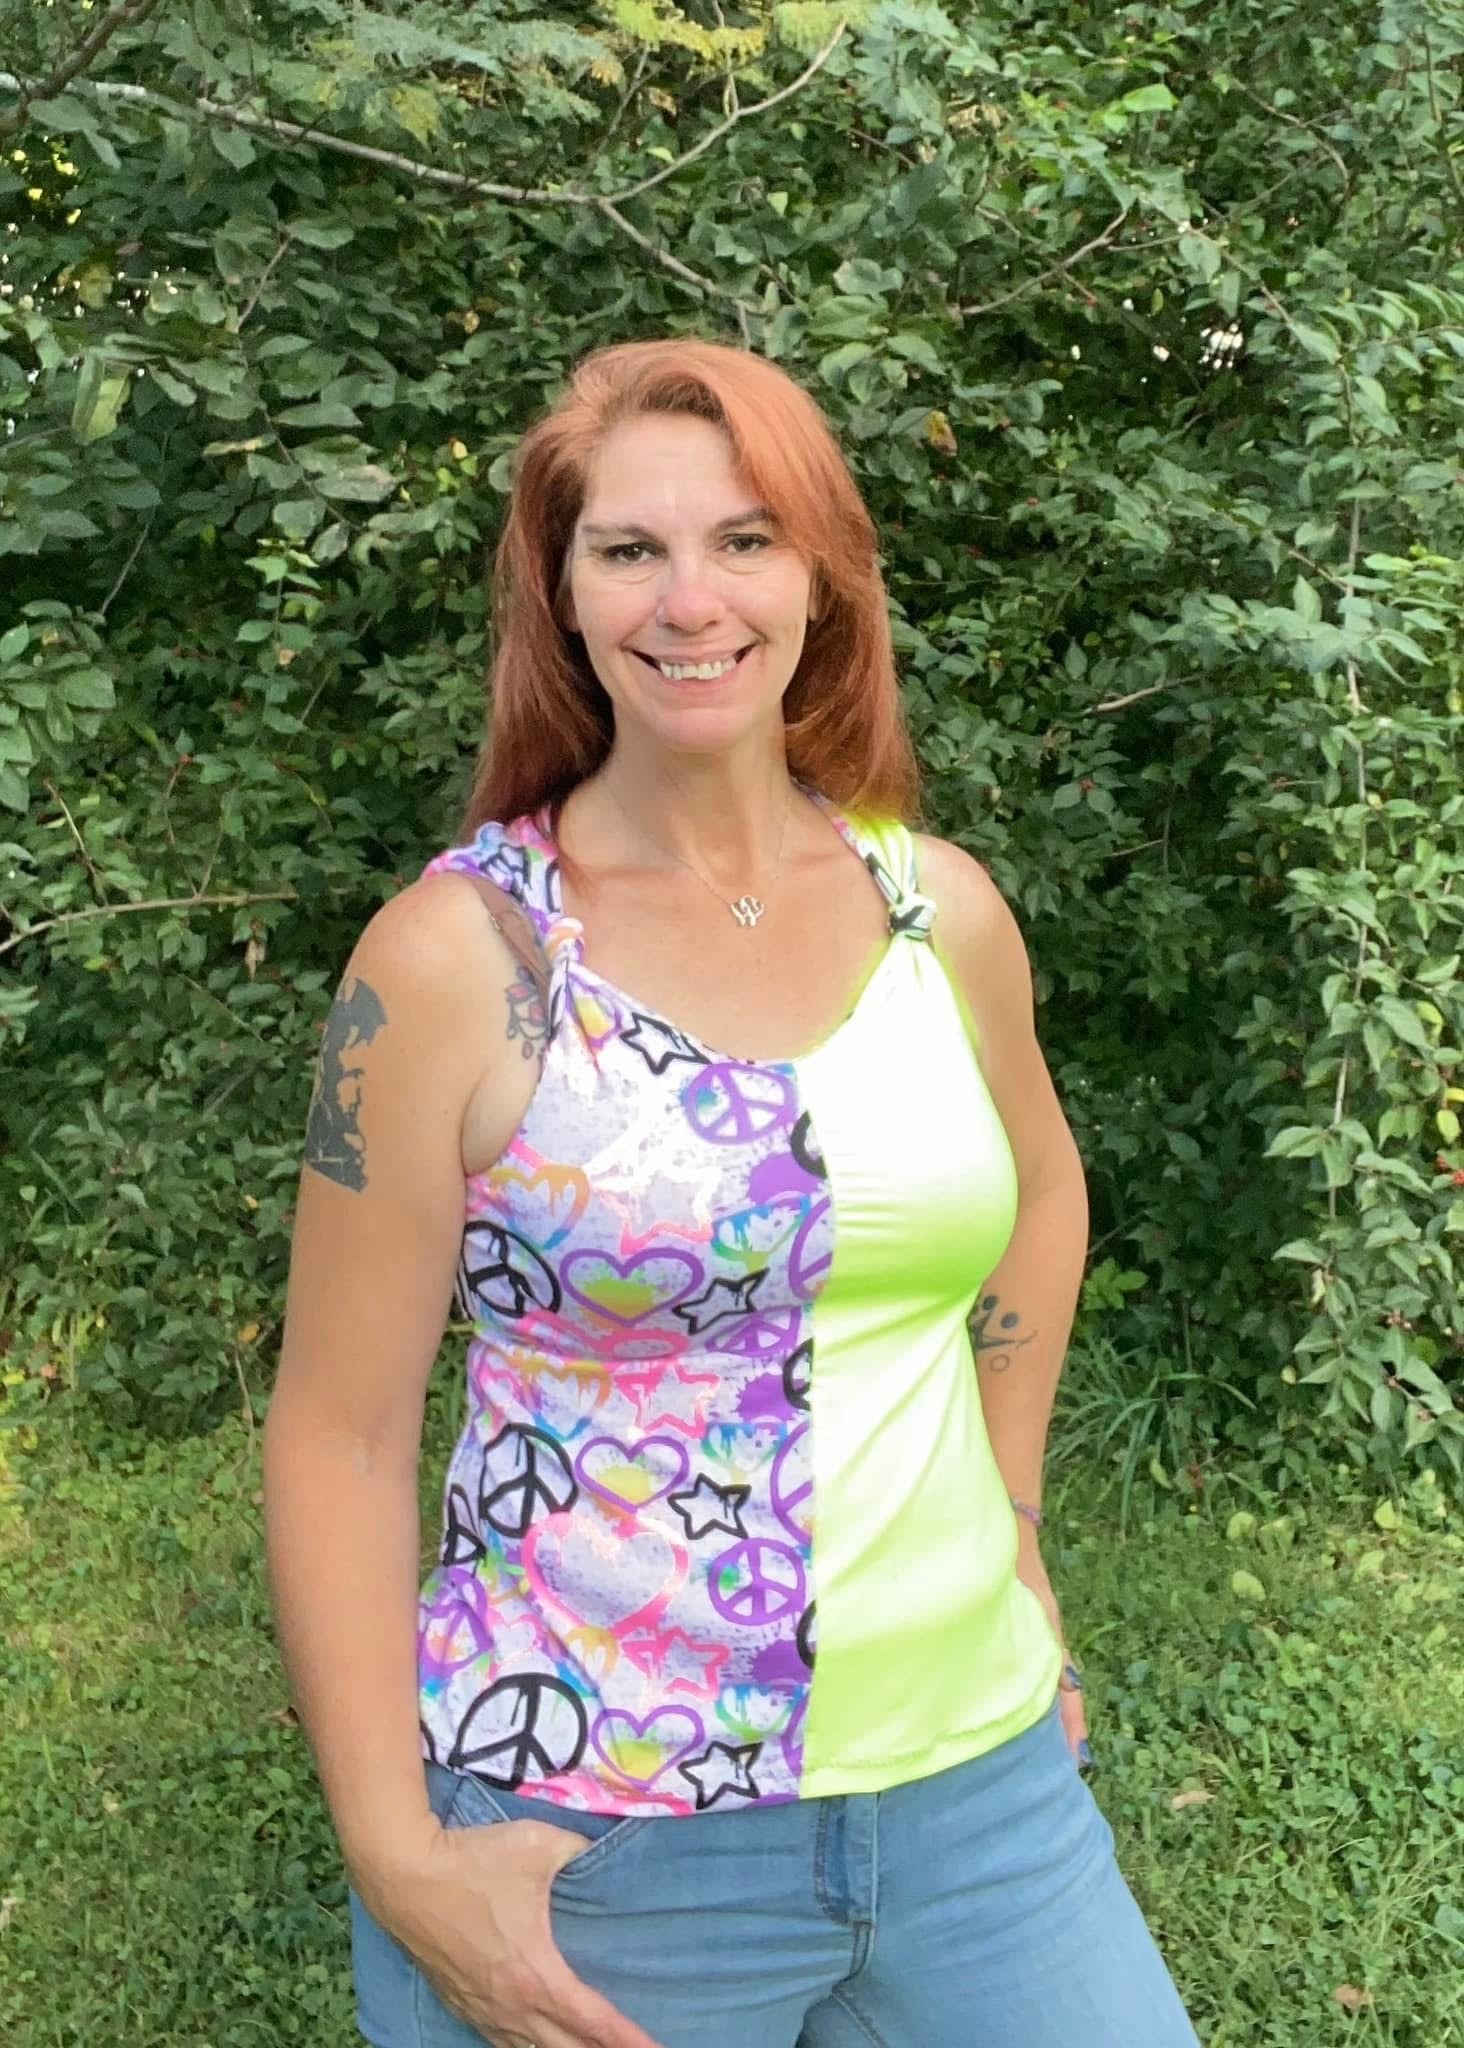
Well, after looking through my closet and noticing a halter style trend in my RTW wardrobe, I knew I had to hack it and the Cinch Top was the perfect base. Lets’ jump right in! Your supplies are no different from the supplies for the Cinch Top, except you will need less fabric since there are no sleeves to add.

Step 1. Pattern Adjustments
For the halter style to lay properly through the upper chest and arms, it needs to be a more fitted style and the Cinch Top does have a bit more room in the upper chest area since it has sleeves.
To achieve a more fitted look, I sized down 1 size. In other words, I made a Medium in the actual Cinch Top and a Small for the halter style.
I found the arm area puckered out on the medium.

Notice how the armscye flairs out in this one. It is a size Medium. I like the look better when it lays down more, but up to you.
Grade out from the armscye if needed. It is just the upper portion that matters.
Cut the pattern Front/Back. Using the crew neck front. Notice this pattern has a cut line for the back and one for the crew neck front. No need for sleeves. 

Notice that I flattened the point on the front by ½”. It makes it easier to fit in the neck binding this way.
Step 2. Binding
Since there are no sleeves to hold your pieces together, we will create binding. I know how scary this can be, but I am going to try and make it easier for you.
The scoop neckband pattern piece is a pretty good length for the binding as well, so use it for size. Remember, it has to fit over your head so be sure to use a fabric with good recovery. Something that is extra stretchy will eventually stretch out and sag. I recommend cotton lycra or DBP. But I’m sure there are others that works as well.
-
Cut 1 scoop neckband.
-
Sew the short ends right sides together to create a loop
-
Fold it in half wrong sides together.
-
Press. I like to use starch.
-
Open it up and fold one side in until it touches the center line. Press.
-
Do the same thing with the other side.
-
Fold it back in half and press.


TIP: I use Dritz Wash Away Double Sided ¼” tape to help hold the pieces while I’m folding them in. However, it does not stretch well! So, when you are sewing the binding on, it will kind of pop a bit when stretched. You may notice that it hinders the stretch when you first try on the top too. Don’t worry, it washes right out. Just put some water on it and watch it disappear.
Now, you have your binding made.
3. Top Assembly
You are basically following the pattern with the exception of the sleeves. Begin with the side seam construction on page 17. Follow it all the way through sewing side seams, hems and ties.
Stop at page 24 or the neckband construction.
Armscye
You can turn the edge under ¼” and hem or use a binding here as well. I prefer the binding look but that’s up to you.
Armscye Binding:
-
Measure the opening and take 85% of that length. That is the length you need for the binding. It should be the same width as your neck binding, 1.5”, just like your scoop neckband pattern piece.

-
Make the binding just as you did for the neck.
-
Armscye binding needs to go on before neck binding.
Attaching Armscye Binding:
-
The binding will encase the raw edge of the armscye creating a finished look.
-
Mark the center point of the binding.
-
Encase the raw edge beginning at the top front, center, (matching center points), and top back.
-
It is important that the fabric raw edge touches the center line in the binding. Therefore, I like to open the binding, lay the raw it in and baste it down from the right side of the fabric. This way it will stay put and the basting stitches are on the back so I can pull them later. You could also use wash away tape, but again- it does not stretch.
-
Stretch the binding slightly while attaching it.
-
Once the raw edge is in its proper place, fold the binding over and stitch it down using your preferred method. Be sure you are catching both sides!


Pictures are of the neck binding, but it’s the same concept.
TIP: I use my sewing machine for attaching the binding. Stitch length on 3.5mm. My machine has a “stitch in the ditch foot” (Pic) and I move the needle over 1.25mm to catch both sides. 
Armscye complete!
4.Neck binding
Same as armsyce binding. Except you will have some “blank space” between the front and back pieces. That is correct, it will lay across your shoulders. Keep stitching around the entire neck binding to close this up.
Be sure that you catch the armscye binding in the neck piece. Again, it’s a nice, finished look.
DONE!
There could be so many variations of this.
Here are a few of my ideas:
Add a casing to the top of the Front/Back pieces and make a tie for it. This would create a gathered look as each piece would “bunch up” a bit.
The tie would be on the side unless you create a placket to open up the back.
With this pattern, I did find that the armscye needed to be cut in a bit to remove excess fabric and achieve the desired, angled in look. You could use the casing method though and let the gathers take up that extra fabric, either way is pretty!

Try putting a piece of chain necklace from the jewelry making department through the casing. Another pretty look!
This can also be made using the Going Home Sweater.
Notice I added a mesh overlay from The Fab Clique #affiliate. Super easy! 


