Hello, here An Ca from Flaxfield sewing.
The last time I wrote a blogpost for Ellie & Mac I already told you how to make a fully lined top unlined by adding binding. You can read it here.
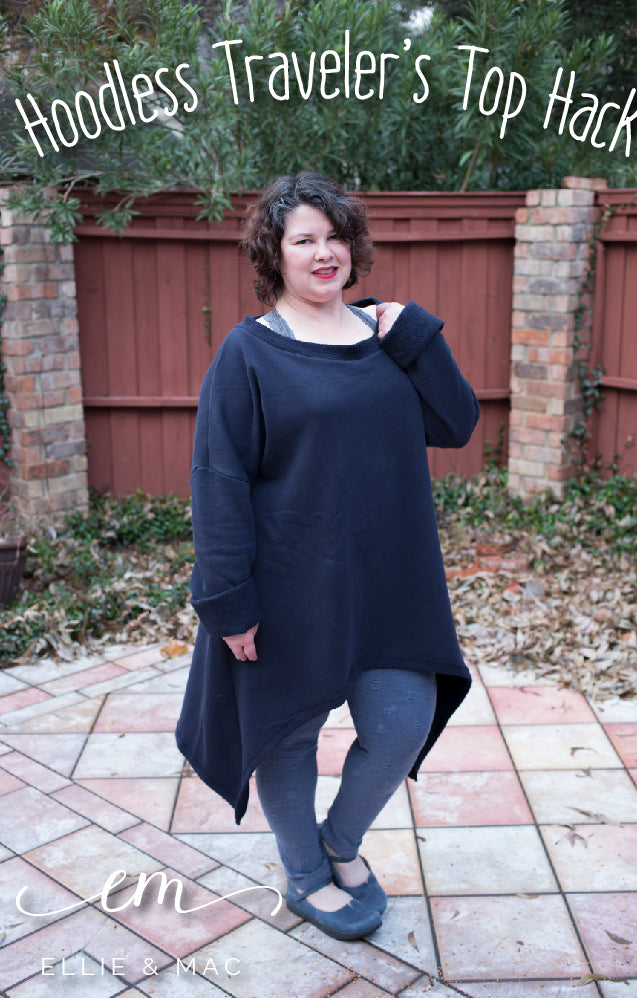
Today I will show you another way to do the same. This time I’ve used the Be captivating top and dress.

In the original pattern the front and back are fully lined. When you make it unlined, you have to finish the edges of the neckline. You can use binding, like I told you in my previous blog, or you can use elastic piping.

Elastic piping has 2 sides. 1 shiny side and 1not shiny side. You can use them both, the choice is yours.

After you've assembled and cut your pattern and after you‘ve cut your fabric you can sew your shoulder seams, right sides together.
Place the piping against the neckline with right sides together. Pin in place.
You can now sew the piping to the neckline. You can do this with a stretch stitch. I usually use the stitch you see in the picture below because it stretches very well and it looks like a normal straight stitch.

Sew as close as possible to the thickest side of the piping.

Fold the seam allowance to the wrong side. You now see the side of the piping that you chose as the right side.

Sew the folded pippig to the neckline, I do this with the same stretch stitch. Extend the stitch length to 4.

You’re ready! Now you can sew the rest of your top/dress like mentioned in the instructions.

I love the result. The piping gives the beautiful Be captivating top and dress a gorgeous extra touch.

I hope you’ve enjoyed this little tutorial for the be captivating top and dress. You can use the same method for any lined top that you want to make unlined.
Until next time!
X
An Ca