 Hi everyone, I’m Ilse from @sewsewilse from Belgium and I’m so excited to show you what I made, eeeeek!!
Are you on team ‘knits’ or ‘woven’?
Well, mostly I prefer woven fabrics but knits can also tempt me for sure!
I'm probably not the only one who owns a whole assortment of Ellie & Mac Patterns and hasn't made them all yet. I think that includes you too ;)
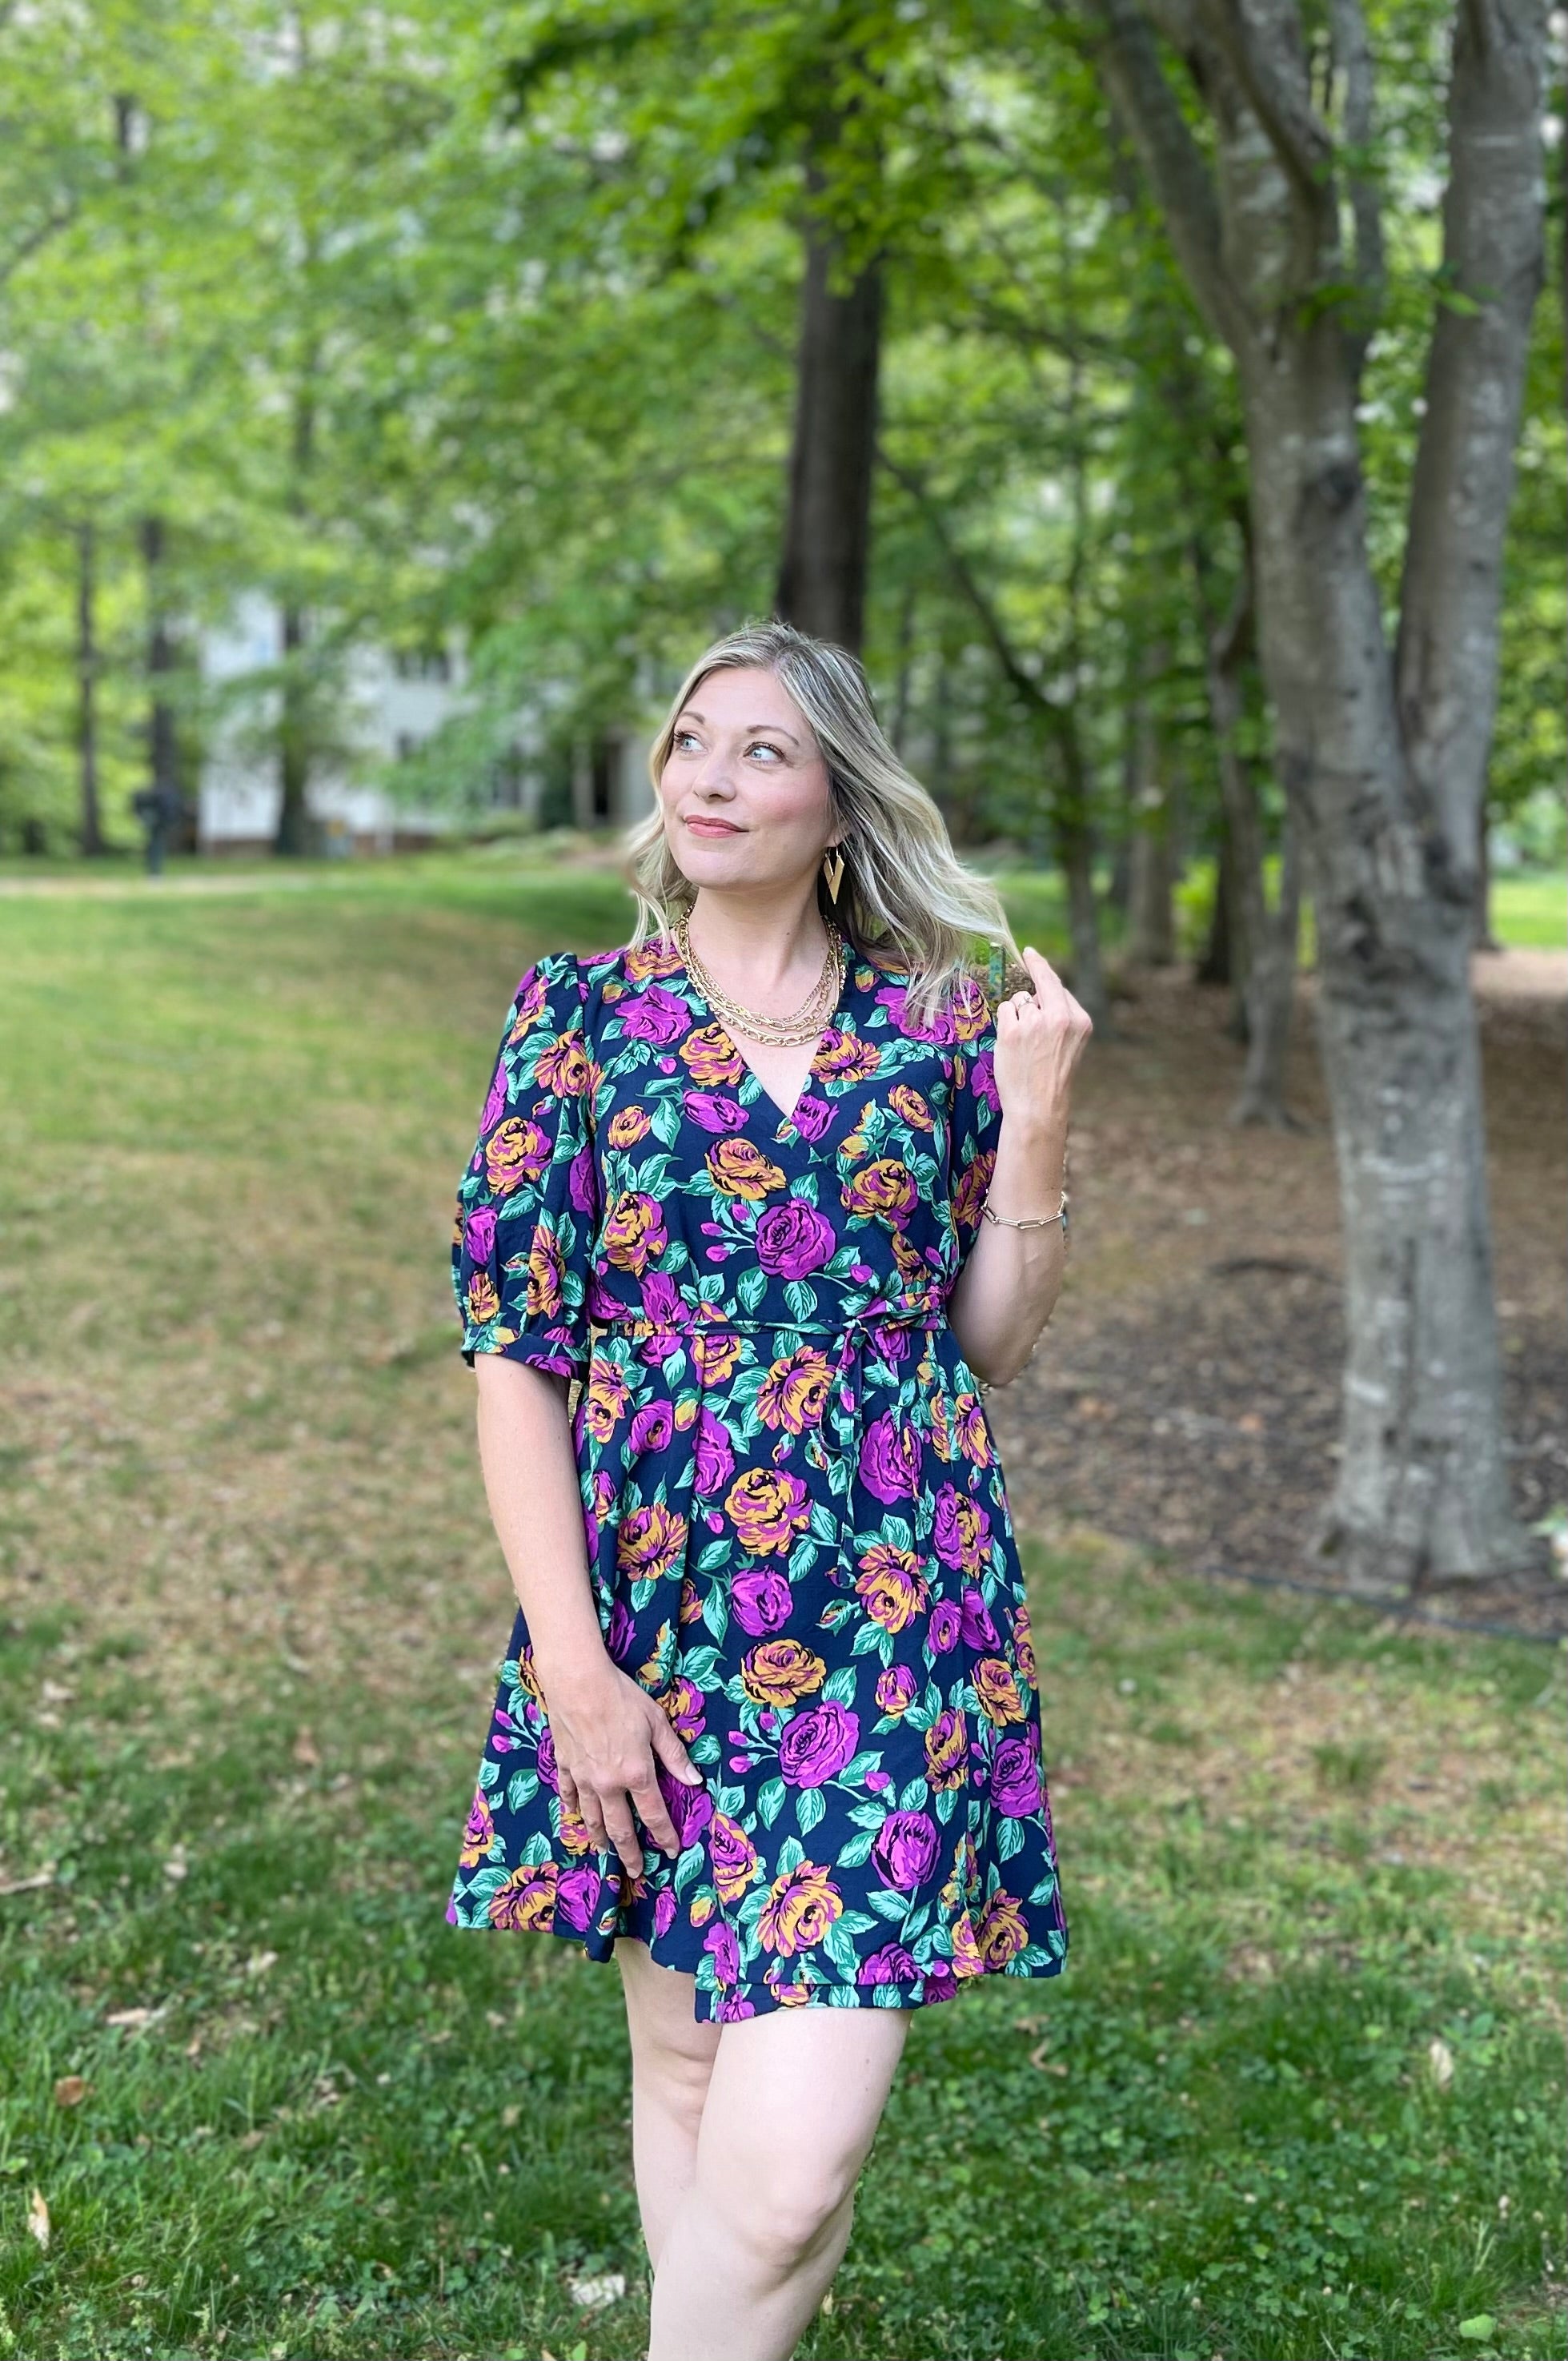
From my pattern list I was eager to try out the Be Bold Dress and the beautiful Rickardi Lawn viscose from Lady McElroy seemed to me a perfect match.
So I started working on this.
Let’s take a look at the pattern.
To the Be Bold Top & Dress pattern!
The Be Bold can be a top or a dress with lots of options. Lightweight wovens are perfect because they make the top or dress drape and flowy. For one instant I thought to use a double gauze but did not. So gauze, linen, challis and crepe are also good choices.
I chose the dress option but there’s also a bikini length included as crop, shirt and tunic.
Did you see there’s a buttoned option too? And if you’re into ruffles you can add one at the shoulder line. You can also choose to hem your sleeves or to add elastic to it. Originally the dress had an elastic in the waist but I did something special and that’s what I want to show you!
To my creation!
When you make the Be Bold, you can choose to make it with elastic so it accentuates your waist or you can choose to leave out the elastic.
Because it fits my body proportions, I almost always choose to highlight my waist.
And since shirring has been fashionable for a while, I decided to create my waist with this technique. I also wanted to create the sleeve with the same technique.
Curious?
I'll show & tell you all about it!
Let’s do it!
STEP 1: Sewing the top part & skirt.
I started by making the top.
In doing so, I left about 6 inches open from the bottom of the sleeve to shirr it at a later stage.
(You can also do this before you insert the sleeve.)
I also made the skirt part as indicated in the pattern.
STEP 2 : Waistband dimensions.
I chose to make a 3" width waistband. Add to this at the top and bottom your seam value.
I chose 2 times 3/8". This gives you a total of 4" as a width.
For the length I took double the circumference of my waist.
STEP 3 : Let’s start shirring the waistband!
The color of your elastic thread is not important. I always have white and black on hand.
First hand wind your bobbin with elastic thread, do not stretch it.
Put the bobbin into the bobbin case as you normally would do and attach your thread behind the hook.
The picture below shows you the right place.
Turn your balance wheel to bring up your elastic.
For reference, I have a Pfaff sewing machine with a drop-in bobbin system.
Choose a longer stitch length.
My first row starts at ⅜” from the raw edge, in total I shirr 8 lines.
STEP 4 : Waistband to dress.
Close your waistband and sew it between your top and skirt piece.
Wouldn’t it be a cute top like this too?
STEP 5 : Sleeve with shirring detail.
As I said, you can do this step also in advance, before setting in the sleeves.
At first I serged the raw edges and hemmed the sleeves.
To get a beautiful edge I started shirring 1” from the hemmed edge.
I stitched three lines and then closed my side seam.
Tadaaa! What do you think of my Be Bold Dress now?
Thanks so much for stopping by!
Be sure to check the pattern and my Instagram.
Link to pattern: Be Bold Top & Dress
Instagram: @sewsewilse
Greetings,
Ilse
@sewsewilse
(Written by: Ilse Lemmens)


