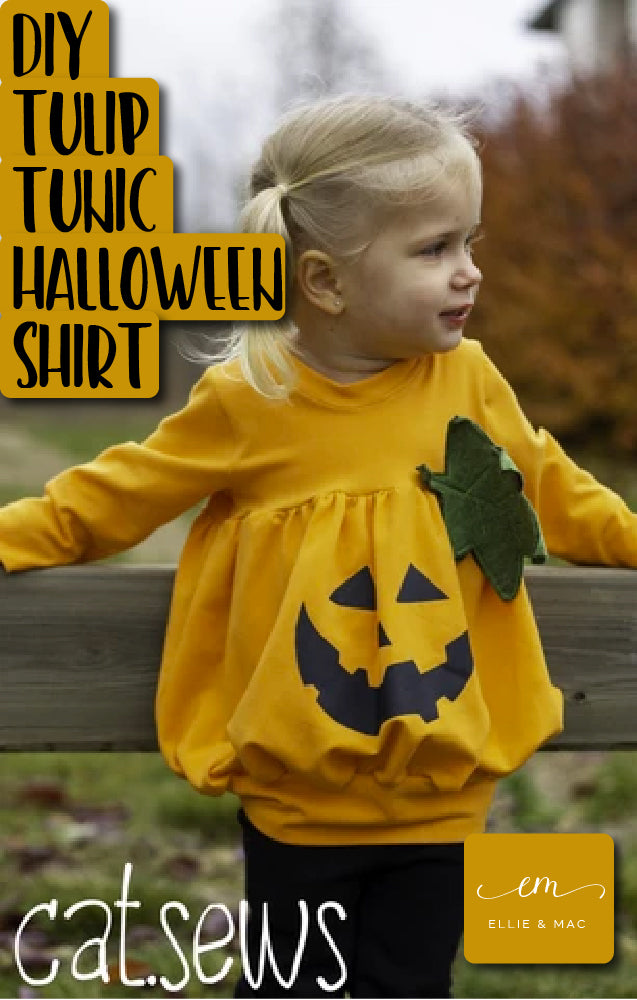
Hi friends! Today, just in time for Halloween, we're talking about how to put ears on to any hoodie!
Quick note on fabric choice: I'd use something fairly stable for this hack - I used some awesome Cotton Lycra from Smoogie for mine. You'll want the stability to help support the shape and weight of your ears!
Whenever doing a hack, I trace my pattern pieces so I’m not altering the original. This also comes in handy because we will only use the altered pieces for the outer hood, and the lining will be your original piece.
First thing we need to do is cut a band from the front edge of our hood, so there is a seam to insert our ears into. I am using the Be Creative hoodie, but this will work with any hood. I measured 1.5 inches in from the edge, and cut down that line. BEFORE YOU CUT - make sure to write along the edge that you need to add seam allowance! Since we're adding a seam, add 1/4" to each piece along that cut line.
Cut two of each mirrored, one for the left and right sides of your hood. For the hood lining, you'll use the original, un-altered hood pattern piece.

Next, make up what shape you would like to use for your ears. If you want to a bear or any number of critters, you can create a elongated half circle, though I decided (because we are getting close to Halloween,) to use little horns for mine. I sketched out some horns, and then cut out around my piece an extra .25 inches for seam allowance. You will need to cut four of your earpiece, a front and back for each side. I also cut batting to give my horns a bit of volume.

Sandwich your pattern with your batting on one of the outsides, so that when you sew it all together and flip it inside, the batting will be in the center. Sew around, leaving the bottom edge open, and leaving about half of an inch on each side un-sewn (we'll flip this open later and press). Make sure that you back stitch! Trim the excess batting, and turn right side out.

For the left side of your hood, pin the two pieces you created together. Then, marked down from the top 1.5 inches, or however far out you would like your ears to sit. This will also depend on how big of a size you are making your hoodie, my distance is pretty small because I’m using an 18 month size. insert your ears, and pin or clip well. So this seem using a quarter inch seam allowance on your sewing machine. You don’t want to search it, because we will flip the seam allowance out words to stabilize the ears next.

Turn your hood wrong side up, and press the seam allowance open. You will now stitch the seam allowance of the ears to each side, which will help your ears stand up.

I used a stitch-in-the-ditch foot to make sure I stayed fairly close to the edge of the seam allowance. Repeat this process for the other side of the hood.

From here on out, we will assemble our hoodie as normal! You will put the outer hood that we created right sides together with your regular lining piece, and so around the front edge. Make sure to keep those cute ears out of the way when you are attaching everything!

Once the rest of your hoodie is assembled per the pattern you are using, you're done!

Congratulations, you have a super cute hoodie with the ears of any you can imagine! If you are at a loss for your shapes, you can always find a bunch on Google. There are tons of free critter patterns for felt animals out there, so I’m sure you can find any animal or creature you like.
If you're looking for this sewing pattern, you can find it here and the gorgeous Cricut Mosaic Vinyl used in the Skull Iron-On design can be found here.
Thank you so much for joining me on this crafty adventure, until next time!
Sonia, @mamascraftroom


