Hi Everyone! Ashley here and this is my first attempt at a sewing blog…so here it goes!
When I downloaded the Oasis pattern I knew right away I wanted to turn it into lingerie. I loved that the tie-up back was adjustable but I wanted to make sure that it didn’t look like a bathing suit just in a different fabric. After scrolling through Pinterest for some ideas I decided that adding a delicate lace keyhole to the front of the bodice was exactly what this pattern needed to become lingerie!
Below I take you through all the steps of making this modification:
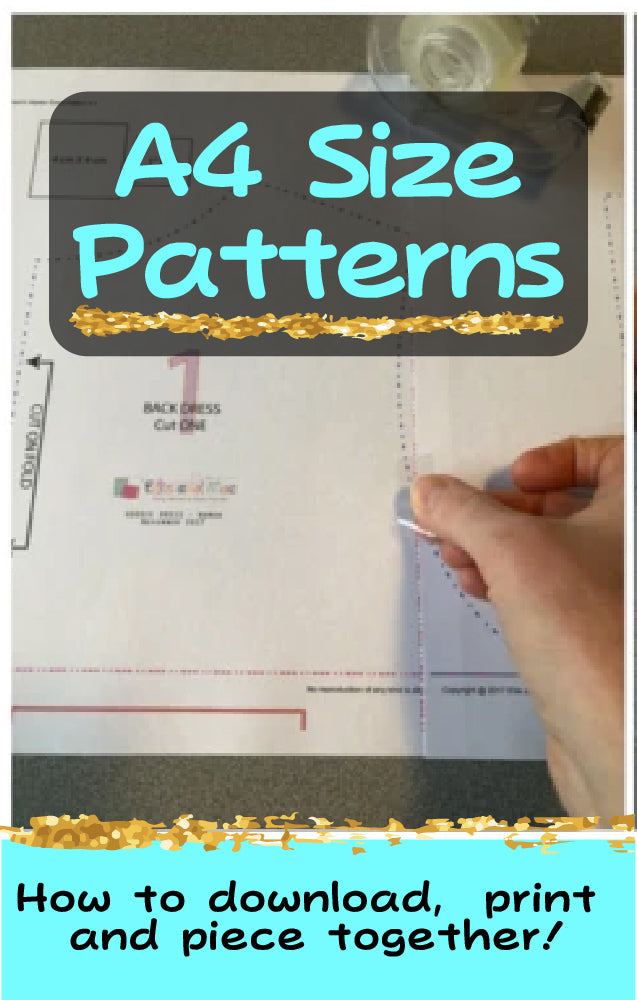
Start off by printing out your pattern
If you don’t already own it you can find it here: Oasis Swimsuit (affiliate link)
Construct the pattern and set aside the front bodice piece
Collect the stretch lace trim you would like to use ( I recommend using lace trim with a finished edge that does not need to be hemmed if you use lace fabric take the hem allowance into consideration when calculating where to add your cut line on the pattern piece) and measure the width of the trim. I used a stretch lace trim that measures: 2.25 inches.
Then take your lace trim and cut two pieces the length of the height of your bodice piece. Set this aside.

Now that you have this measurement minus your (seam allowance x 3) (I used my serger to connect the lace to my bodice fabric so I made my seam allowance 1/4 of an inch) 2.25 inches- (.25x3)= 1.5 inches
Take your front bodice pattern piece and measure over 1.5 inches from the fold line at the top and the bottom and measure halfway down the bodice pattern piece and mark 2.5 inches from the fold line.

Using your top middle and bottom marks you just made draw a crescent connecting the marks this creates your new cut line. USING YOUR PAPER SCISSORS lol trim away the crescent.


The remainder of the bodice pattern piece is now your new bodice pattern for the left and right front pieces. So instead of cutting your fabric on a fold, you will cut two mirror images.

NOTE: If you are looking for a delicate lingerie feel, skipping the liner may be sufficient, but if you would like more support cut 2 mirror images of your liner fabric as well… if you want even more support may I suggest adding a power mesh layer (cut another two mirror images of your new bodice pattern piece) between your outer and liner fabrics.
If you are using more than one layer for the bodice connect your pieces now using your favorite stretch stitch for your left and right bodice pieces. Then take your trim pieces and lay the correct/front side of your lace and outer fabric facing together. Pin or clip your trim and fabric together so the side of the trim matches the crescent shape. Then sew/serge the crescent to attach the lace to the bodice. Do this for the left and the right bodice pieces.

Unfold and lay your bodice pieces out flat pointing the seam allowance towards the bodice fabric and away from the lace trim then press. If you would like to topstitch this seam allowance overdo this now.
Once pressed you can lay the front left and right bodice pieces next to each other front side up with the top and bottom lace edge overlapping about .5 inches stay stitch both the top and bottom overlapping section.

Now you have the new front Bodice with the Keyhole mod and can proceed with the rest of the instructions for the oasis bodice!

(Written by Ashley Aldous Pangborn)


