

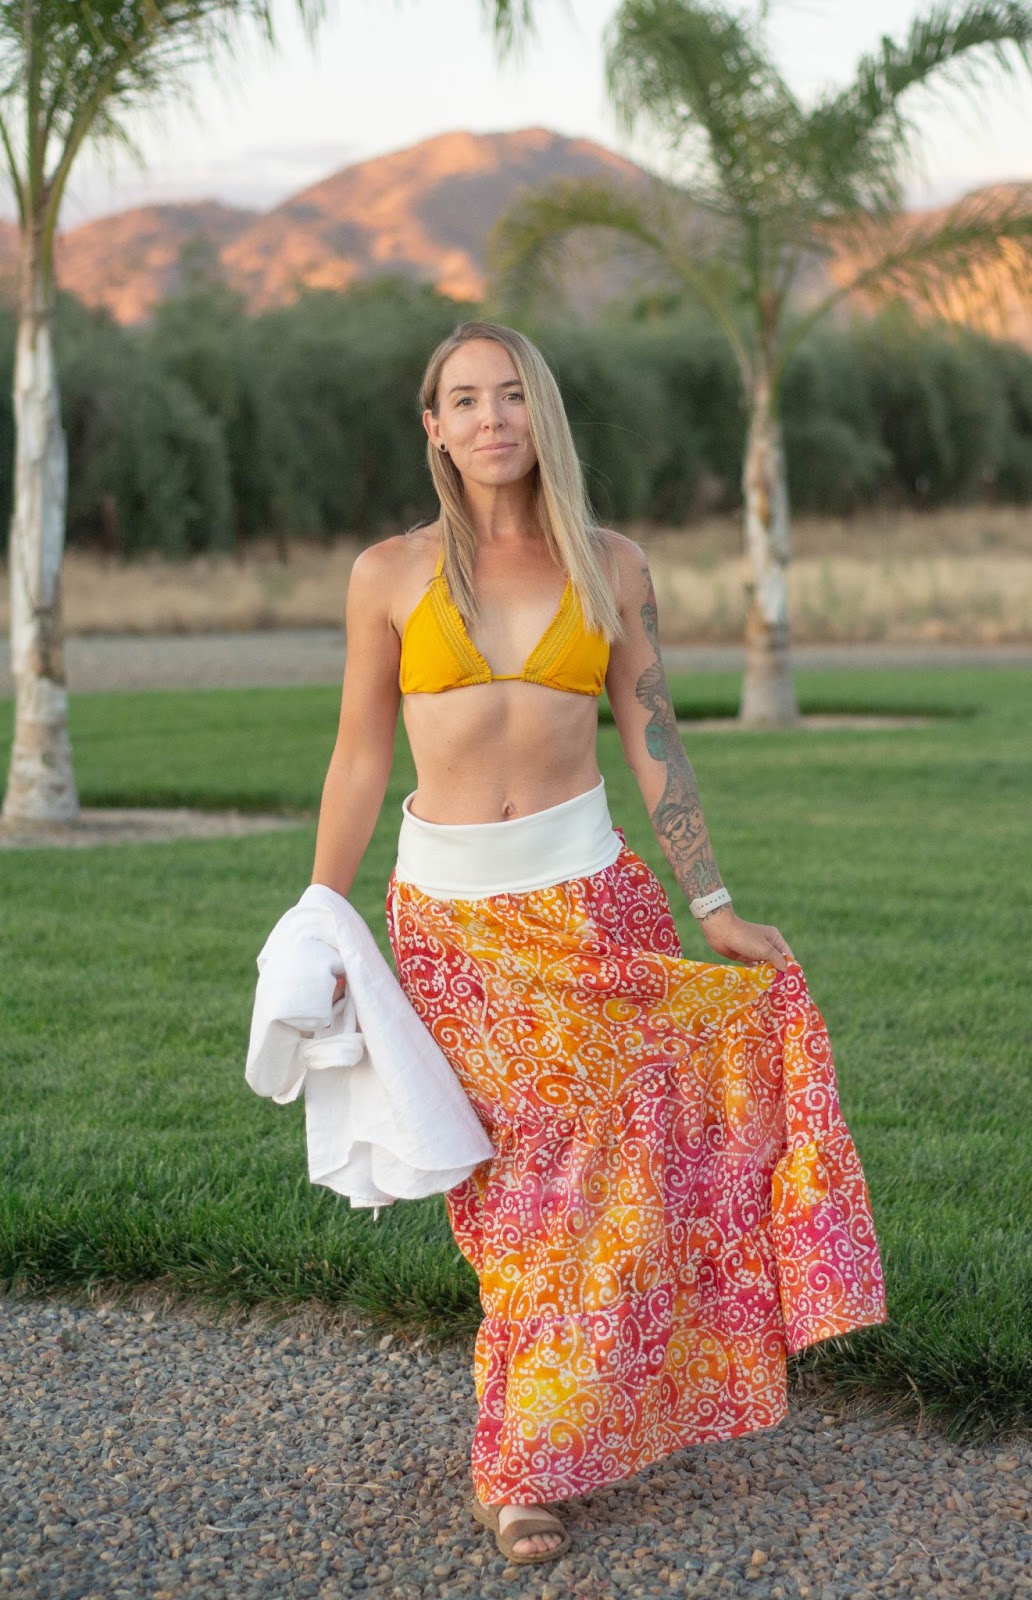
Summer is in full swing here in California, and it is HOT! The thought of wearing anything constricting that doesn’t have room to flow is just too much for me to handle. This time of year, I live for loose pants and flowy skirts, anything to catch a little breeze!
When I’m out and want to look somewhat put together I lean on a super cute skirt. Enter the Staycation! While I love a great dress, there’s something about a skirt that offers versatility that helps keep my closet a little less packed full. Find a skirt you love, and you can wear so many different tops to dress it up or down, to change it up, and to keep the outfits fresh and fun.
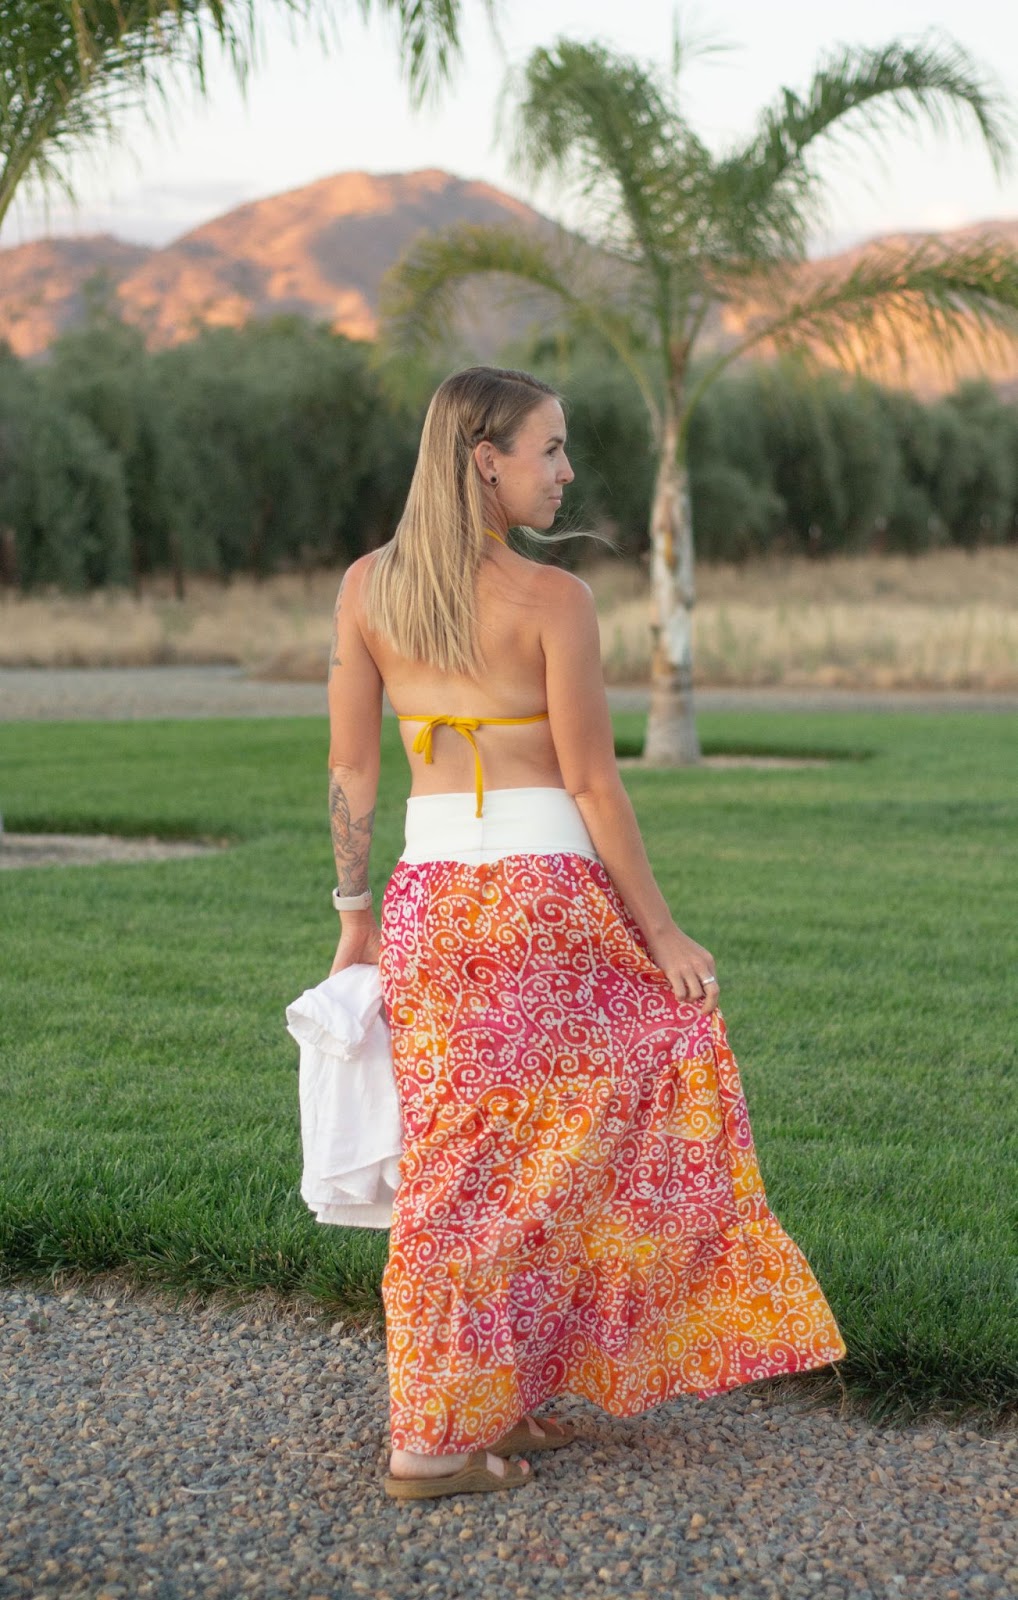
Today I’m going to show you how to take the Staycation dress pattern and make it into a fun, summery skirt to go with that stack of tanks you have lined up just waiting to show off those shoulders in the summer heat!
GETTING STARTED!
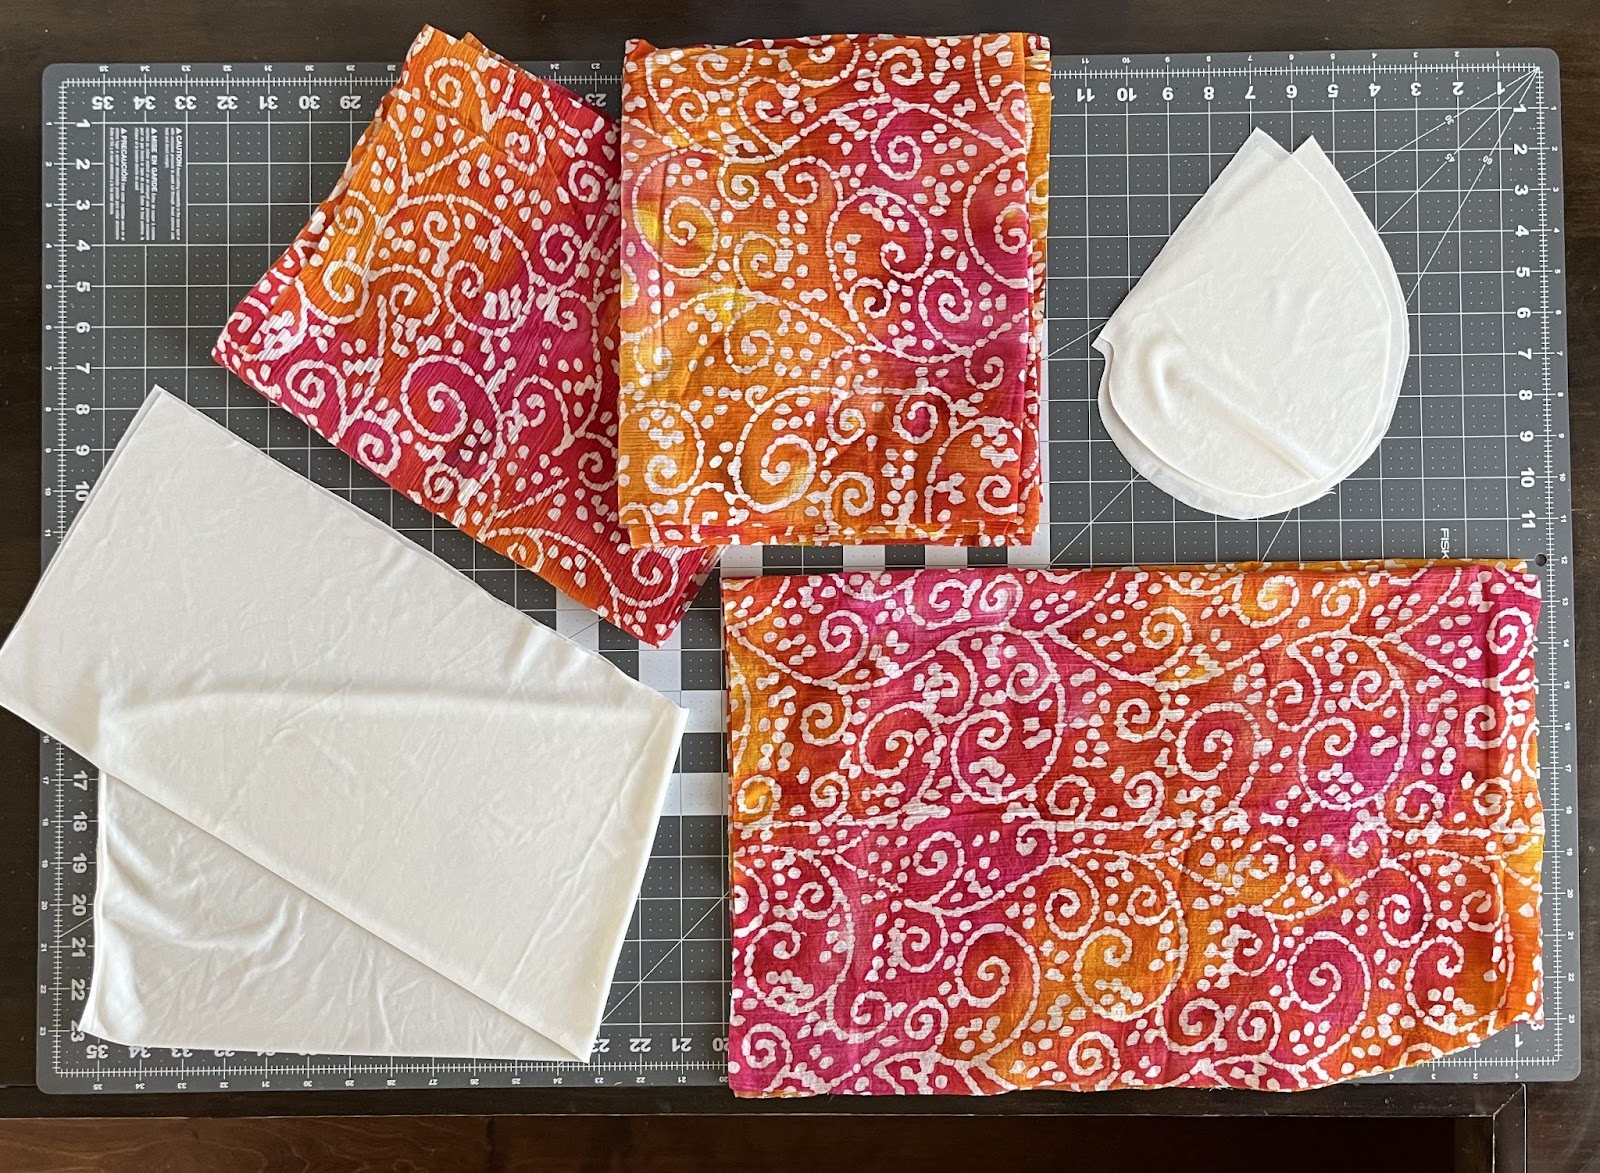
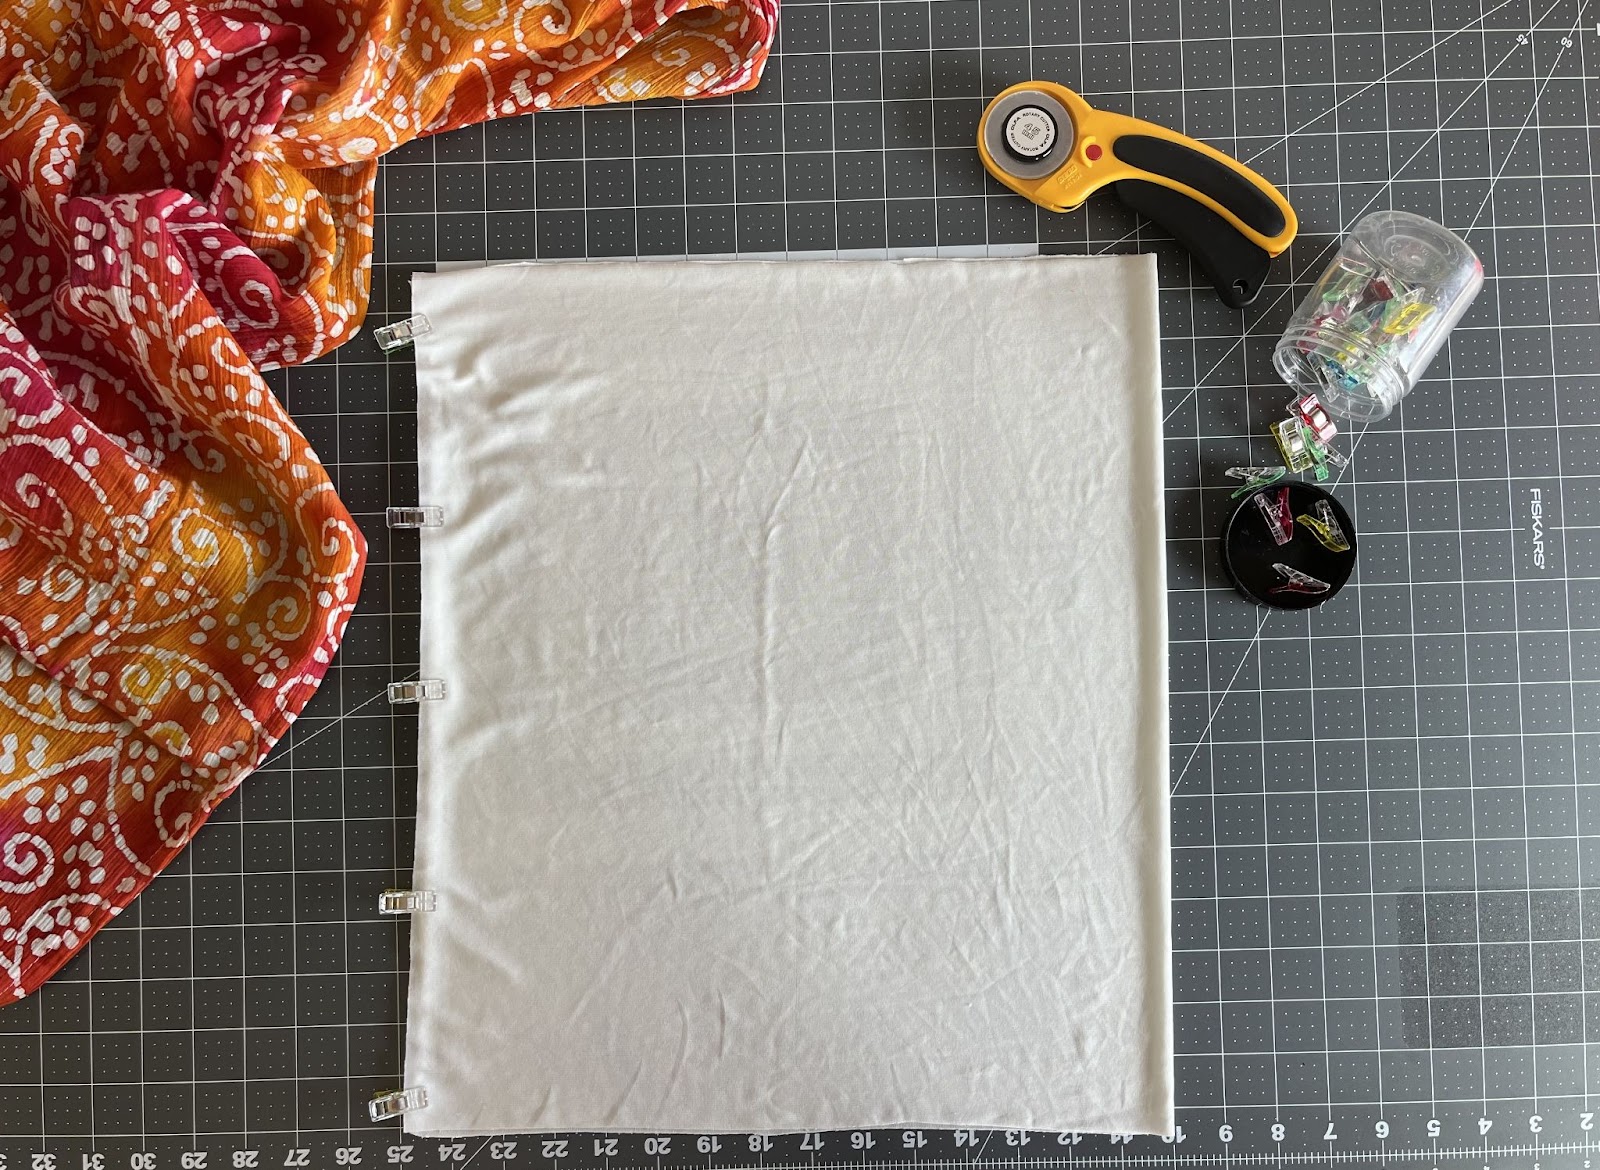
Go ahead and print your Staycation Tiered Peplum and Dress pdf pattern from the Ellie and Mac website. You won’t need the pieces for the top, so find the pattern assembly diagram on page 11 or the print chart on page 8 and just print the pieces for the skirt and, of course, the pockets if you want them. (What’s a skirt without POCKETS??)
Assemble your pattern pieces and cut your fabrics according to the instructions on the pattern. Because this is a looser skirt, you can use a light woven fabric if you’d like, otherwise, stretchy knit is always good.
Now, in addition to the pattern pieces, we will have to add a couple of our own. There are several ways to add a waistband to this to make it a skirt. I’ll look at two today.
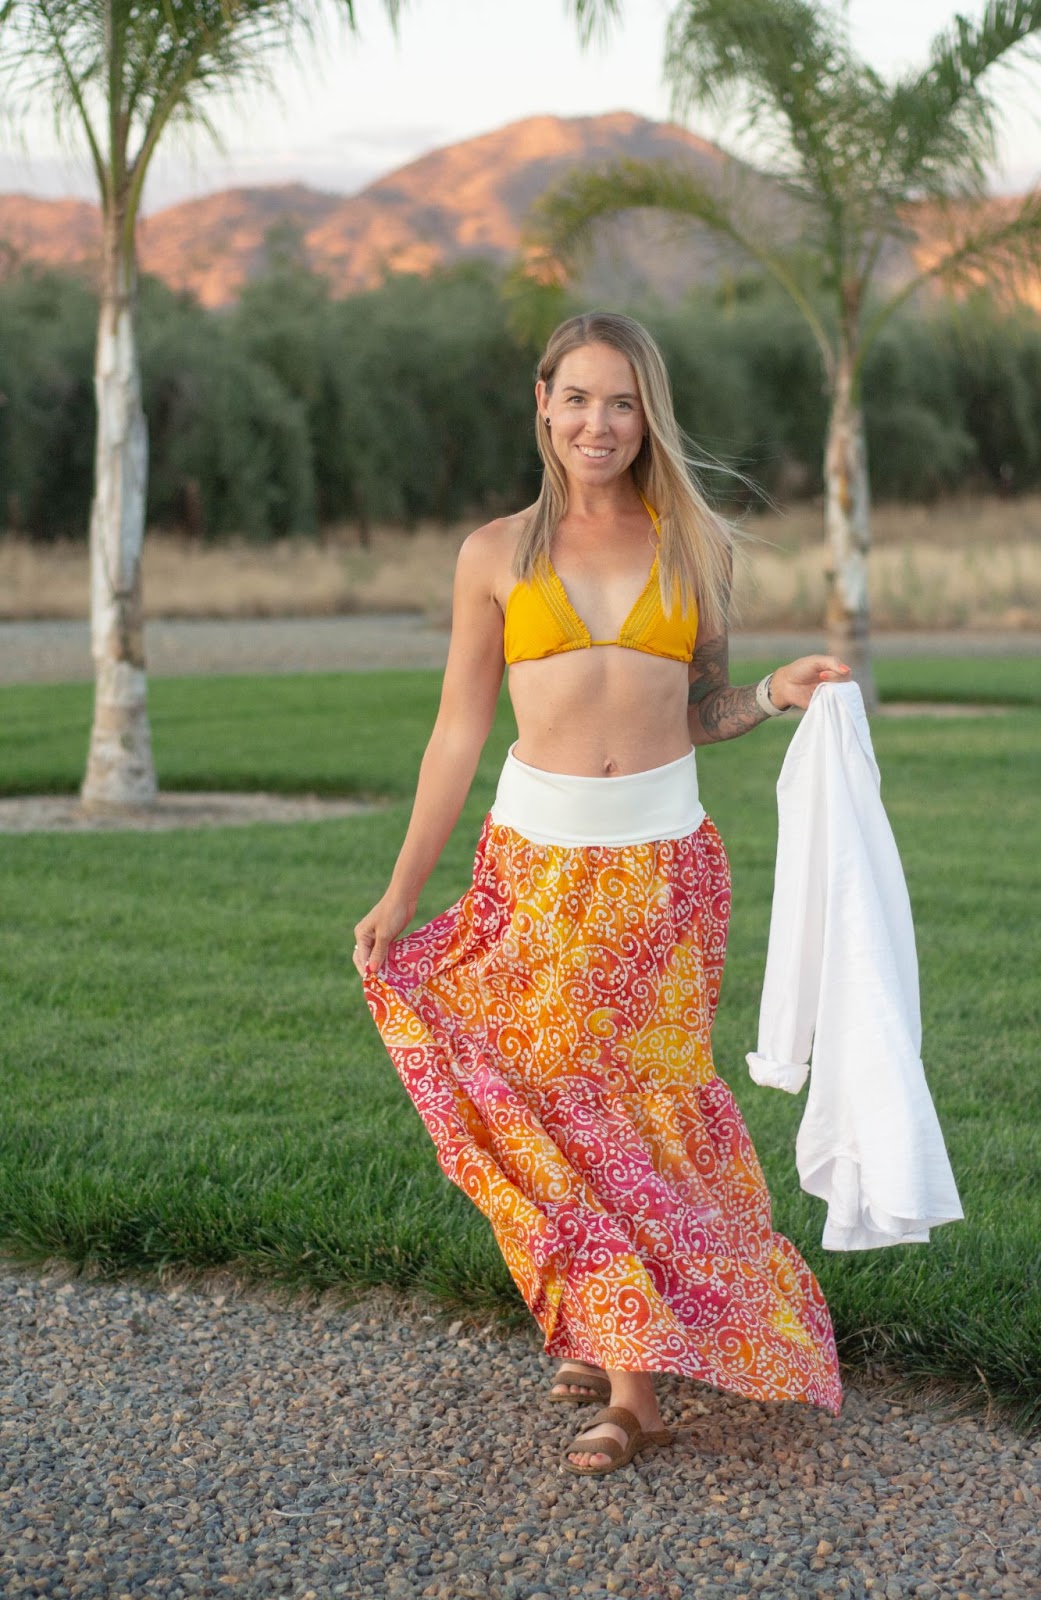
One is a comfy yoga band that can be folded over. I love a yoga band especially if I just so happened to run out of elastic. All you need is a stretchy fabric with decent recovery. It’s soft, it’s stretchy, and comfortable in the mid-section, it can be made in coordinating colors or in a contrast to add some interest to the skirt. It’s a great option!
Another is to get a 1” (or close) piece of elastic to create an elastic waistband. This is a super fun and fresh look. It’s clean and sleek and is great under a tight-fit top as it doesn’t add the bulk a yoga band can.
⭐ Note on cutting your pattern pieces:⭐
If you are using the yoga band, you’ll need to remove a little off the top or bottom of the top tier of the skirt otherwise it may be too long. I removed about 2” off the top because I liked the long top tier. You could easily remove it from the bottom and just have a shorter top tier.
If you remove it from the top, you’ll need to scoot the pockets down a bit. Find the suggested placement and move them down an inch or two.
If you are doing the elastic waist, you may also want to scoot the pockets down a touch as you’ll use the extra length at the top to create a case for your elastic, and the pockets will sit high.
OPTION 1! YOGA BAND
To make the yoga band. You’ll need to measure where you would like the waistband to sit on your body.
If you like higher, try your true waist! (Stand tall and bend sideways. Where it creases is your true waist.)
If you like to show off that midriff, go as low as you want! Hello, hip bones!
*TIP! This is a reasonable estimate, but your fabric may need a little more or a little less depending on the stretch and recovery, so the first time, maybe go a little extra to check how it feels and adjust.
Measure yourself around that spot and subtract about *1.5”. This measurement will be the length of your yoga band.
⭐ Note about skirt length: ⭐
If you are doing the full-length maxi, you may want to choose a high waist option. This skirt is long, long, long! If you want a lower waist with the full-length maxi, it’s doable, just cut the top tier at the “above knee dress top tier cut line.” You’ll lose the length in the top tier, though, so if you like that look…go high waist!
As for the height of the yoga band, you’ll want it to be double how high you want the band to be.
So, if you want a short, few-inch band that won’t fold over, maybe 2-3”, you would want the measurement to be 4-6”.
If you want to be able to fold it over, it would be double that again. So, 8-12”.
I know that seems like a lot but trust me on this one. Pull on a pair of yoga pants and unfold the waistband. It’ll be chest high!
Don’t forget to add a seam allowance! I prefer ¼” but if you like ½” that’s fine too! You’ll want to add that to both ends of the height measurement.
Find your measurements and cut this rectangle.
*TIP! If your length measurements don’t fit right for your fabric, you can always divide it in half and cut two (or 3 or 4) to sew together the same way you piece together the lower tiers of this skirt! I do a lot of upcycling, and sometimes I don’t have a long strip that works that way so piecing some together is a handy strategy. Just make sure you add seam allowances for each piece.
READY TO SEW!
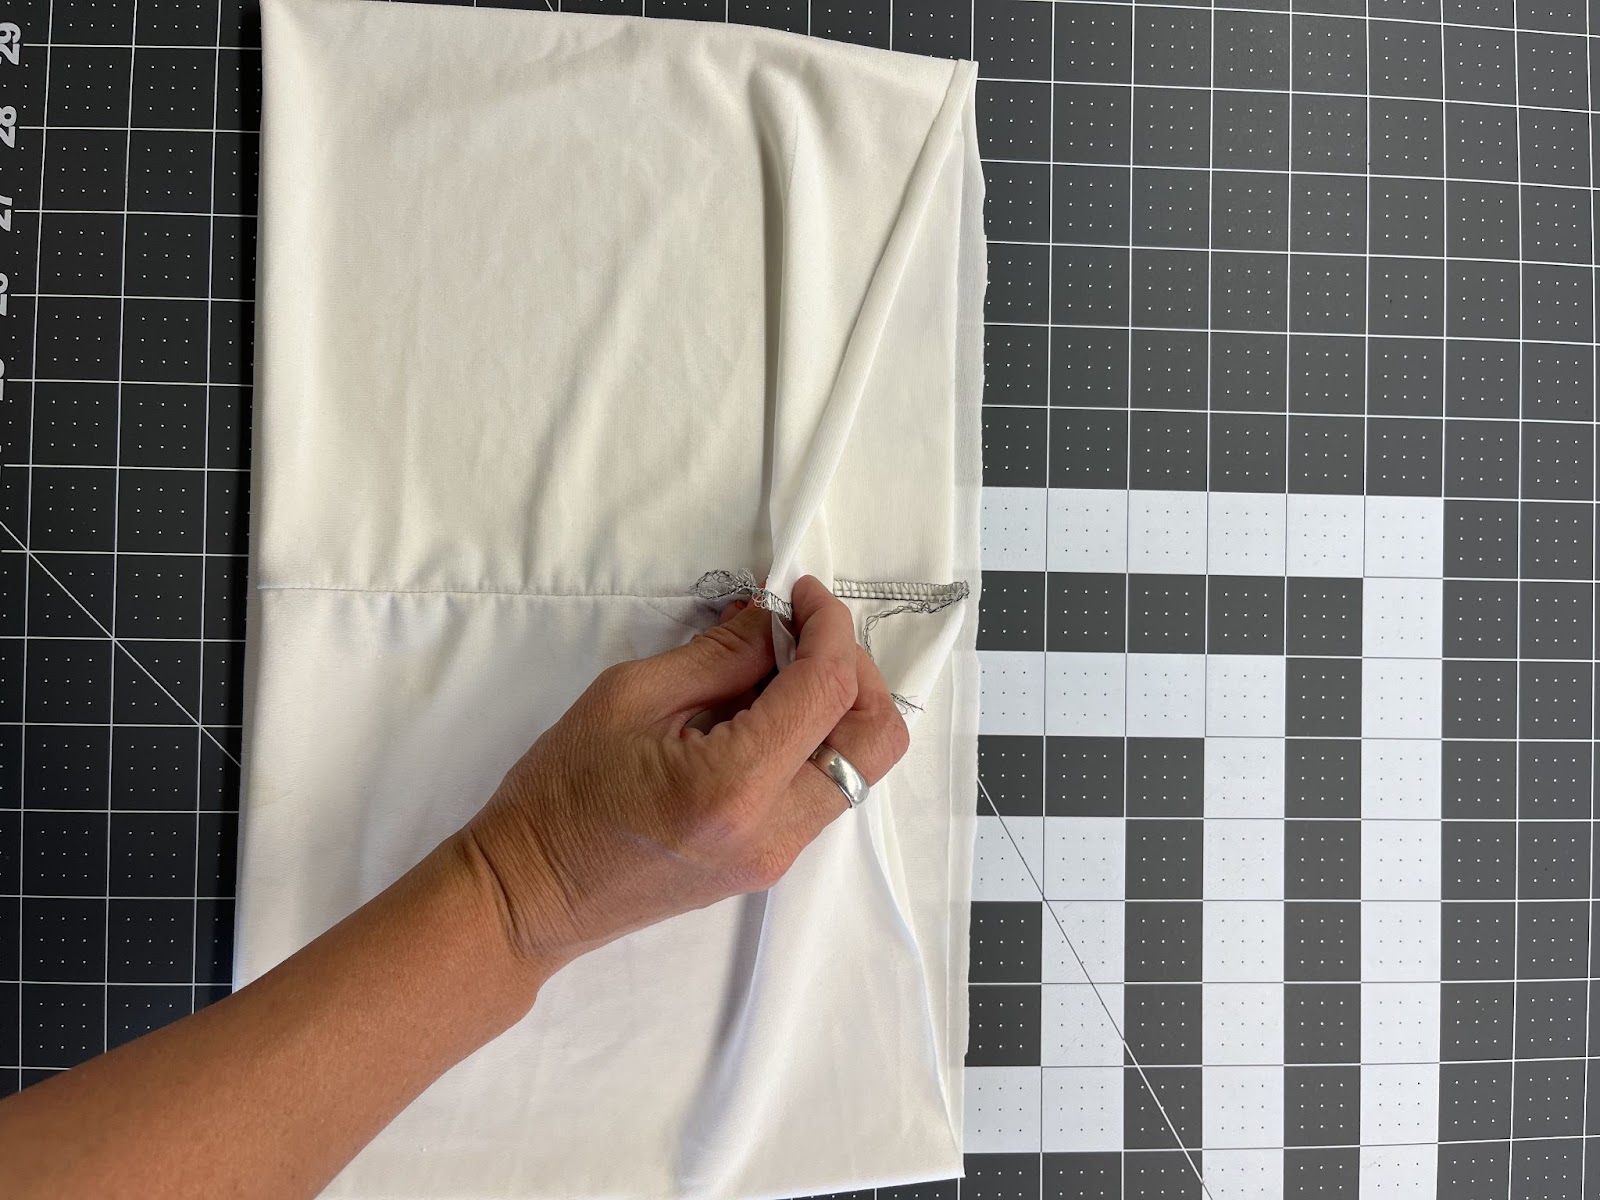
Now you have your original pattern pieces and yoga band pieces, you are ready to sew!
On your pattern instructions, skip down to page 17, where it begins to work on the skirt. Follow those steps until your skirt is finished. Then check back in here on the blog!
🎶 Music while we sew our skirt pieces 🎶
SOOOOO MANY GATHERS! (Still sewing!)
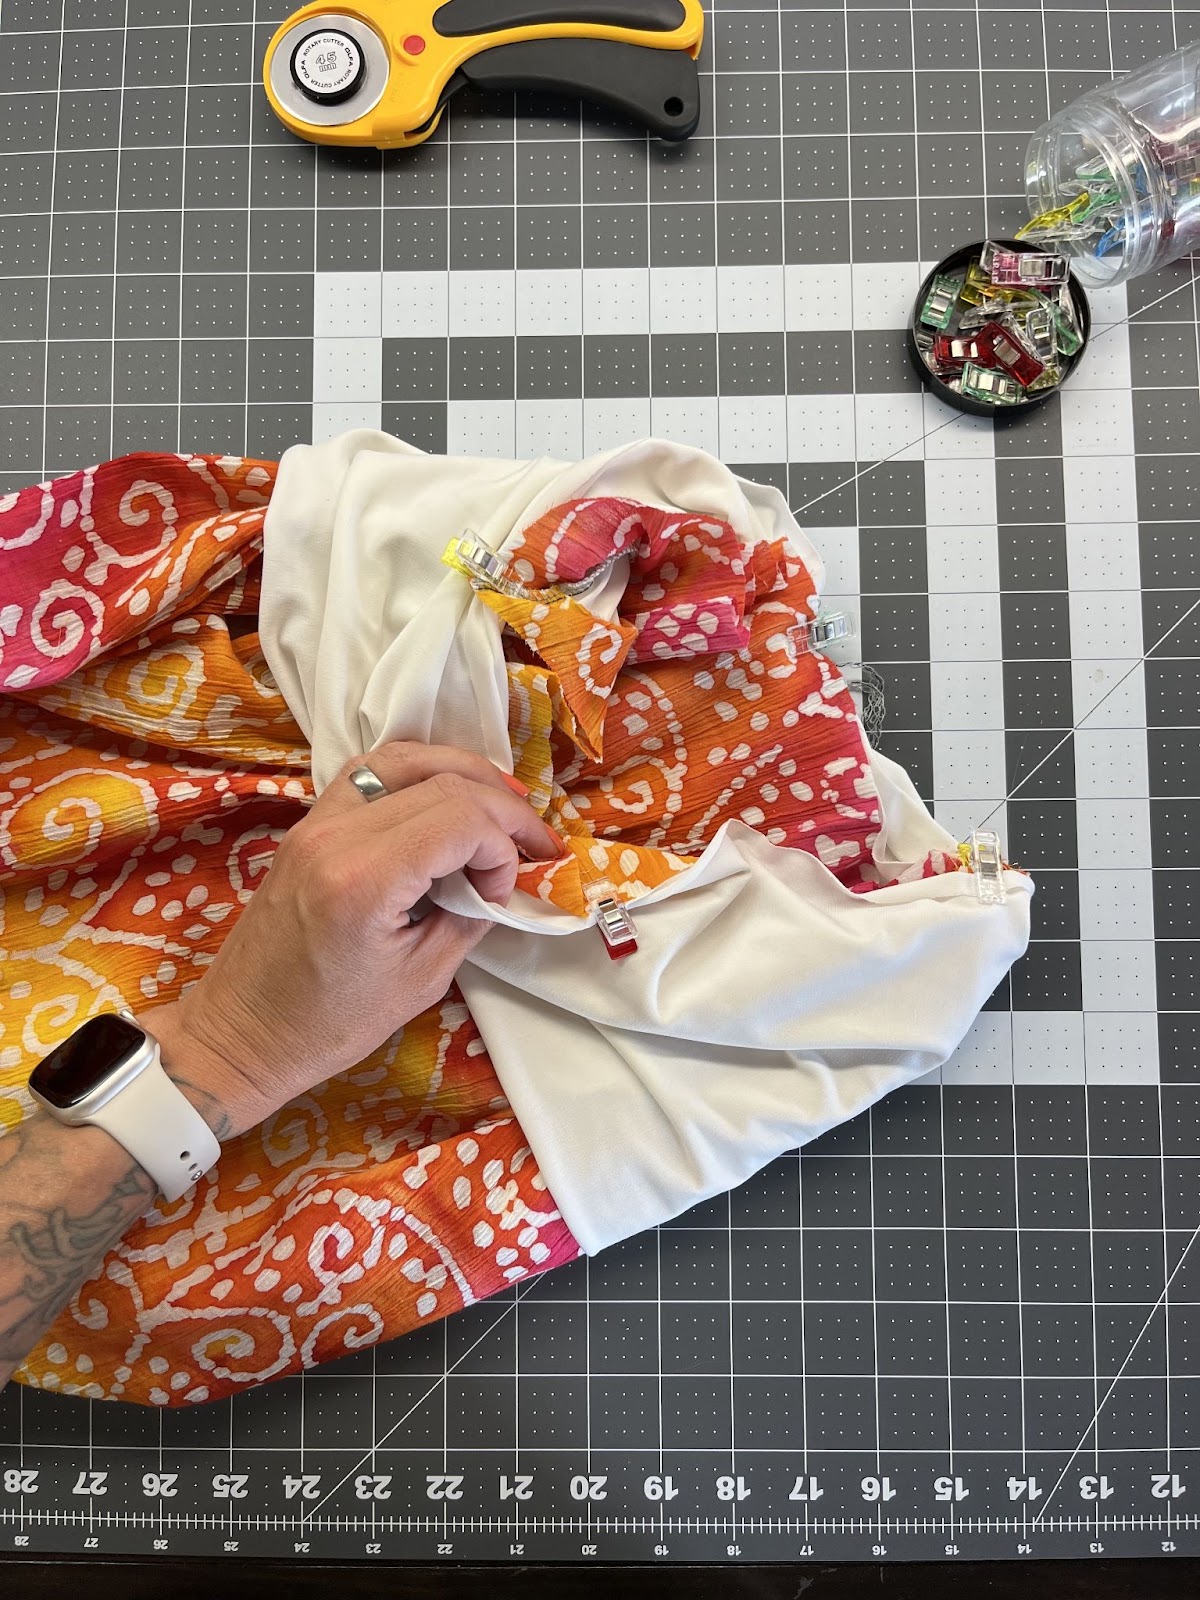
Now that you have your skirt, you will add your yoga band!
Fold your band's right sides together, matching the short ends. * Sew those together to make a loop.
*TIP! Before you sew the short edges, it is a good time to pin/clip them into place and try on the band. Here you can make adjustments to the length to make sure that waist is as comfy as it can be. No squeezy tummies and no falling off, thank you very much! (Fold long edges together to try it on.)
Now, fold your band's wrong sides together, matching the long edges and enclosing the seam you just made.

Take this band and mark the front, back, and sides with a pin or clip. (Quarter it) Do the same with your finished skirt piece.
Insert your finished skirt into the band, right sides together, with all the raw edges lining up, and match up the pins/clips.
Sew around the waistband, stretching the band as you go.
You’ll have to stretch quite a bit, so if you want to stretch it first and clip it a million times it may be easier.
You could also gather the skirt part before you sew it to the band if you prefer.
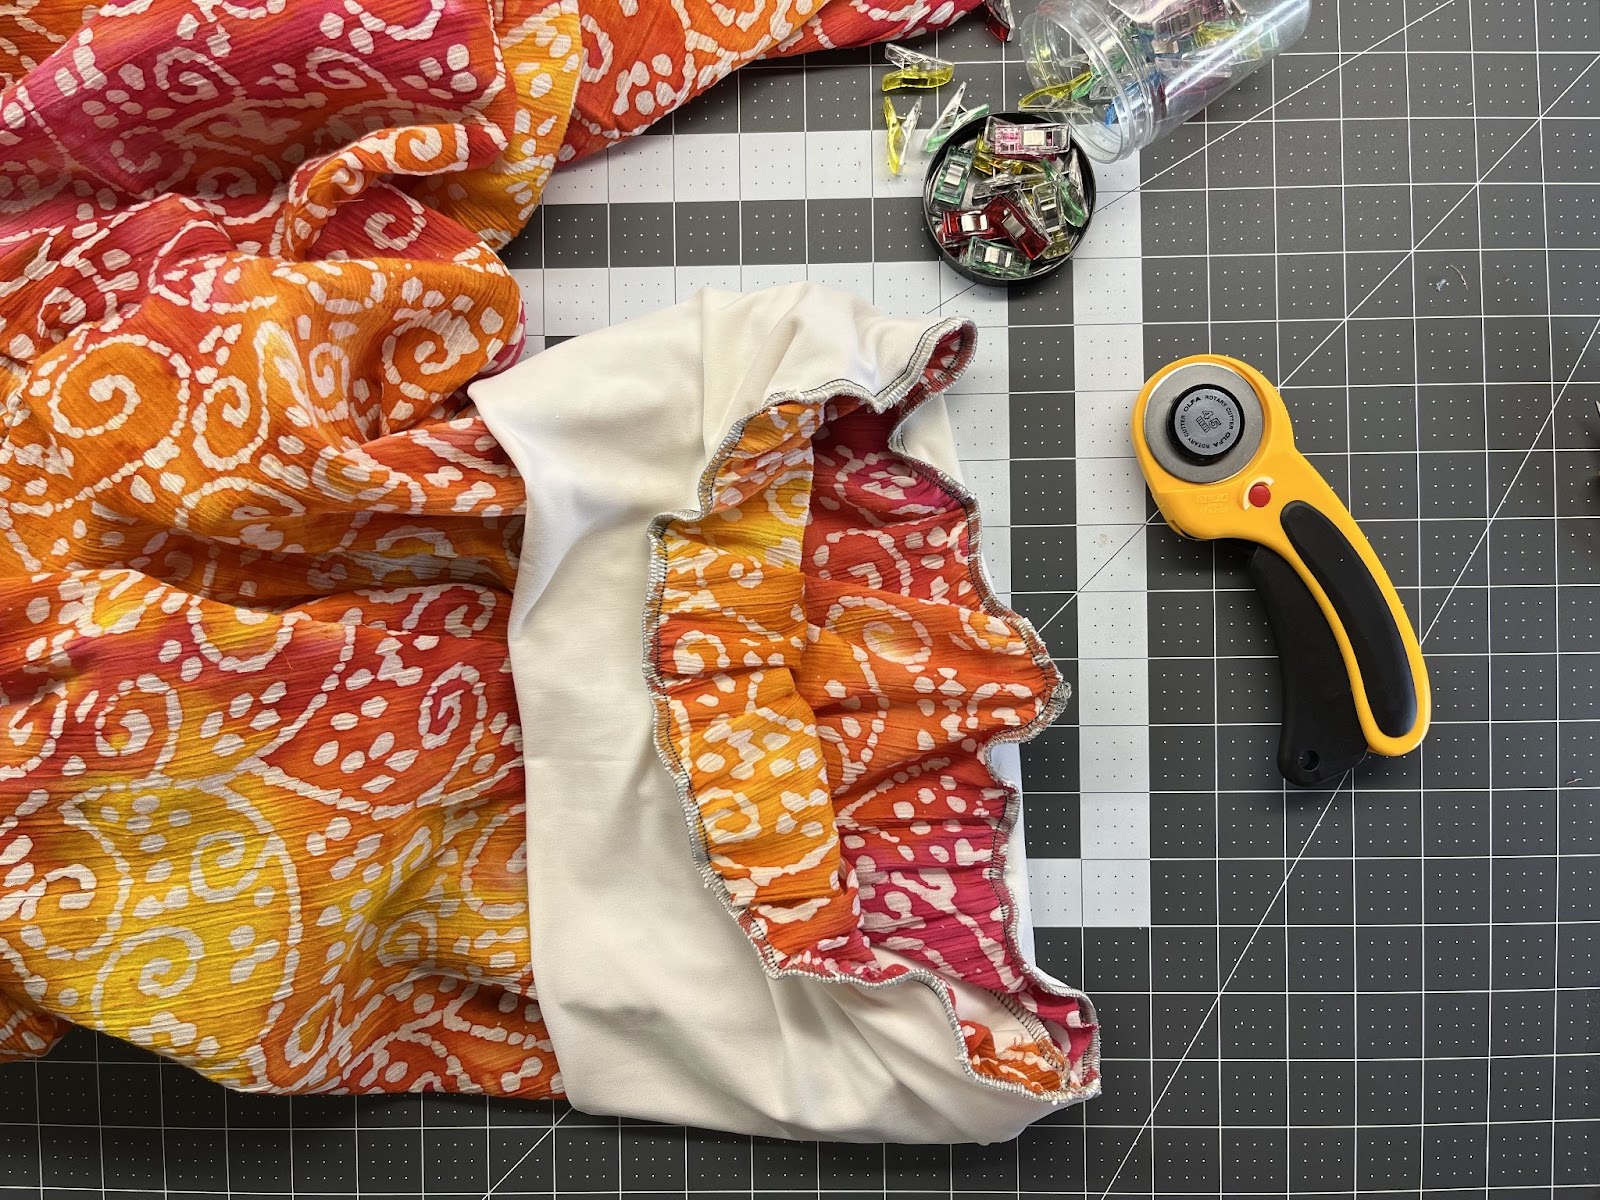
Turn the band up and top stitch if you want to.
That’s it! Super easy, super comfy, super cute!
OPTION 2! ELASTIC WAISTBAND
To make an elastic band, you’ll need to measure your waist (Or wherever you want the skirt to sit) just like with the yoga band.
Take that measurement and subtract roughly 1.5-2”. Try it around your waist to see if it’s comfy because some elastic has more stretch than others.
Set that aside for now, and, like the yoga band, sew your skirt pieces according to pattern instructions.
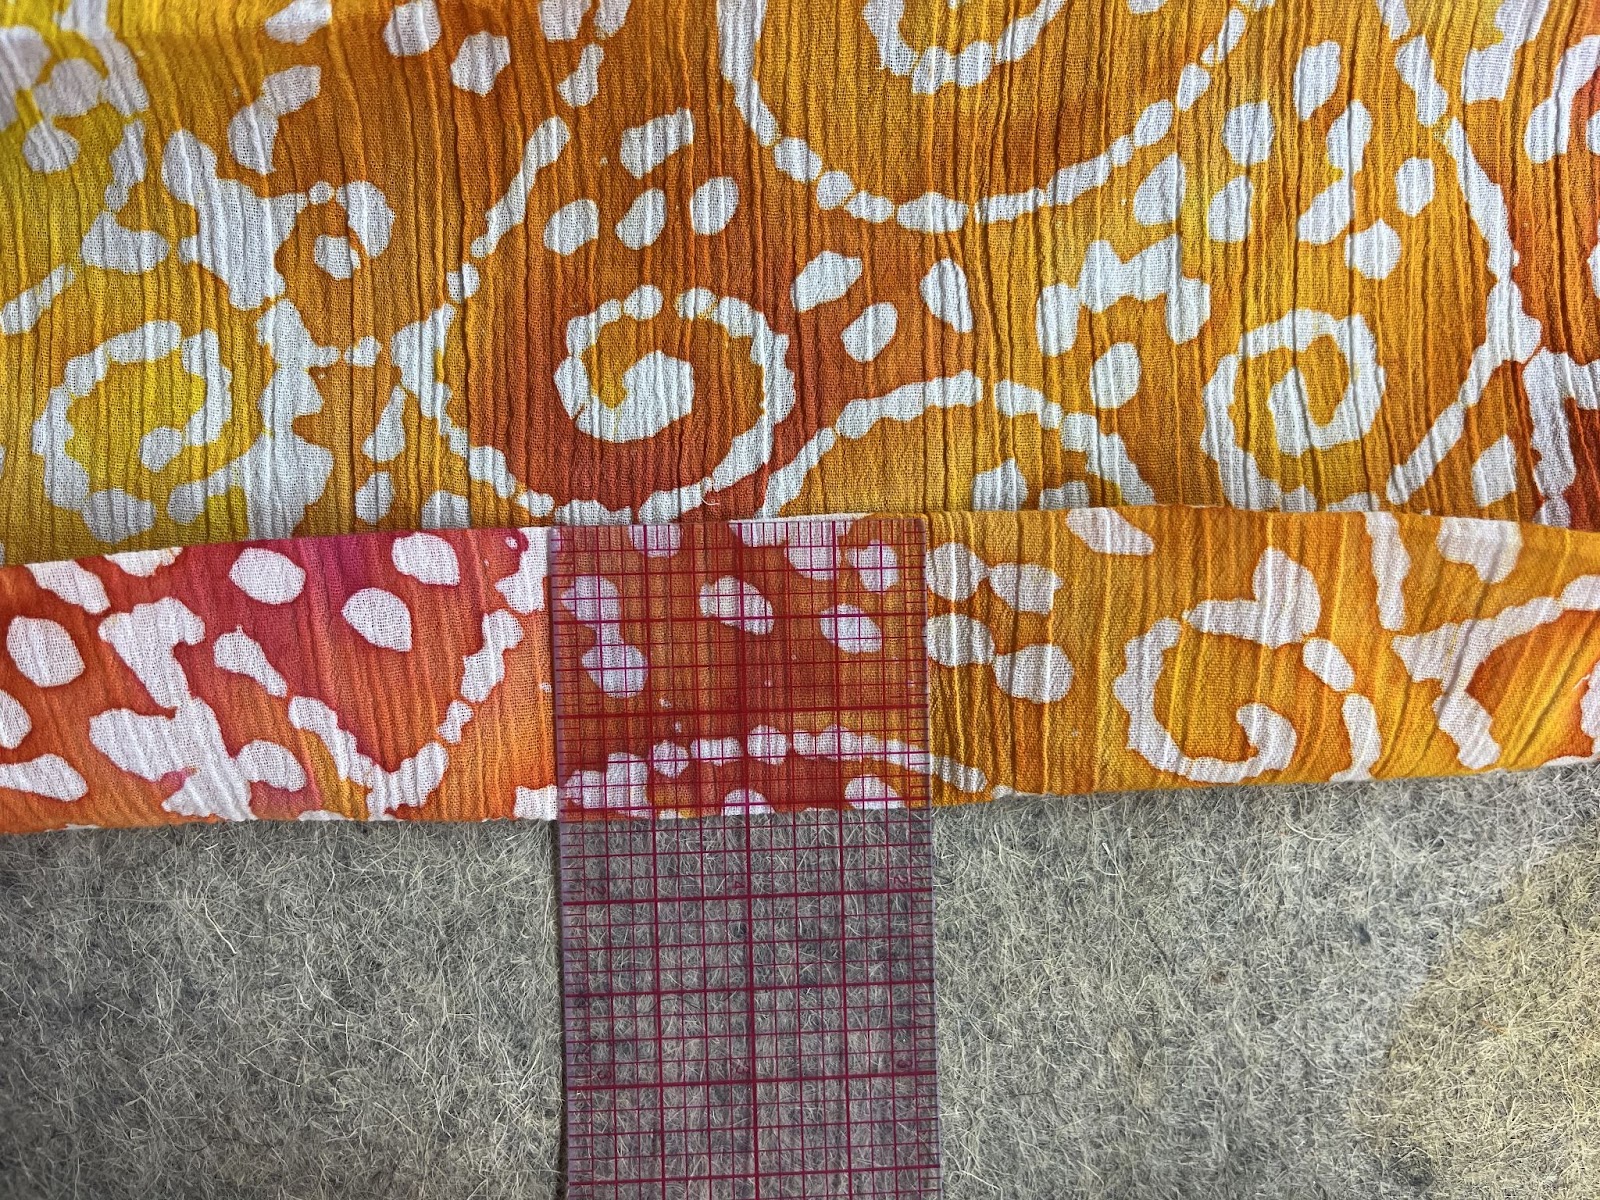
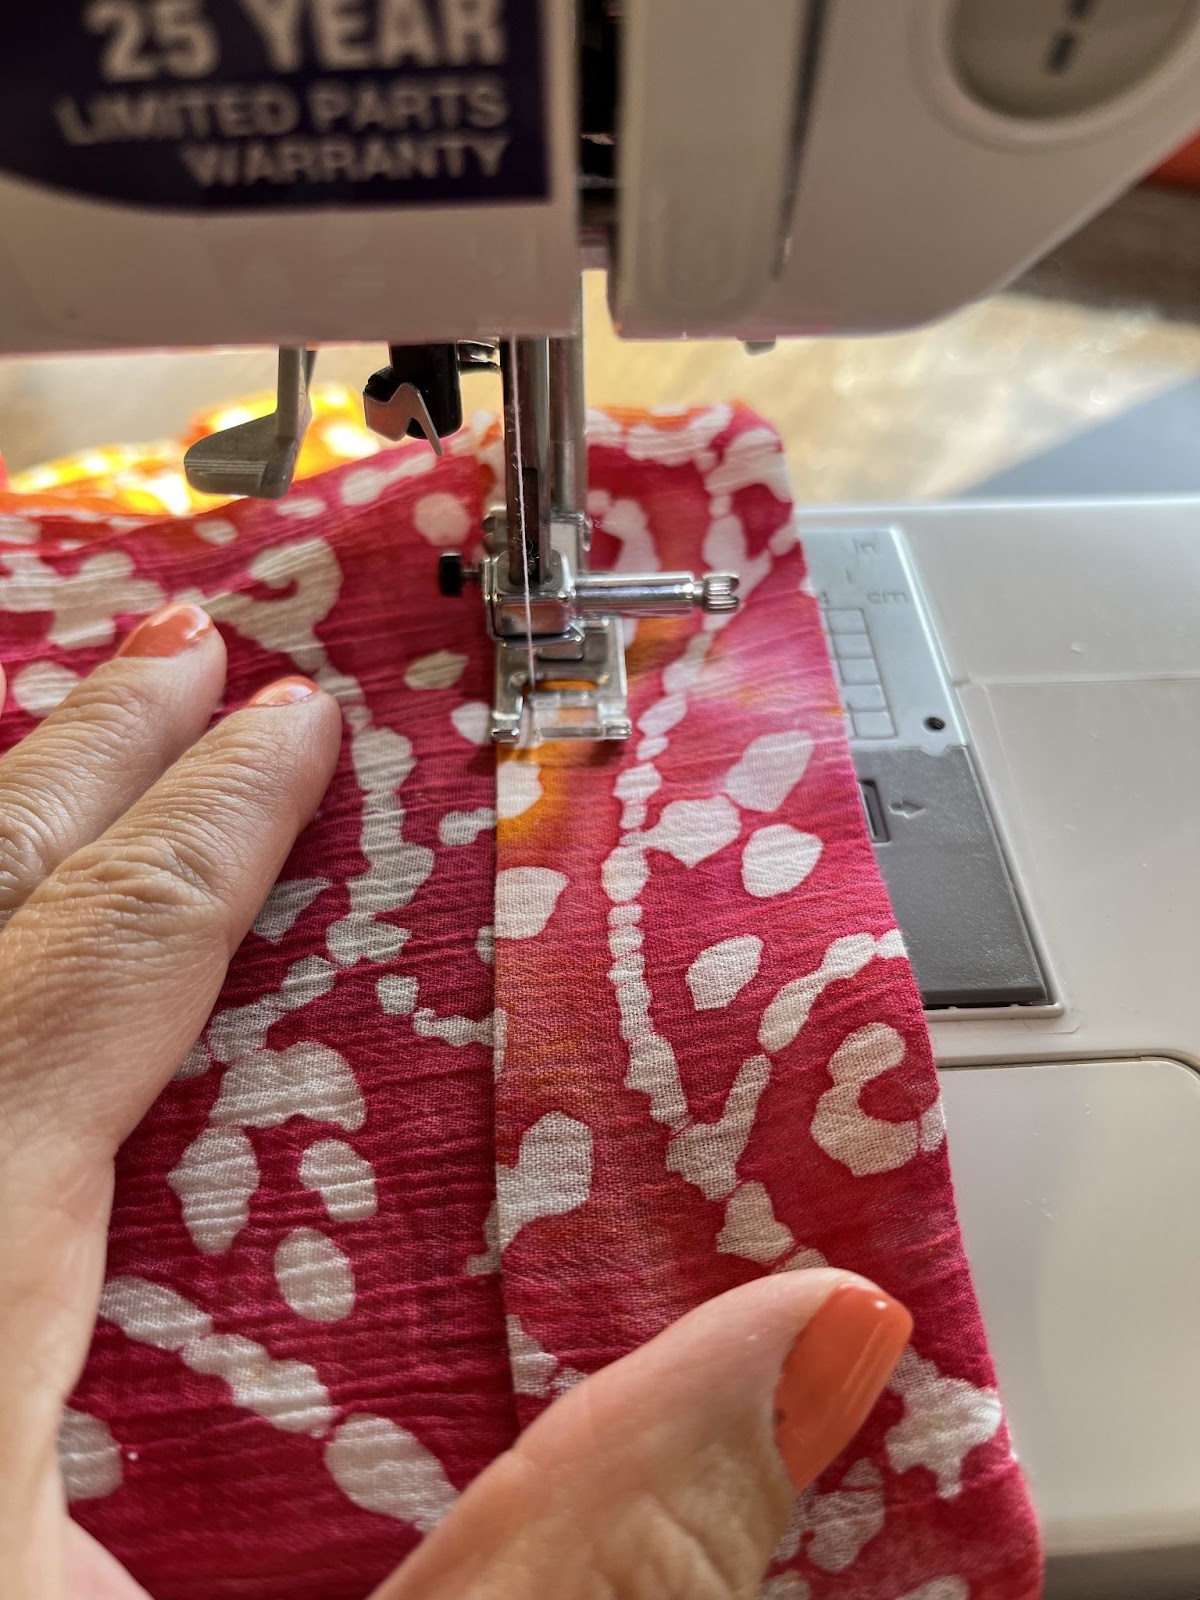
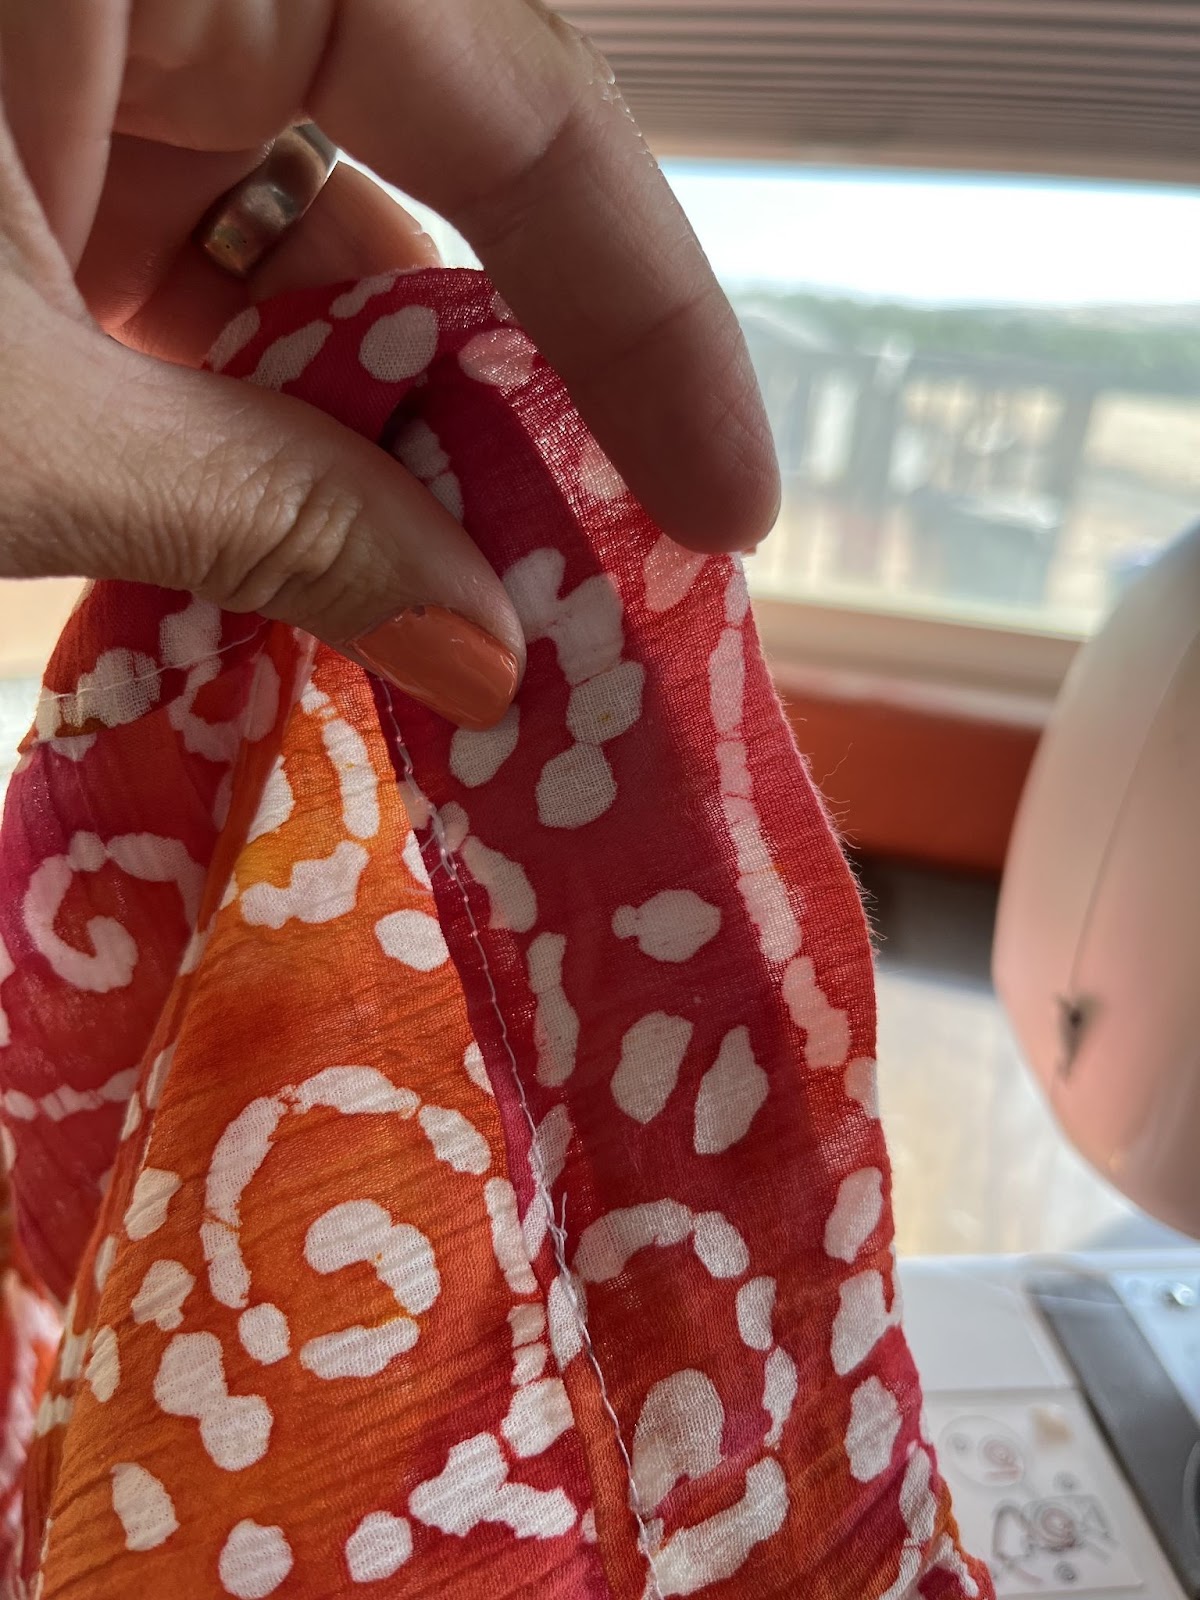
Then, start with your sewn skirt piece and fold the top down 1/2" wrong sides together, and press.
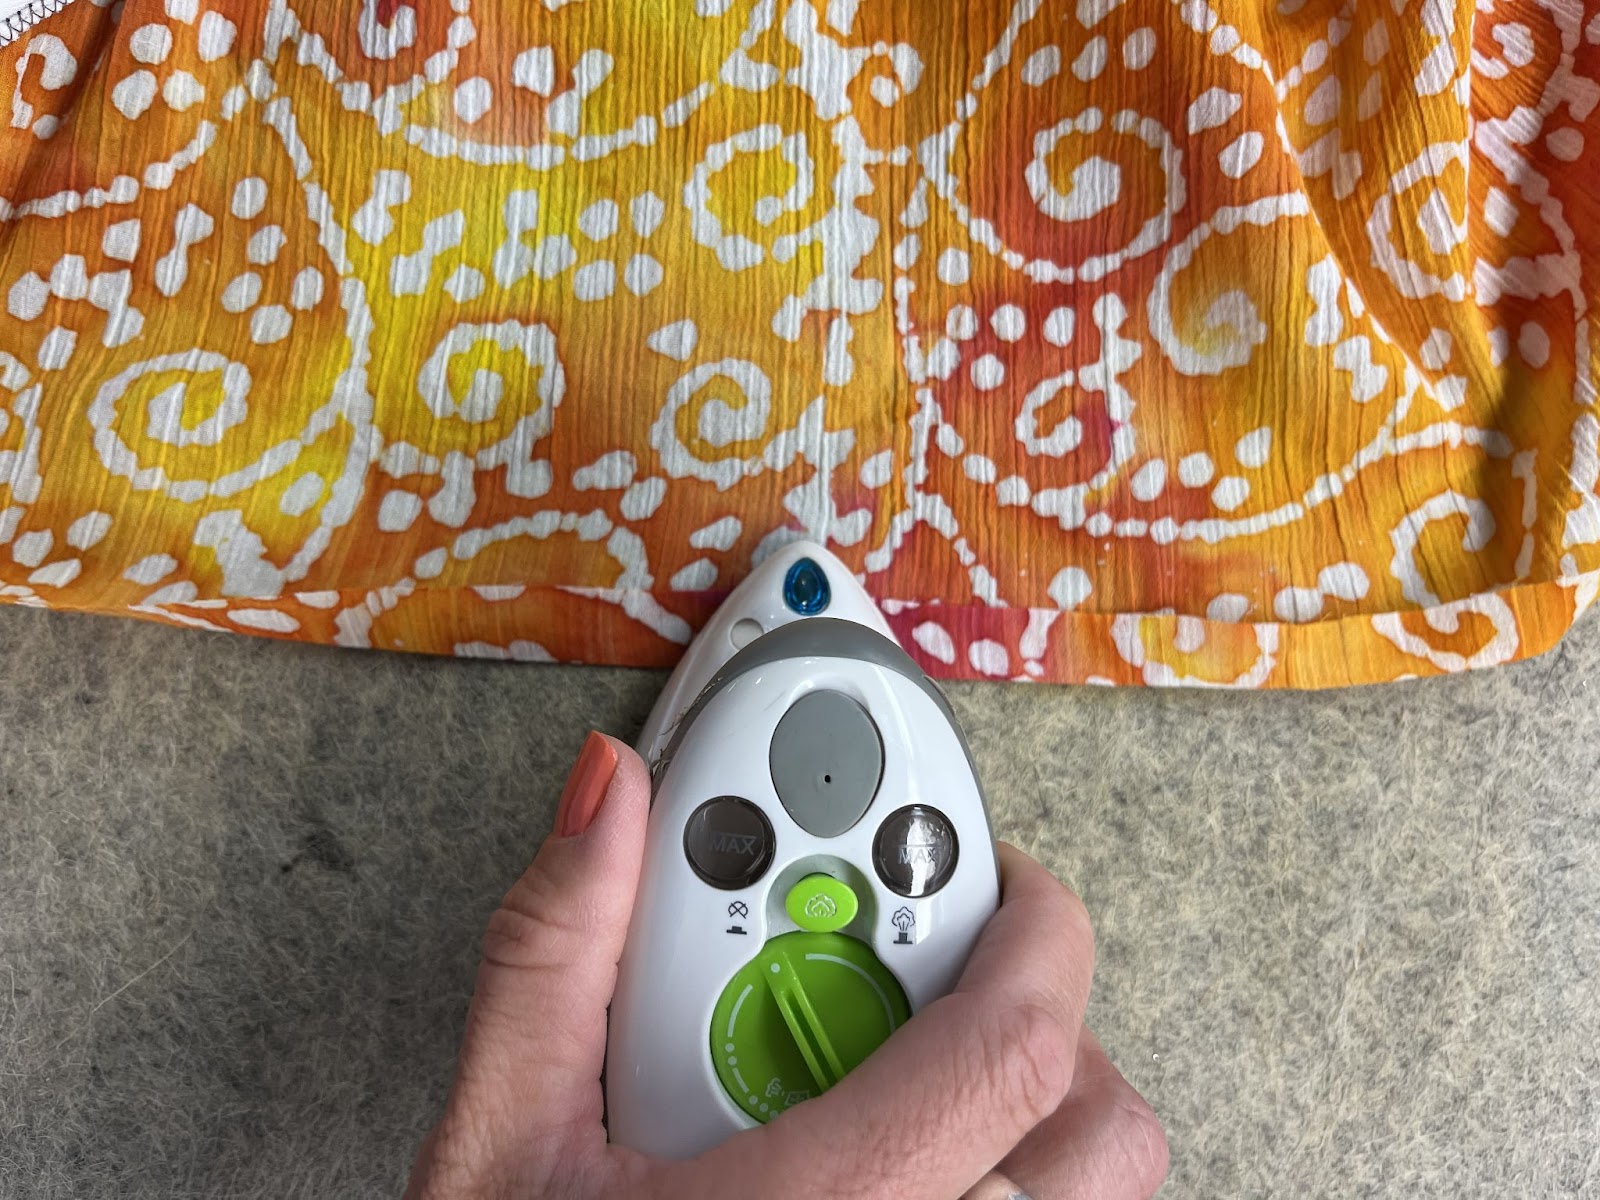
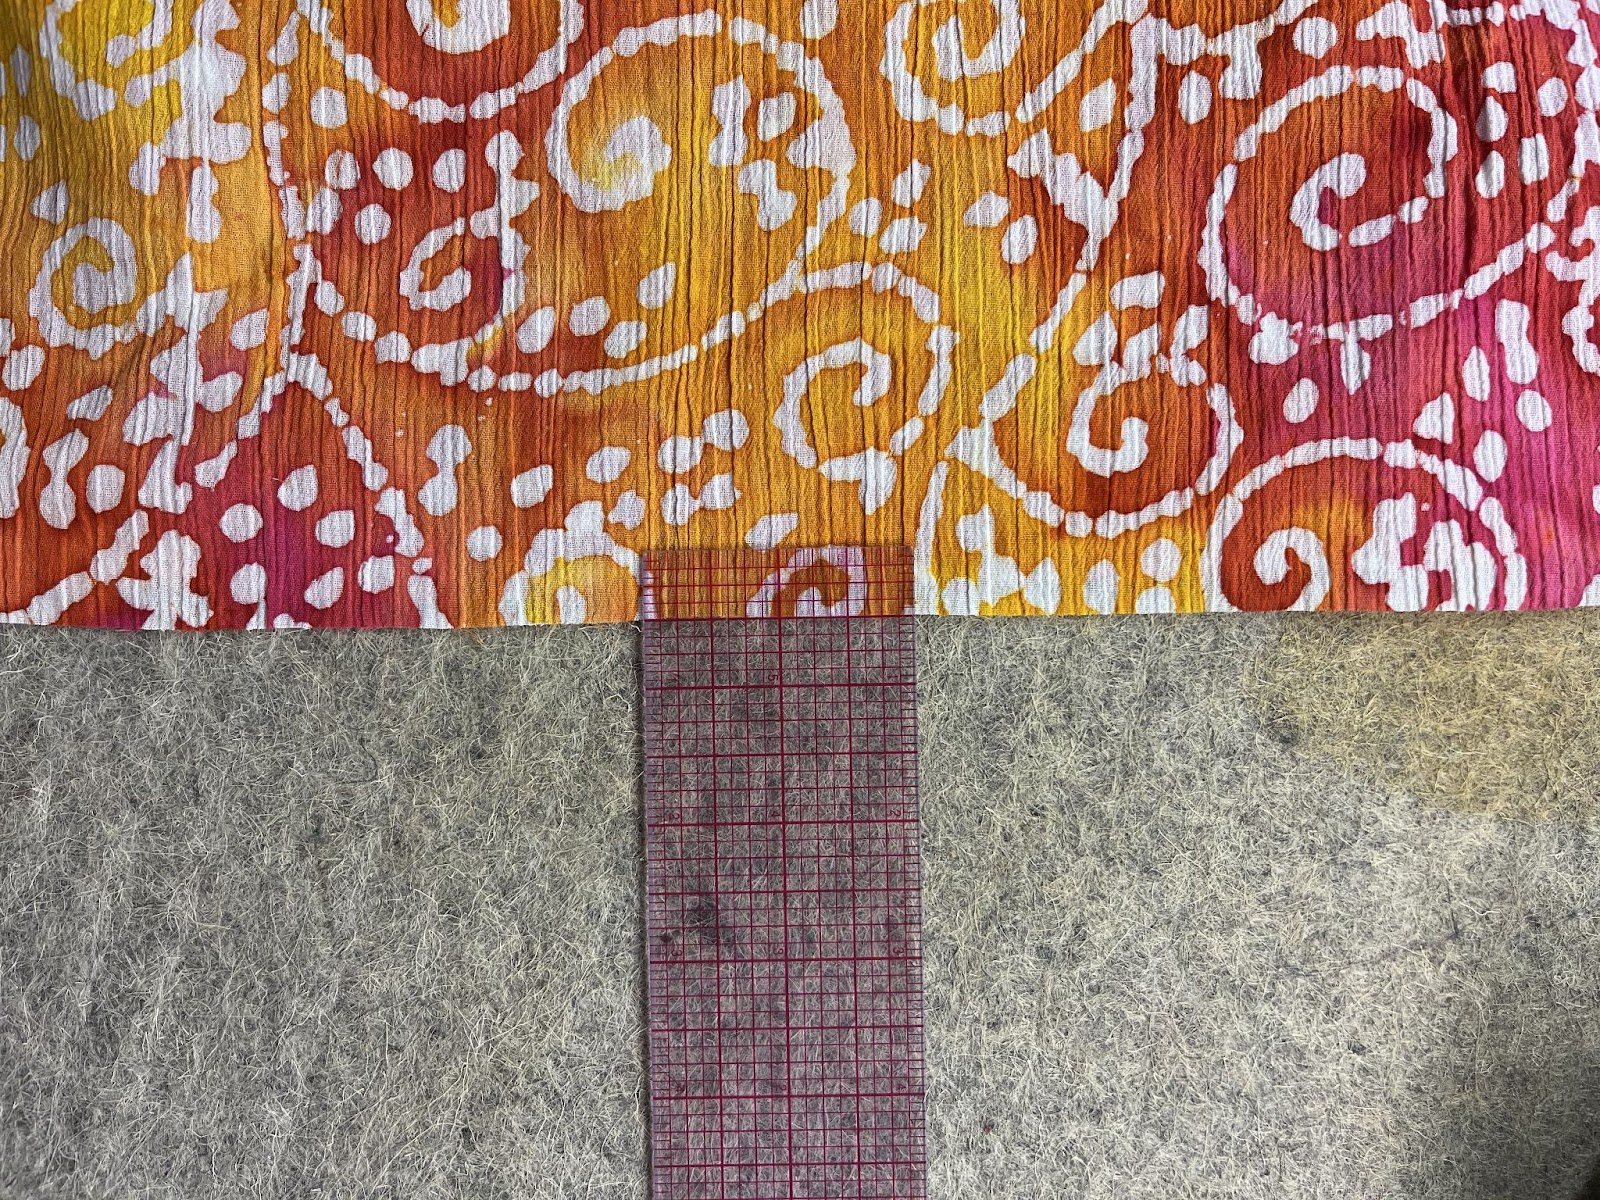
Now, keeping the 1/2" fold you just made, fold the top down, wrong sides together again, the width of your elastic plus 1/2". I did 1” elastic, so I did a 1 1/2" fold. This encloses the raw end (necessary if you use a woven fabric) and creates the tunnel for your elastic.
Sew into place, leaving a 2"-3” opening to insert your elastic.
Using a safety pin or other tool of choice, insert and thread elastic all the way around the tunnel you just made.
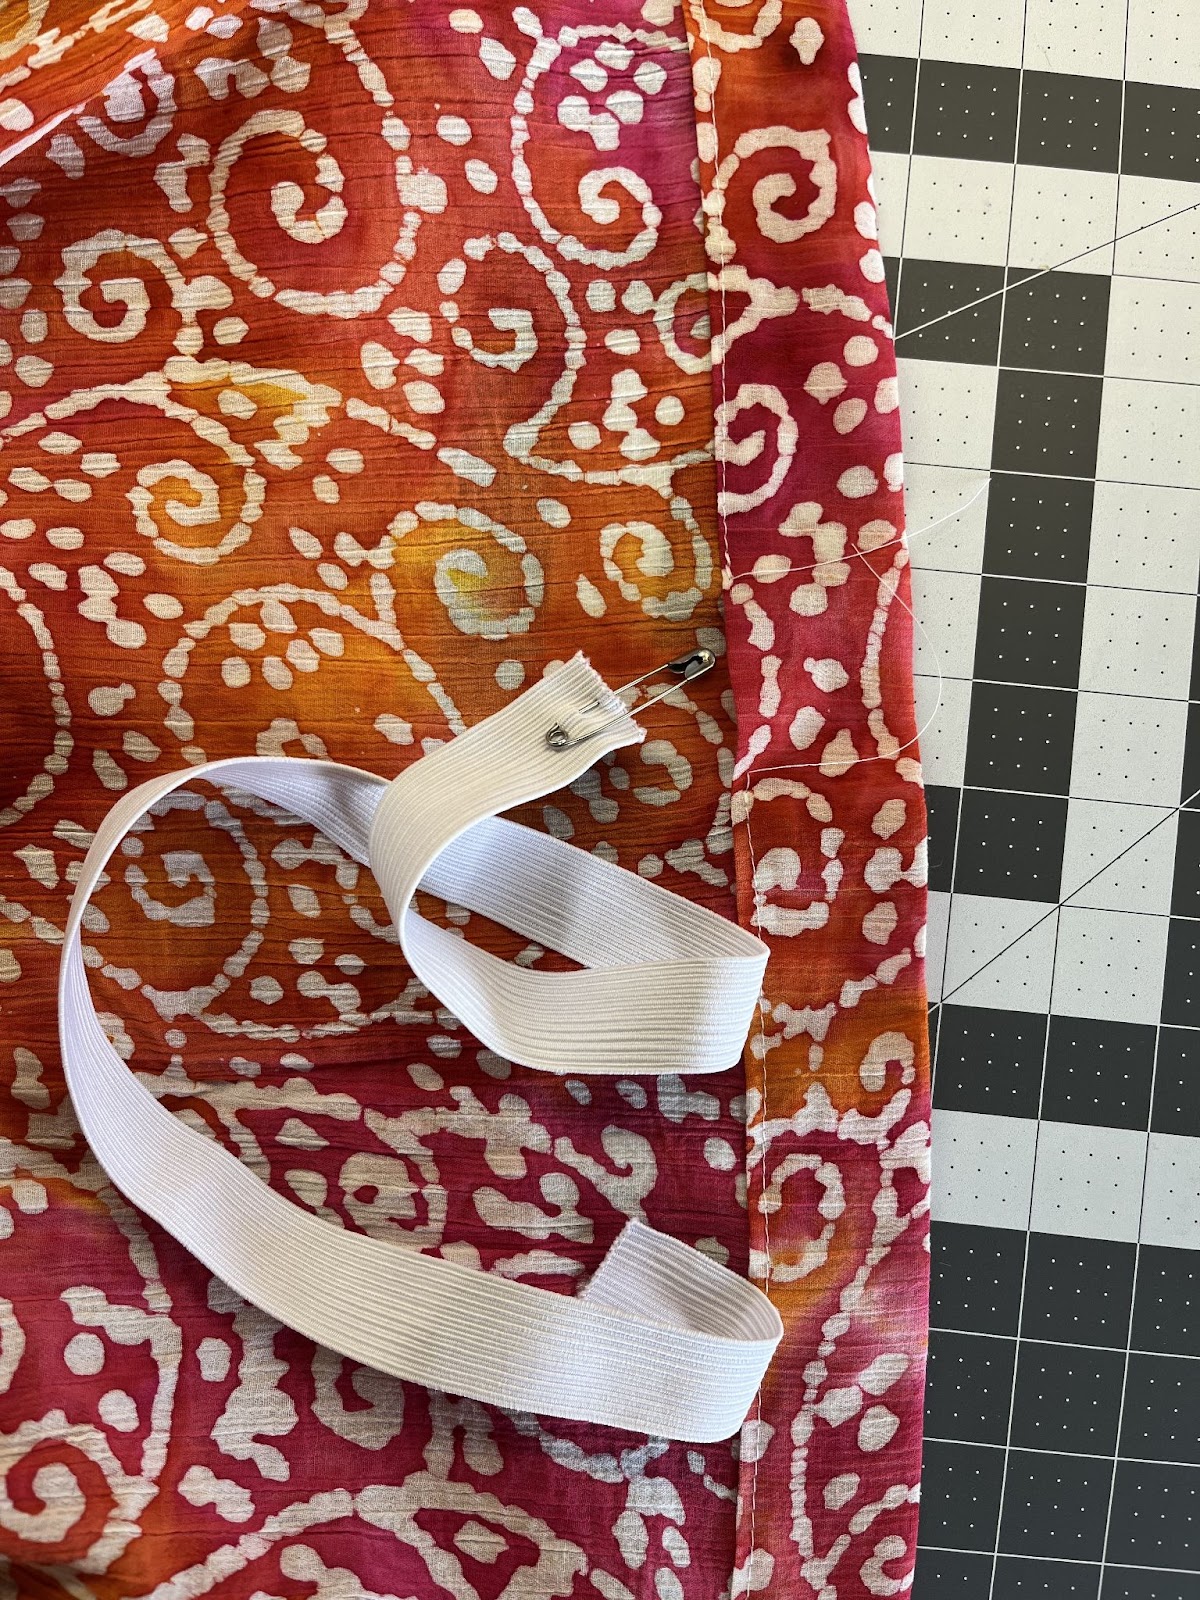
*TIP! If you pin or clip the end, you won’t accidentally pull it all the way through. (I’m sure I’m not the only one….?)
When you’ve threaded it all the way, overlap the ends by 1/2" and sew the ends together. I like a zig-zag stitch. I think it holds better.
Don’t forget to close up that space you left for threading!

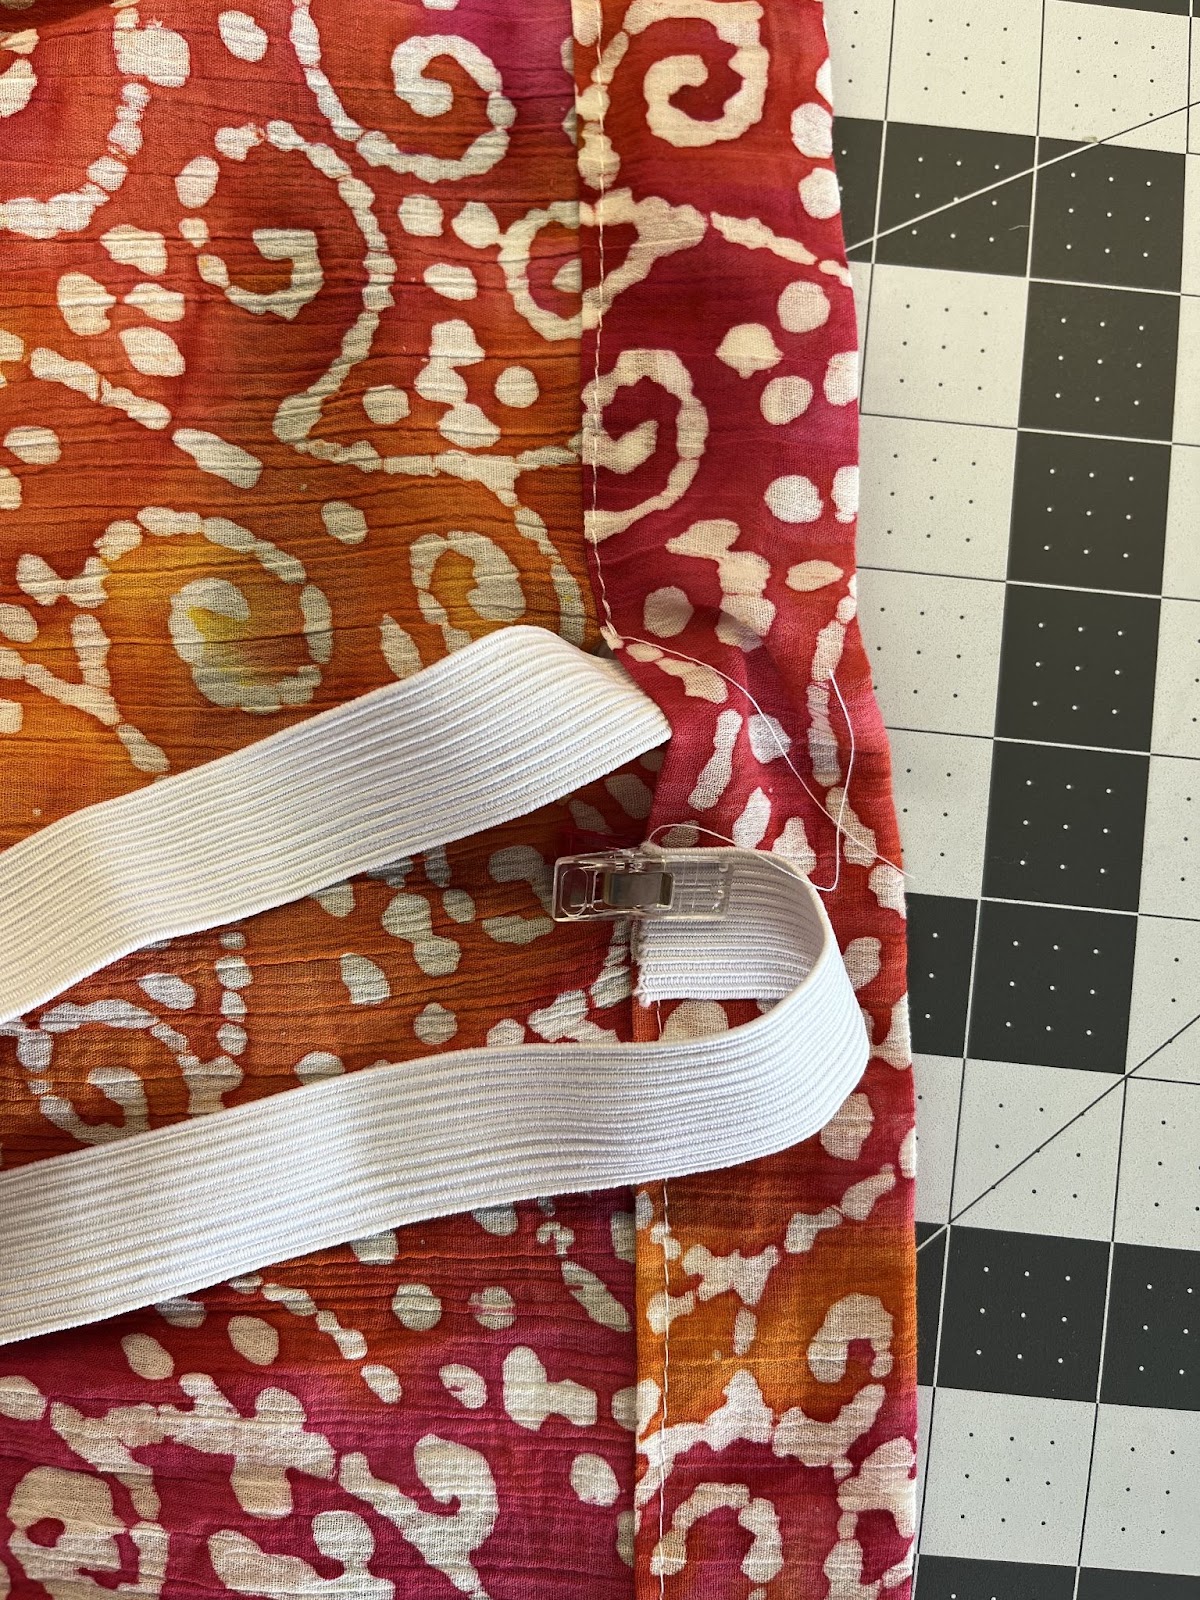
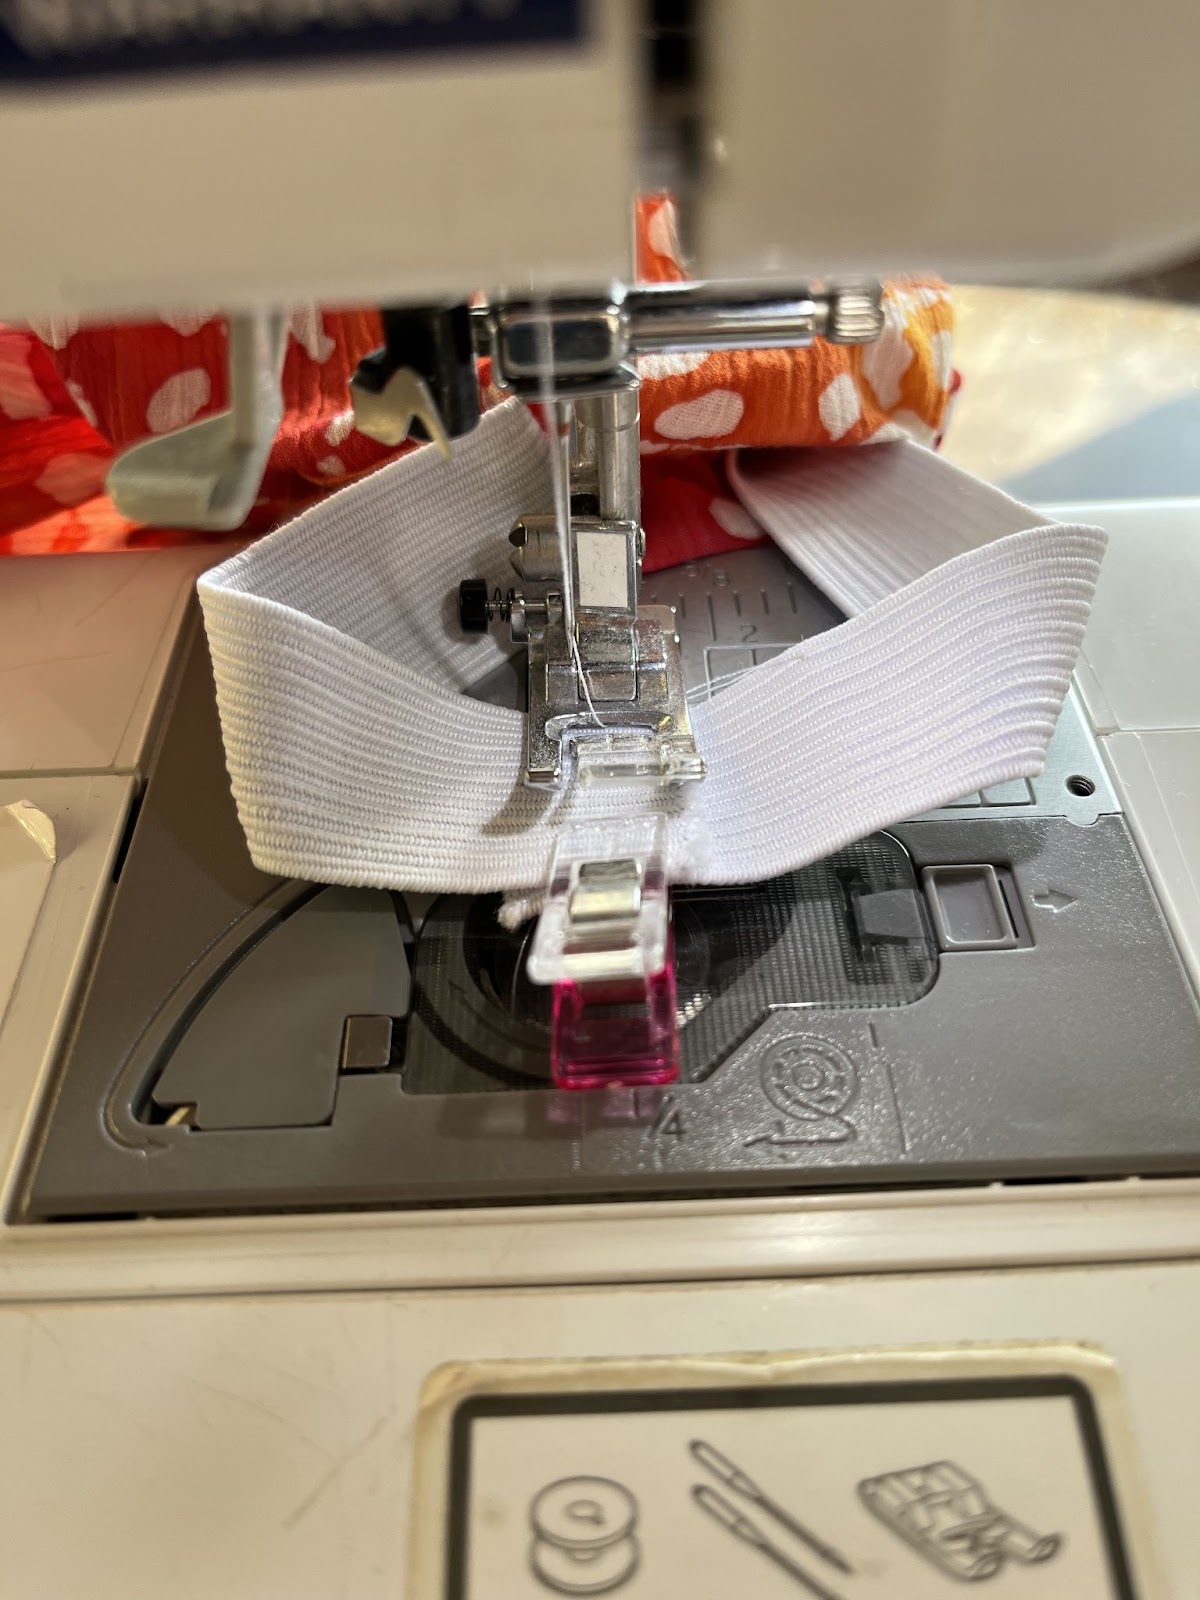
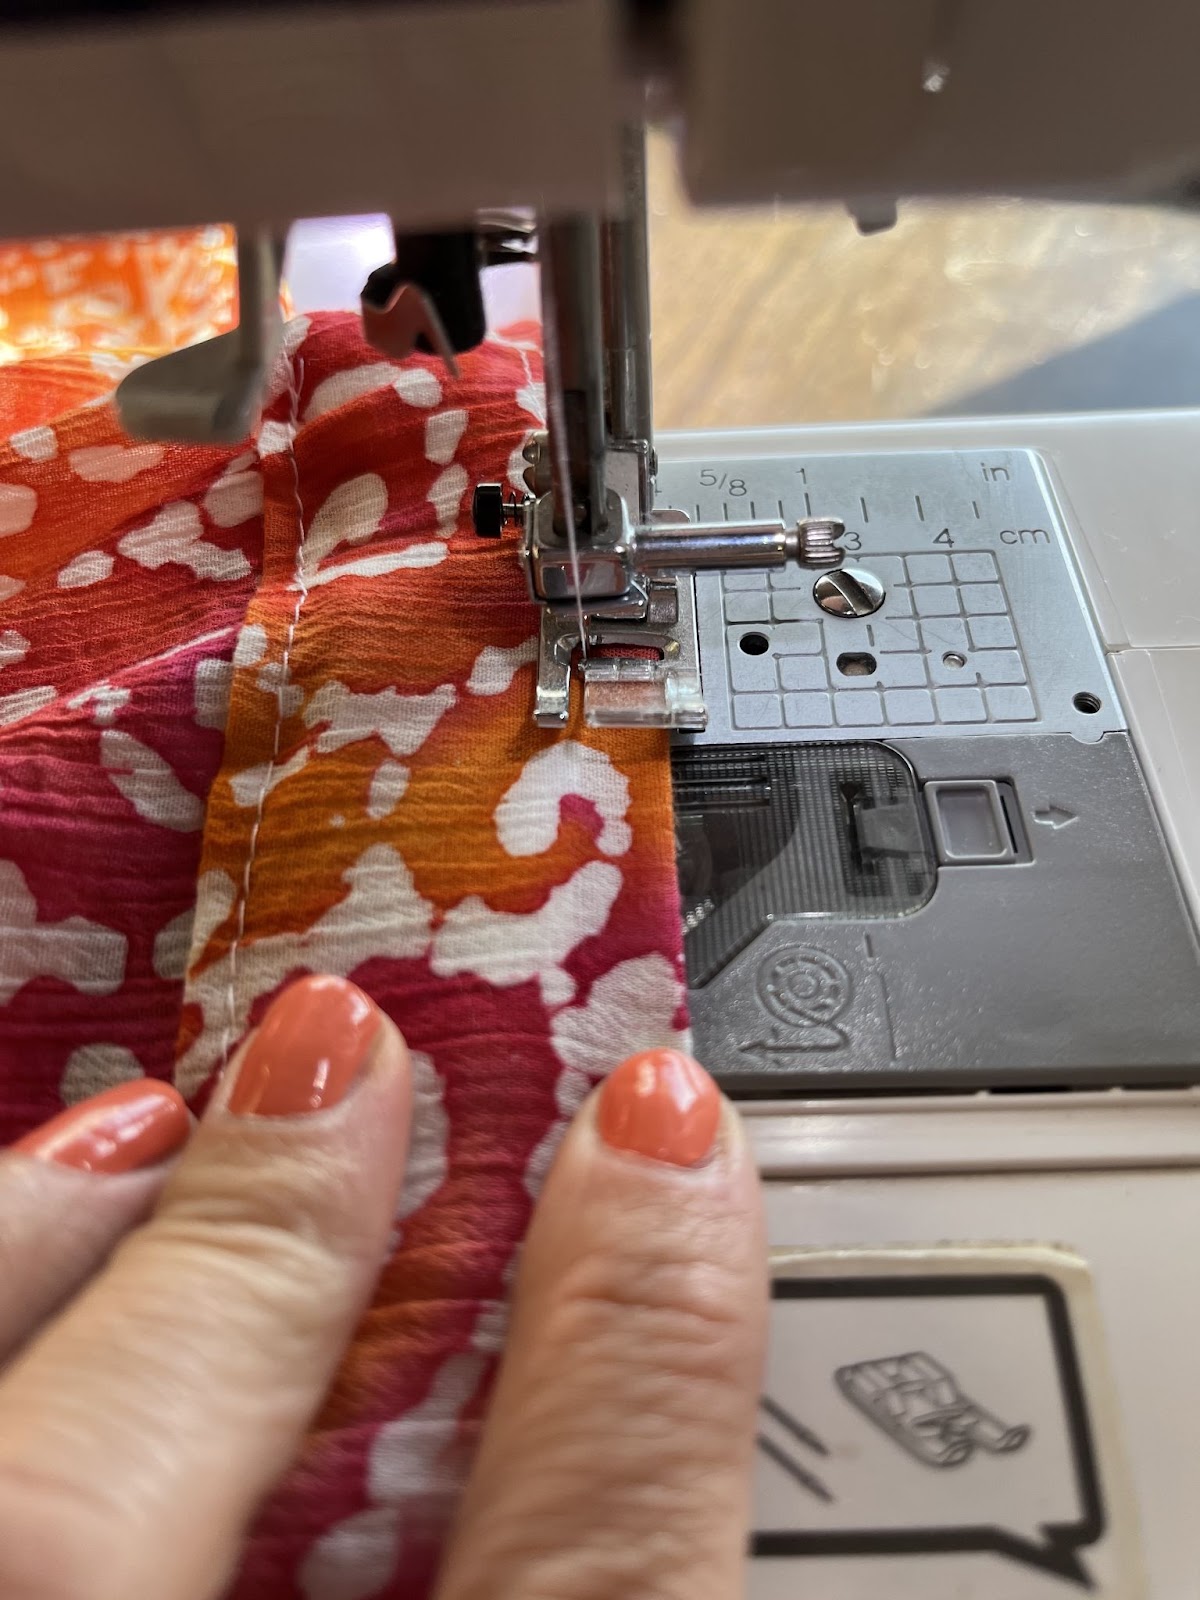
Now, we will run a stitch that will provide a decorative look to the waistband and hold the elastic in place a bit so it doesn’t flip in the wash.
Scoot the elastic, so it lays at the bottom of your tunnel. (See…space at the top!)
Now, take your time and stitch along the top, making sure not to bunch the fabric and to not catch the elastic.
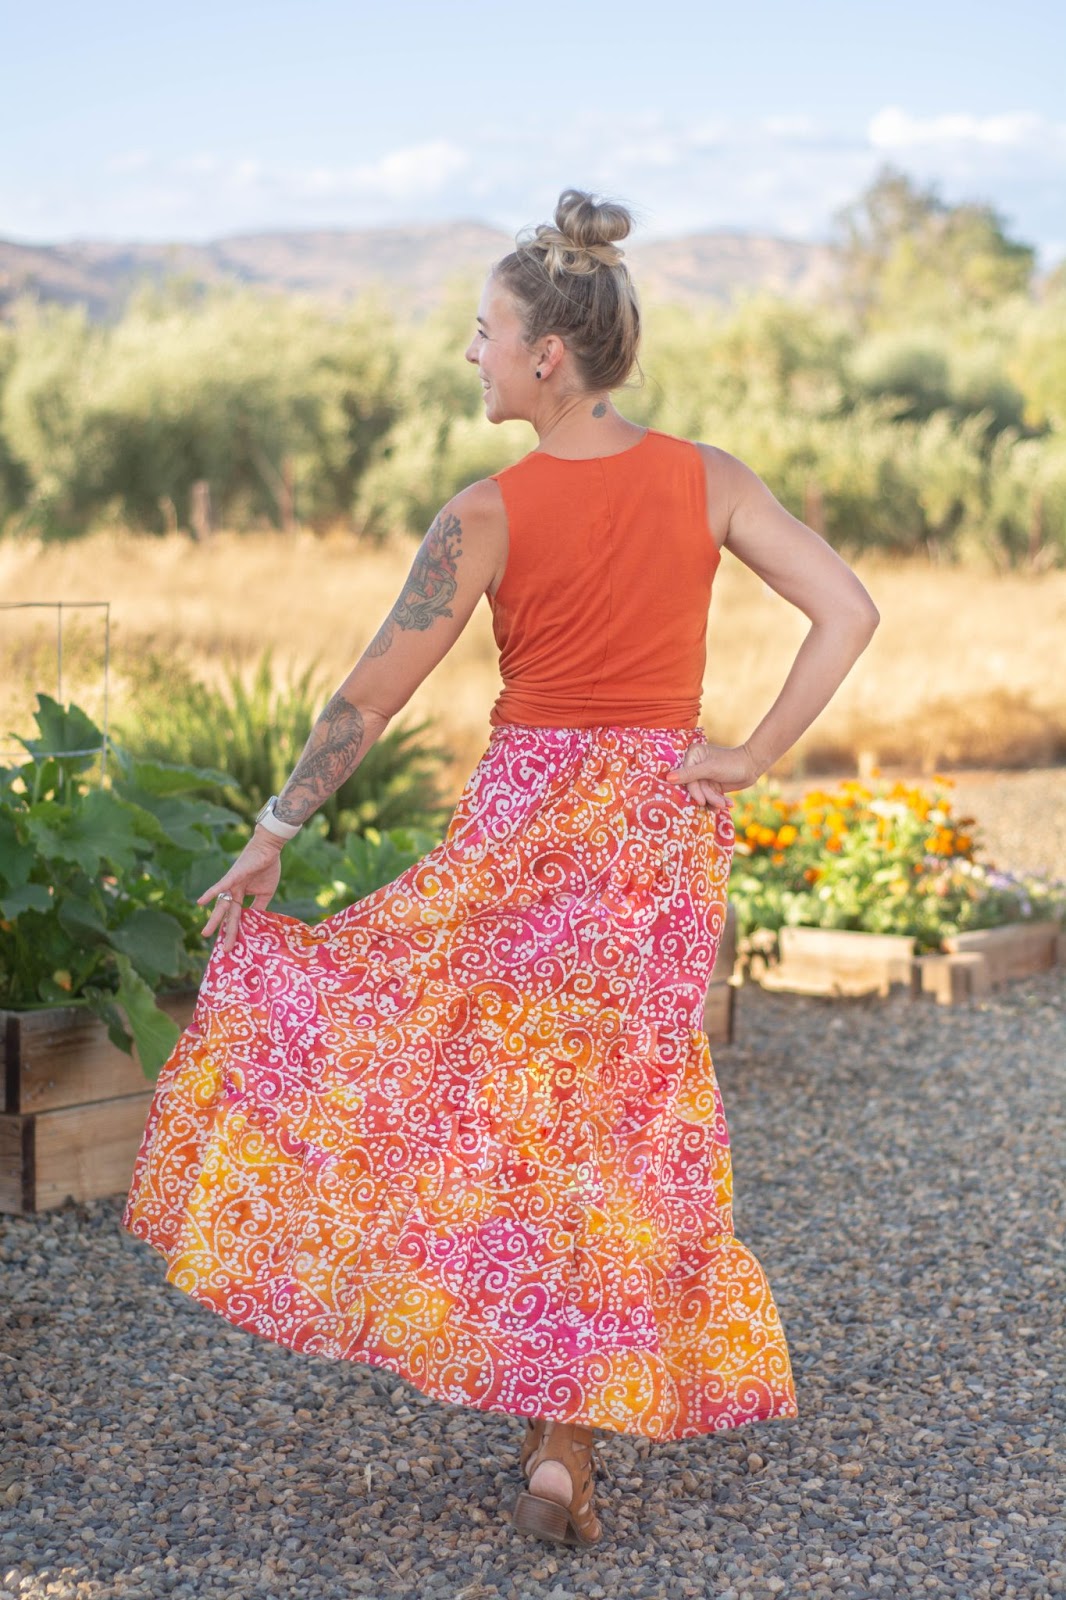
See! How pretty is this??

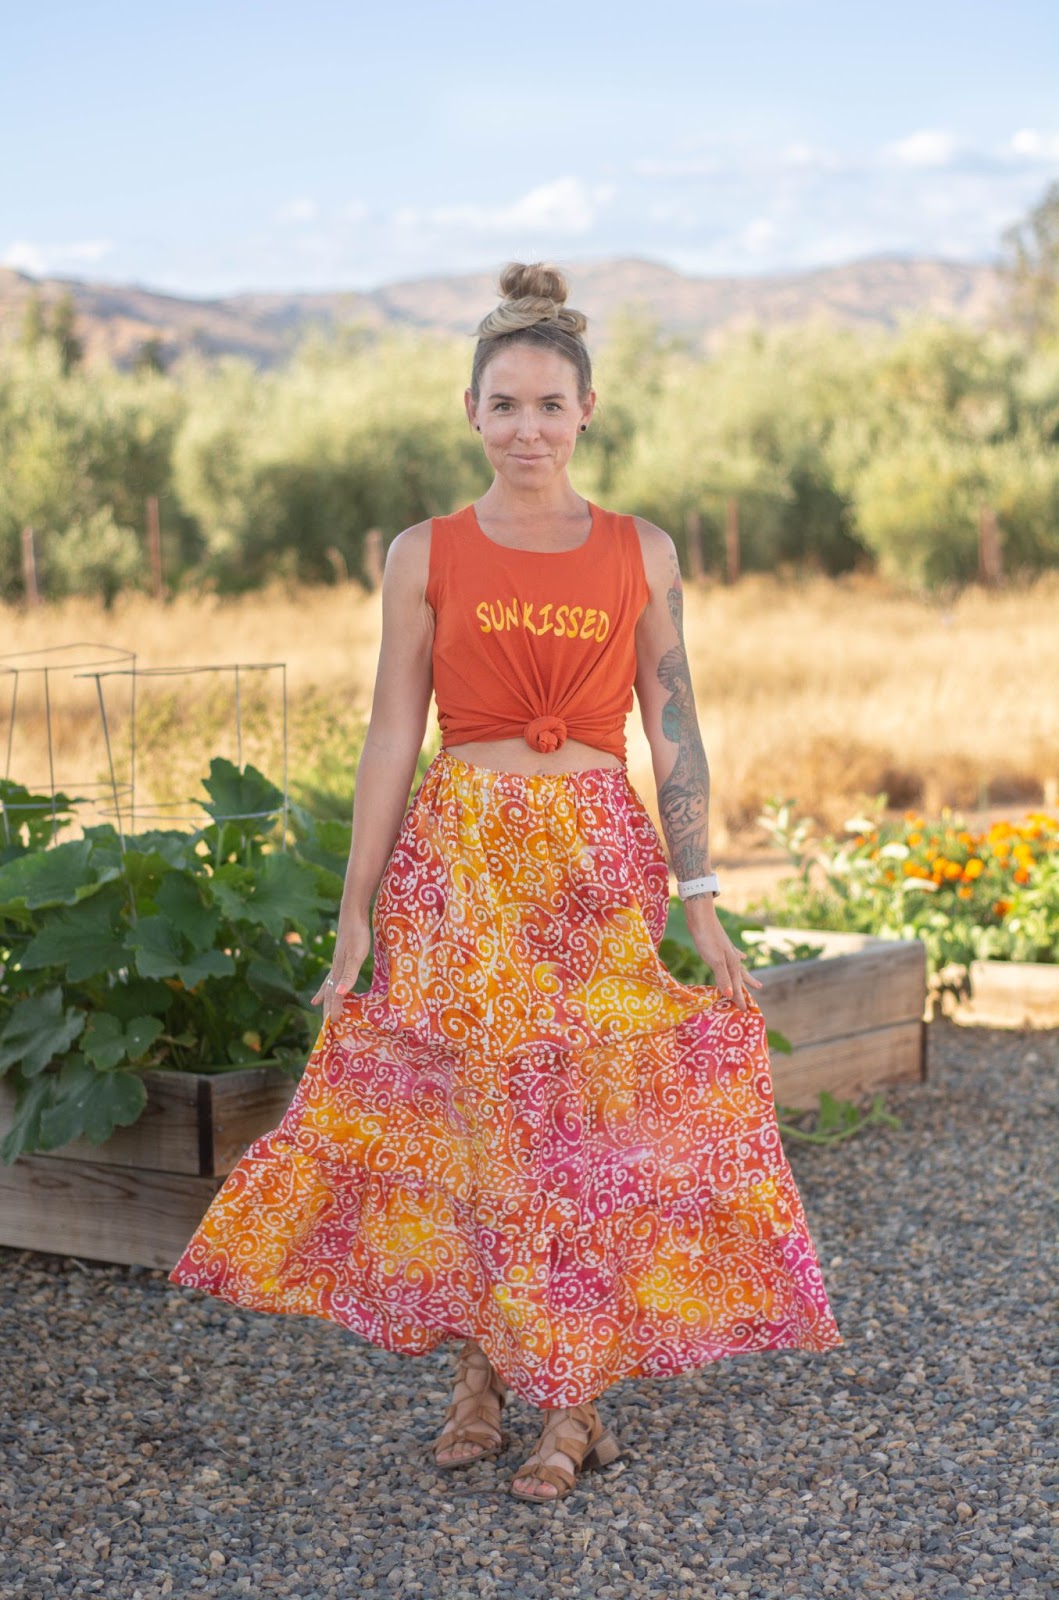
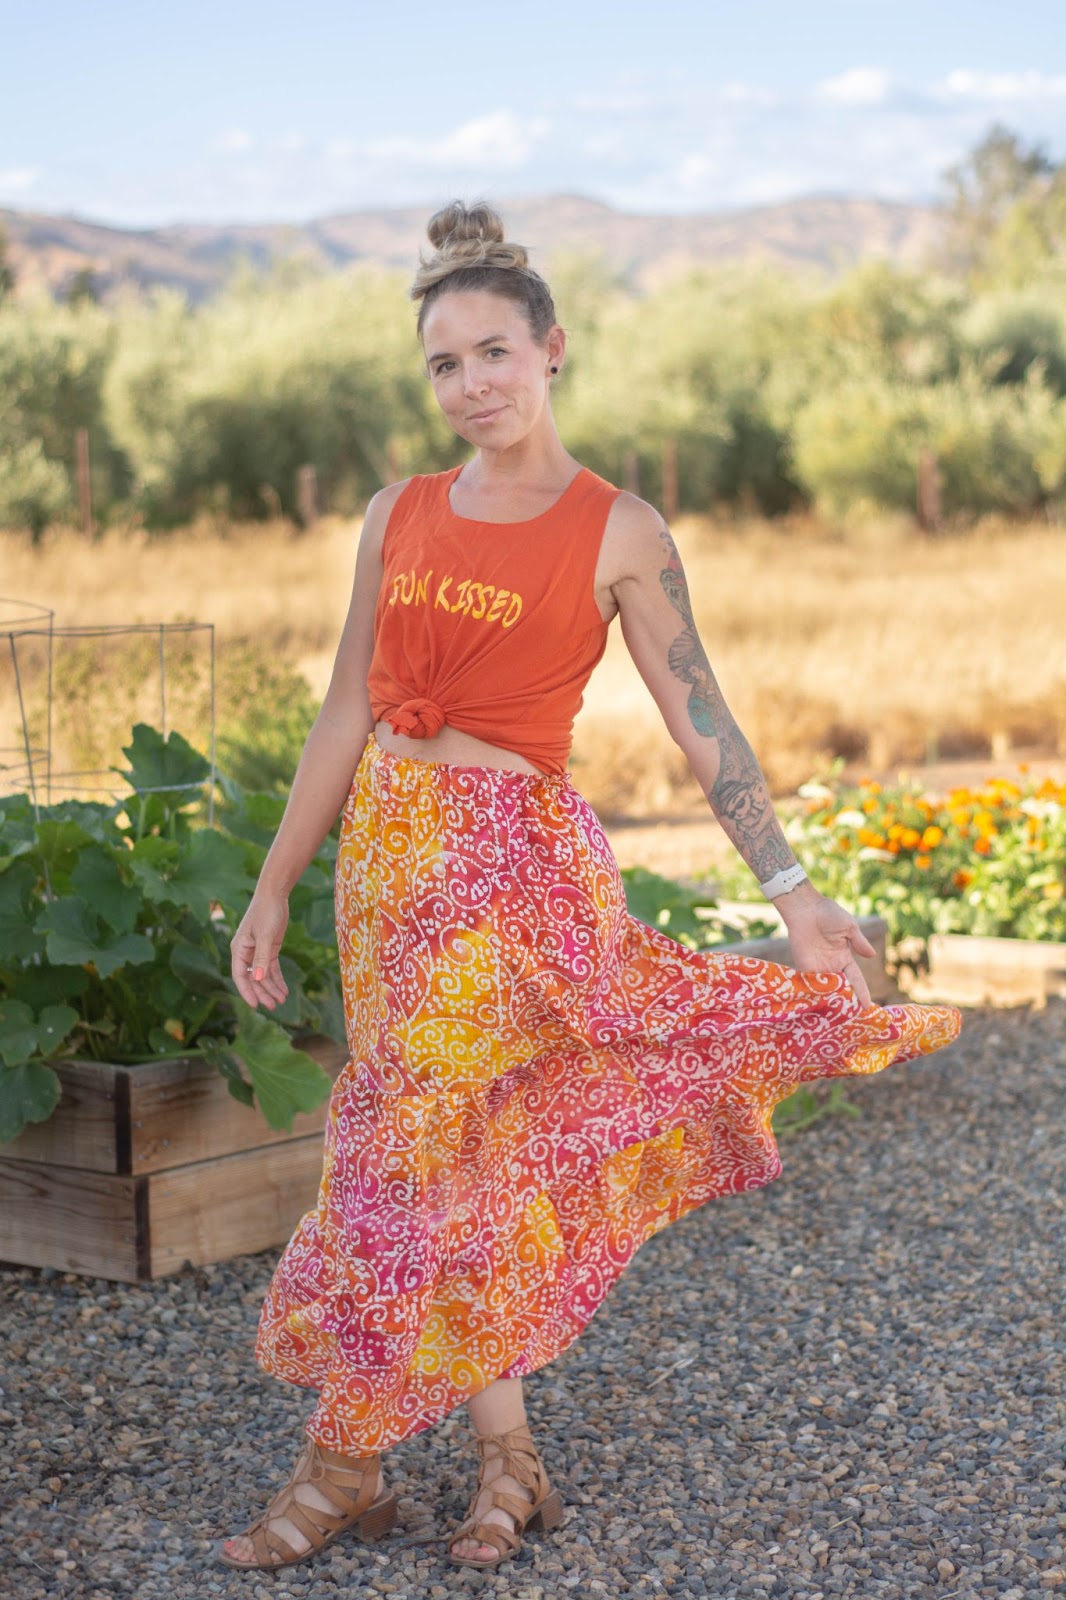
This version is paired with the Ellie and Mac Curved Hem Pocket Tank Pattern that is FOR-FREE on the website. It’s a favorite of mine and ties up sew cute with this skirt!!
Hope you love this skirt, and please tag me, Jenn G LF, in the Facebook group if you try it out! I can’t wait to see your skirts!!
(Written by: Jenn Gowett)


