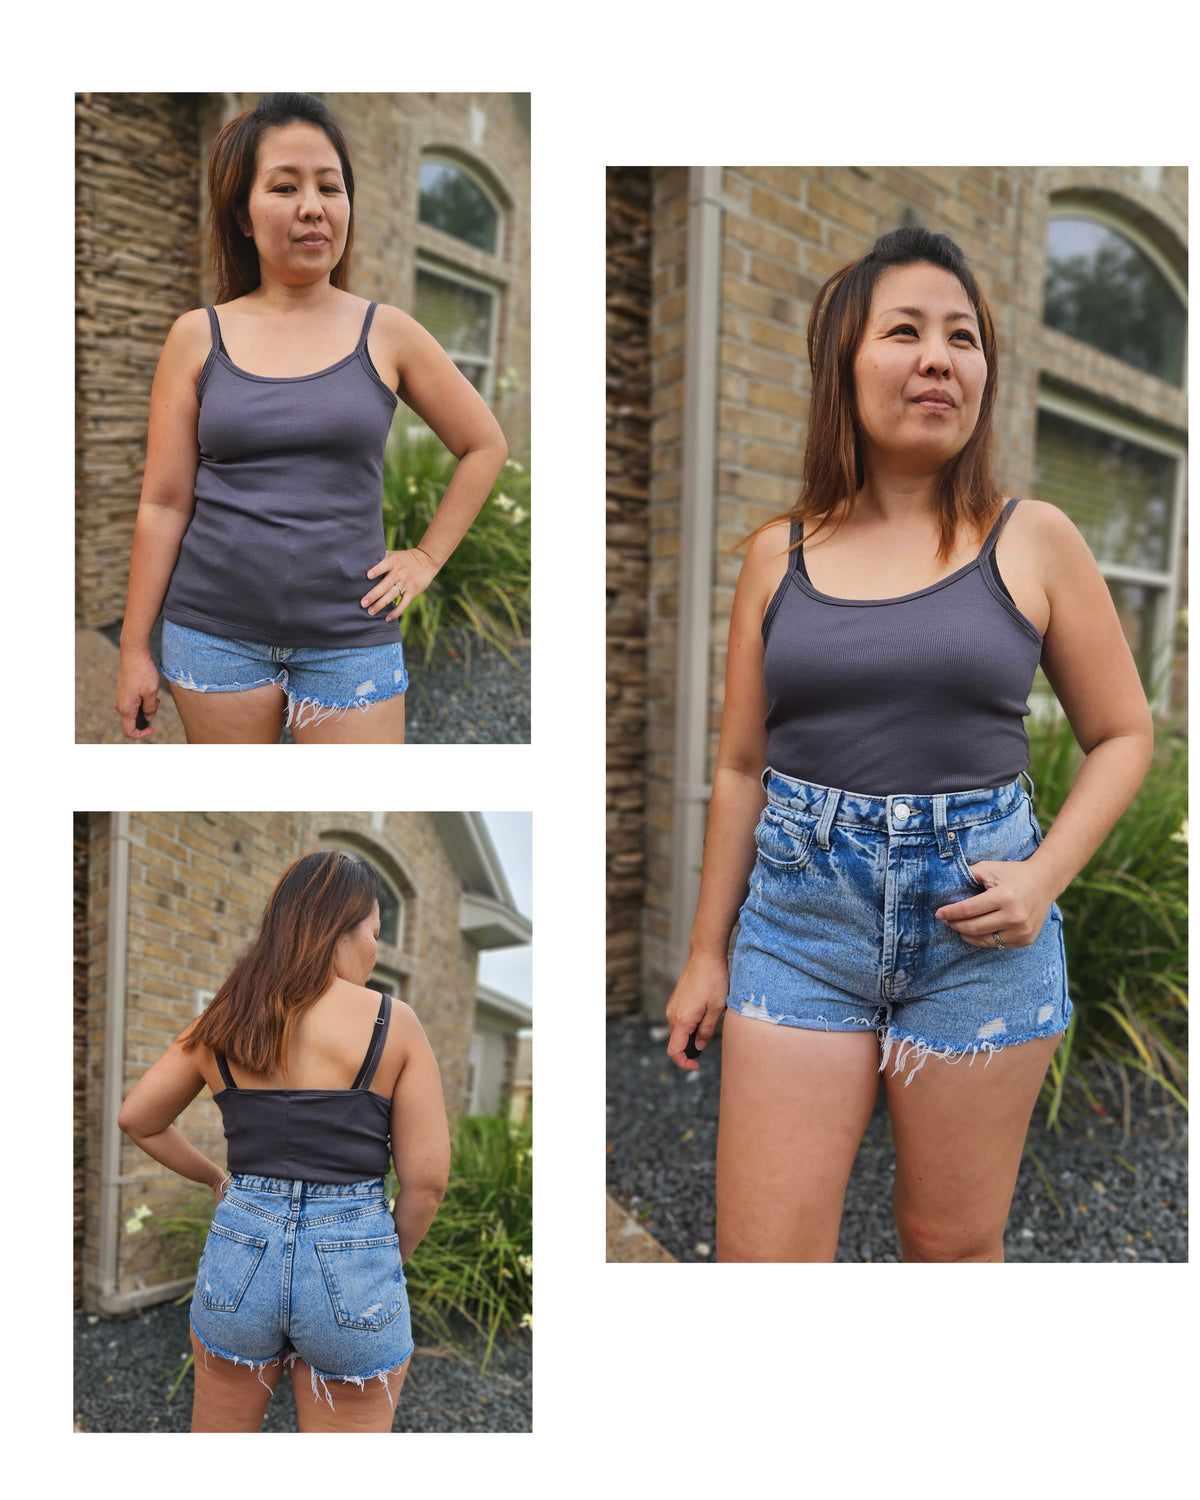

Hey ya’ll! I am excited to share a fun and unique “hack” that I’m lovin’ right now! It involves a FLOUNCE!
I know many of you are saying, “I can’t wear those. They make me look heavy”. Well, I am going to show you how to angle that flounce so that it helps create a narrower look around the middle and creates a slimmer appearance. How about that!?
Let’s start with my inspiration. I can’t actually take credit for it, one of our sewing friends actually posted this and it just “spoke” to me. It screamed Fall in Love Sweater mashed with Forever Flounce. Can’t you just hear it?
You will need both patterns. Here are my affiliate links to the patterns:
- Fall in Love Sweater
- Forever Flounce Top
Flounce
Start with the flounce piece from the Forever Flounce pattern. I had made the Forever Flounce top before, so knew that I wanted to narrow the flounce down a bit and only have it on the front. I am a size large in the Fall in Love Sweater, but I cut the flounce at the XS lines, keeping the length of a large. It is fine to narrow or widen the flounce, but the length must match your bodice size in order to fit properly.
Cut 2 - mirror images of each other. You are done with the Forever Flounce pattern. Keep it though. It’s a really cute one!
Bodice
Now for the fun! You are literally going to cut up the front bodice piece of the Fall in Love (FIL). It’s scary, I know! But you can do it, I promise.
I drew several lines before finally deciding where best to cut, it’s the orange one, BTW.
I started my line 2” in from the armscycle at the top shoulder seam and connected it to a point at the bottom, 1” from the center cut on fold line. Then CUT a straight line.
Remember to add back the ¼” seam allowances on both sides of the cut pieces. I just added ¼”as I was cutting.
Since they are separate pieces now, the bigger piece (one with armscycle, I will call piece A) will need to be cut as 2 separate pieces -mirror images of each other.
The thinner piece (I will call piece B) stays cut on the fold, just like original pattern calls for.
Once cut this is what you will have:
- Flounce x 2 mirror images
- Armscycle side (piece A) x 2 mirror images
- Center (piece B) x 1 on the fold


Let’s put it all together now!
The pieces will lay out as follows:
Piece A-Piece B unfolded- Piece A
Simply sandwich 1 flounce between one of the piece A’s and one edge of piece B, Right Sides Together. Sew using your favorite stitch, you will need to ease the curved edge of the flounce into the straight edge of the bodice. It’s easy.
Then do the same thing for the opposite side. Boom! Your front bodice has a diagonal, figure flattering, flounce.
The remainder basically follows the FIL pattern directions from here. Note a few nuances though: I did not put a flounce down the back. The top edge of the flounce had to be secured in the shoulder seam to lay flat. When attaching your flounce into the shoulder seam, stop sewing ¼” before the edge. This will be the seam allowance for the sleeve, and you don’t want your flounce in the sleeve.


When adding the sleeves, be sure to fold the flounce inward to keep it out of the sleeve seam.
THAT’S IT!


(Written by: Suzanne Todd Giles)


