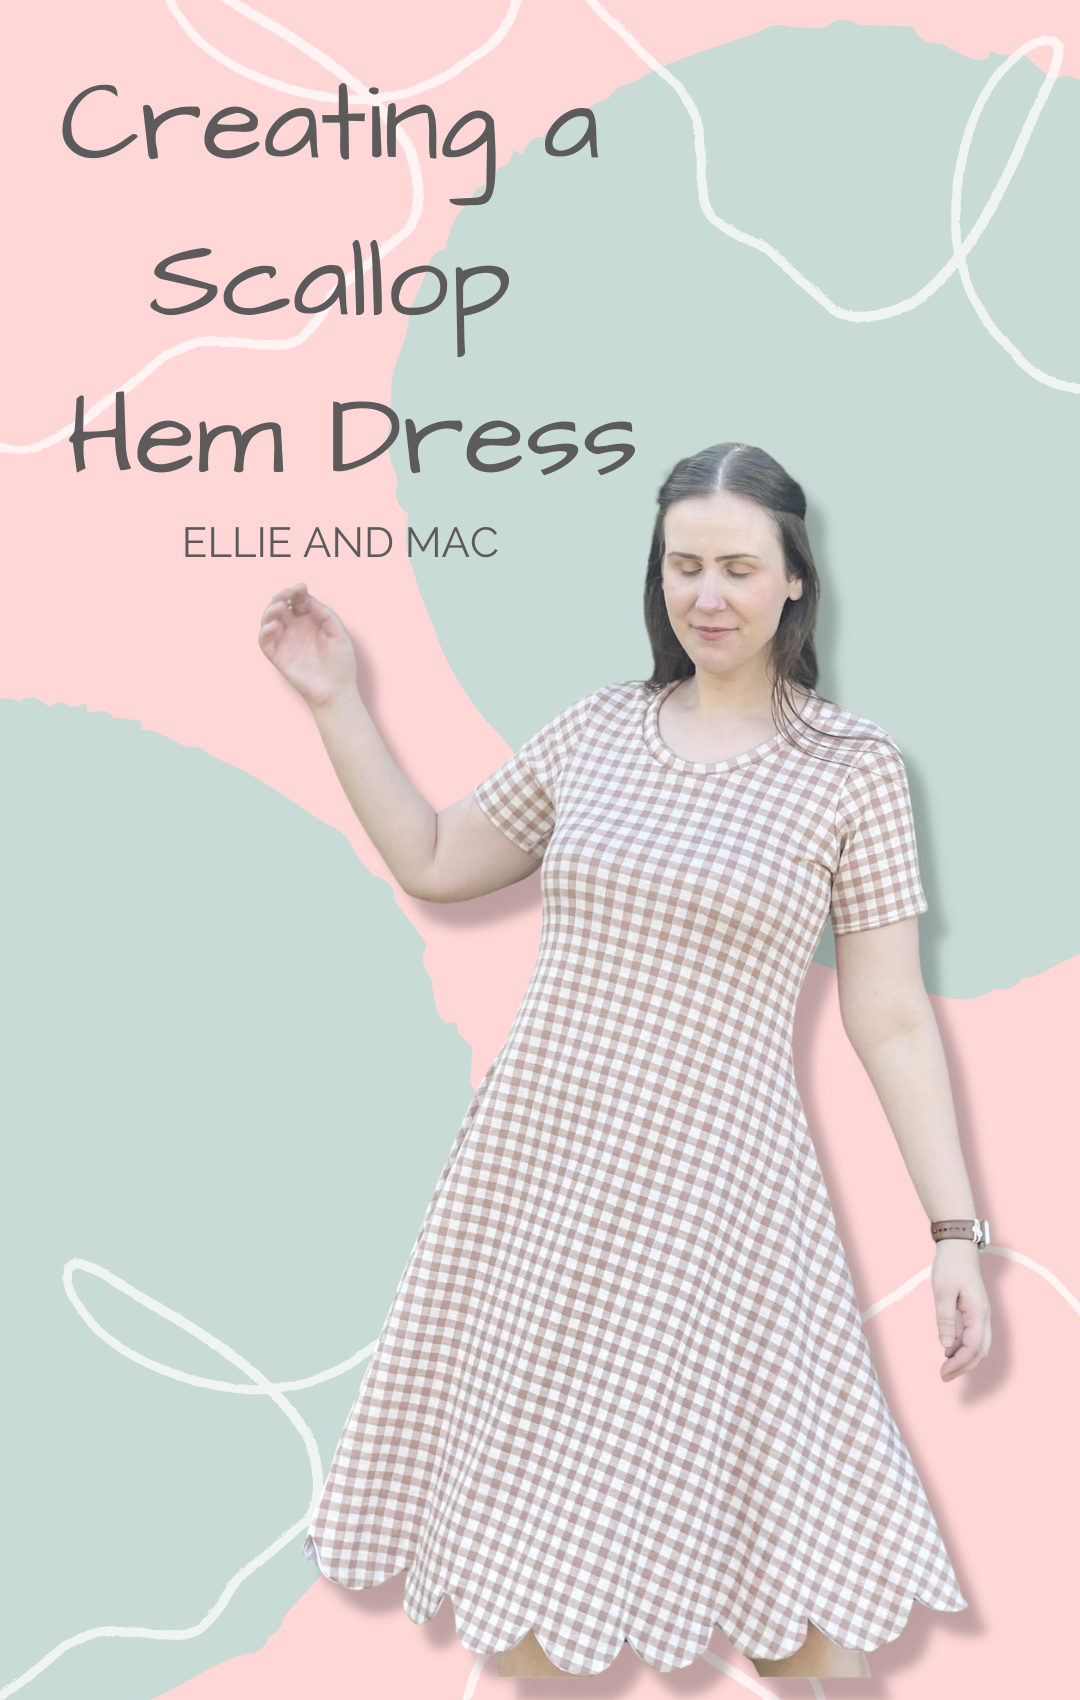

Last year I had an itch to make a scallop hem dress. I had a feeling that if I hacked and mashed the Slow Sunday Dress and the A-Line Button Down Skirt I could make it happen…and I did! I used this gorgeous gingham FT from Threadbear Textile Co and voila! I made another one using DPB (also from Threadbear Textile Co.) to make a tutorial for you. Follow along if you want to see how I did it.
Hacking and Assembling Your Pattern
I started by printing out my size in the Slow Sunday Dress and just the scallop hem part of the A-Line skirt. I had an internal debate over what size to print the scallops. I wasn’t sure if I should print my size, a smaller or larger size, or even if I should print them at 100%, wondering if I wanted the scallops bigger or smaller. In the end, I decided to KISS (keep it simple, silly) and just print them at 100% in my size. It’s not a ton of paper, so I figured that would be a good place to start and this ended up working out perfectly.
I usually project my patterns, but when I hack and make alterations I like to print them so that I don’t have to mentally calculate and remember the measurements of what I hack. It’s so much easier in the end. I also have added length to the Slow Sunday Dress in the past, so I decided printing was the way to go here.
Though I usually add length, I decided to add the scallops first and see how they were going to affect the overall length and I’m glad I did, because after I added the scallops I didn’t need to add any length for my preferred measurements. So be aware that depending on your preferences you might actually want to subtract length in the end.
After I assembled the Slow Sunday, I assembled the scallops and started to piece them along the hem. Because of the way the Slow Sunday hem is shaped, I quickly realized that they were going to lay much better if the scallops were cut into individual pieces rather than one solid line. Cutting them into pieces allowed me to lay them along the angle of the hemline nicely.

If you have a little extra on the dress piece after you last scallop, just draw a new line and blend it in the side seam and then cut off that piece. If you need a little extra after you last scallop, you can take a scrap of paper and add it to fit, blending it into the side seam as well. I had just a little extra, maybe half an inch, so I trimmed it off and blended into the side seam and it’s perfect. Now my scallops line up front to back. I wouldn’t recommend altering the scallops, since you ideally want them all to be equally sized.
Also note, I did not do a sway back on this dress. I just cut the back piece on the fold.

My completed pattern piece. There is a matching back piece as well.
How Much Fabric Do I Need?
Of course you should check the guide in the pattern, but I would treat that as a starting point for this project. You will likely need more fabric than the measurements require. The scallops add length and length means more fabric, Please keep this in mind when selecting and purchasing your fabric!

Ready to cut!
Add Your Facing!
When you’re cutting your pieces, you do want to add a piece. You’ll need a facing for the scallops since you can’t simply turn it up and hem. I used the same scallop piece and cut this about 2-3 inches above the top of the scallop, but if you prefer more, you can adjust it to your preference. I also chose to use a plain white jersey for my facing both times, so keep in mind it doesn’t always have to be the same fabric.
I didn’t actually cut a whole separate pattern piece, but you can do that if you think it will be helpful. I found drawing a line on the pattern piece was all I really needed.

Cutting your fabric!
Now you can cut out your dress with your new pattern piece! Don’t forget to cut your hem facing.
Assembly
When you’re ready to sew, you can sew the shoulders together, add the neckband, sew on the sleeves (don’t forget to hem them), and then sew the side seams, just like the pattern directions. I found it best to sew up the sides before I added the facing. Don’t do the hem facing first. This will give you the cleanest finish. Pictures and directions for these steps can be found in the pattern file.

Here I’ve done all the steps above and am now ready to tackle the hem facing.
Scallop Hem Facing Time!
When you get to the bottom of the dress, you’re going to add the facing instead of hemming like usual. Sew the facing together on its side seams so it is one continuous piece. Matching the side seams, carefully pin the facing to the dress, being sure to line up every scallop as best as possible. I like to anchor each scallop at the upper most point between each one. Then pin along the curved edge.


Now you are going to stitch the facing to the dress. What I am about to say is the most crucial part for making this dress look amazing. Sew slowly. If you’re like me, you’ll start out slow and then get very tempted to sew faster. Resist the urge. If you’re not like me, good job. You’re probably more patient IRL too, haha! But seriously, sew very slowly so you get those really nice curves. Stop and pivot at the top of every scallop. It will take a little more time but the effort is SO worth it.
*If you want a visual of how to pin, sew, and pivot each scallop, I highly suggest the A-Line skirt video tutorial Diana did.
Check Your Stitching, Trim, & Press
When you’ve attached the facing, I like to grab a point turning tool (I just use the end of an old skinny paint brush, you absolutely do not need anything fancy) and carefully round out the scallops. I make sure they look evenly rounded, and I’ll go back and pick out any stitches I don’t like and restitch them. After that, I flip the facing back out (so everything is RST again) and very, very carefully clip everything to about ¼ inch seam allowance so that there is minimal bulk for the end result.

In order to get sharp points in between the scallops, you need to cut riiiiiight up to that point without cutting through your stitching. On a few of these I had to get very close to the stitch line and then get even closer. It can be nerve wracking. Take it very slow! It’s also helpful to use small scissors. Maybe some reading glasses! Haha!
This is the key to making sure that there are no puckers. Flip it back out so it is WST and use your point tool to round out the scallops again. Iron this very well. This isn’t a really hard process, but getting it right is definitely a little time consuming.
Last Step, Secure the Facing
The last step is to stitch the facing to the dress so that it doesn’t flip out.

I first stitched the facing with a stitch in the ditch method on the side seam so it wouldn’t show. I initially thought this would be sufficient to keep it from flipping down, but I found this wasn’t enough to keep the facing from drooping. I considered trimming it much shorter, but felt nervous about doing that. With my first dress (the gingham) I decided to hand stitch it since this was FT and I could easily stitch through the loops on the back so the stitches wouldn't show. I used a fairly wide stitch, it didn’t take me that long to do. I didn’t want the visible stitching on mine. My second dress was DBP, so I decided to top stitch and then made the nerve wracking choice to trim the remaining facing off with pinking shears. I was nervous the whole time that I would mess up on this very last step, but I went slowly and kept my other hand between the scissors and the fabric to help prevent any accidents. This is what the inside of that looks like now.

Alternatively, you can use your machine and just do a straight stitch all the way around a few inches up from the bottom to secure it or you could top stitch along the edge of the scallops.

WE DID IT!

Ta-da! You’re done! This is such a great dress. It’s not one that I would make over and over because of the time involved in getting it just right, but it’s so very satisfying and honestly not hard. If you want a detail oriented project that has a little bit of a wow factor (not to mention twirl factor), this is it! If you decide to make one, please tag me in it! I would love to see it! Seeing your hacks always makes me so excited! Happy Sewing!
(Written by: Michelle Eisele)


