Hi friends! Amy here again today, bringing you part 2 of our Glam Up Tutorial. In part 1 I showed you how to create a beautiful sweetheart neckline with a Peek-a-Boo. In this part we are going to move on to redrafting the sleeve. You can make your sleeve any length, I made mine roughly elbow length by cutting my sleeve approximately 2” longer than the short sleeve cut line.

First step, make a copy of your sleeve pattern piece as we don’t want to cut up the original!

Next we need to draw a diagonal line across the pattern piece – this is not an exact science, but for reference my line started about 2.25” down from the top centre of the sleeve pattern and 2.5” down from the armpit seamline.


Cut along this line from the centre outwards, leaving a small edge attached to act like a hinge.

I then placed the sleeve pattern on top of a new sheet of paper and spread the two pieces apart by 6.75” – you could do less if you wanted less drama… but more is more am I right?!

Stick your pattern piece down in this position, preferably with tape that you can easily peel back off later. Draw a vertical line along the centreline edge of your pattern piece. It doesn’t have to be a specific length at this point.

I then measured 8” up from the top edge of my pattern piece and drew a horizontal line to meet the vertical line we drew in the last step. Again, you could add less height for a less dramatic look.


Now we need to draw a line to connect the original pattern piece with the horizontal line from the last step. A french curve ruler is best to achieve this, but not essential.

Next I tapered the horizontal line at the top down by about 0.25” as I didn’t want it to be totally squared off.

The final drafting step for the sleeve is to smooth out the pattern edge around the hinge we created so it isn’t a sharp angle. Again, a french curve ruler is very helpful for this. Make sure you draw all the way around the outer edges of the original pattern piece too so when you remove the tape your pattern piece is drawn all the way around with no gaps.


And there you have it, your crazy looking sleeve pattern piece is done!

The last thing to do with your sleeve pattern is mark where you need to gather. To do this, lie the original pattern piece over your new pattern piece like this:


And there you have it, your sleeve is all ready to go! Can you believe how much it’s changed from the original pattern piece?

An optional step is to add a gather piece into the shoulder seam to basically act as a shoulder pad to help support the gathered fabric in the shoulder area. I would recommend doing this step as your main fabric will likely droop quite a bit without it – unless that’s the look you’re going for of course!
I cut a rectangle about 15.5” long by 7” wide, folded it in half along the narrower side, and rounded off the edges.

Moving on to sleeve construction! I know this is a long one, but stay with me, you’re almost there!
The first step is folding your sleeve in half right sides together and sewing the horizontal seam at the top closed.

Next, turn the sleeve right side out, and open the sleeve up so the the top folds down like a little hood.


The pins in the last picture indicate the gathering marks we added to out pattern earlier. Gather from one pin all around the edge til you get to the other pin.

You can use whatever method of gathering you prefer. Personally I like turning my sewing machine tension up to max and increasing the straight stitch length up to max and letting my machine gather for me.
Now it’s time to attach the sleeves to your bodice. You can ignore the gathered section initially, pin the sleeve to the bodice right sides together starting at the outside edges and working in until you reach where the gathering starts. The sleeve and bodice in the ungathered sections should fit together perfectly without any need for any stretching or manipulation of the fabric. Tighten your gathering stitches as needed to fit them to the section of armscye that remains, and pin together.


Sew the two pieces together using a 0.25” seam allowance and stretch stitch. Repeat for the other sleeve.

Your bodice now looks like this:

Moving on to the ‘shoulder pads’. I used a stiff non stretch cotton as the fabric for my shoulder pads, and ironed interfacing on to one side of each. Fold the pieces in half and press. Gather tightly along the rounded raw edge.


Match the centre point of your gathered ‘pad’ to the shoulder seam and pin. Pin the rest of the pad down either side and sew it down along the shoulder seam. I used a stretch stitch, but since this fabric is non stretch, a straight stitch would have been fine.


Your bodice now looks like this:

Next, pin right sides together along the waist and sleeve seam, and sew with 0.25” seam allowance and stretch stitch. Hem your sleeve using your preferred method. I overlocked the edge, then turned and topstitched with a zigzag stitch.

Finally, you can attach the skirt of your choice. I used the Tres Belle half circle skirt, but added 4” length to the back skirt to give a slight high-low effect.
If you would like to do this as well, cut the front piece as normal. Then when you come to cut the back piece, cut along the waist and side seam, but DO NOT cut the bottom edge of the skirt yet.
This is what you will be seeing at this point:

Measure down from the bottom edge of the skirt pattern piece along the fold line of the fabric by 4”. You can do more than this if you want a more dramatic effect. Draw a dot at this point. That is the new position of the centre back hem of your skirt.

Reposition your pattern piece so it goes through the new dot you have drawn, and meets the bottom of the side seam line you have already cut. Cut along this line.

This is how your fabric will now look compared to the original pattern piece:

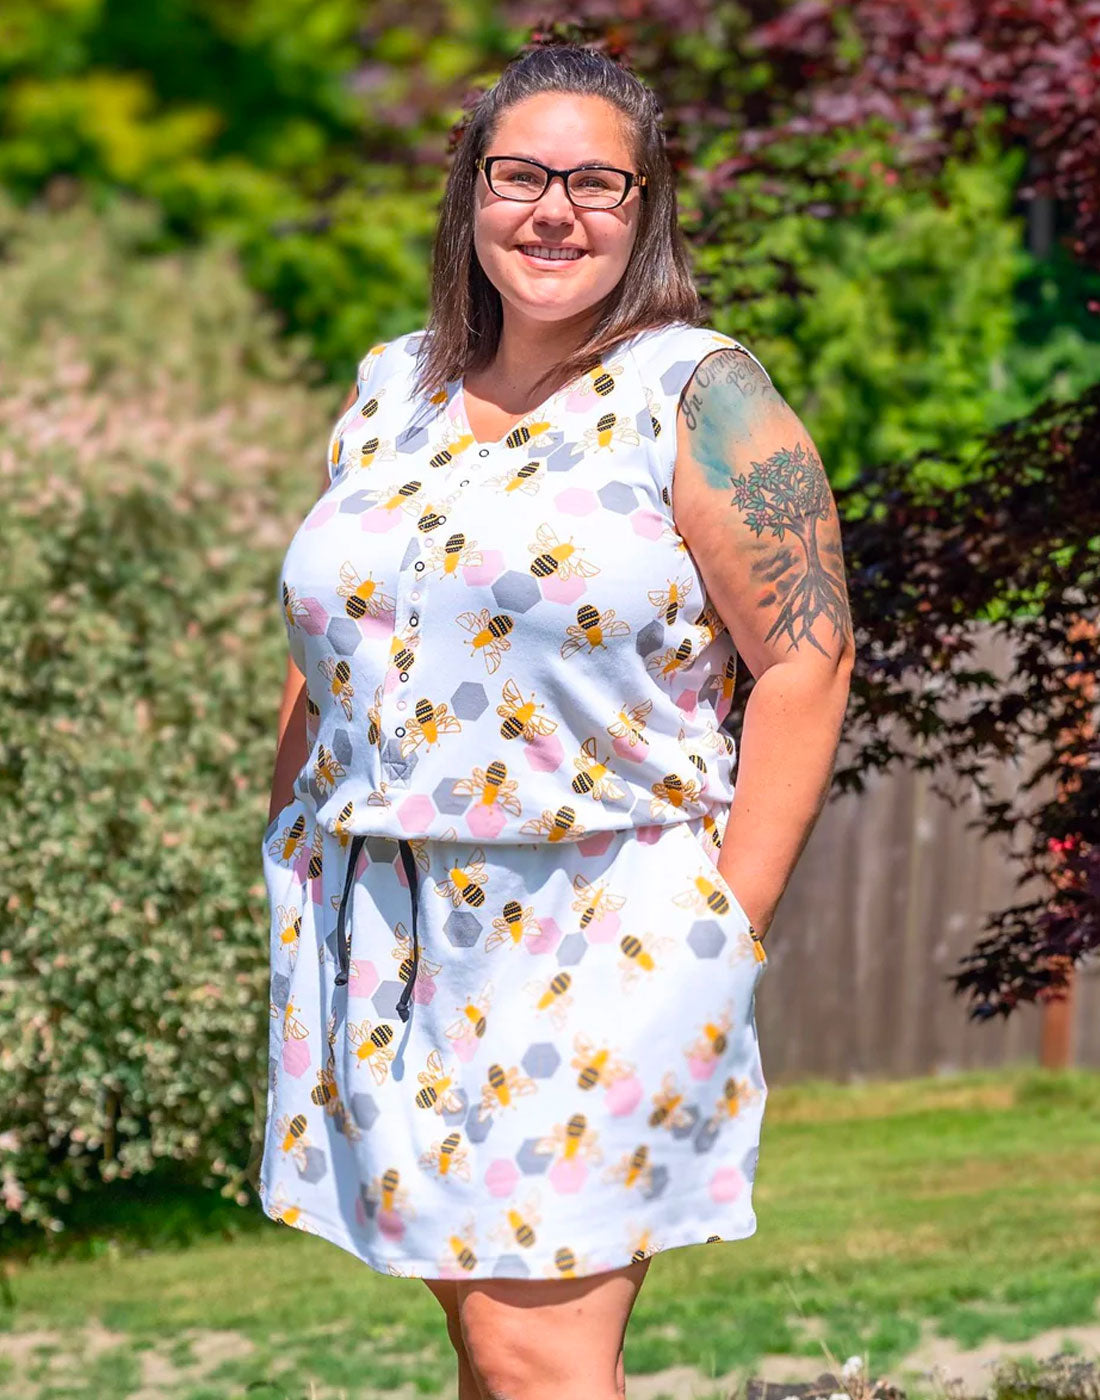
Now you can sew your skirt side seams and hem, and attach your skirt to your bodice, following the pattern instructions of whichever skirt you chose to use. When you try on your dress, you can tuck the horizontal shoulder seam of the sleeve down inside itself a little so that it sits nicely, it is not meant to stand up in a point! I hope that makes sense, see the pictures of me wearing my finished dress if not and that will hopefully make it clearer!
All finished! Well done if you managed to reach the end, I know it got a little heavy going for a minute there, but I hope it was helpful and gave you some inspiration to create something new!


