![]()
Hey all you awesome Ellie and Mac Blog Readers!
Jessica here, from the Let's Go Hobby Blog, back with another EM pattern hack to hopefully incite your creative sewing juices!
The Pattern to Hack
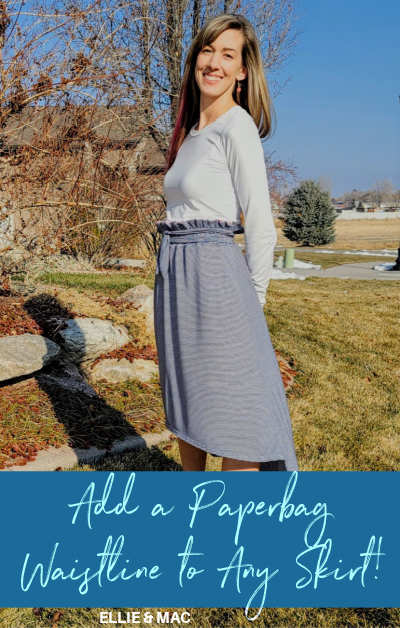
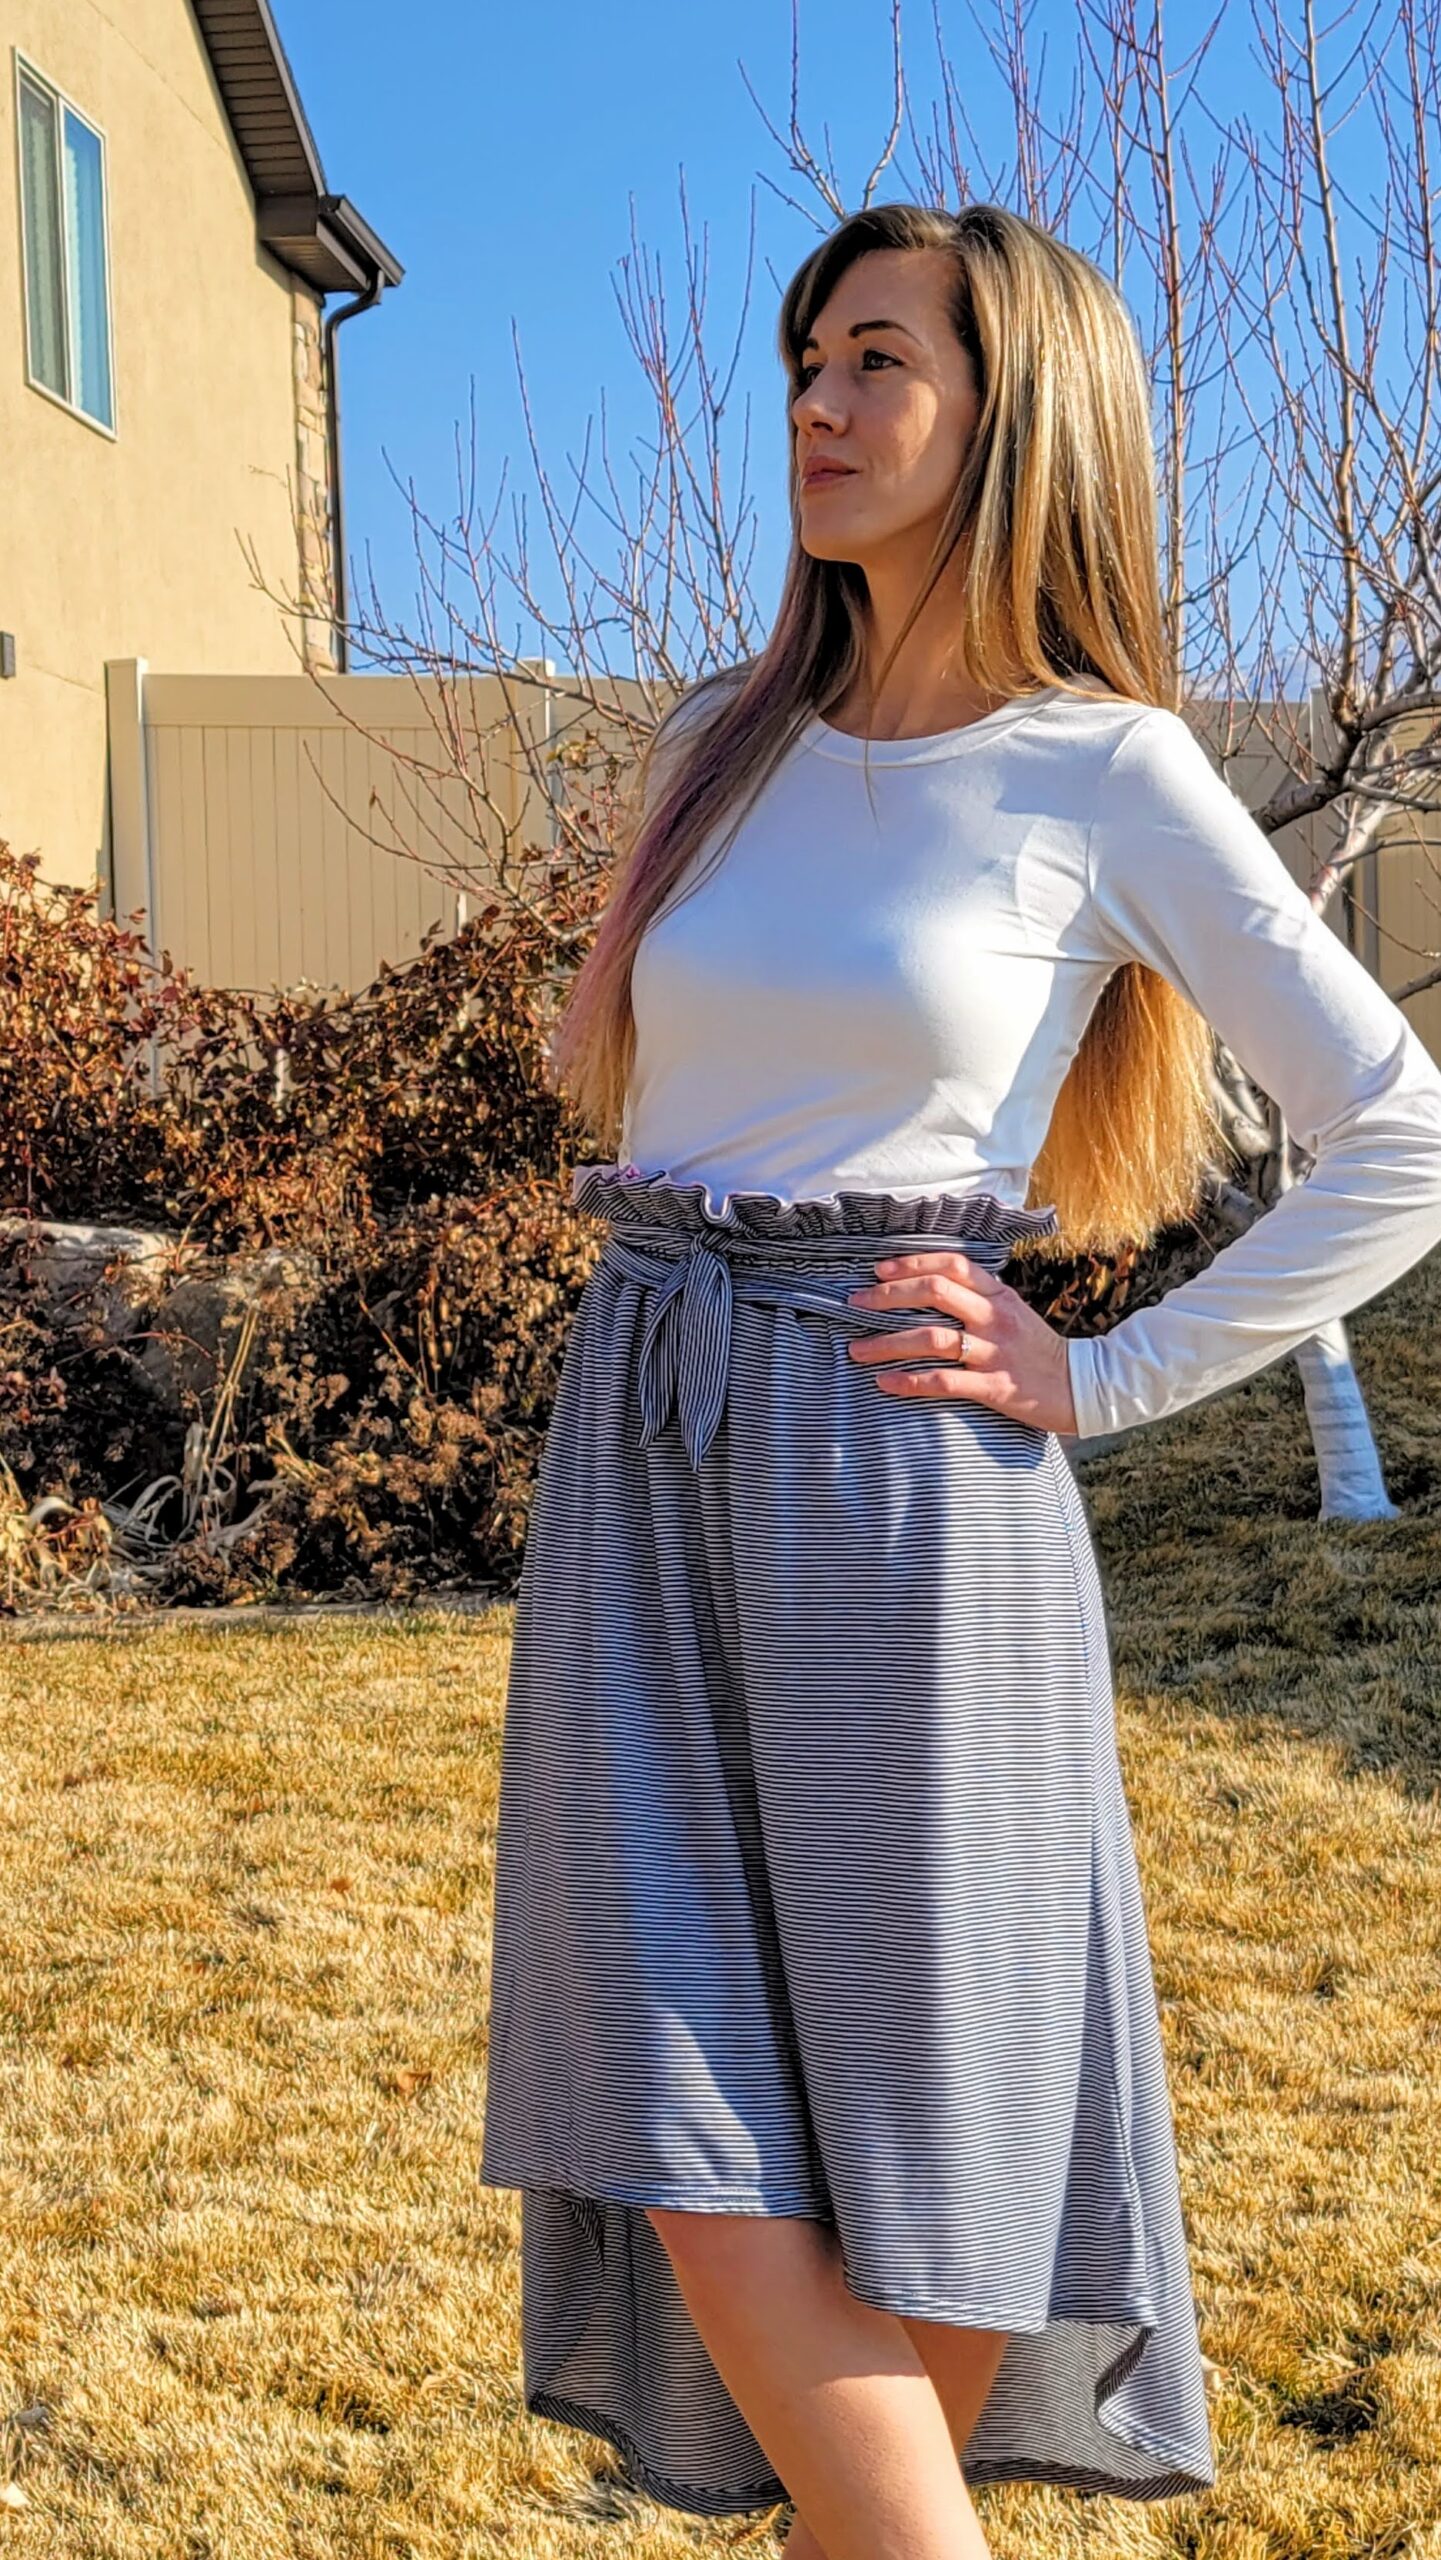
First of all, are you familiar with the Ellie and Mac Trendsetter Skirt Pattern? If you aren't, it is a hi-lo skirt with the front hitting at the knees, while the back of the skirt comes down to just below the calves. The hem gently curves from the higher front to the lower back of the skirt as you can see from the pattern's line drawing below.

The pattern's original waistband is a simple flat knit fabric waistband that is attached to the skirt in quarters. Since the skirt width is larger than the waistband, it gives the skirt gentle (purposeful) gathers in the process.
Cute right?
So, why change the pattern up? Well, why not? Patterns are just guidelines anyway, right? ;).

So, here's what I did (along with the how!) so you can make one too if you desire:
A Quick Note: If you prefer to have pattern pieces or complete step by step instructions including extra details like belt loops, I highly recommend mashing the trendsetter with the waistband on either the Ellie and Mac Paperbag Pants or the Ellie and Mac Paperbag Skirt.
How to Hack

The skirt pieces remain unchanged in the trendsetter skirt hack. So the cutting and construction will be per the pattern instructions.
You could still add pockets the way the instructions in the PDF file instruct. I did not add pockets to mine as I don't find them very useful in lightweight knit skirts.
The only thing that is different is the waistband!
Supplies Needed
- 2-2.5 yards of fabric depending on size - You can use any knit fabric with 50% 4 way stretch as the Trendsetter Pattern Instructions state. The fabric you choose will change the final look though! I made my skirt from a remnant fabric I found that is a light weight cotton spandex blend. The lining of the waistband is rayon spandex)
- 1/3 yard of midweight interfacing
- 1" Elastic (length will be 2" shorter than waist measurement)
Cut Waistband Pieces
You can put the pattern piece for the original waistband aside as you won't need that for the hack. Your paperbag waistband will be based on your natural waist measurement so be sure to measure that first!
All measurements are in inches.
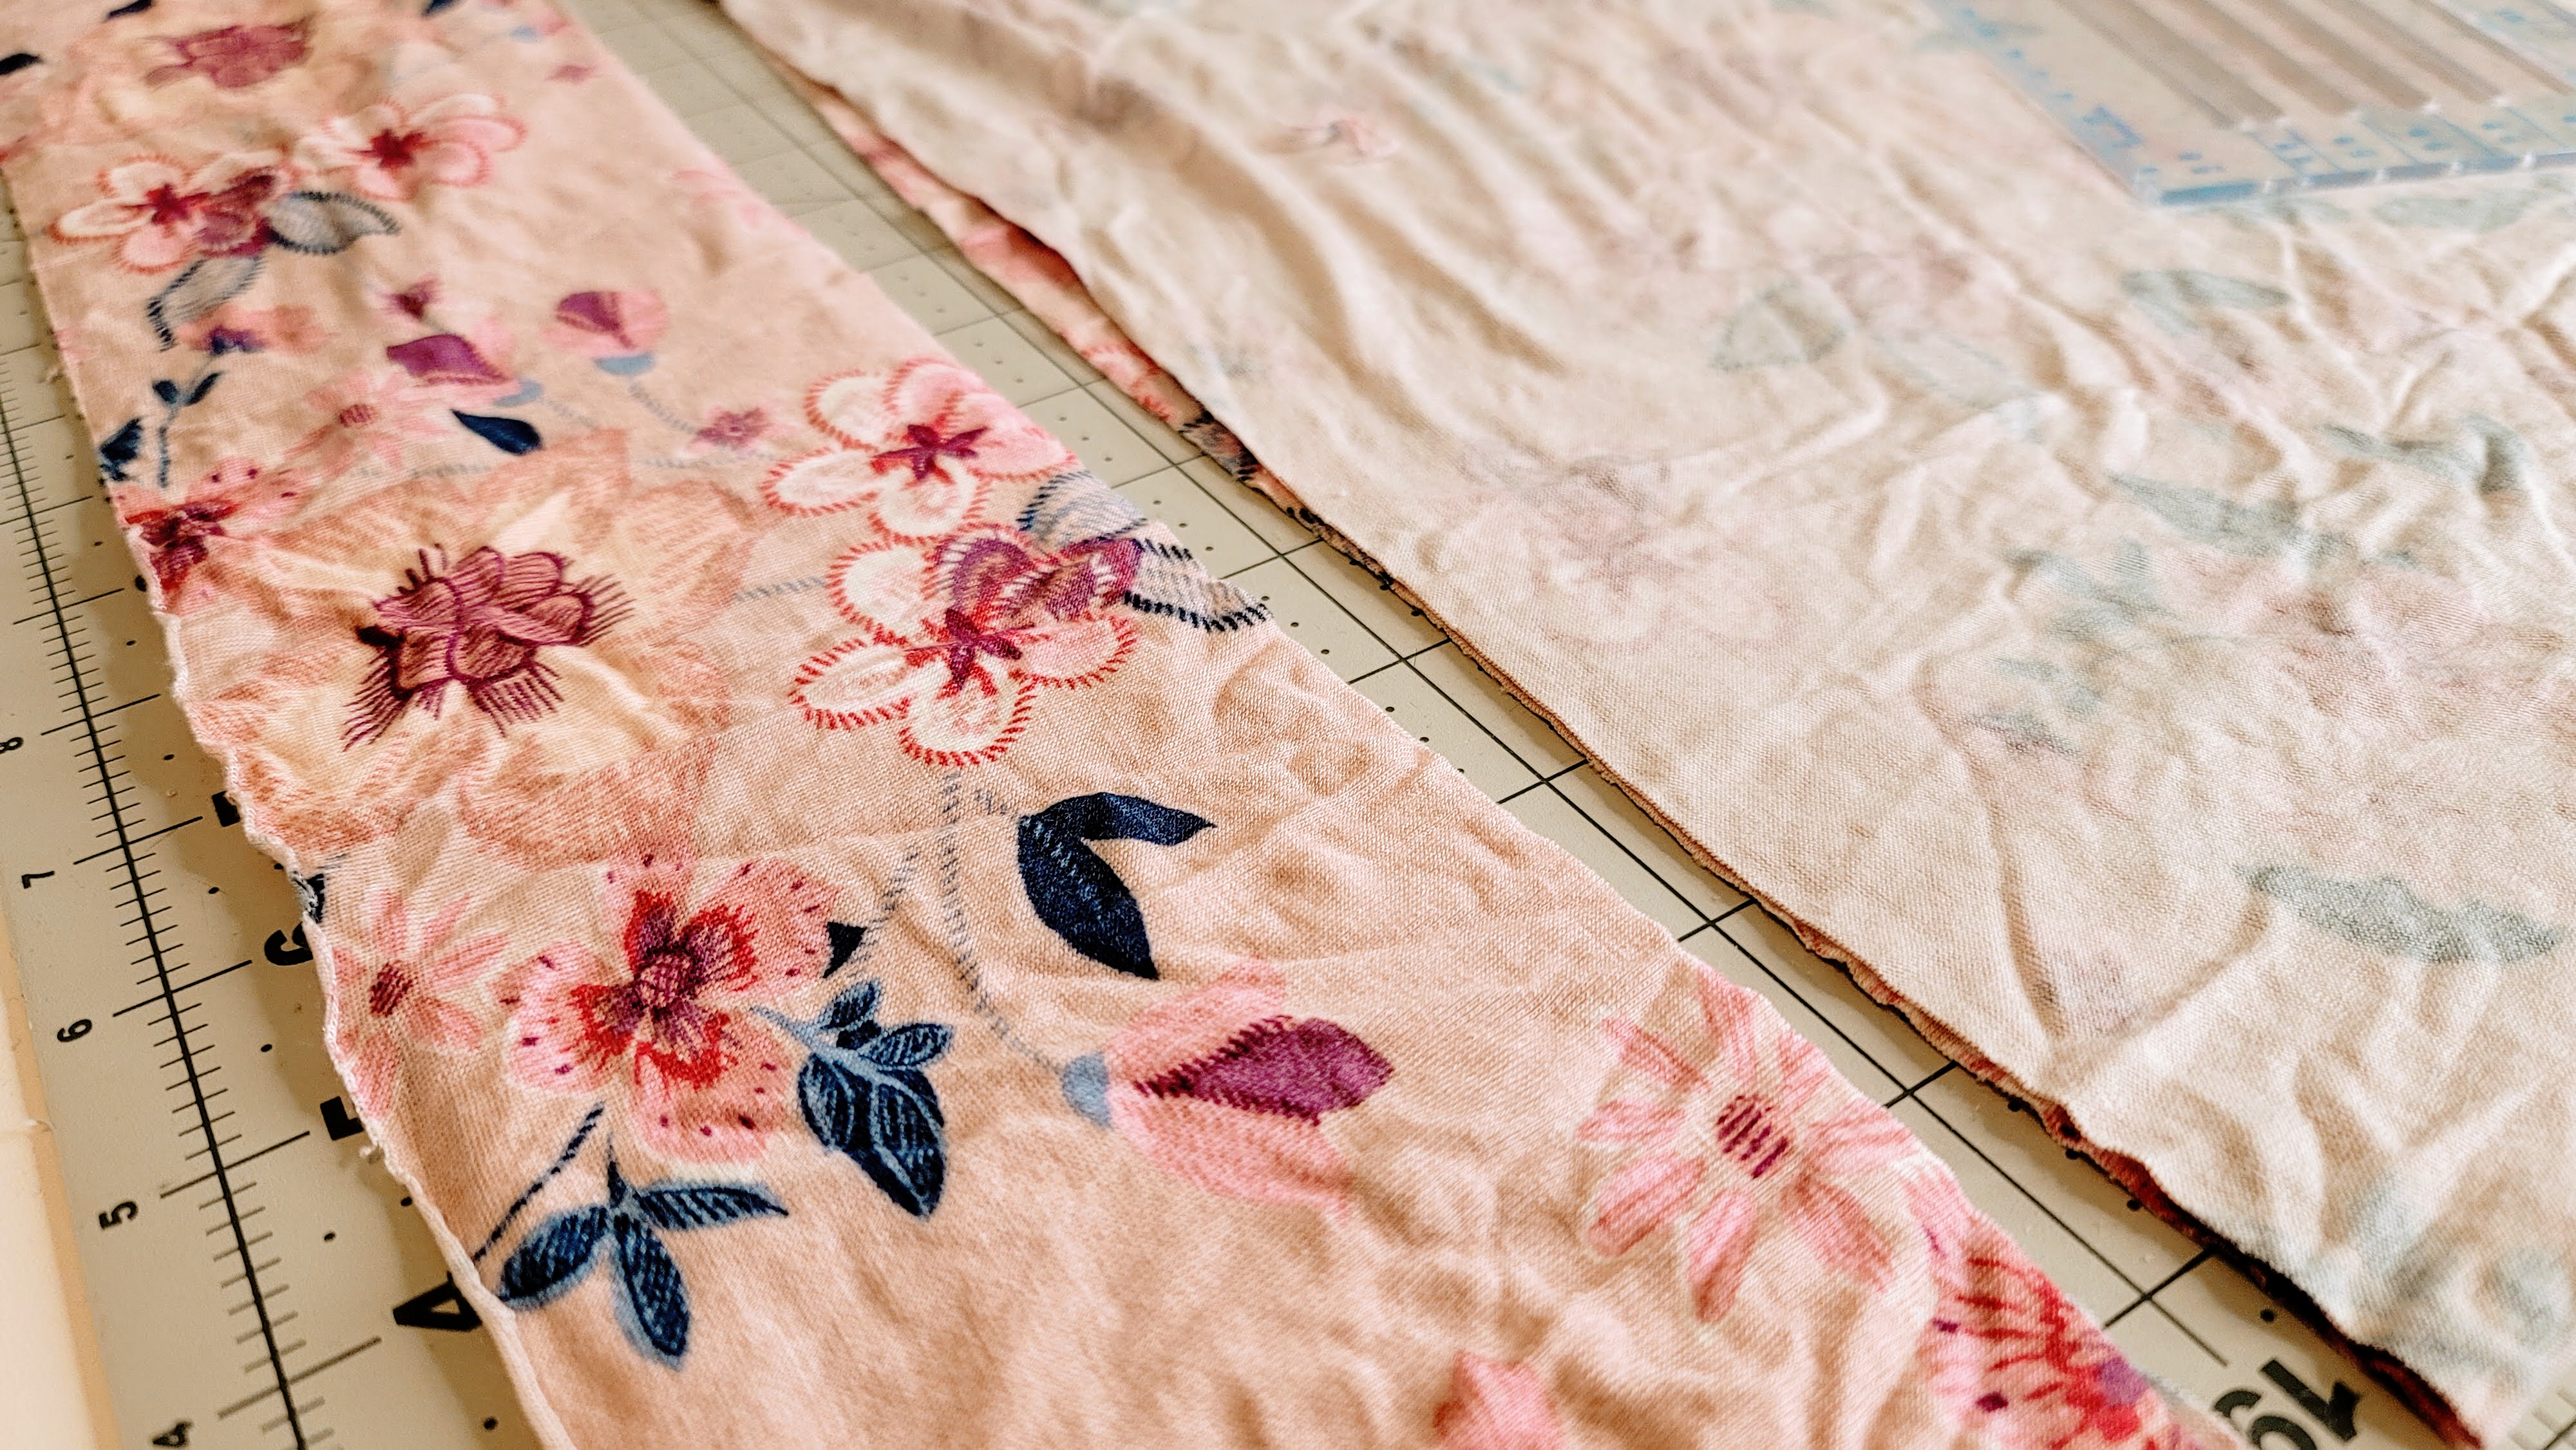
Main Waistband

Your main waistband pieces will be cut as follows:
Waistband Length = 4"
Waistband Width = (Natural Waist Measurement) x 2
So, cut 2 pieces at (natural waist measurement) by 4".
*NOTE - If your waist is measurement times 2 will fit on the width of the fabric, you can cut this on the fold and then cut it in half.
Waistband Lining
Waistband lining is cut exactly the same as the main waistband pieces.
Waistband Lining Length = 4"
Waistband Width = (Natural Waist Measurement) x 2
So, cut 2 pieces at (natural waist measurement) by 4".
I chose to make my lining in a complementary fabric to add some spice to the top of the skirt. If you choose a different fabric for the lining, be sure it matches as you will be able to see the lining peep out at the top!
Waistband Interfacing
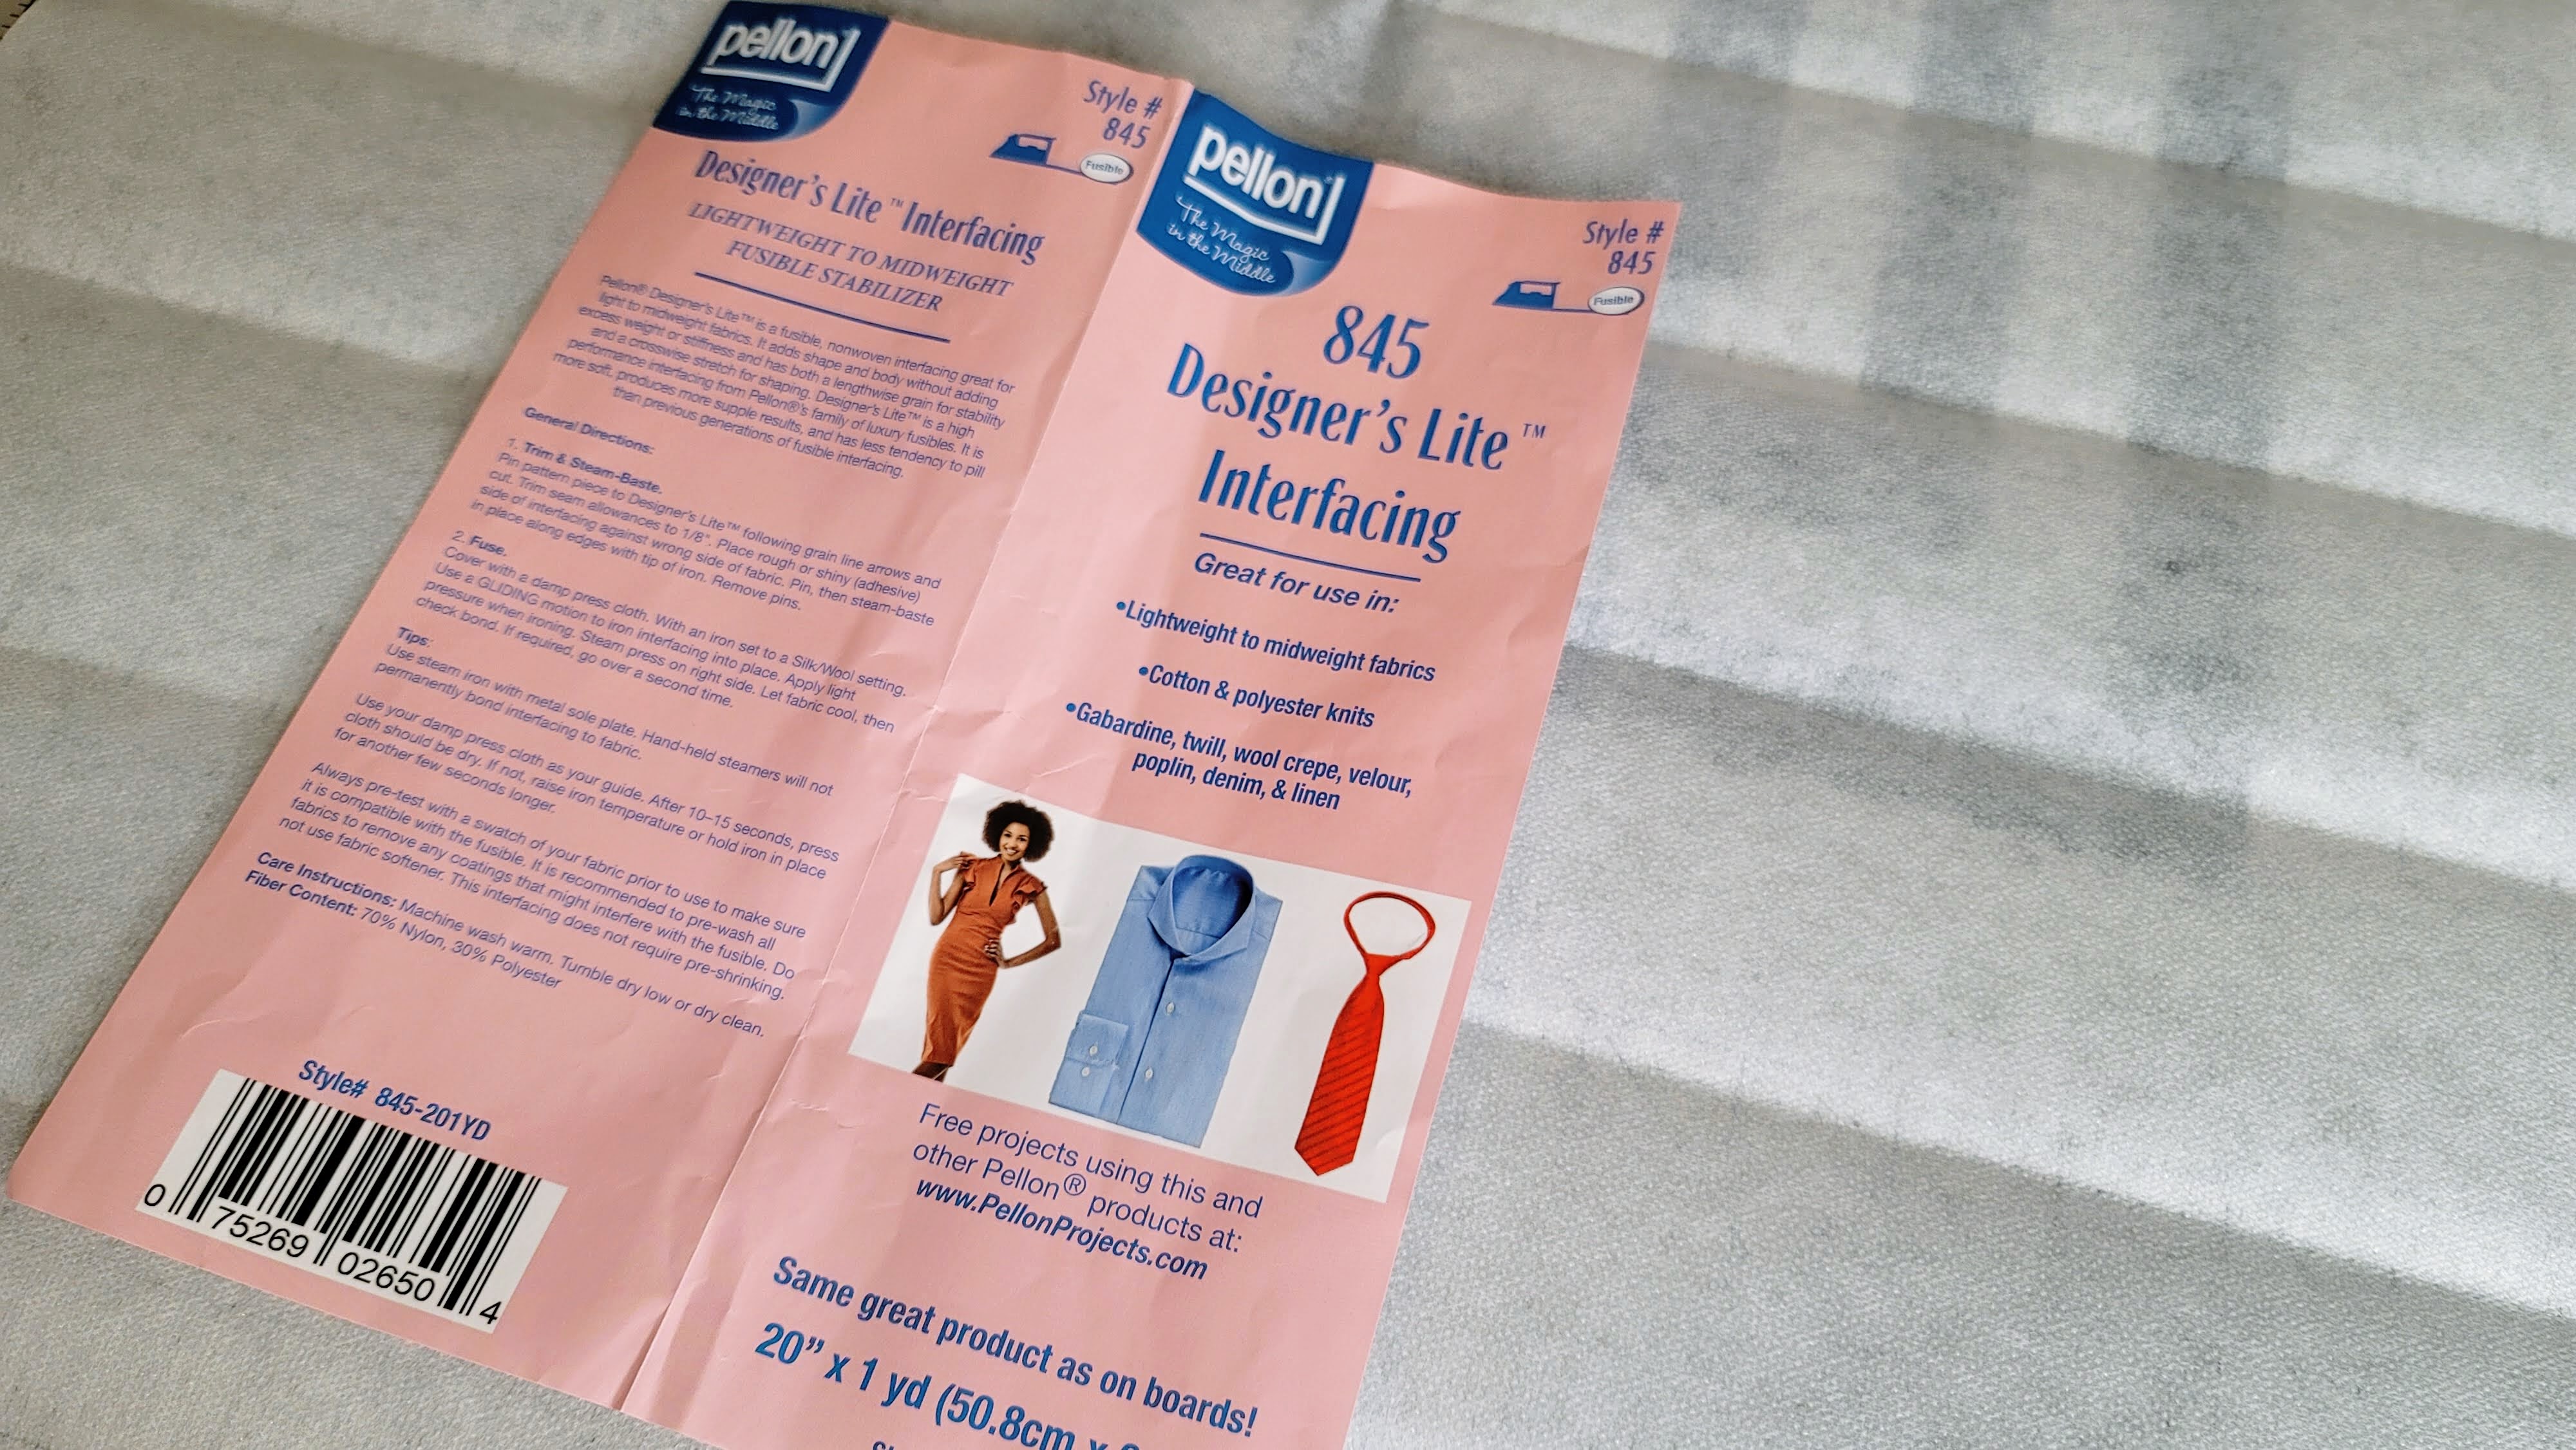
You will need interfacing in the waistband to aid in the elastic casing as well as to keep the paperbag part stay up and not just flop over. This is especially important if you are using a lightweight knit like I did. Fusible interfacing is best.
Interfacing Length = 3.5"
Interfacing Width = (Natural Waist Measurement) x 2
I used a lighter weight interfacing because that's what I had, but if you are using a light weight fabric, using a mid-weight interfacing would be better to keep the paperbag part stiff and upright.
Elastic
Elastic = 1" x ((natural waistband measurement) - 2")
*Side Note: I used 1 inch elastic for my waistband. You could actually use a larger elastic for this, you would just need to sew a bigger casing. I thought about also doing 2 lines of 1 inch elastic which would change the look of the paperbag waist to have tighter waves at the top and wouldn't require the sash to keep a lighter fabric upright. It just depends on the look you are going for!
Sash
I made my sash 2 inches and wrapped it around my waist twice, but you could make it up to 4 inches tall. Your choice! I also made the end of my sash at an angle, but straight across is great too.
Sash Length = 2 - 4"
Sash Width = (natural waist measurement + 5") x 2
Waistband Construction
Note: To avoid having the seam show at the side of the lining in step 10, you could sew the short ends together on both sides (step 4) before sewing the main and lining together on the bottom (step 5). The casing would then be sewn with a small opening in the middle of the waistband to insert it. The elastic would also need to be sewn together before the casing hole was sewn shut. The way shown below is bit faster and easier, but both ways work!
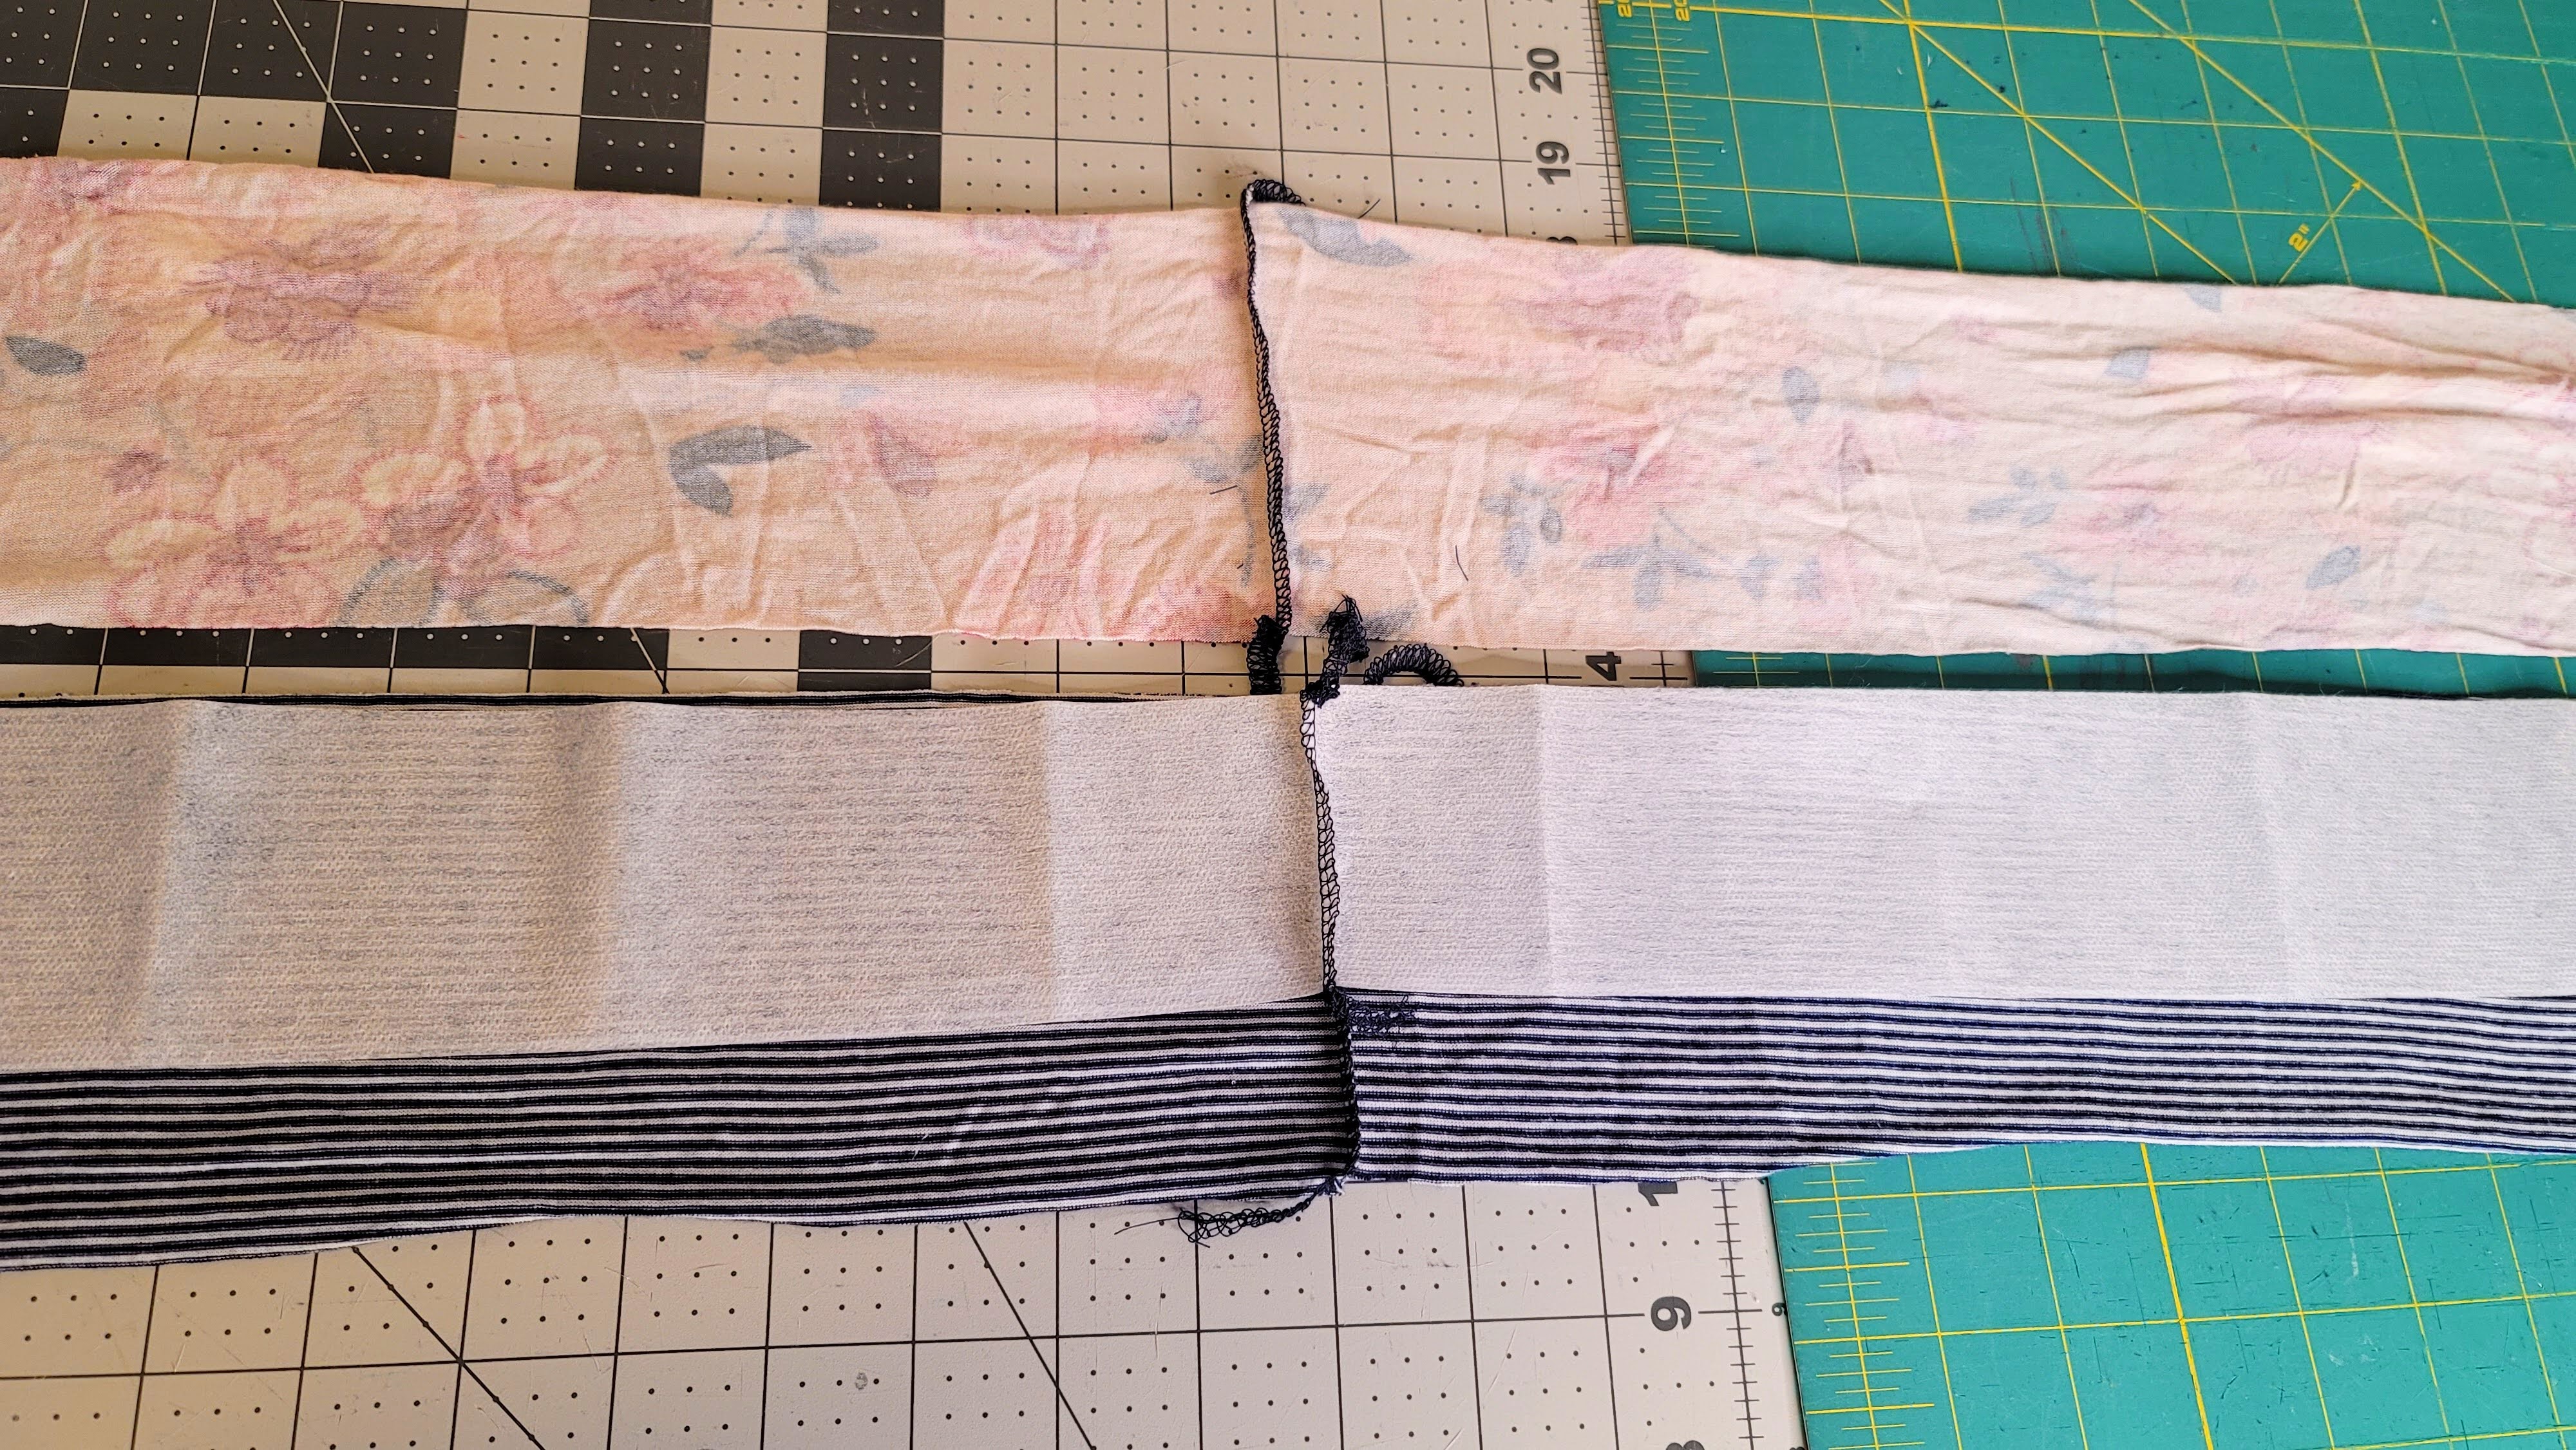
- Sew the 2 main waistband pieces right sides together on the short side to make one long flat piece.
2. Sew the 2 waistband lining pieces right sides together on the short side to make one long flat piece.
3. Iron fusible interfacing at the top on the wrong side of the main waistband piece.
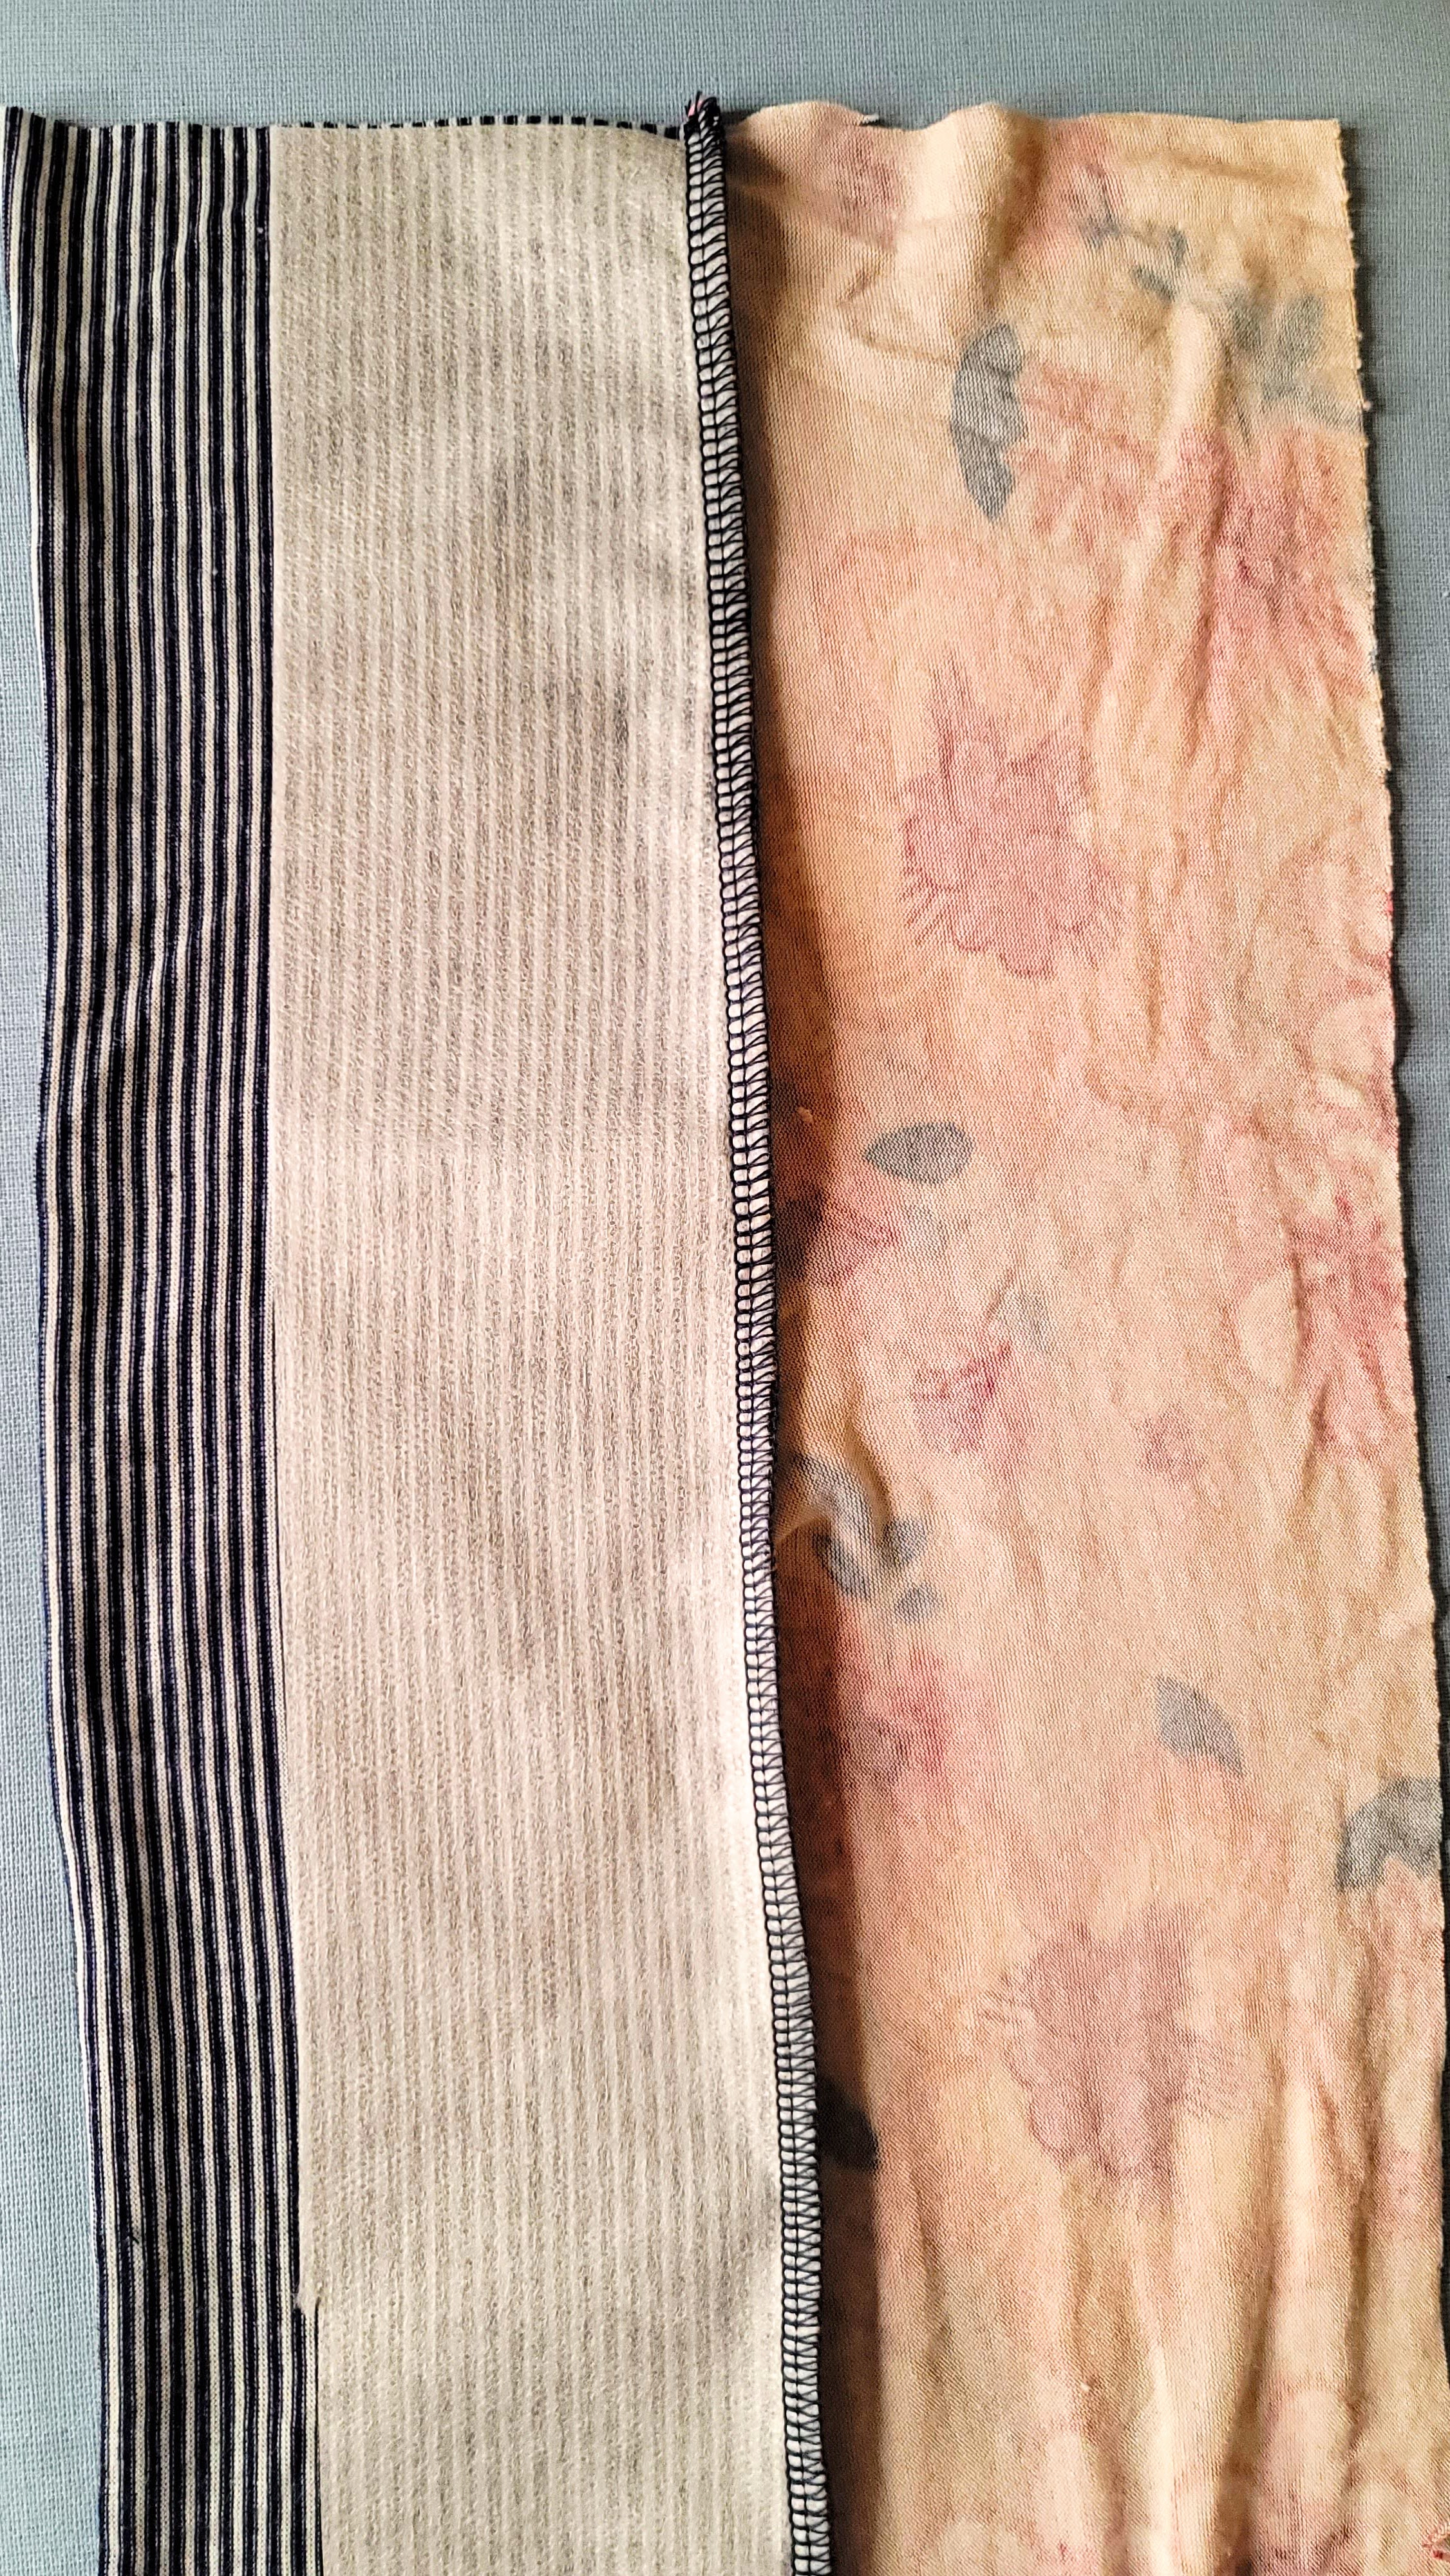
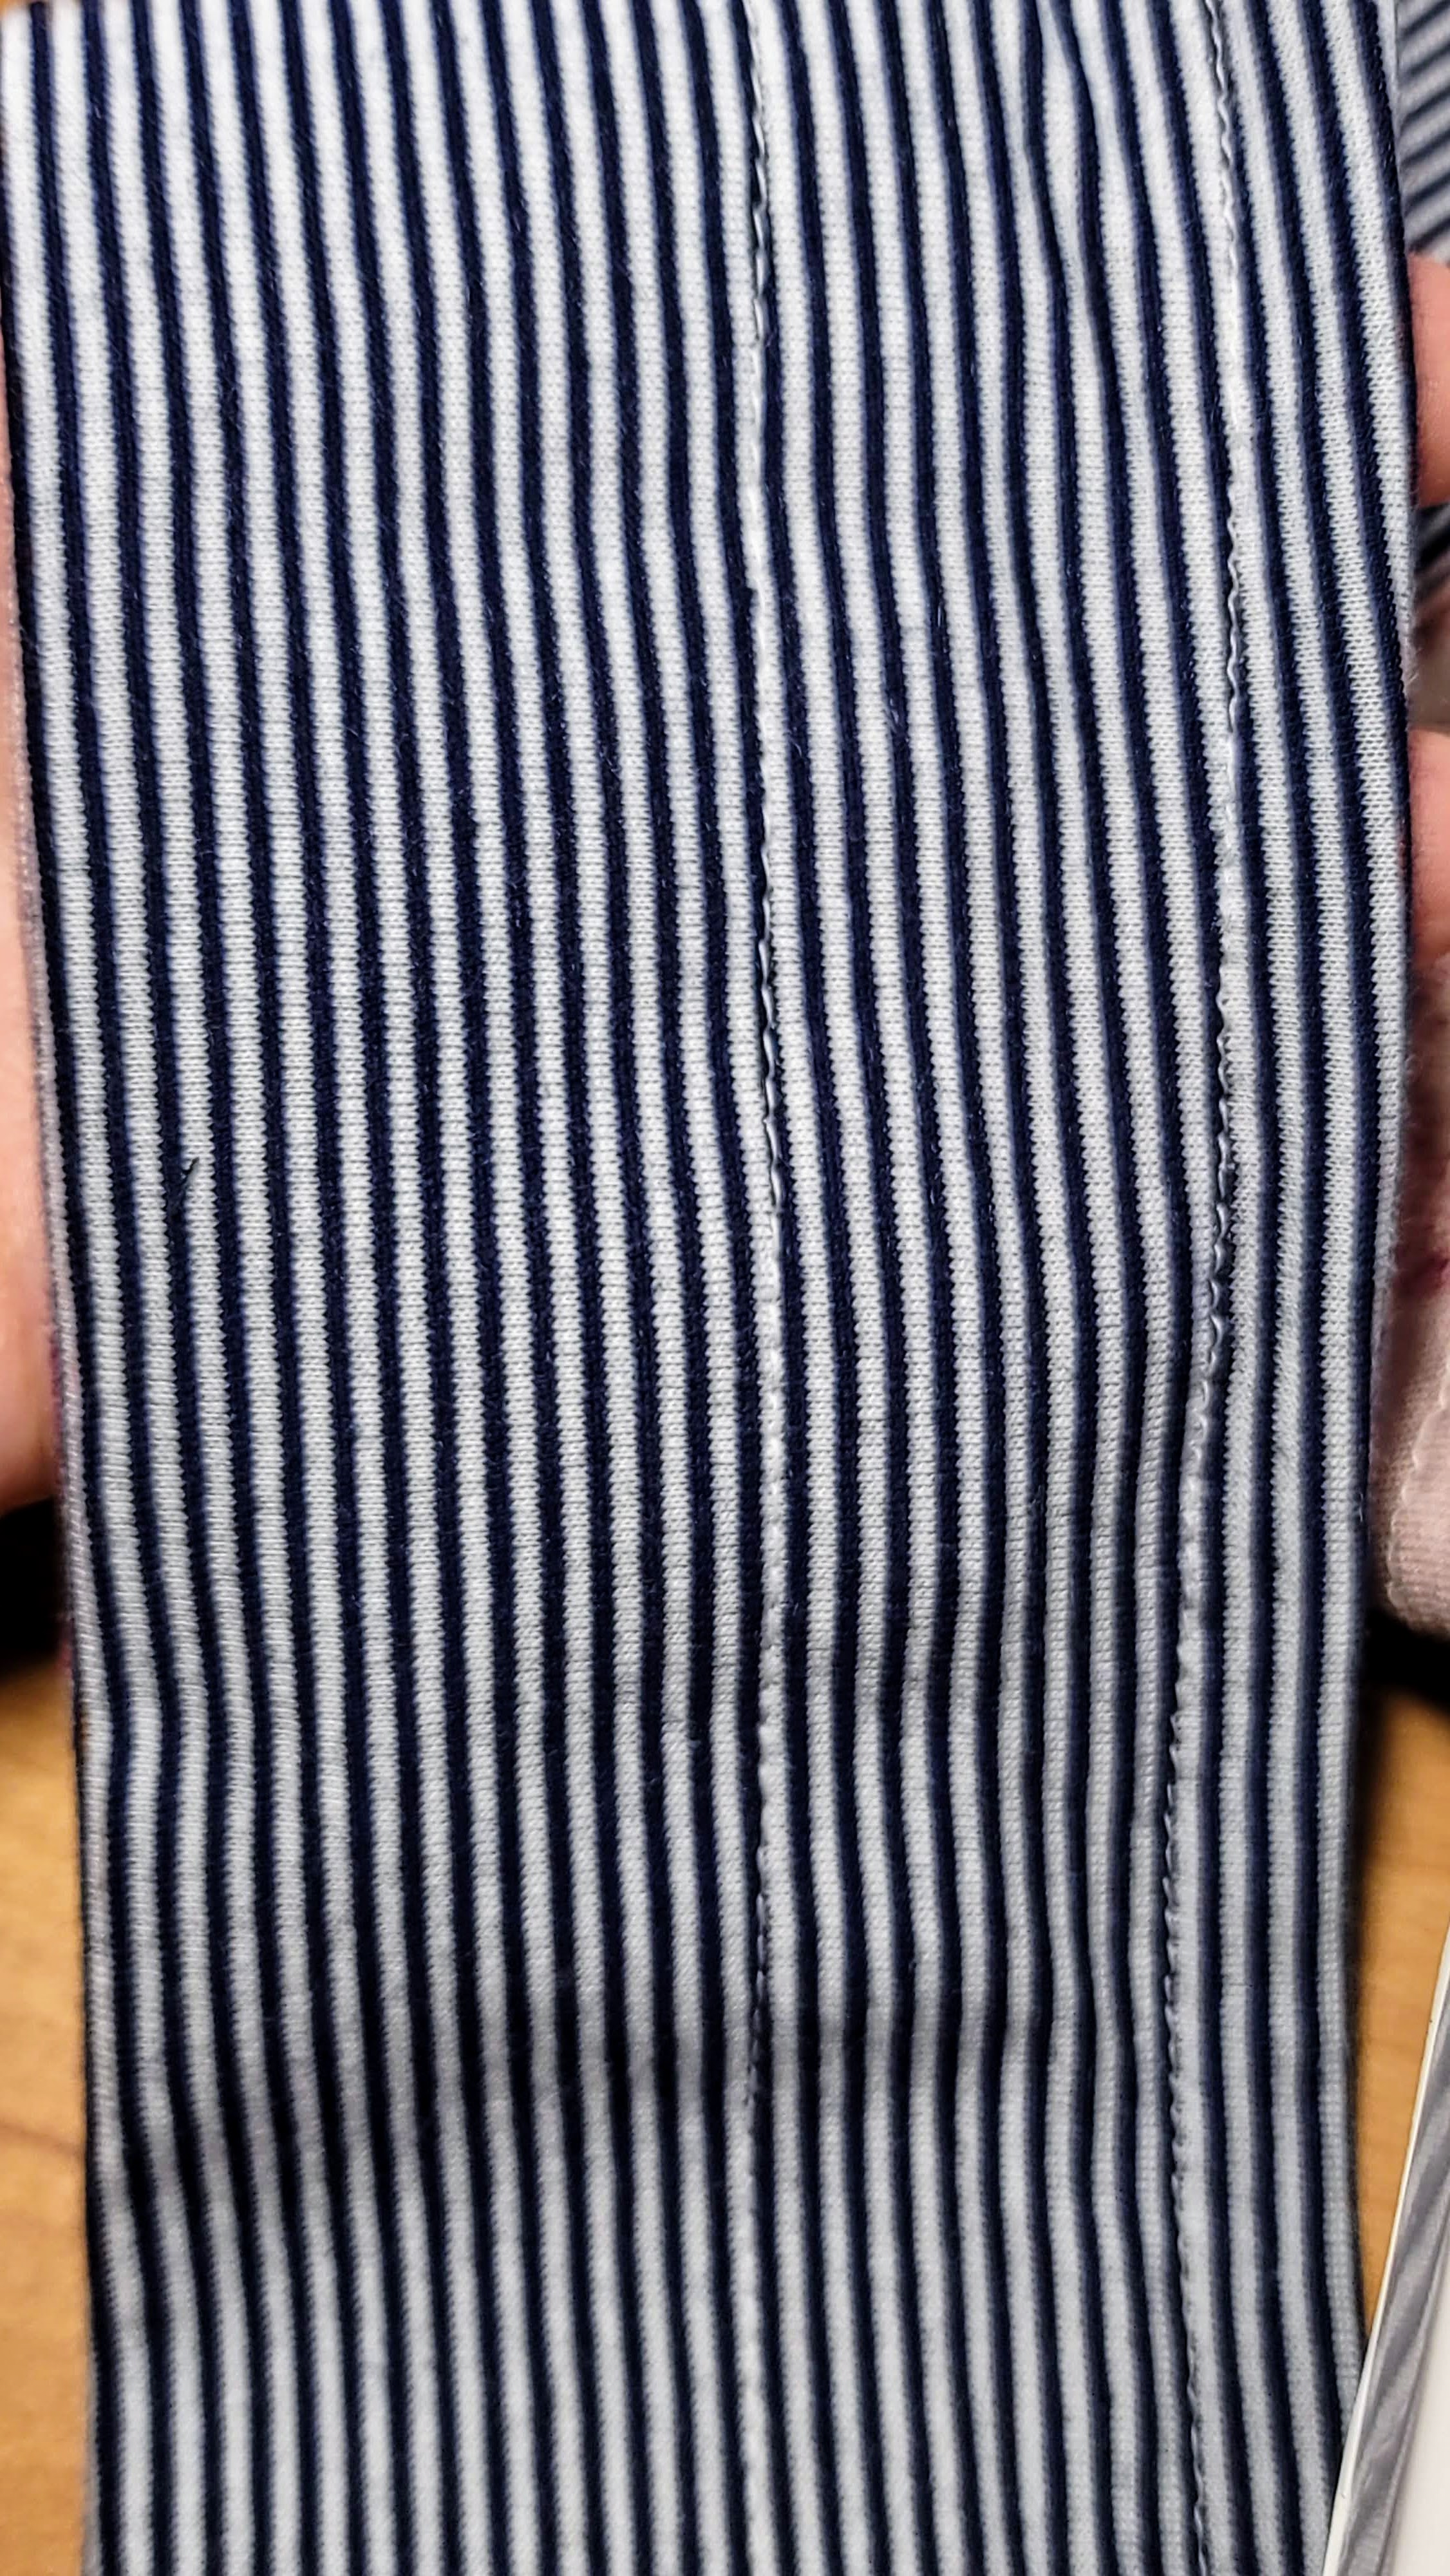
4. Sew waistband main to waistband lining with right sides together along entire width of the pieces. Your interfacing should be attached in the seam as shown below.
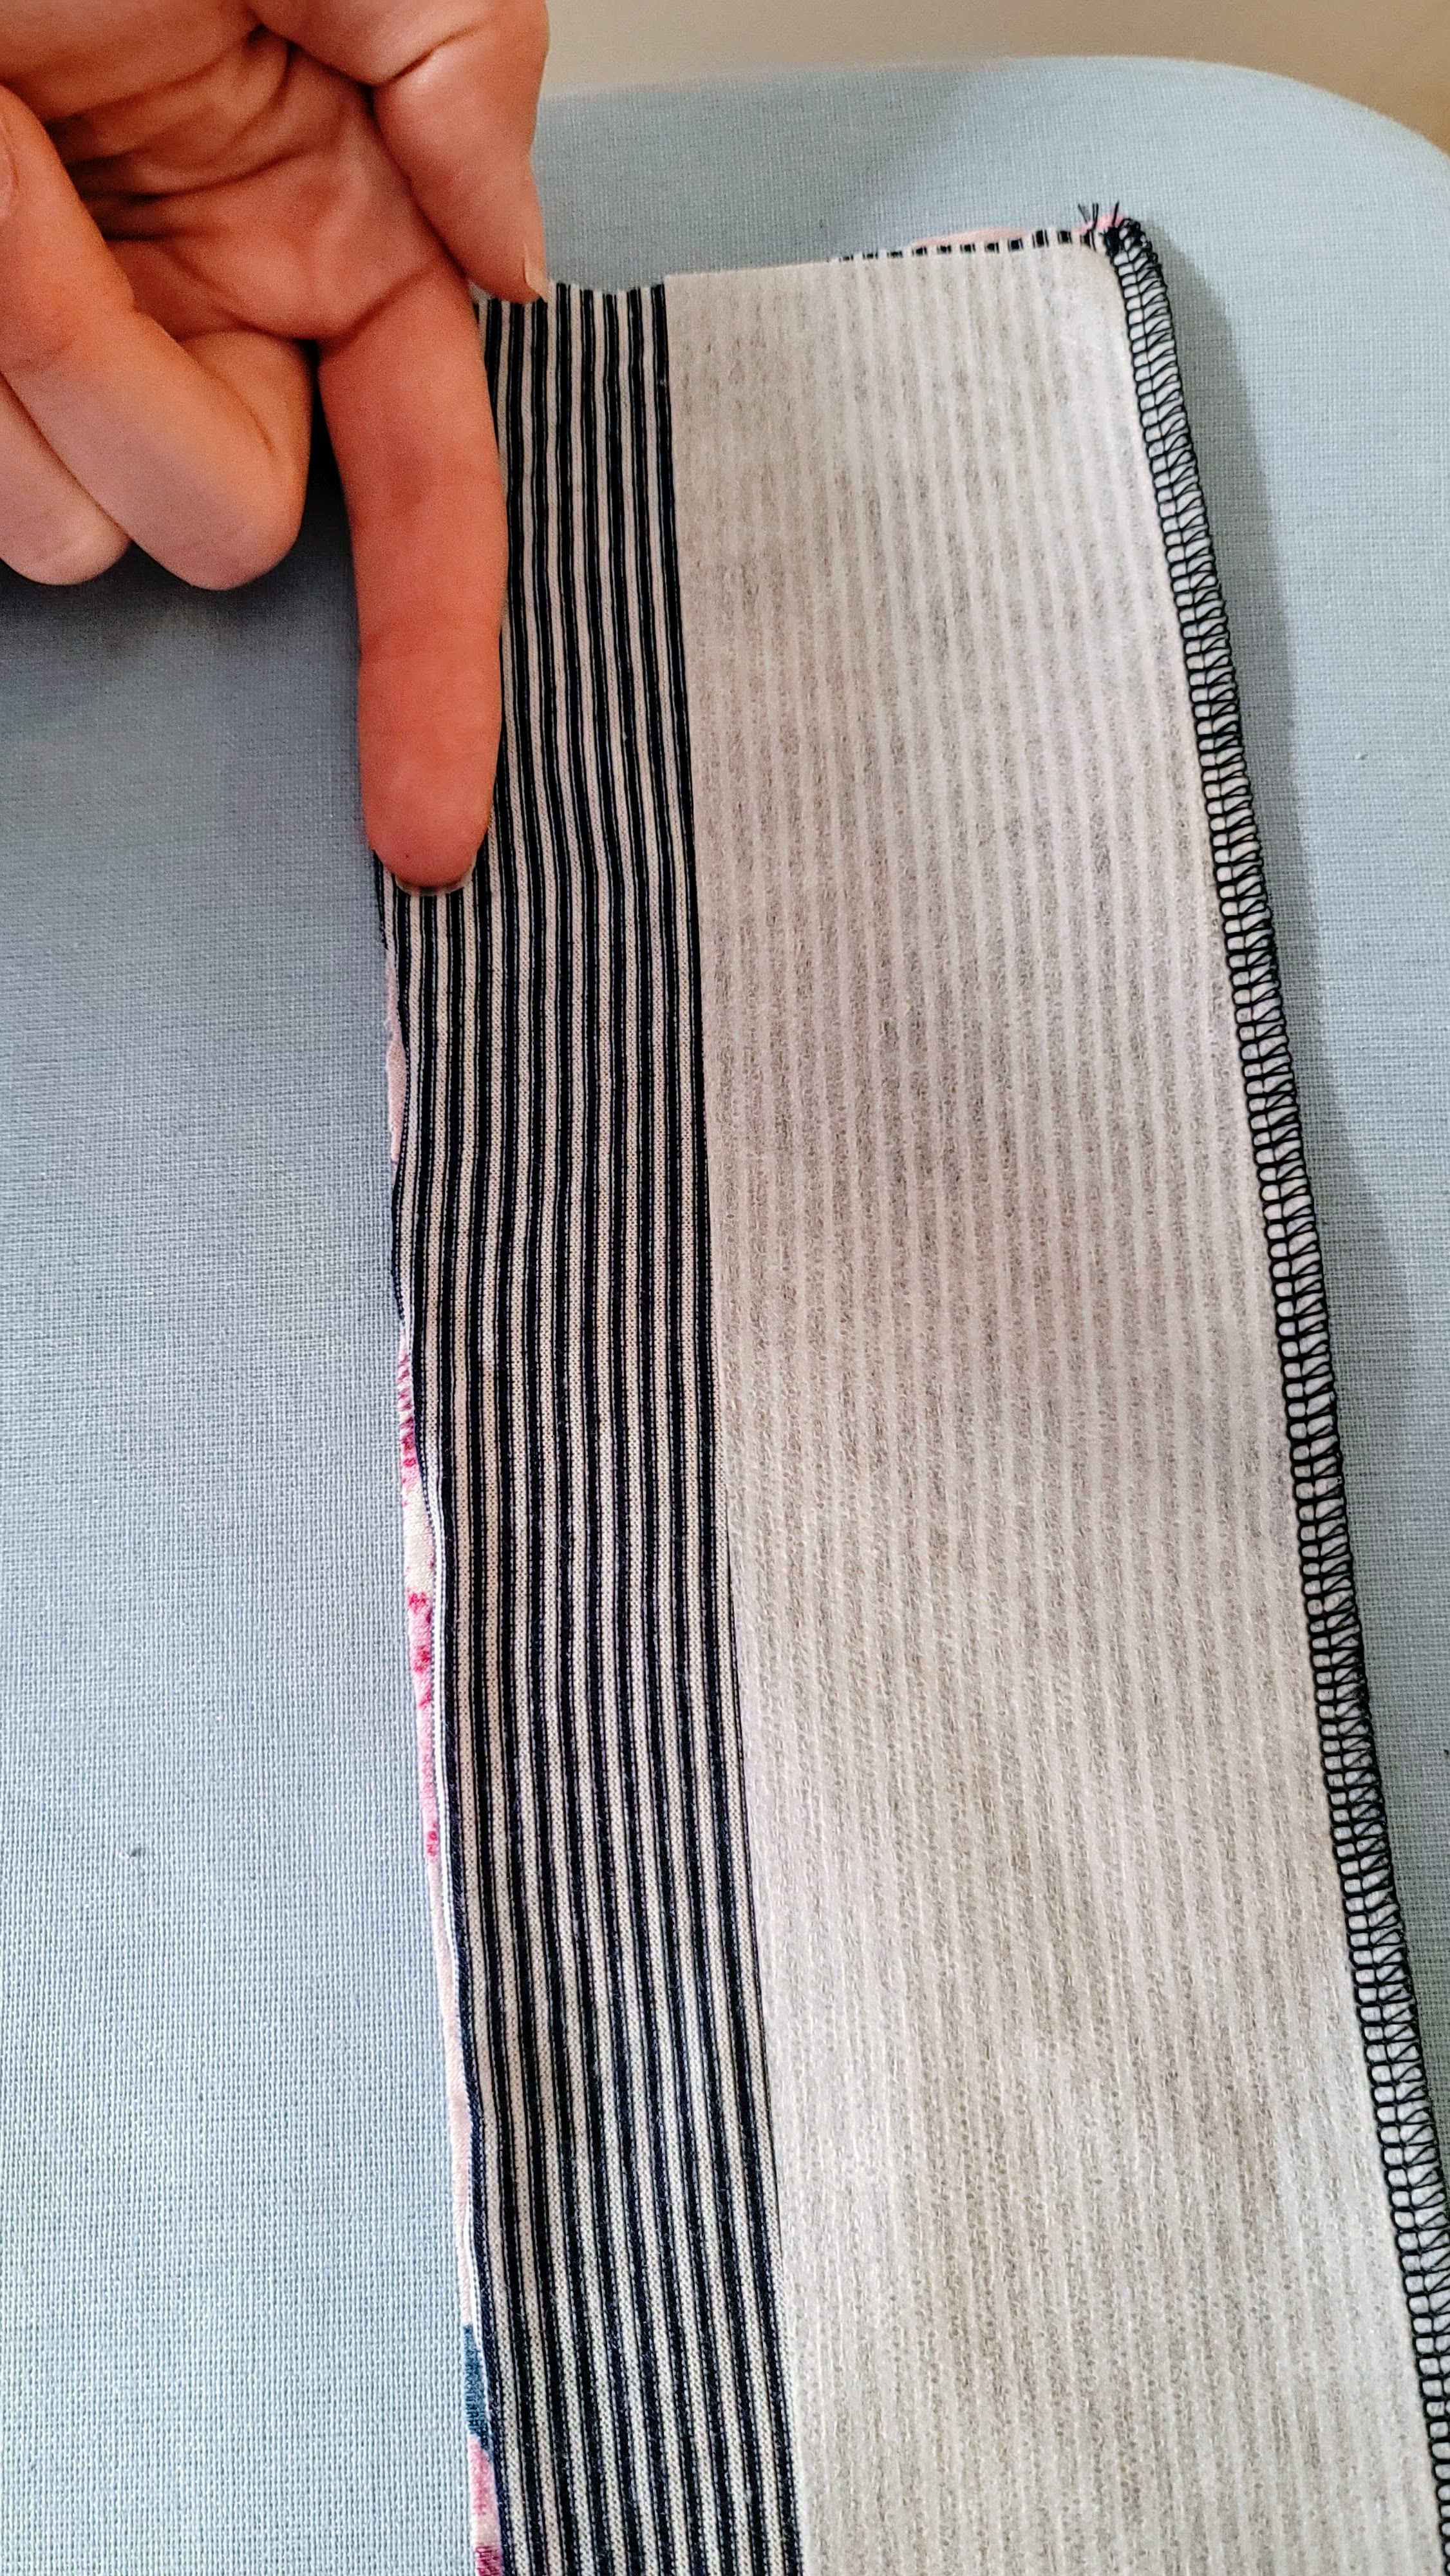
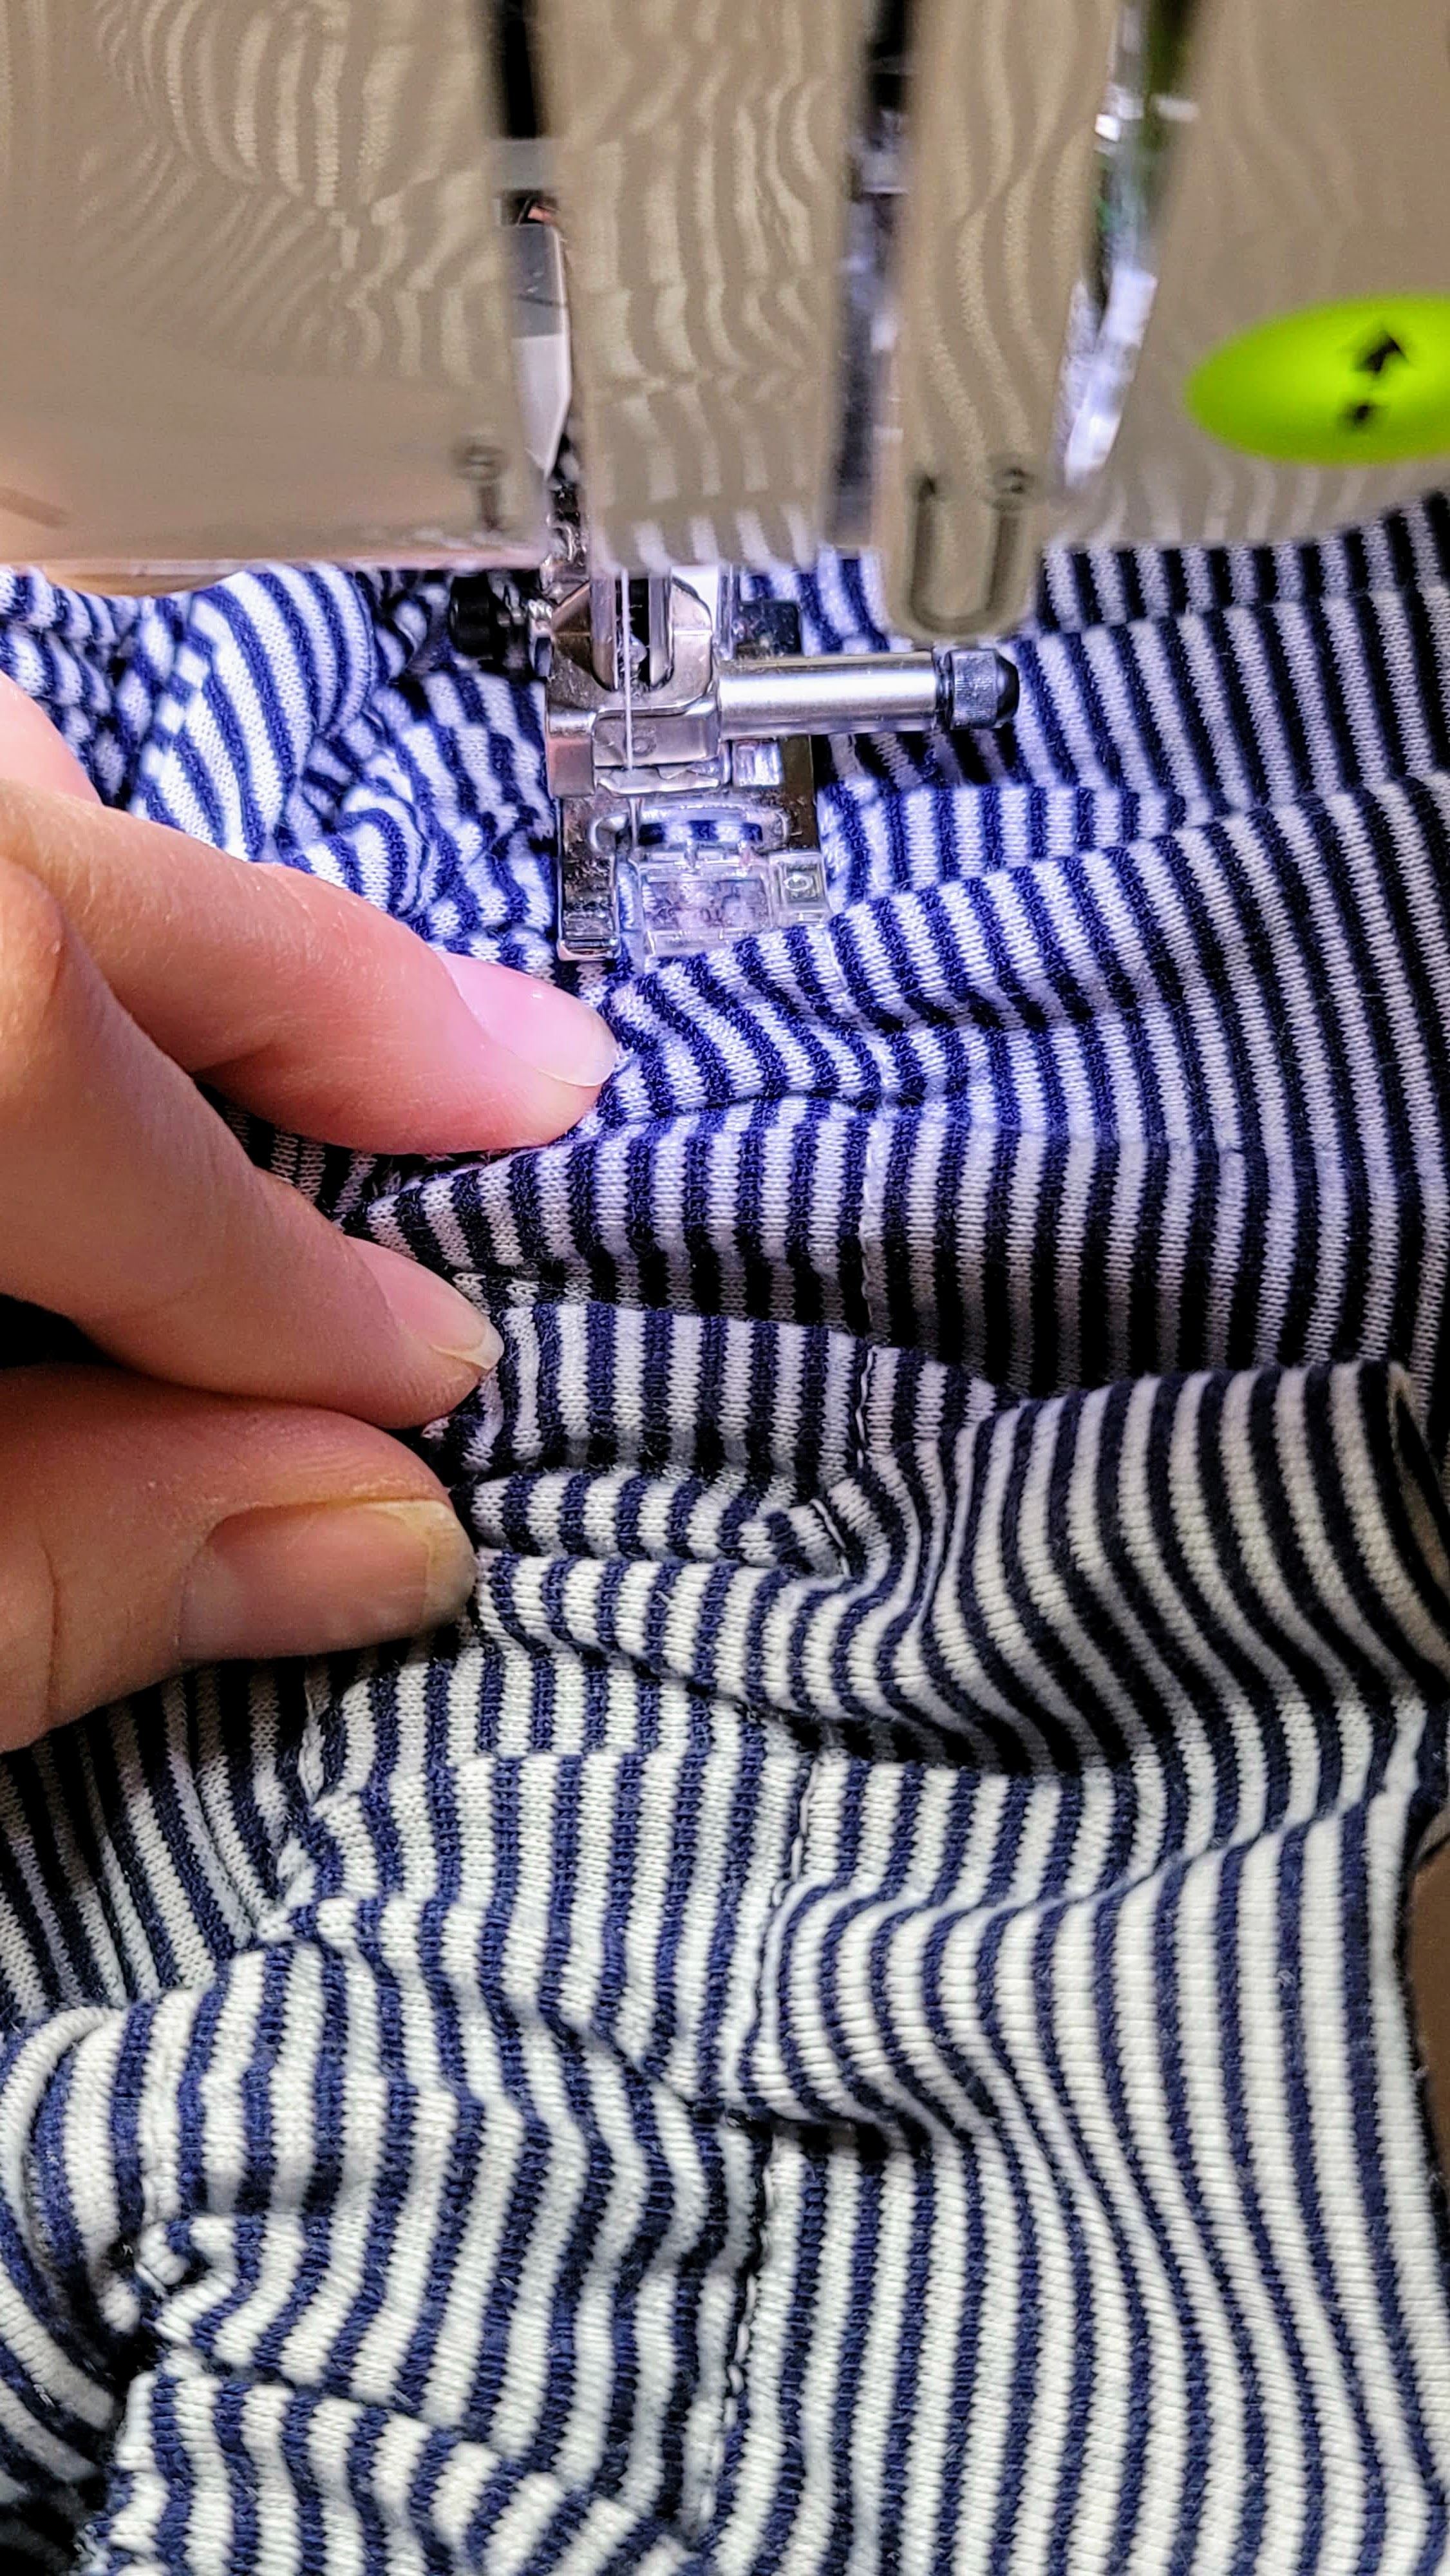
5. With right sides together, sew along opposite length of main and lining waistband pieces. My finger shows the path of stitching in the picture below!
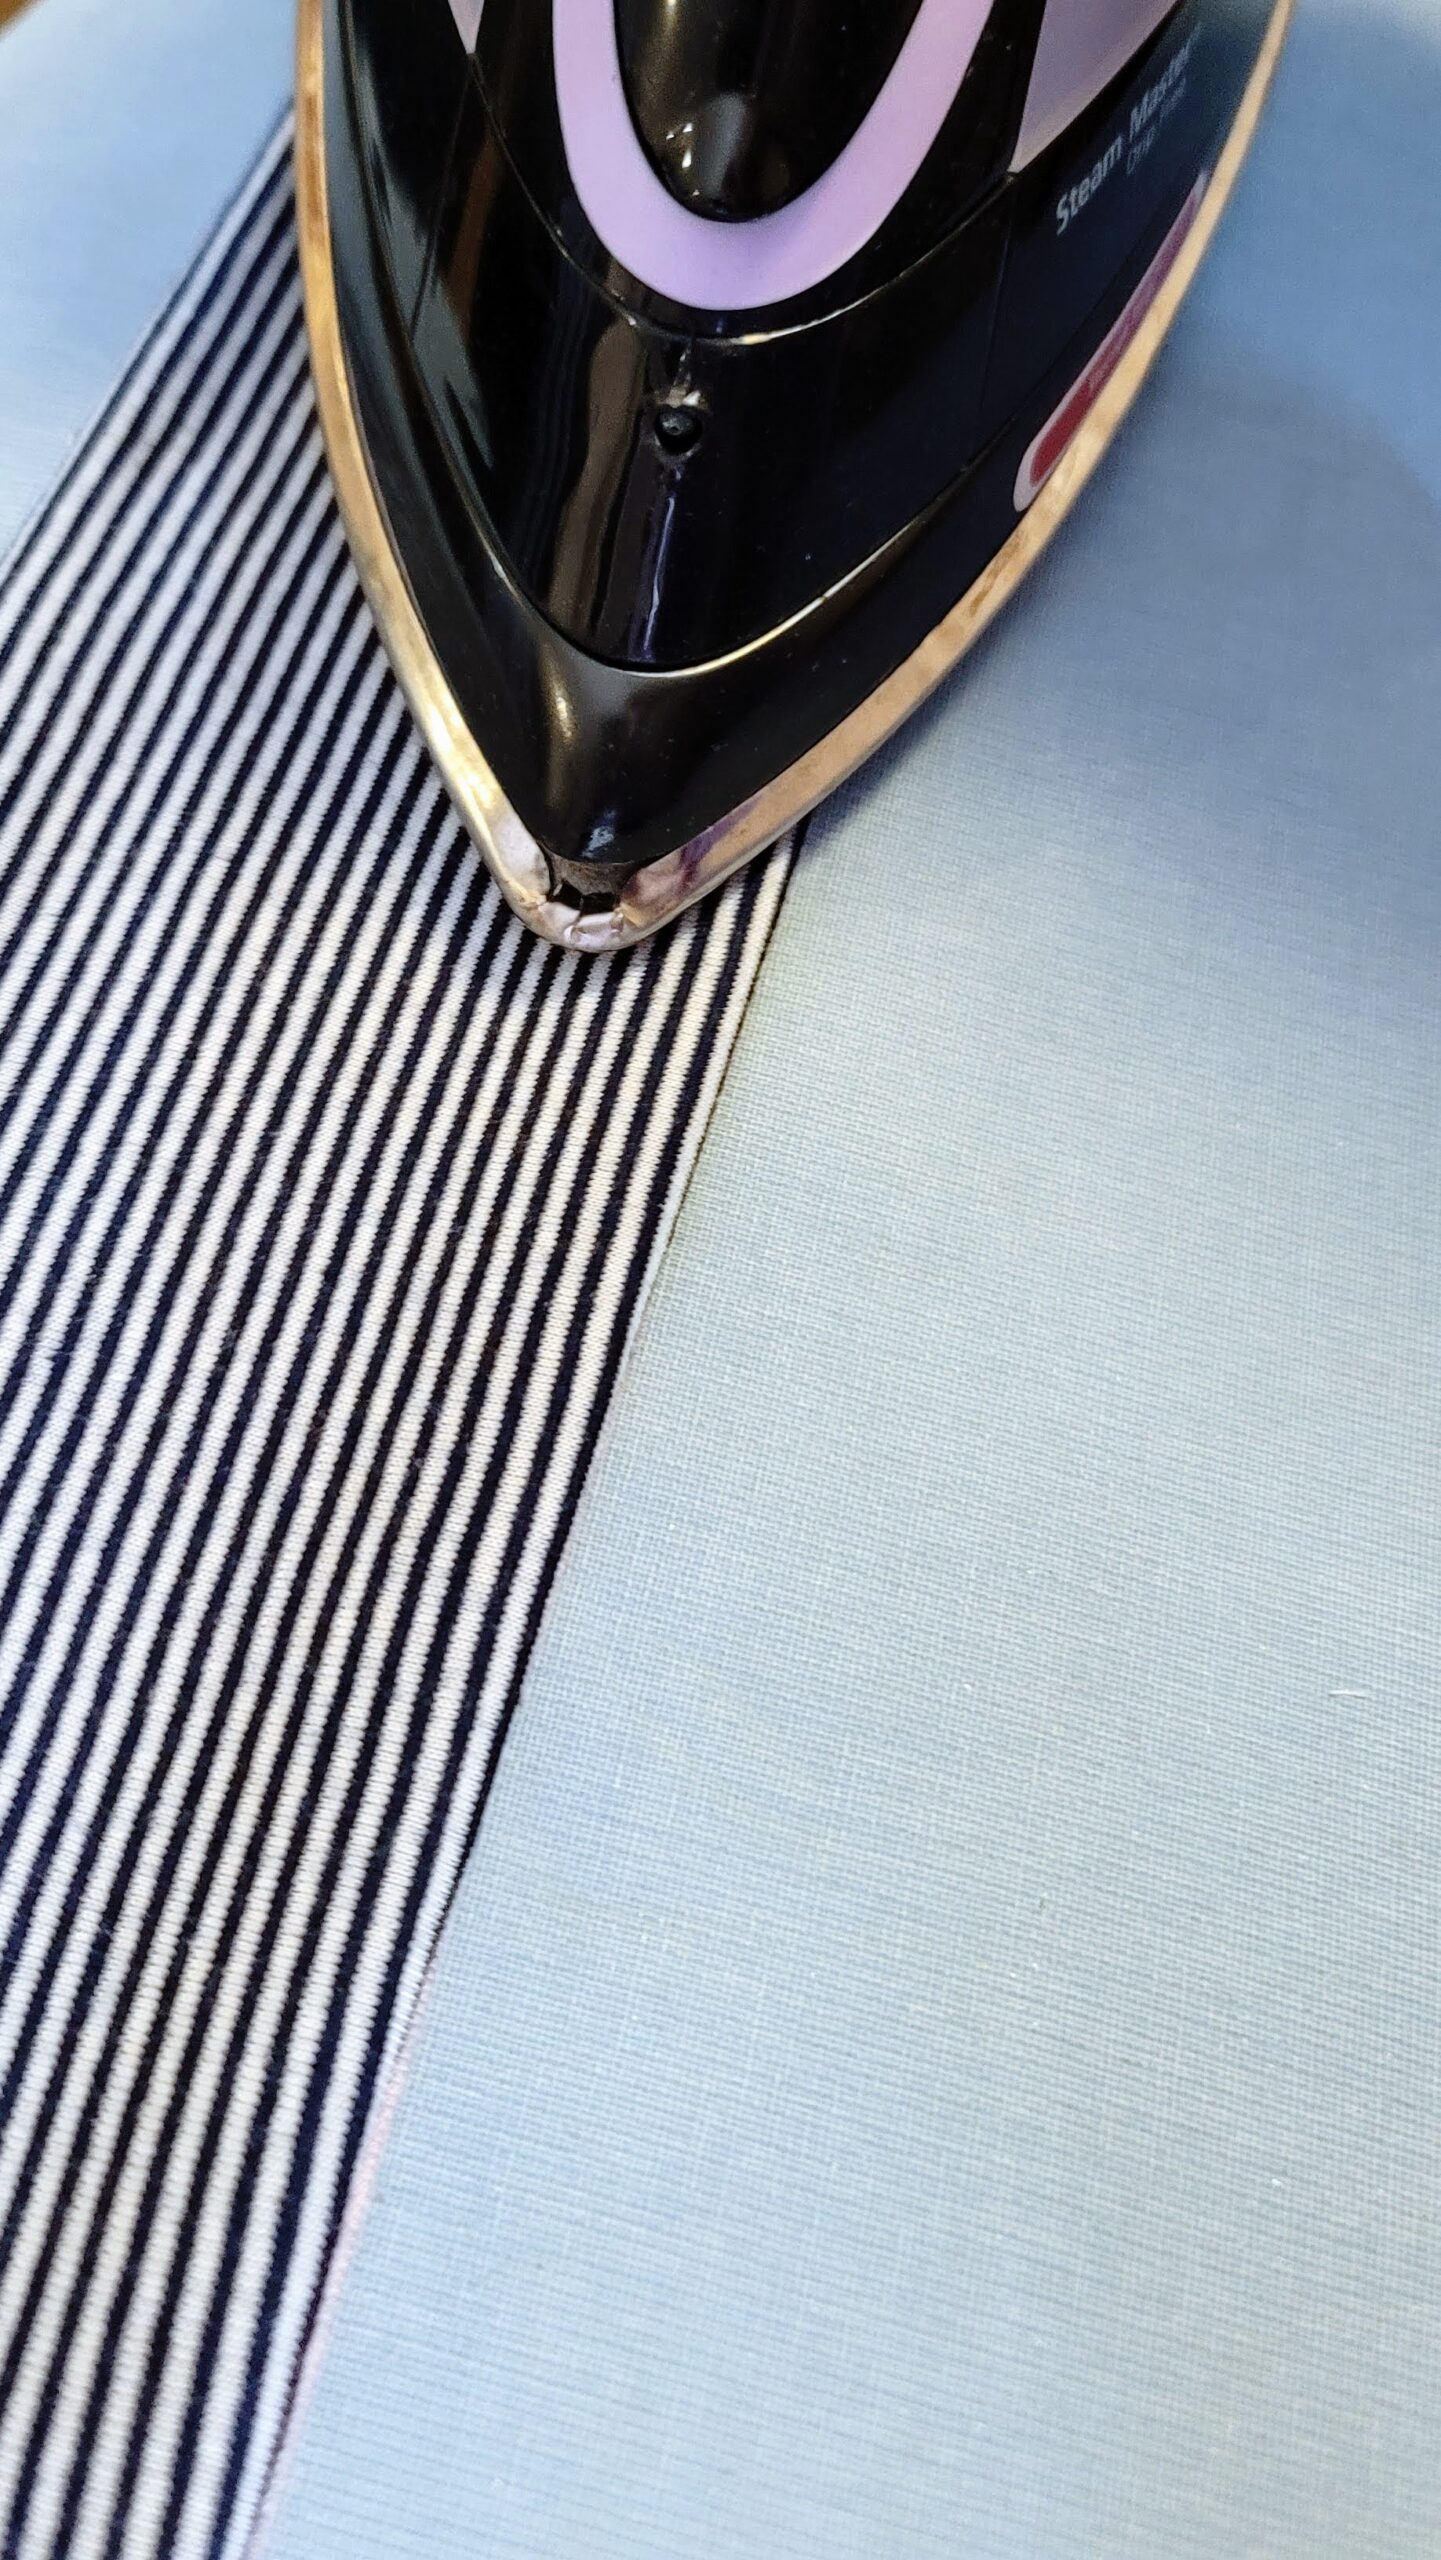
6. Turn sewn waistband pieces right sides out and iron.
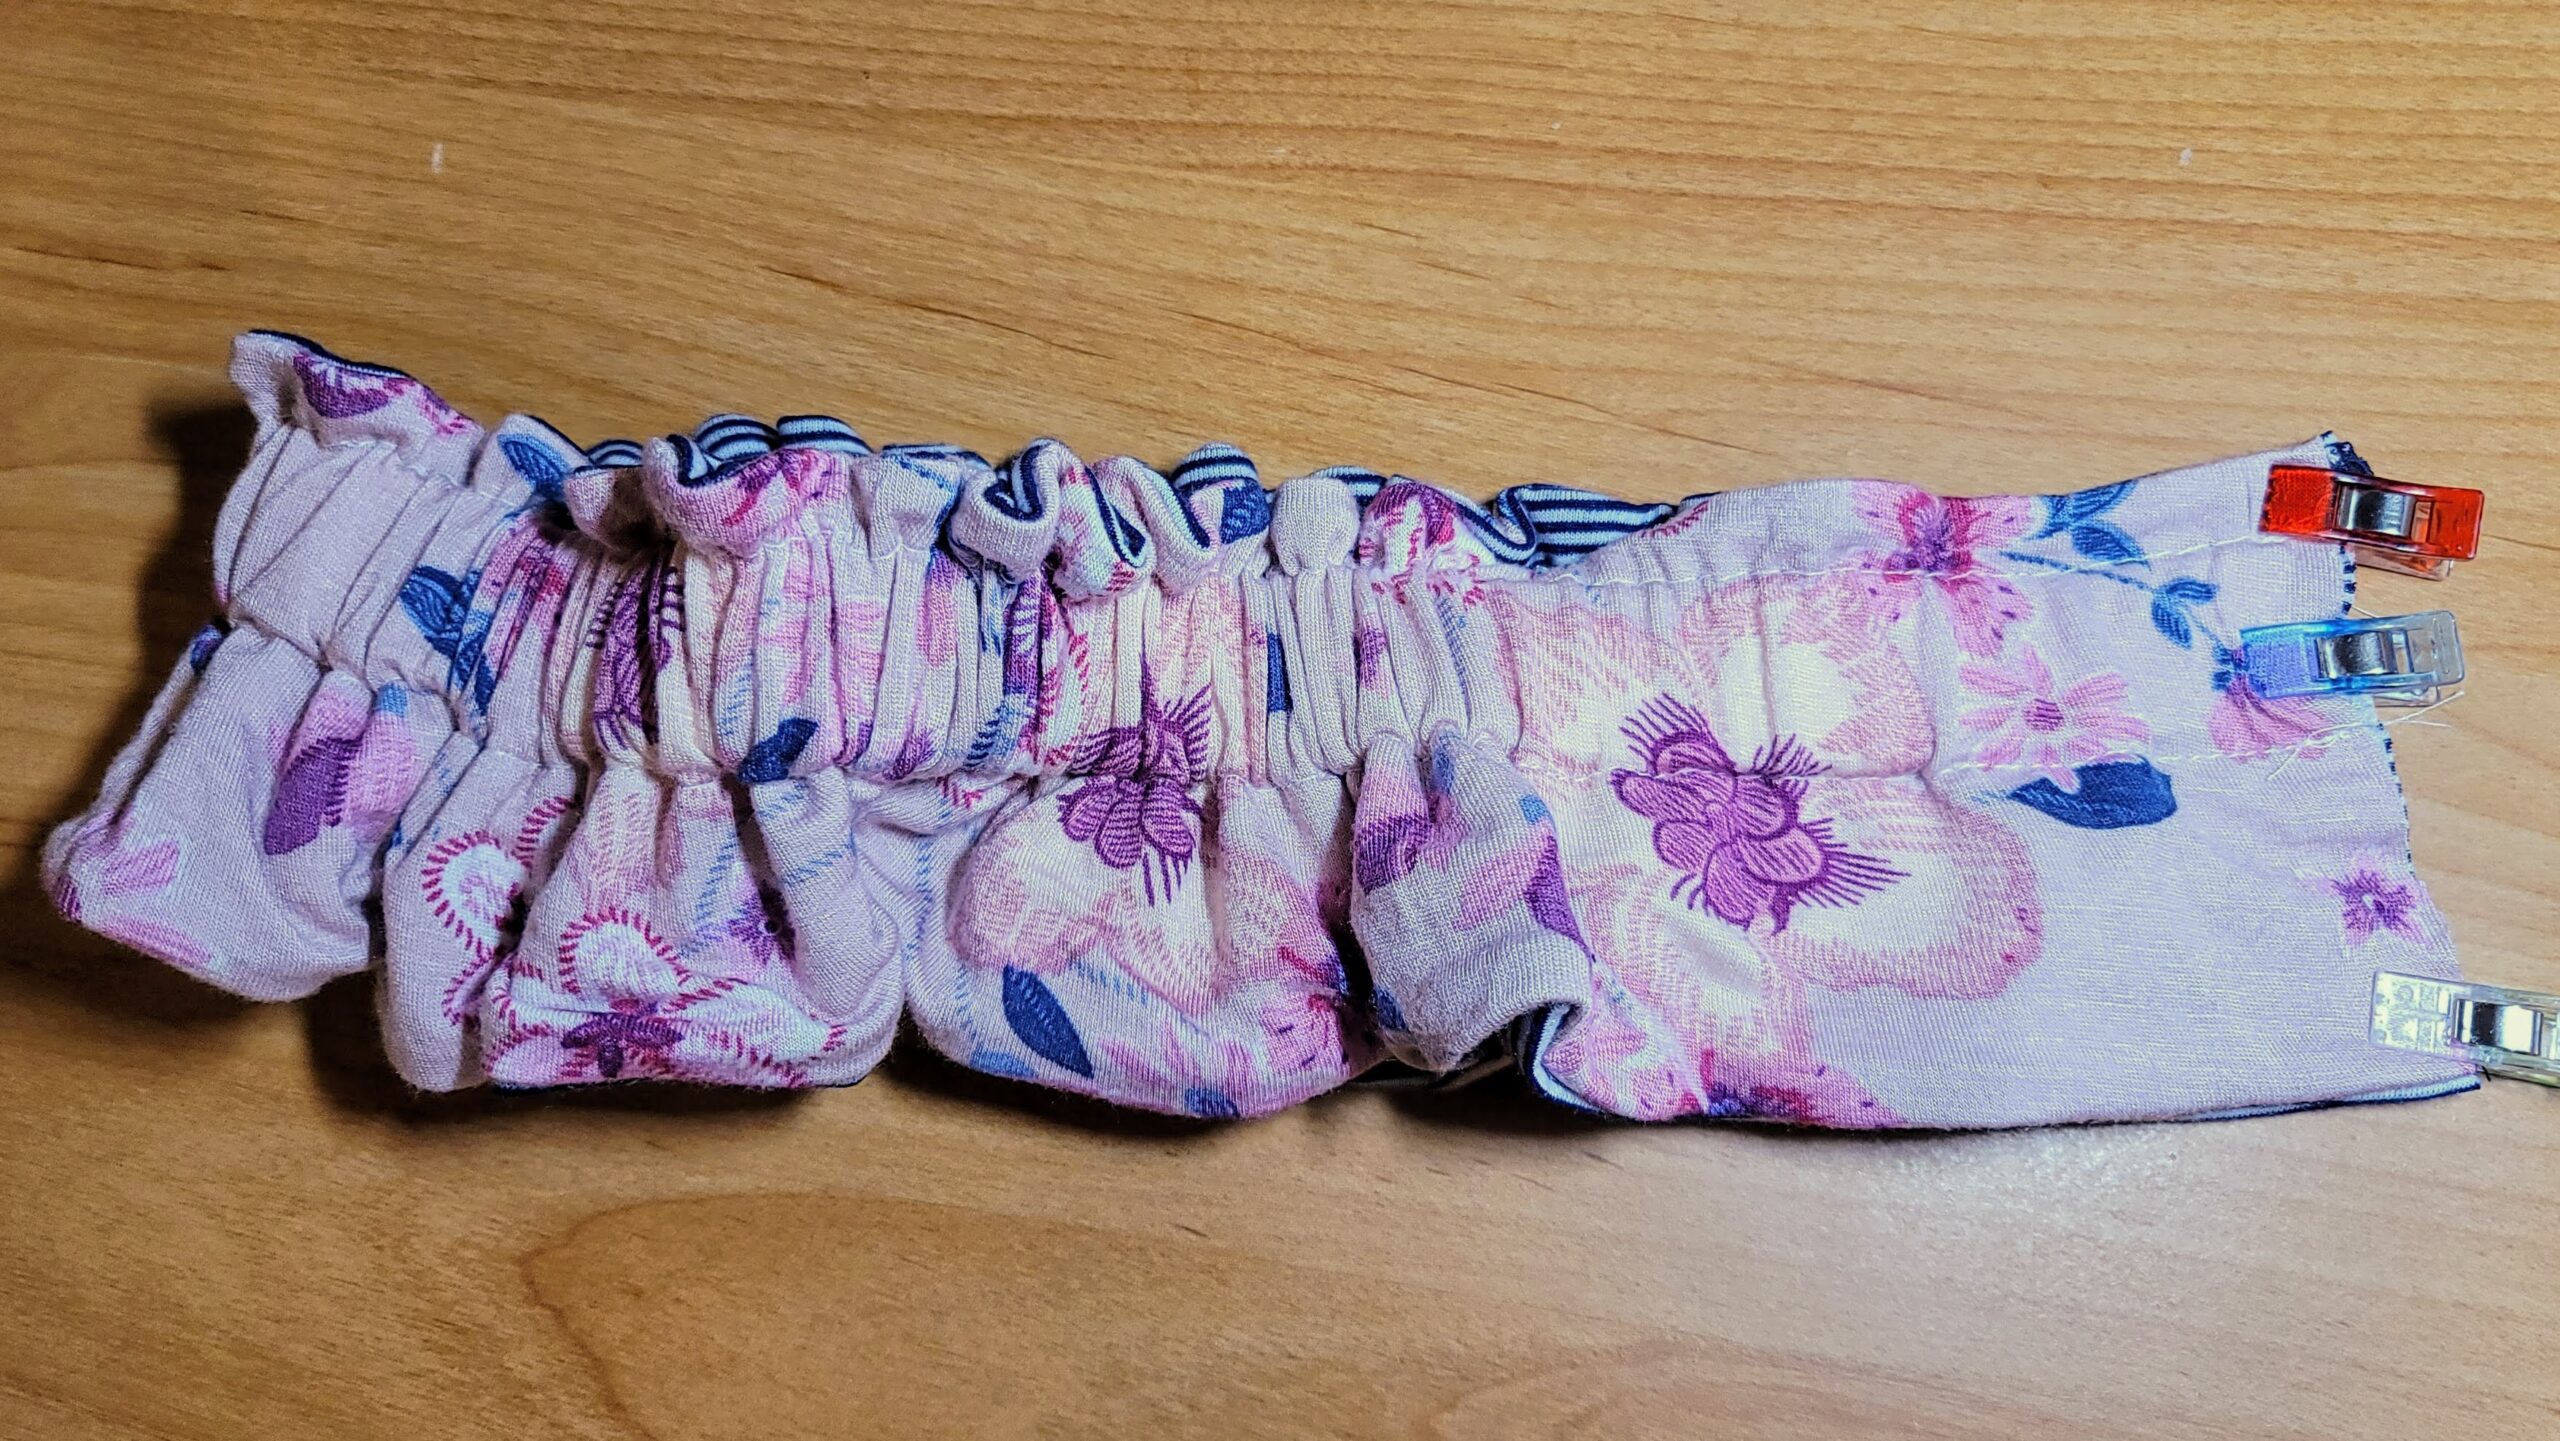
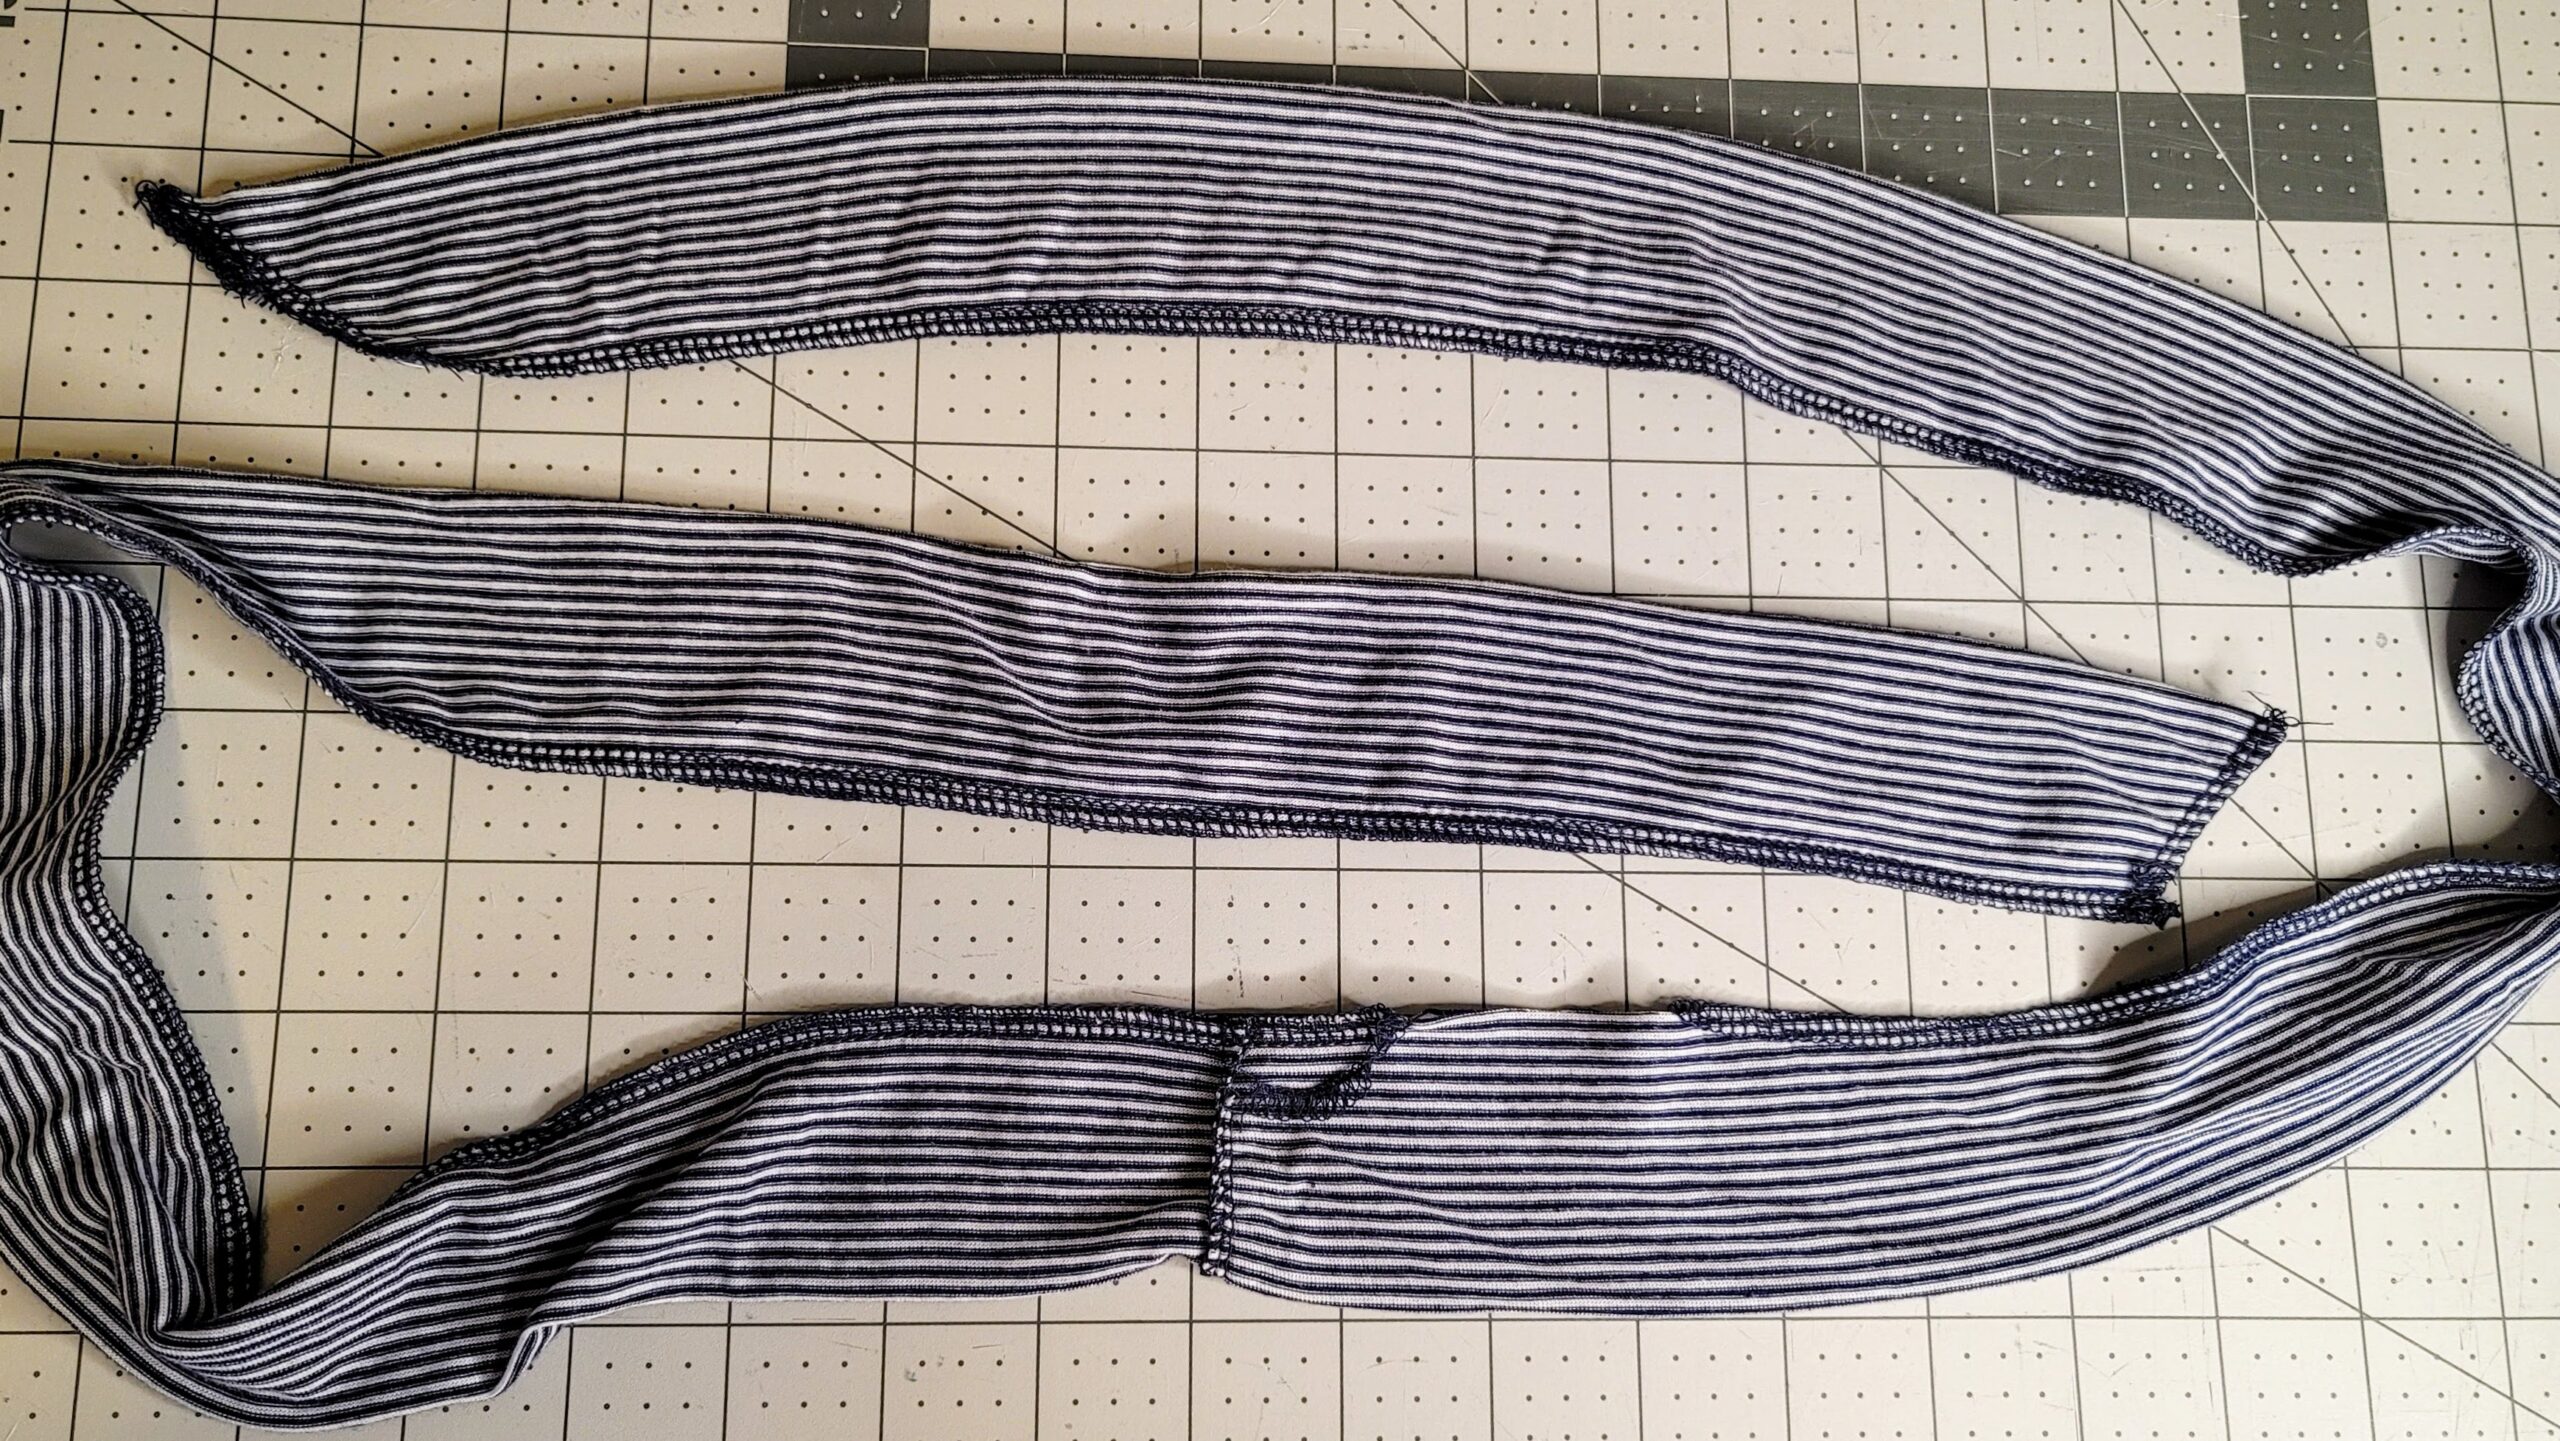
7. With a stretch stitch, sew 1/2 inch from edge along width of waistband on the side where there is no interfacing.
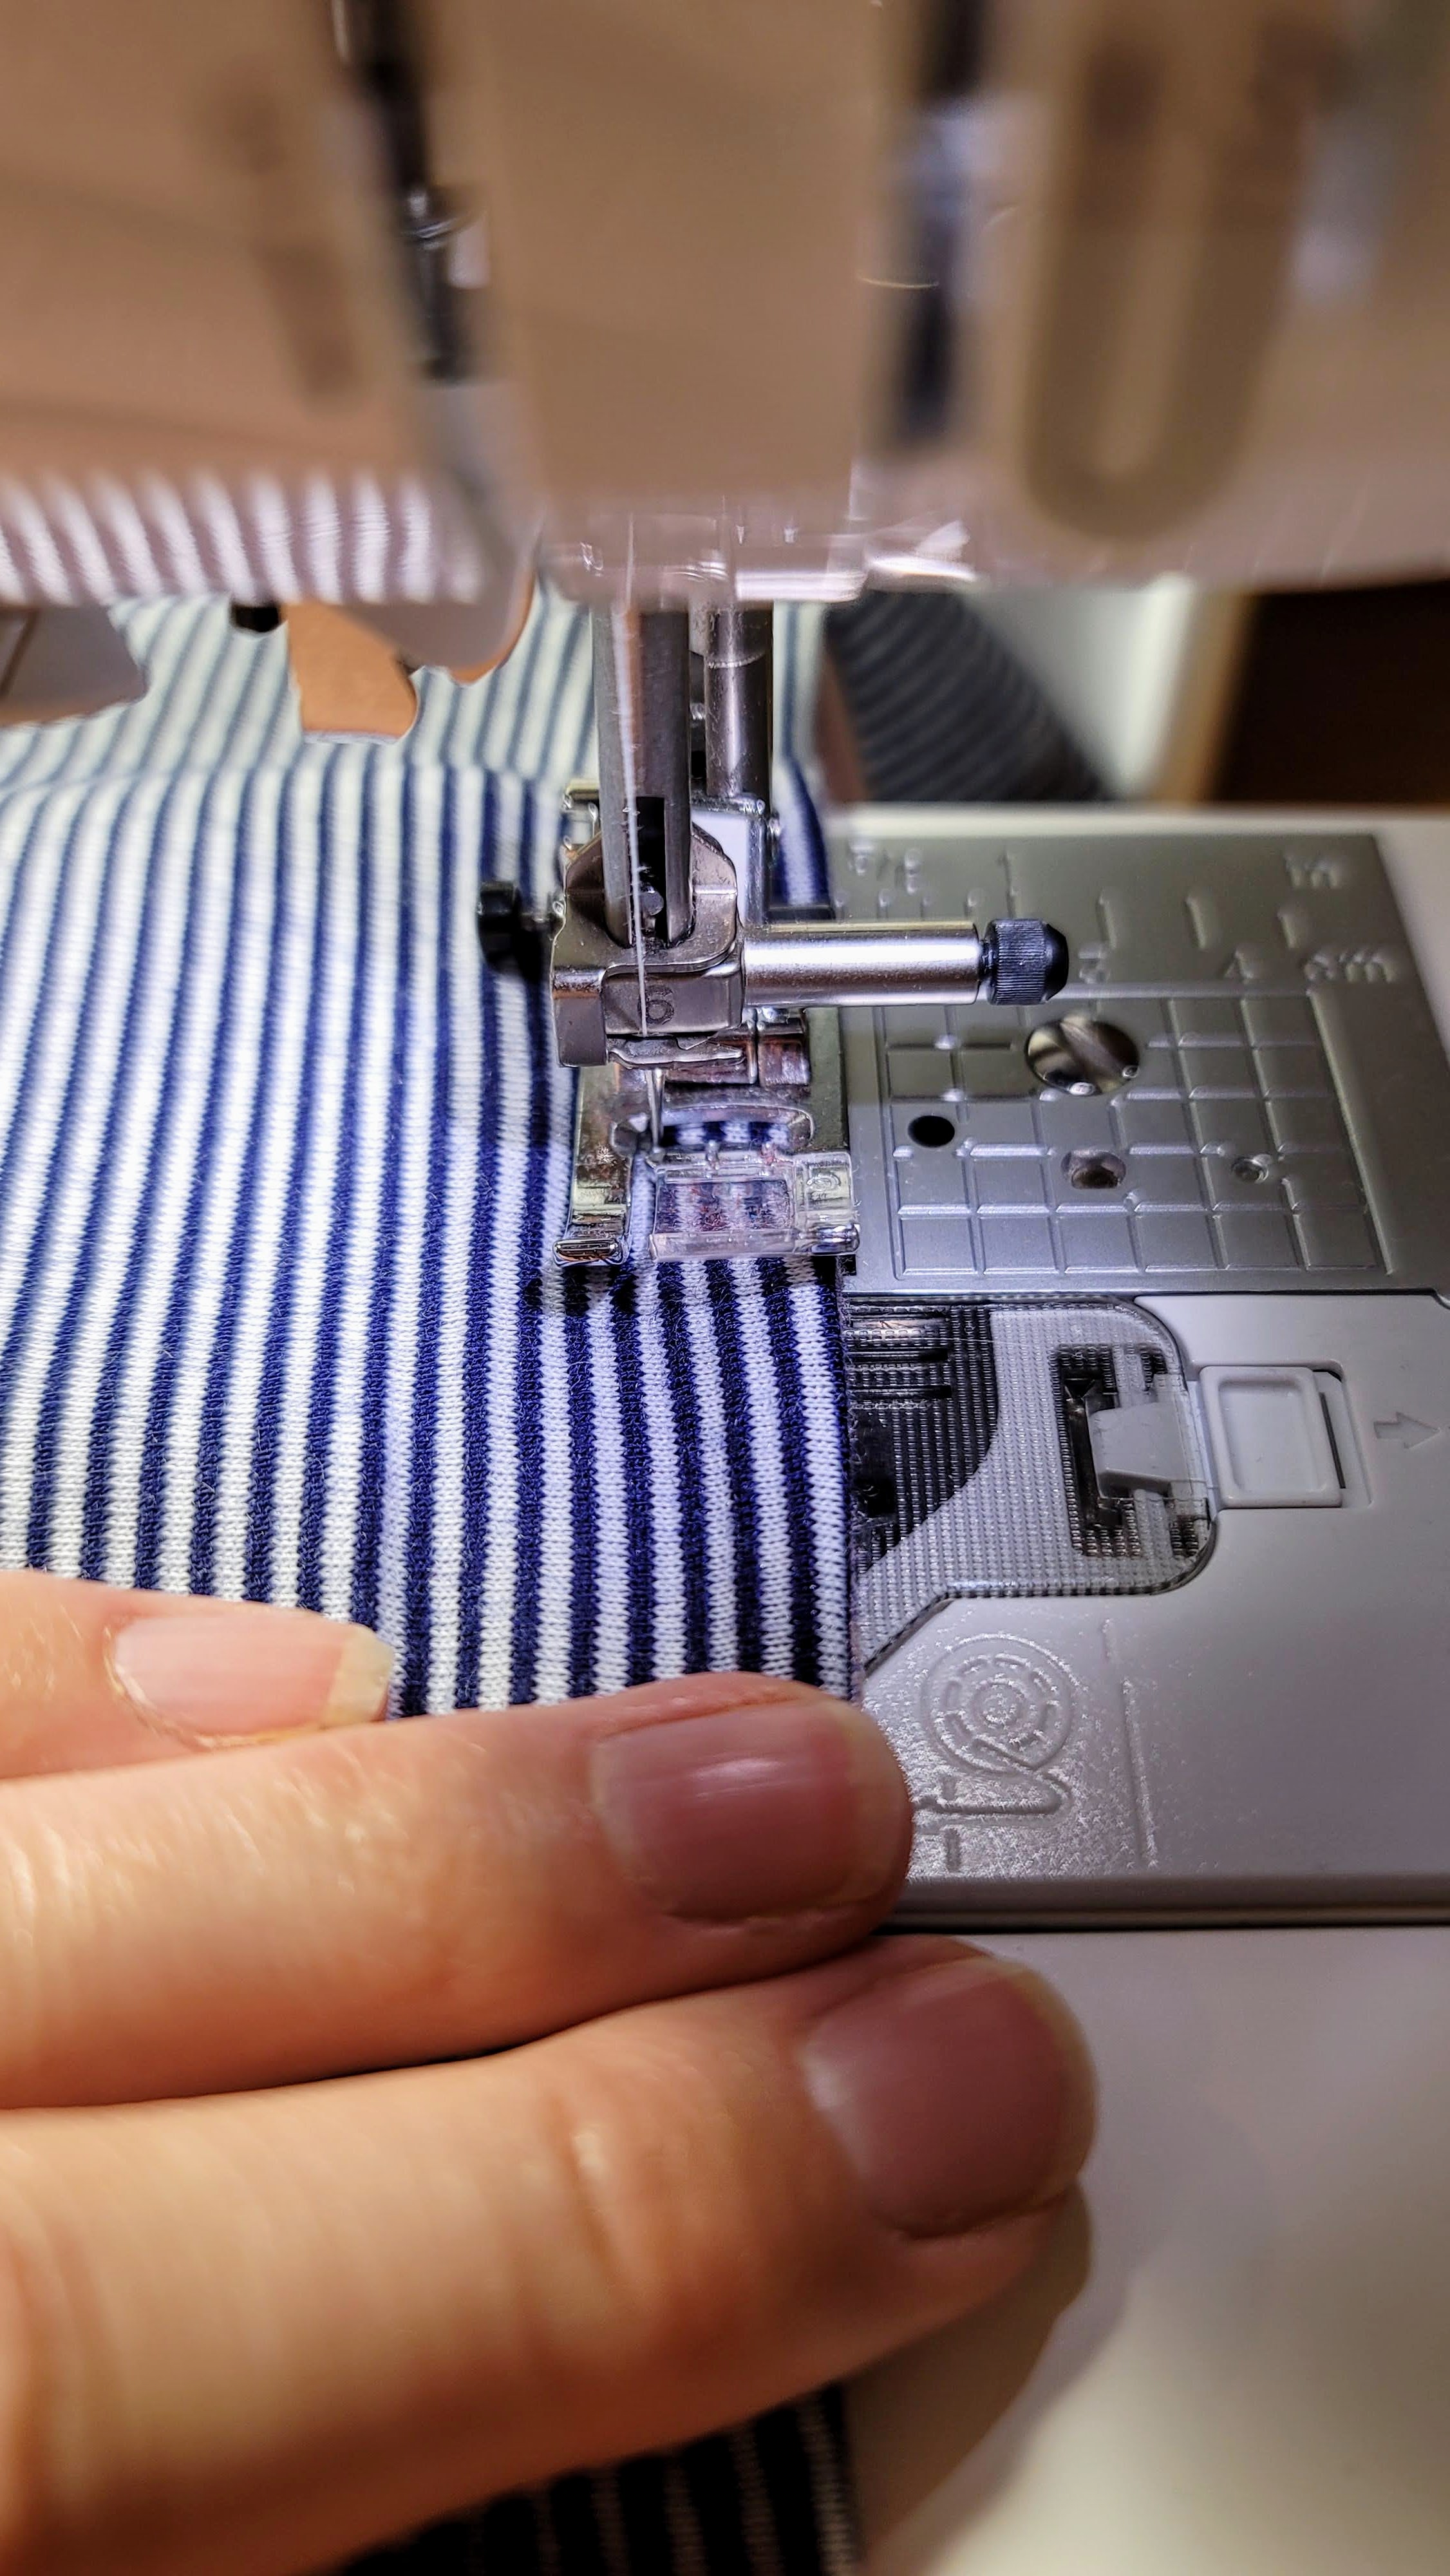
8. Sew another line of stitching 1.5 inches from the first line or 2 inches from the edge all the way along the length of the waistband as seen below. This will be your casing for the elastic.
9. Insert your elastic by attaching a safety pin on each end of the elastic, then threading the elastic through your casing on one end. You can then safety pin the elastic to each end of the waistband fabric to hold it in place until ready to sew.

10. Sew waistband right sides together including sewing through both sides of the elastic at the ends.
11. After sewing the 2 skirt pieces together at the side seams...and adjusting the waistband around the elastic uniformly...
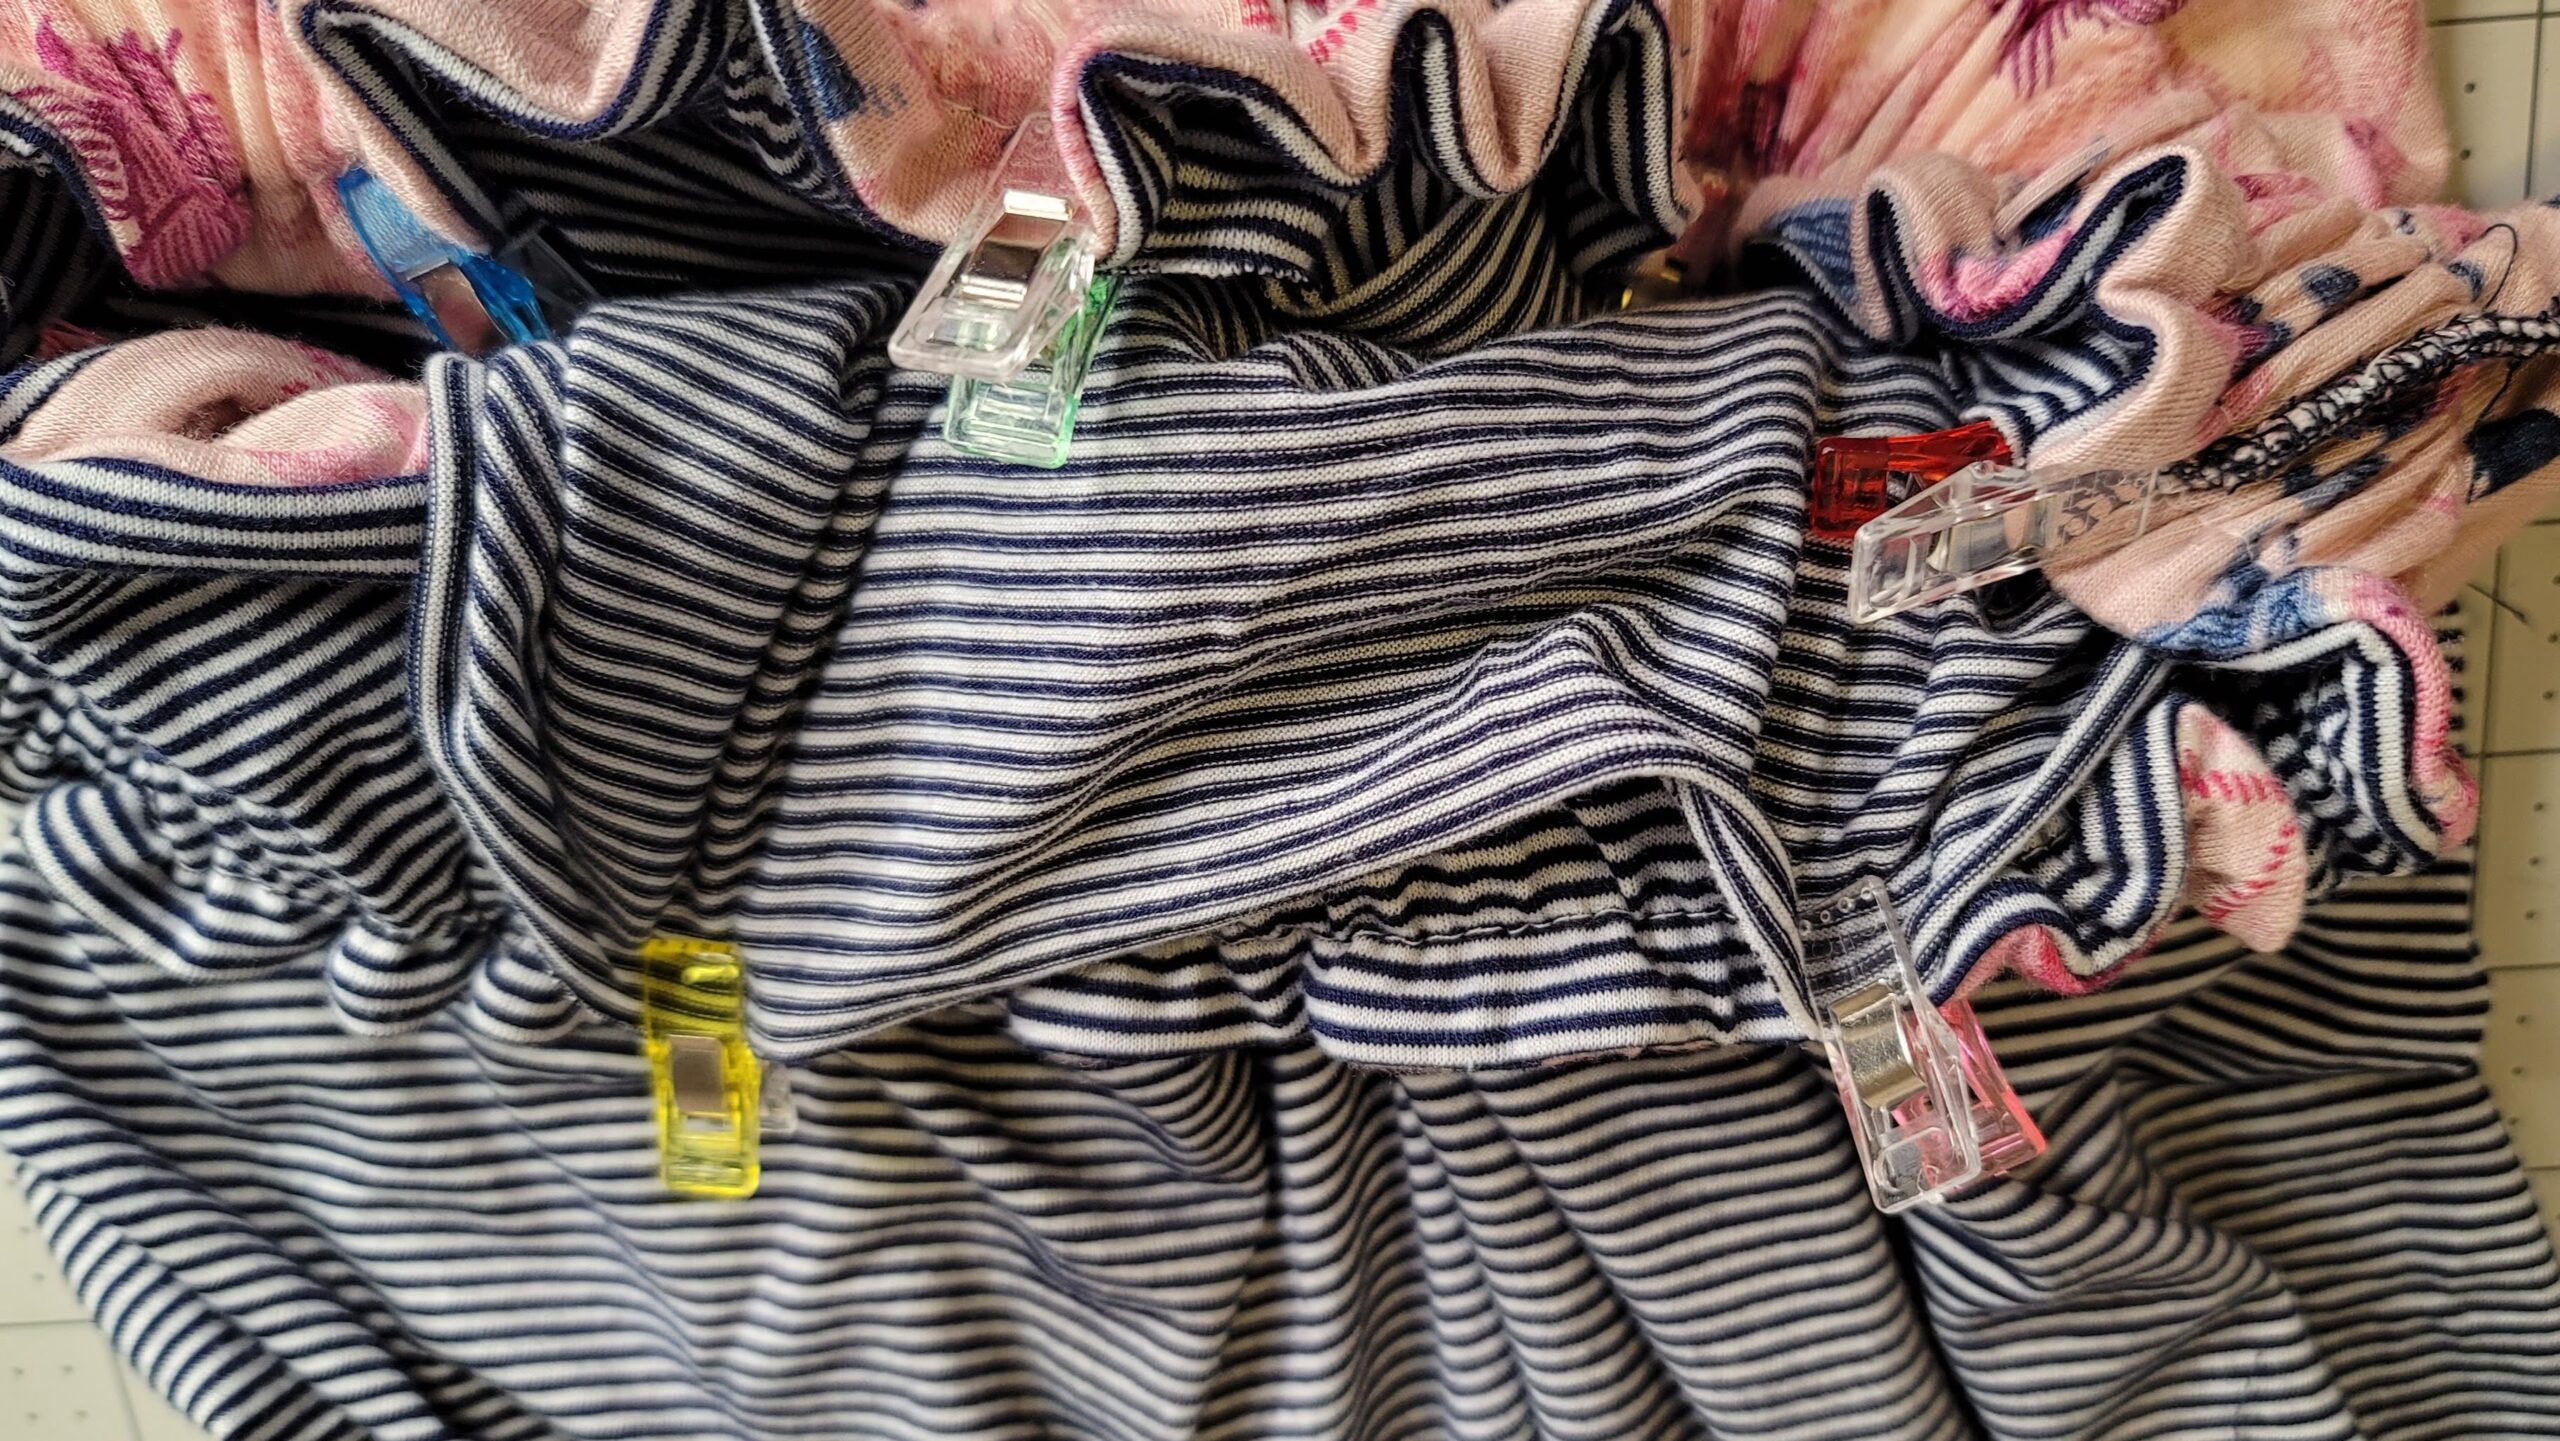
Quarter both the top of the sewn skirt pieces and the bottom edge (the part with no interfacing) of the waistband. Pin or clip the waistband right sides together with the skirt top.
12. Sew waistband to top of skirt. You will need to pull the waistband elastic taut to match the width of the skirt.
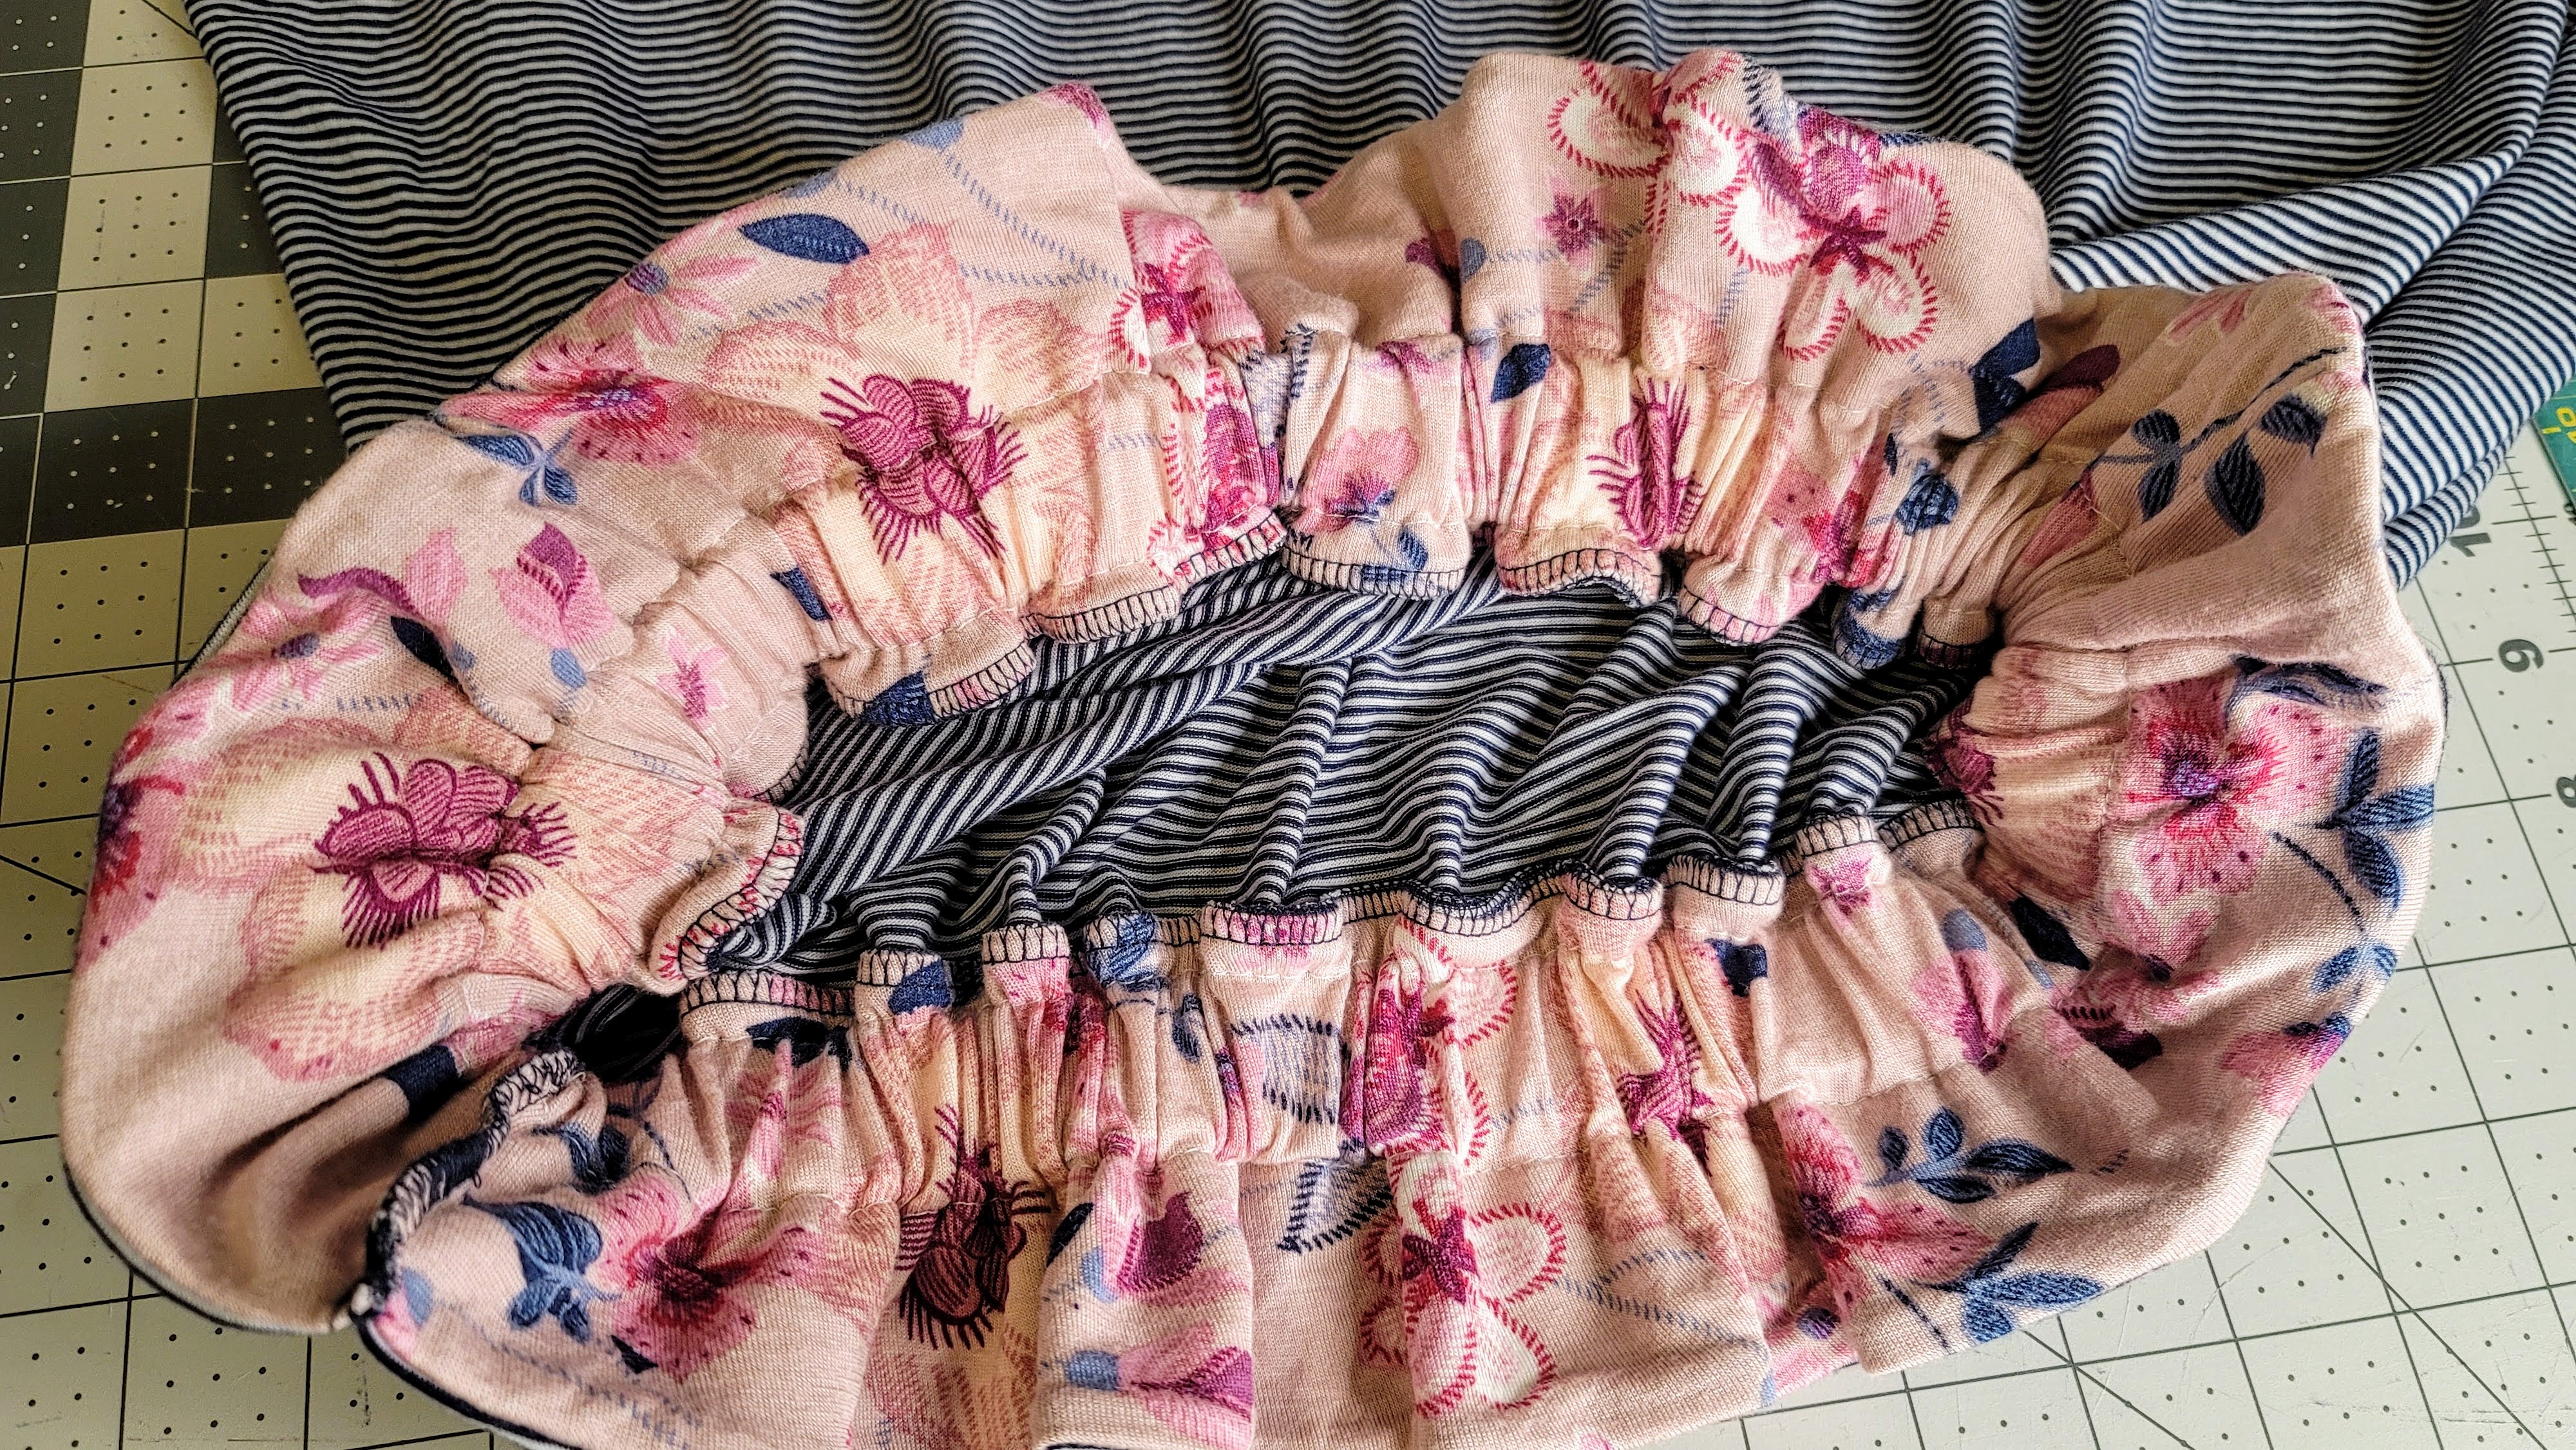
13. Using a stretch stitch, sew around the very center of the elastic on the waistband to keep the gathers in place as the skirt is worn. You may need to adjust and scrunch up the fabric as you are sewing to keep the gathers uniform.
14. With right sides together, sew short sides of sash pieces together (if needed).
15. With right sides together, starting at one end of sash sew the end closed then turn or restart sewing along the long side of the sash to just past the middle, leave a 2 inch gap for turning, then sew through to the other end sewing closed the rest of the sash closed.
16. Turn the sash right sides out using a bodkin (or your hands! or a safety pin with yard...). Then sew the turning hole closed by either hand stitching or sewing an edge stitch all the way around the sash... or don't, lol. I never sew mine closed because you can't see it when worn.
17. Complete skirt by hemming via the instructions!
You're done!

And remember, if that was too many steps to follow without a pattern, but you still want this look, be sure to check out the Ellie and Mac patterns with paperbag waists already. That way you can mash the patterns instead of hacking. Here are the two patterns that can be used for a mash! Ellie and Mac Paperbag Pants or the Ellie and Mac Paperbag Skirt.

Hope that all made sense!
Please feel free to ask if you have any questions. You can find me on my website, the Let's Go Hobby Blog or on Instagram @sewletsgohobby or Facebook @letsgohobby.

Happy Sewing!
(Written by: Jessica Luckert)


