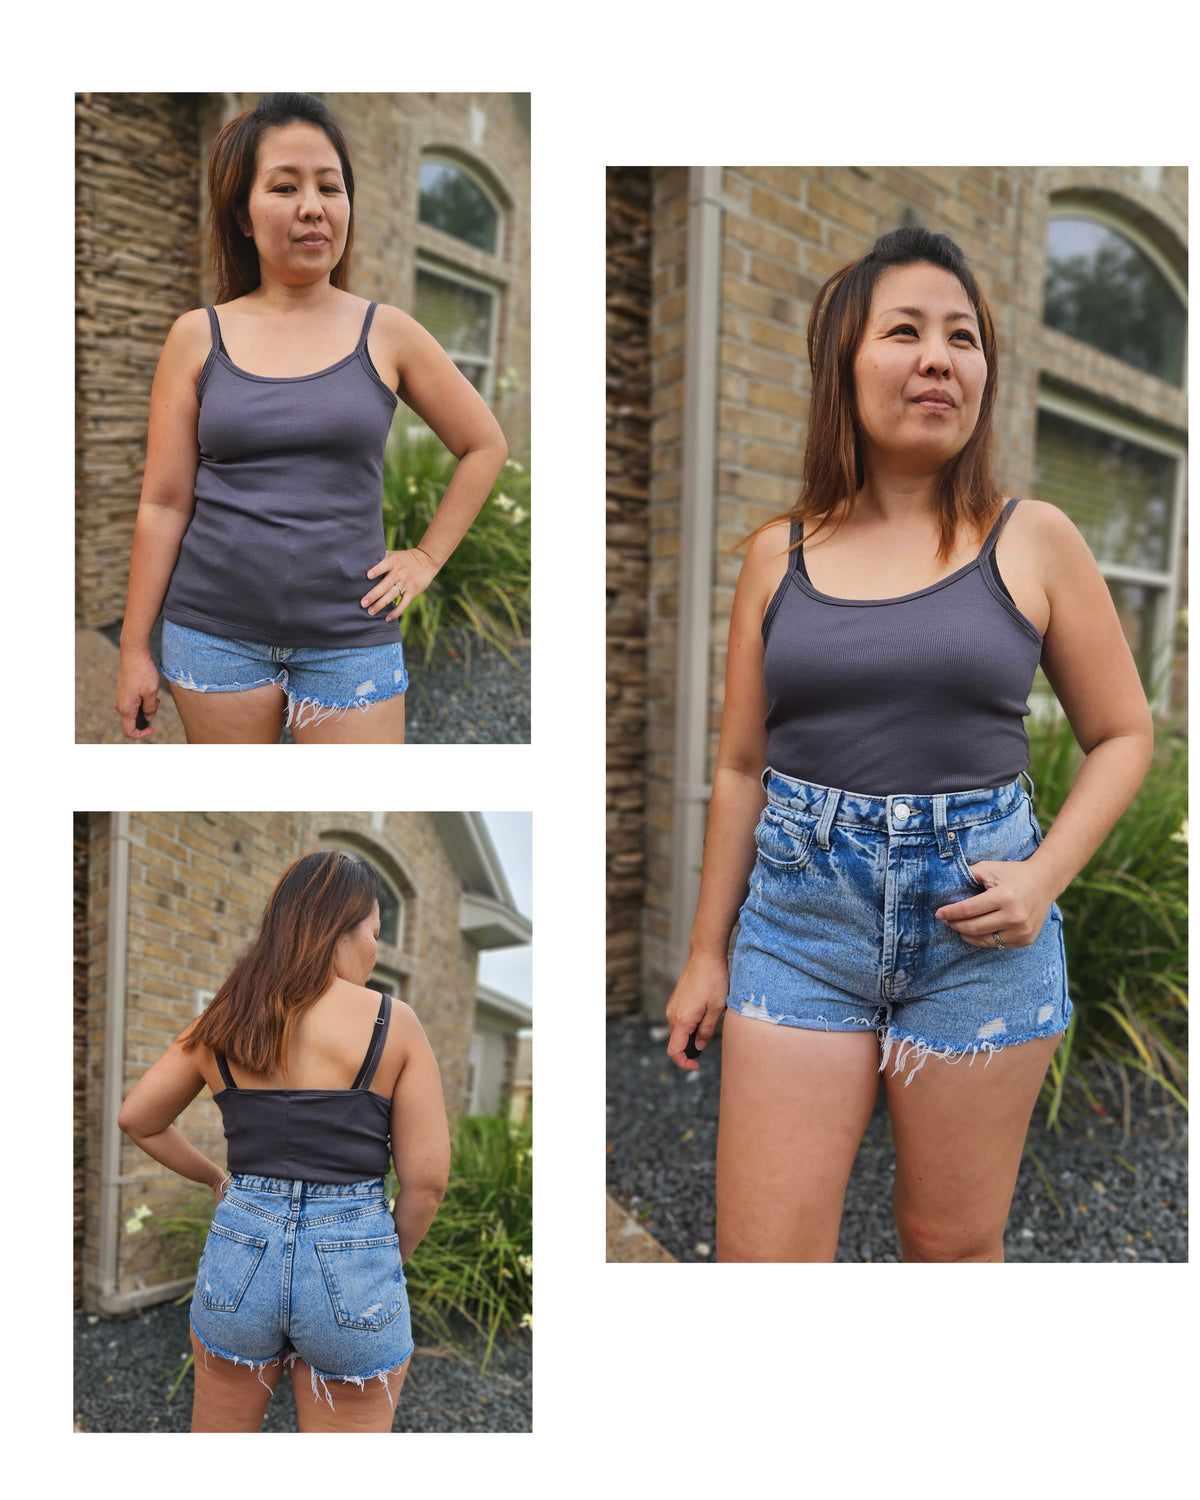
How to add a waistband to the Tres belle (plus bonus hacks how to add a faux shoulder gather and how to make the Heart and Soul angel sleeve fit other bodices!)

Hey sewists! Amy here, and today I am going to show you how to shorten the Tres Belle bodice and add a waistband. I am also going to throw in a couple of extra little hacks for you as well – how to add a faux shoulder gather, and how to adjust the angel sleeve (from the Heart and Soul pattern) to fit most other Ellie and Mac bodice patterns (demonstrated on the Tres Belle).
This is going to be a long one so buckle up! I should start by saying that this is a special Coronation edition blog, since I am British and the King’s Coronation is today! So I am using particularly patriotic gingham fabric called ‘The King’s Picnic’ by Knighton Fabrics. You can look them up on Facebook to find more of their lovely fabrics. The fabric is ITY, and the solid red is from Tia Knight, and is silk touch lycra. I must confess I am a bit of a rebel when it comes to picking fabric and rarely follow the pattern advice on what will work best… it usually works out ok for me but I would always follow the pattern guidelines on what fabric to choose if you want the best results or don’t have as much experience in being able to predict how something will turn out if you pick a different fabric.
THINGS YOU WILL NEED:
-
Pencil/pen
-
Ruler
-
Paper
-
Scissors/rotary cutter
-
Ellie and Mac Tres Belle Pattern (and Heart and Soul if you want to add the angel sleeves)
-
Fabric
-
Pins or clips
Optional but useful:
-
Pattern weights
-
Heat erase/wash away pen or dressmakers’ chalk etc
CREATING THE HACKS:
First you need to decide how wide you want your waistband to be, and it is also helpful to know where the Tres belle original bodice pattern falls relative to your waist. I made my waistband 3.5” wide, but I took 4” off the length of the bodice (which is actually 4.5” once you sew your pieces together since you lose two lots of 1/4” seam allowance) since it sits below my natural waist without alteration by a good inch.
So you need to decide where you want your waistline to sit, and if the pattern is not too long for you originally then you will want to add seam allowances on to your new pattern pieces or it could end up too short for you.
ALTERING THE BODICE PIECES
I would recommend drawing around the original bodice front pattern piece on to a new piece of paper so you don’t cut up your original pattern for this. Don’t cut it out yet though. Once you have done that, measure up from the bottom whatever measurement you have decided you want your waistband to be (plus seam allowance). Mark your pattern piece at this point on the side that has an armscye:

Then draw a horizontal line straight across the pattern from the mark you have made – make sure the line you draw is parallel to the ‘maximum stretch’ line that is marked on the original pattern piece.

Now you will have a pattern piece that looks something like this:

Except your piece will follow the black line I have drawn on mine – you don’t want your pattern piece tapering down to nothing like this as it will make it harder when you try to add your neckband, so I would alter the shape a little to make the smallest part at least ¼” wide as I have indicated by the red line.
Now your front bodice piece is ready and you can cut it out.
Next we will alter the back bodice piece. This is very easy! Again measure and mark on the pattern how much length you want to remove – this will be the same measurement you used for the front piece. Then draw a horizontal line again parallel to the ‘maximum stretch’ line on the pattern piece.

Now you can just fold your original pattern piece along this line!

And voila both bodice pieces are done.
DRAFTING THE WAISTBAND PATTERN
Next we are going to make the waistband pattern. The waistband will be made from two pieces, one to attach to the front bodice and one to attach to the back. We will design it such that each piece will be cut on the fold.
First work out your waist circumference and add two lots of seam allowance - ½” total). Divide this number by two and that is the width of the bottom edge of your waistband. Since we are making our pattern piece on the fold, you need to divide this number by two again.
Then however wide your chose to make your waistband, measure up from your waist to that point and measure the circumference of your body at that point. Then again as we did for the waist measurement, add two lots of seam allowance and then divide by two. That is the width of the top edge of your waistband. Divide by two again to get the measurement it will need to be when cut on the fold.

Use the calculations we just did to draw your waistband piece, the waist measurement is the smaller lower line and the higher longer line is the other measurement we worked out. Connect them with straight lines, one will be vertical and the other will be angled since one line is longer than the other. You can make your waistband however wide you would like as we discussed earlier.
DRAFTING THE NECKBAND PATTERN
Now we will move on to the neckband. Since we have shortened the bodice, the original neckband pattern piece won’t be the right size any more but don’t worry! It’s easy to work out how to make one the right size.
Measure the neck opening of your front bodice piece and multiply it by 2 as you will have 2 bodice pieces. Then subtract two seam allowances (so ½” total). Write down this number.

Do exactly the same for the neck of the back bodice. Measure the opening and multiply by 2 (as it is cut on the fold), Then subtract two seam allowances (so ½” total). Write down this number also.

Now add the two numbers together that you wrote down and multiply by 0.85. This is how long your neckband should be… except if you leave it this length, you will see the raw edge of your neckband at the waist since when it is attached to your bodice piece it sits at close to a right angle so it won’t be fully caught in the seam. To avoid this, add an extra inch at either end of your neckband. So, whatever number you worked out plus 2”. I kept the width of my neckband the same as the original piece (2”), but you can alter it if you like.
Cut out your neckband and press it in half along the length. Draw a line at either end 1” in, so you don’t forget it needs to overhang your pattern piece by this amount. Use a wash off or heat erase pen or similar so the mark isn’t permanent.

Cut notches at the quarter points on your neckband – do not include the extra inch at either end as your quarter points will be in the wrong place! So you can fold start by folding your neckband in half and cutting a notch at the halfway point. Then line up the line you drew on your fabric with the halfway notch (black arrow in the next picture). Where the green arrow is is where your quarter point notch should be.

Sew the shoulder seams of the front and back bodices and mark the quarter points of the bodice. Pin the neckband on, matching the quarter points. Make sure your extra 1” is overhanging the end of your front bodice pieces.

Attach your neckband, you will have to stretch it as you sew so it fits the bodice (see the original pattern tutorial if you need more help on how to do this).
ADDING FAUX SHOULDER GATHERS
We are now going to move on to adding the faux shoulder gathers. If you don’t want to add this feature please move on the next section where we will attach the waistband.
First I cut two rectangles 4” by 2”. If you are a significantly different size to me you may wish to alter these measurements a little to whatever looks proportionally best on you.

Fold one of your rectangles in half along the longer edge and seam right sides together. Do the same for the other rectangle.

Now turn right side out and press, and put these pieces to one side for a moment.
Next you need to decide how high you would like the faux shoulder gather to sit on your bodice. I measured 3” down from my shoulder seam and marked there.

I then wrapped one of the small seamed rectangle pieces in half around the bodice strap, and pinned so the top edge aligned with the mark I had made on the bodice.

Then you can baste this in place with a stretch stitch.

Do the same on the other side of the front bodice with your remaining small seamed rectangle piece.
ATTACHING THE WAISTBAND
We are now going to attach the waistband. Overlap your front bodice pieces so they are approximately the same width of your waistband.

Flip the waistband up and pin in place.

Make sure to pull the extra inch of neckband down a little so it sticks out between your pattern pieces. This will help you keep track of it to make sure the raw edge is fully enclosed in the seam allowance.
Then sew the waistband to the bodice, using either a serger or stretch stitch on sewing machine. When you sew over the overhanging neckband edge I keep it pulled out a little again to make sure that edge is totally in the seam allowance.

Your front bodice will now look like this:

Now we will add the waistband to the back bodice – super easy! Just flip the waistband up over the back bodice, pin, and sew.

Finally, you can add your sleeves and sew up your side seams as per the original pattern. If you want to add angel sleeves from the Heart and Soul pattern, sew the side seams of your bodice and then keep reading.
HOW TO MAKE THE HEART AND SOUL ANGEL SLEEVE FIT OTHER BODICES
The first thing with the angel sleeve is understanding what is what on it, as it looks a bit unusual compared to a standard sleeve pattern piece. Don’t be intimidated, it’s actually not that complicated.
So this is the sleeve pattern..

A bit wacky I know. The line I have drawn in green is actually the sleeve head.

It’s actually just like a regular sleeve head shape, it’s just that normally a sleeve will have a seam in the armpit, whereas the seam for this sleeve is on the shoulder – that’s why the sleeve head is a different shape than you may be used to seeing.
Here is the regular Tres Belle sleeve head shape over corresponding part of the Heart and soul angel sleeve pattern. As you can see it’s a very similar shape.

So making the angel sleeve fit a standard armscye is pretty straightforward – all you have to do is make sure that the measurement around the angel sleeve head is similar to the measurement of the sleeve head for the bodice pattern you are using ( in this case the Tres Belle).
Firstly you need to measure your angel sleeve head and write it down.

Then measure the Tres Belle sleeve head and multiply it by two (since it is cut on the fold). Write that down as well.

Both the numbers you wrote down include two lots of seam allowance so you don’t need to worry about taking that in to account.
So how do the numbers compare? We are working with stretch fabric so if they are pretty similar it will probably work as is. But I will show you how to get the angel sleeve head measurement to match the measurement of any other standard sleeve head pattern.
I would now suggest drawing around your angel sleeve on to a new piece of paper to duplicate the pattern so you don’t cut up the original pattern. Cut out your duplicate pattern piece.
Now you want to draw a line down the middle of the pattern piece and cut from the sleeve head side all the way down to the end of the sleeve (the green line I have drawn on the next picture). DO NOT cut the pattern fully into two pieces, leave a small piece connected at the end of the sleeve to act as a hinge (this is the red dot I have drawn on the next picture).

Now using the hinge you have created you can either spread the two halves of the pattern further apart or overlap the two pieces until the sleeve head measurement matches the measurement of the Tres belle sleeve head (or whichever sleeve pattern you are trying to match to). Do this over a piece of fresh paper so when you have the two halves in the right place you can draw round them to create your final pattern piece. Now your angel sleeve is the same size as your Tres Belle sleeve and will fit the Tres Belle bodice!
Sew the shoulder seam on your angel sleeves according to the original pattern instructions and cut quarter point notches on the angel sleeve head and the Tres Belle armscye. Pin the sleeve to the bodice (right sides together), matching the quarter points.

It fits! Now you can sew these pieces together and do the same for the other sleeve.
Your bodice is complete! Now you can attach your skirt to the bottom of your waistband as per the original pattern instructions.
You are all finished well done :) I hope this tutorial was helpful!
See you next time!

(Written by: Amy Day)


