Hi sewing friends!
By now you’ve probably seen all of the AMAZING versions of the new Effortless Hourglass dress on social media, or you’ve grabbed the pattern to sew one (or many!) up for yourself. If not, I highly recommend you check this one out. I’ll get into the details in a moment, but seriously – this dress seems to have magical properties that make you look and feel amazing! And it’s incredible versatile so with the same pattern you can crank out some classy office wear and also some comfy beach dresses. So far I’ve made one of each and I love them both equally!
So if you recognize my makes or me in the photos (I’m Happy.Things.Here on IG) , you may know that I am a pretty basic person as far as fashion goes. I love bright colors and patterns, but I am all about comfort and practicality. So when the kind folks here running the blog suggested I write a post about with some examples of how to style this dress, I was like, “Huh, me style something? You sure you have the right person??” I divide my time up between my home office and one week a month in the real office, and as a busy mom, frankly my exciting excursions are the grocery store and an occasional dinner out. So this felt like a stretch to me…BUT…I think I did ok because this dress was so easy to style! Let’s get into details on the dress and I can show you why.
First, here’s the pattern:

The Effortless Hourglass is a swing dress that still has nice shaping – so it doesn’t feel too oversized but still has ease in all the right places. Like other E&M dress patterns, it comes packed with options for sleeves, lengths, and necklines – including both a crew neck and a cowl. But I think the really special thing about this dress are the side pockets which, if you use a contrasting color, give it that hourglass shape for which it is named. You can sew up a plain version easily and quickly; the pocket version takes a little more time as the pockets have two pieces, but the instructions are really clear and I think the results are worth the effort. It looks totally different with and without pockets, and I sewed up one of each. And I’ll share a secret with you, just because you’re here – I typically grade from a medium bust to a large at the waist, which I did with my non-pocket version. But I was distracted and cut a straight medium for the pocket version and so it’s snug! There’s some shapewear working overtime under that dress so next time I’ll sew my true size and get more ease. Just something to keep in mind when you see my versions. So let’s look at my sews with a few styling options for each!
First up – I call this “Power suit”. OK, it’s not a suit but I think it looks just as professional!
For this version, I used Liverpool fabric for both the pink and black. As noted above, it’s close fitting because I cut a smaller size than I measured into, but I like the look I got here. I also added two inches in length and widened the neckband to get a dressier look. I styled it with a store-bought black blazer and thrifted open toe heels. I’m ready to run the weekly call, hold a kickoff meeting, and dive into those workstreams! (just some corporate speak to go with the dress!)
Next – same dress – but let’s get rid of those heels and add some fun accessories to dress this down a bit. I call this version “Ready for brunch!”

I swapped out the heels for some funky and comfy flats and added my favorite necklace I picked up for $4 at a consignment shop (I love it so much I look for every chance to wear it). I could also easily wear this look to work, and I actually plan to pack this outfit in its entirely for an upcoming business trip.
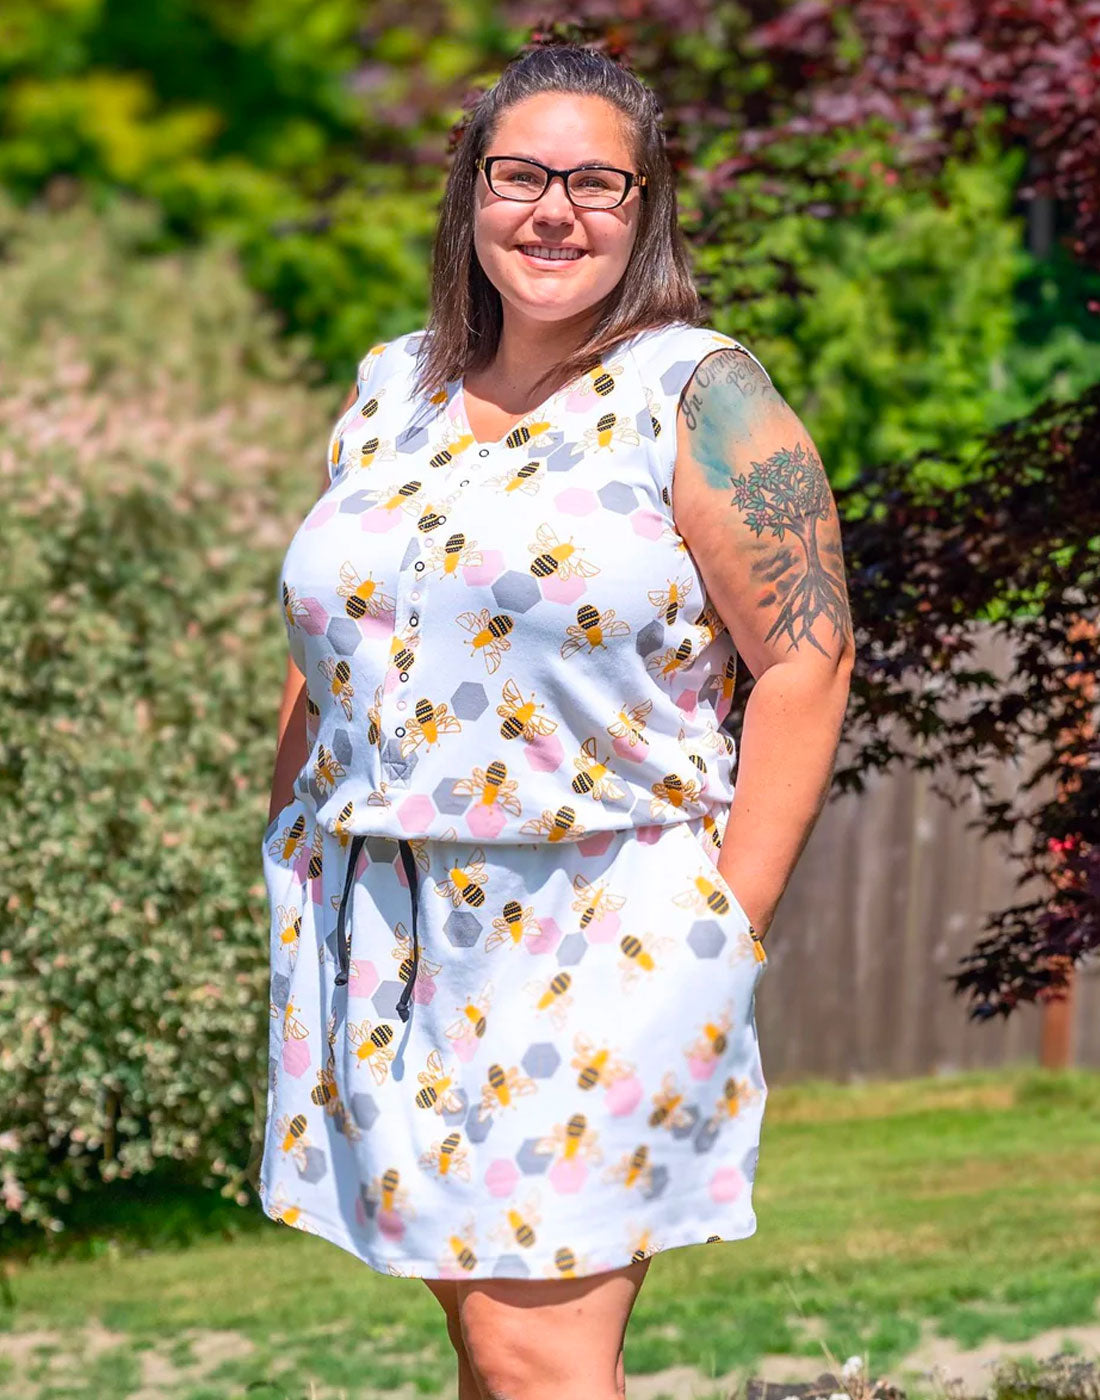
Now we move to the second version I sewed up – a simple and sleeveless no pocket version. I think this took me less than an hour from projecting to sewing the final seam. I skipped the hem because I was going for a more casual look and I also didn’t want to lose any length (I’ll probably add an inch for the next one). But as simple as this one is, we can get a few different looks out of this one too. Here we go!
First, given this fun and whimsy fabric design, this will make a great summer casual dress – so let’s call this version “Summer Break!”
Easy peasy – I’ll throw on my flip flops to take the kids to the beach this summer and this will be a go to outfit (plus I’ll be making a few more just like this one). It doesn’t get any easier than this. Notice the looser fit – that’s because I graded properly this time and got a perfect fit.
Next, let’s efficiently accessorize a bit, using my same accessories as my dressy version. I’d wear this look to head out shopping with friends – so taking it up one notch from the beach version.


Next up – this dress is headed out for dinner with the family! Just throw on your favorite denim jacket. Mine is (big surprise) a great find at my local Goodwill.

So at the end of the summer, I still want to get some use out of this fun dress and all the other ones I will sew. Time to add some Fall accessories. First up – same denim jacket but let’s grab some boots for those first crisp cooler days. By the end of the summer, I’m doing the count down to boot weather!

And I think we can get at least one totally different look out of this same dress. I switched the jacket out for my favorite Be Mine cardigan which I hacked to have a button closure (want to see how? See blog post here!). And it coordinates perfectly with my favorite necklace. Are you sick of it yet? 😊

And there you have it – two dresses and seven looks. And like I shared earlier – I am not a master styler so if you like how these looks turned out, just think how many great looks YOU could style with this dress!
Find the pattern here
And find me here
Happy Sewing!
(Written by: Andrea Goltzer Mulford)
