With the release of the Ashley Hourglass Swimsuit, there is one thing that we all wonder... Or maybe two... "I love having the option of a strapless swimsuit, but sometimes I want to feel the security of the straps. So can I make the straps detachable? Or even better: both detachable and adjustable?"
By adding adjustable & detachable straps to your strapless swimsuit, you not only add an extra element of comfort and functionality, but you also give yourself the ability to customize the fit of the suit to your specific body shape.
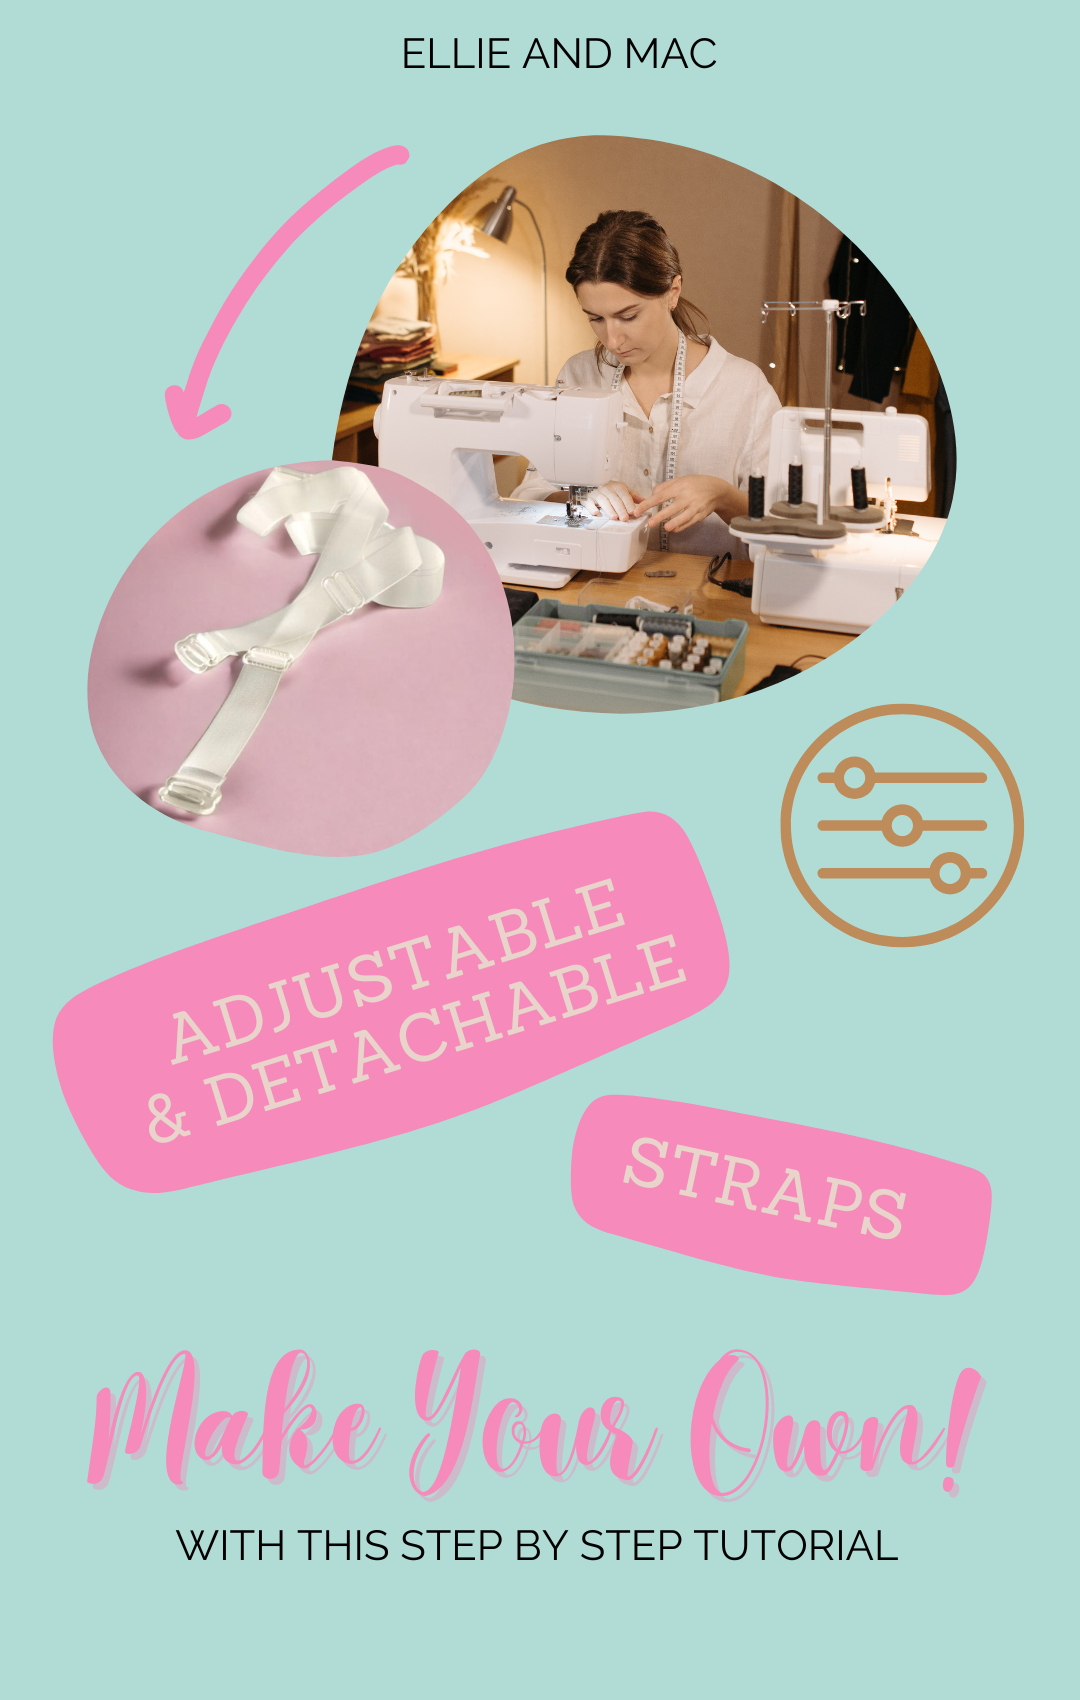
You can buy adjustable swim/bra straps that are already finished. But can we make our own? Well of course! This is an easy DIY project and can be completed in under an hour, leaving you with a swimsuit that you can feel confident and comfortable in. We have a step-by-step tutorial for you, so all you have to do is follow the steps.
To begin with, it's best if you figure out what size G-hooks you plan on using. This detail will influence the other materials you'll need later. Just a heads up - you might stumble upon "swimsuit hooks" instead of G-hooks during your shopping. Keep that in mind! The hardware is listed in the width that was used to create this tutorial, but you can replace that with the size of G-hooks that you bought minus 2mm/0.04".
List of Materials:
- 12mm/0.05” wide bra sliders (2)
- 12mm/0.05” wide bra hooks/G-hooks/ (2)
- 10mm/0.04” wide swim elastic/strapping (approx 2 pieces that are 61cm/24” long each) or make your own fabric straps with the size mentioned above (width is (2*10mm/0.04”) + 1,25cm/0,5” seam allowance)
- A needle and thread that matches the color of your swimsuit (I used a contrast color for the purpose of this tutorial)
- Scissors
- 4 pieces of Ribbon or a Fabric Strip in the width of your hardware (length 2,5cm/1”)

Example of a package of Sliders & G-hooks

Example of a package of Finished Adjustable Straps
Step 1: Take your strap elastic and hold it with the right side facing up. Slide it through one opening of the slider, then through the center bar, and emerge it out of the opposite opening.
Step 2: Straight stitch the threaded strap elastic end a couple of times, back and forth, to make sure it is secured in place. When you don't want to see a raw edge, you can sandwich it between the two layers before stitching.
Step 3: Take the end of the strap elastic that's free and thread it through the G-hook. The wrong side of the strap should be facing up. Pull the end through the G-hook in the direction of the slider.

Step 4: Take the free end of the strap elastic, hold it with the right side facing up, and thread it through one slider opening. Next, pass it through the center bar and emerge through the other opening.
Step 5: Let's get that strap elastic all the way through the slider. Simply pull it through to the other side. 
Step 6: Take the free end of the strap elastic and thread it through the second G-hook. Make sure the hook is pointing in the same direction as the first G-hook. Fold the strap over and straight stitch the folded strap elastic end a couple of times, back and forth, to make sure it is secured in place. When you don't want to see a raw edge, you can sandwich it between the two layers before stitching.
Step 7: Et voilà! You've successfully added an adjustable slider to one of your swimsuit straps. Now, you can repeat these steps with the other strap elastic.

Now you have sewn adjustable straps that can be removed! All that is left to do is sewing the strap attachments.
If you're looking to use a fabric strap that's wider than your G-hooks permit, you'll want to taper the ends of your strap pattern to make sure it fits snugly onto the G-hook. However, keep in mind that you'll need to carefully ensure that the fabric strap also fits comfortably over the ring that's attached to the elastic part of the strap. It's not advisable to try creating a finished strap width that exceeds the G-hook or ring opening by more than ¼".
Step 8: Decide where you want your straps to be attached to at the front and at the back of the swimsuit. The Ashley Hourglass Swimsuit Pattern recommends a strap placement of 4-5” (~10-12.7cm) from the side seams. It is best to have the wearer try on the Swimsuit for optimal placement of Straps. Mark in your preferred method.
Step 9: Line up the right side of the raw top edge of the ribbon/fabric scrap with the wrong side of the bust band at the marked position, and move it 1/8" (0,3mm) down. Pin in place and sew.
Step 10: Next, fold over the bottom raw edge (about 1/8") and fold the ribbon towards the top and pin it neatly over the raw edges before sewing the top and bottom sections with a straight stitch.
Step 11: Repeat steps 8-10 and add a strap attachment to the back as well.
Step 12: Repeat all steps for the other strap and strap attachments. Remember to point the G-hooks in the opposite direction as the first strep.
When it comes to adding the straps to your swimsuit, it's as simple as hooking them into the ribbon loop with the closed end of the hook facing outward on the shoulder side. The beauty of detachable straps is that they allow for multiple styling options, making it easy to switch up your look. Plus, you can even crisscross the back straps if that better suits your swimsuit needs. And you can adjust the fit of the straps by simply moving the slider. Enjoy your swimsuit!

